Category Archives: dinner party

A baba ganoush recipe

baba ganoush

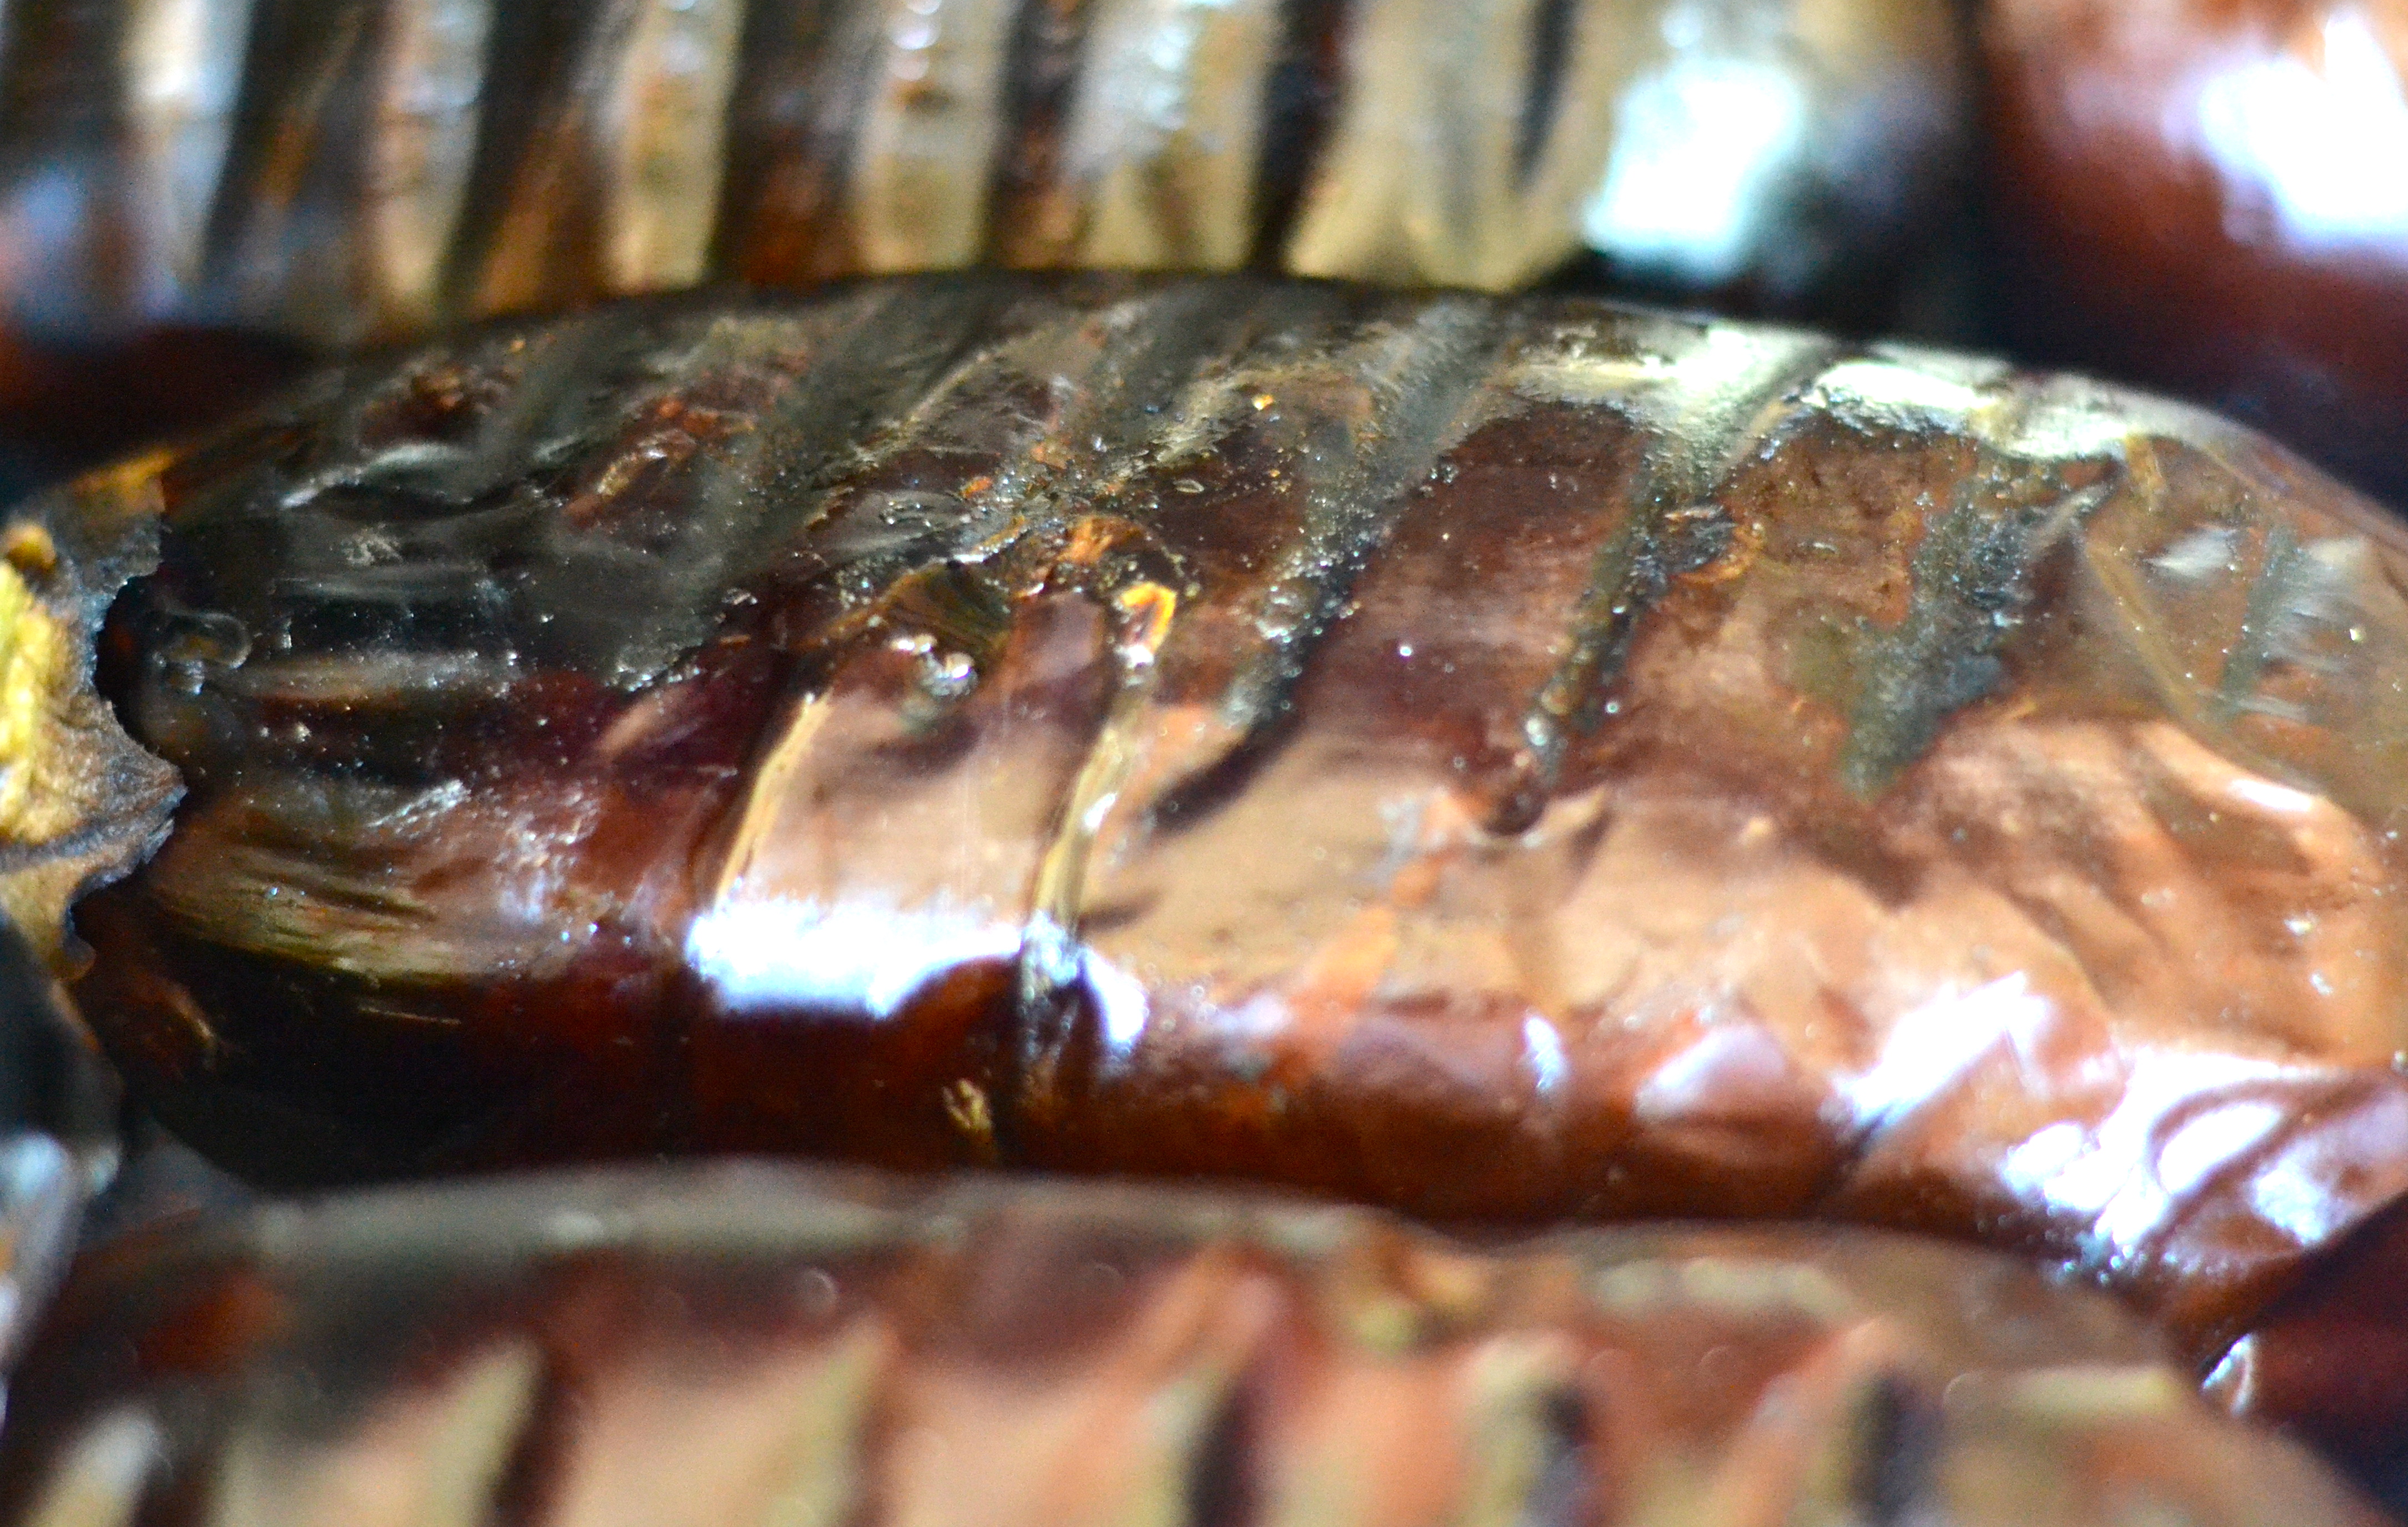
‘Your eggplants are burning’ observed Mark. I’m sure the eggplants sitting directly over the gas flame on the stove could indeed look like they were scorching. I was making baba ganoush and charring the dark, purple skin of the eggplants to impart an aroma of smoke to the final dish. Baba ganoush is very straightforward to make, with a handful of ingredients and a few key steps to getting it just right. In its finished state it’s rather alluring and seductive. Sharp and zesty it pricks your palate, and with wonderful smoky undertones, it leaves you wanting more.

baba ganoush

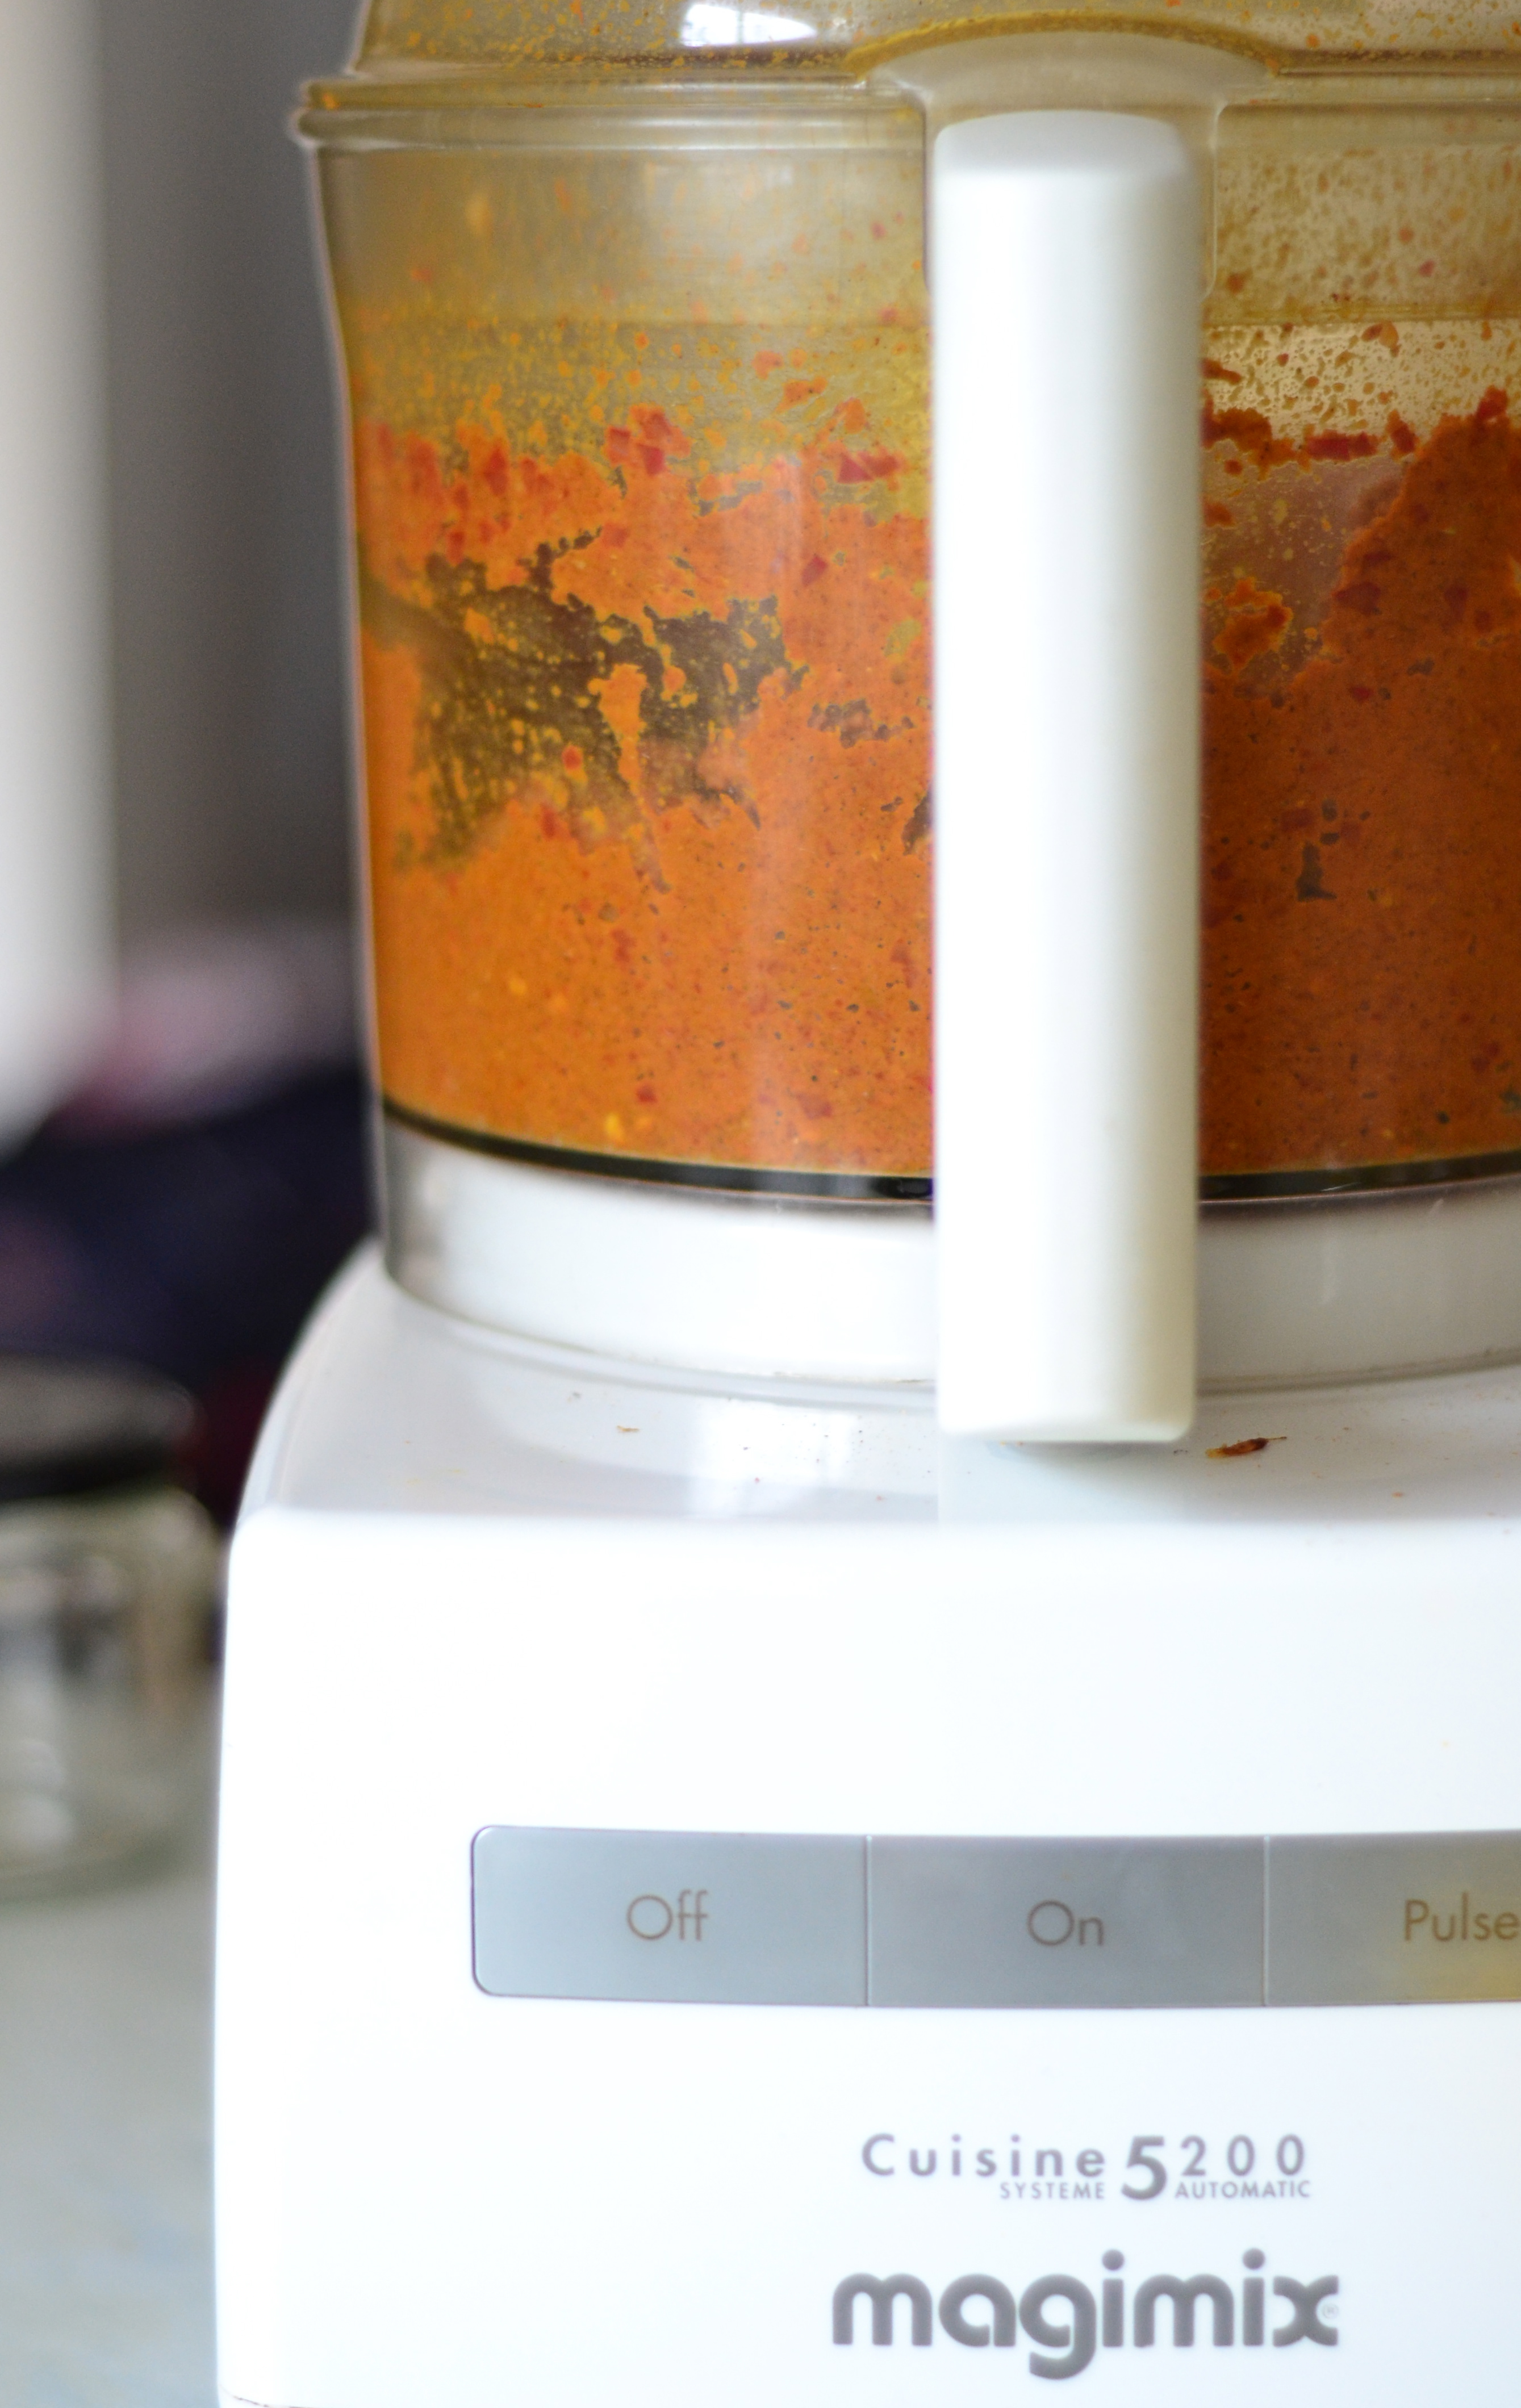
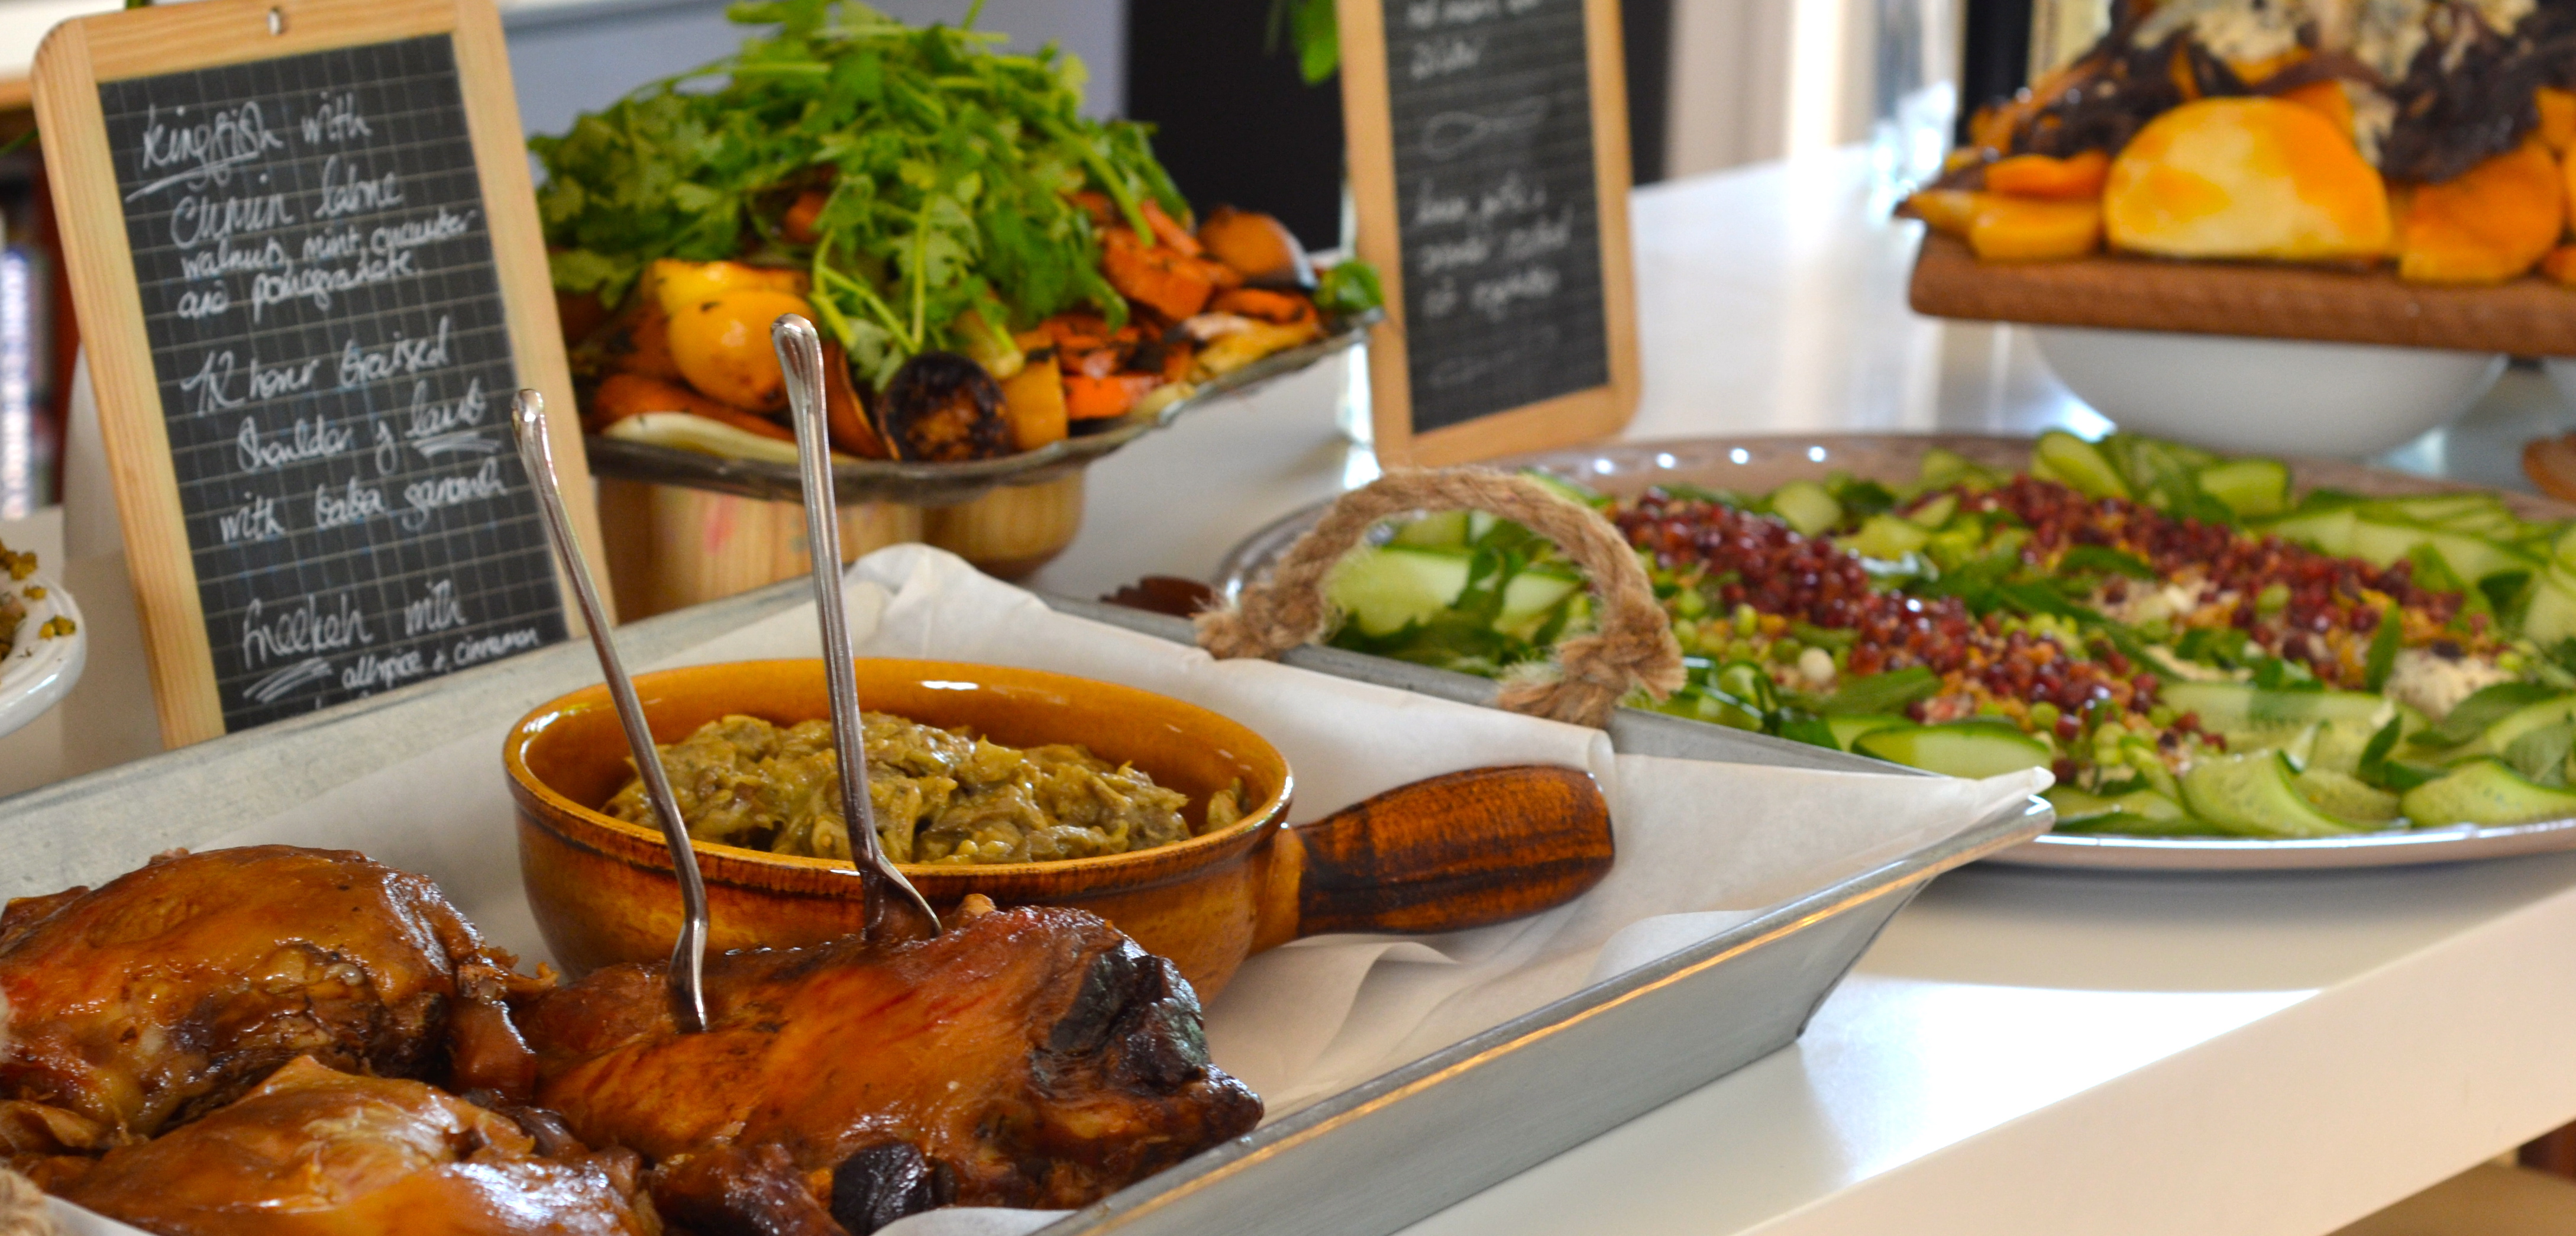
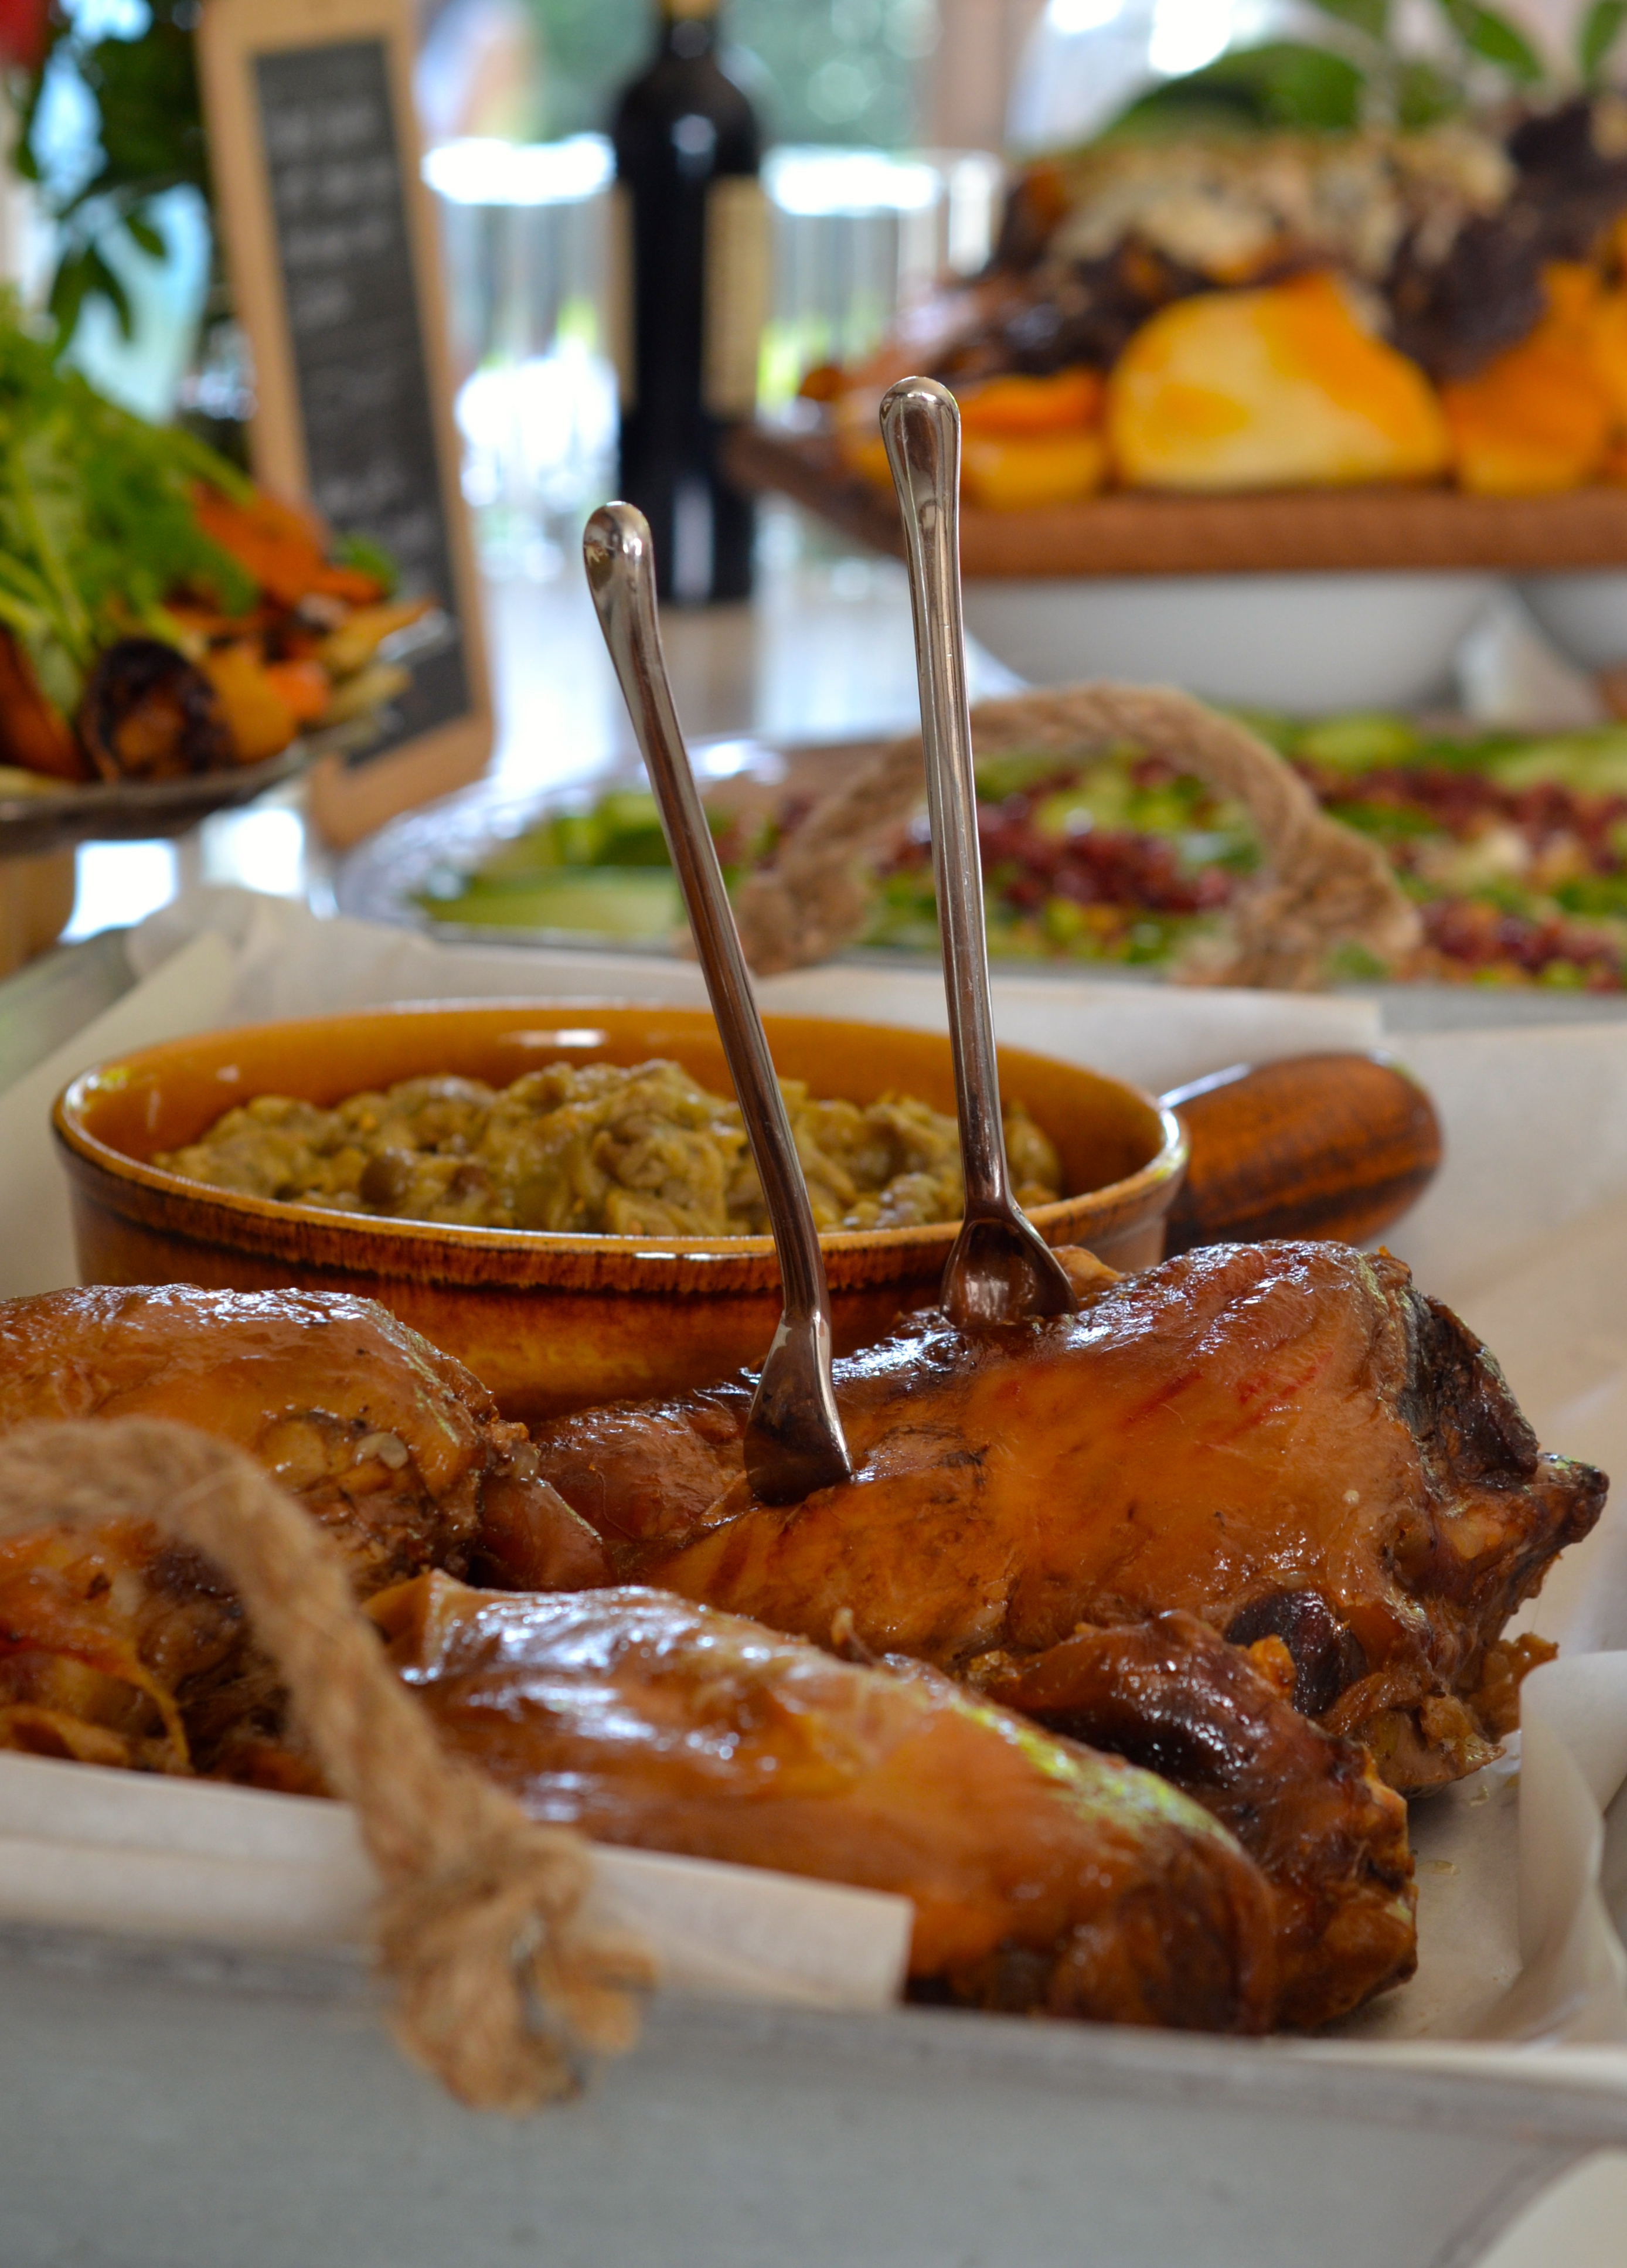
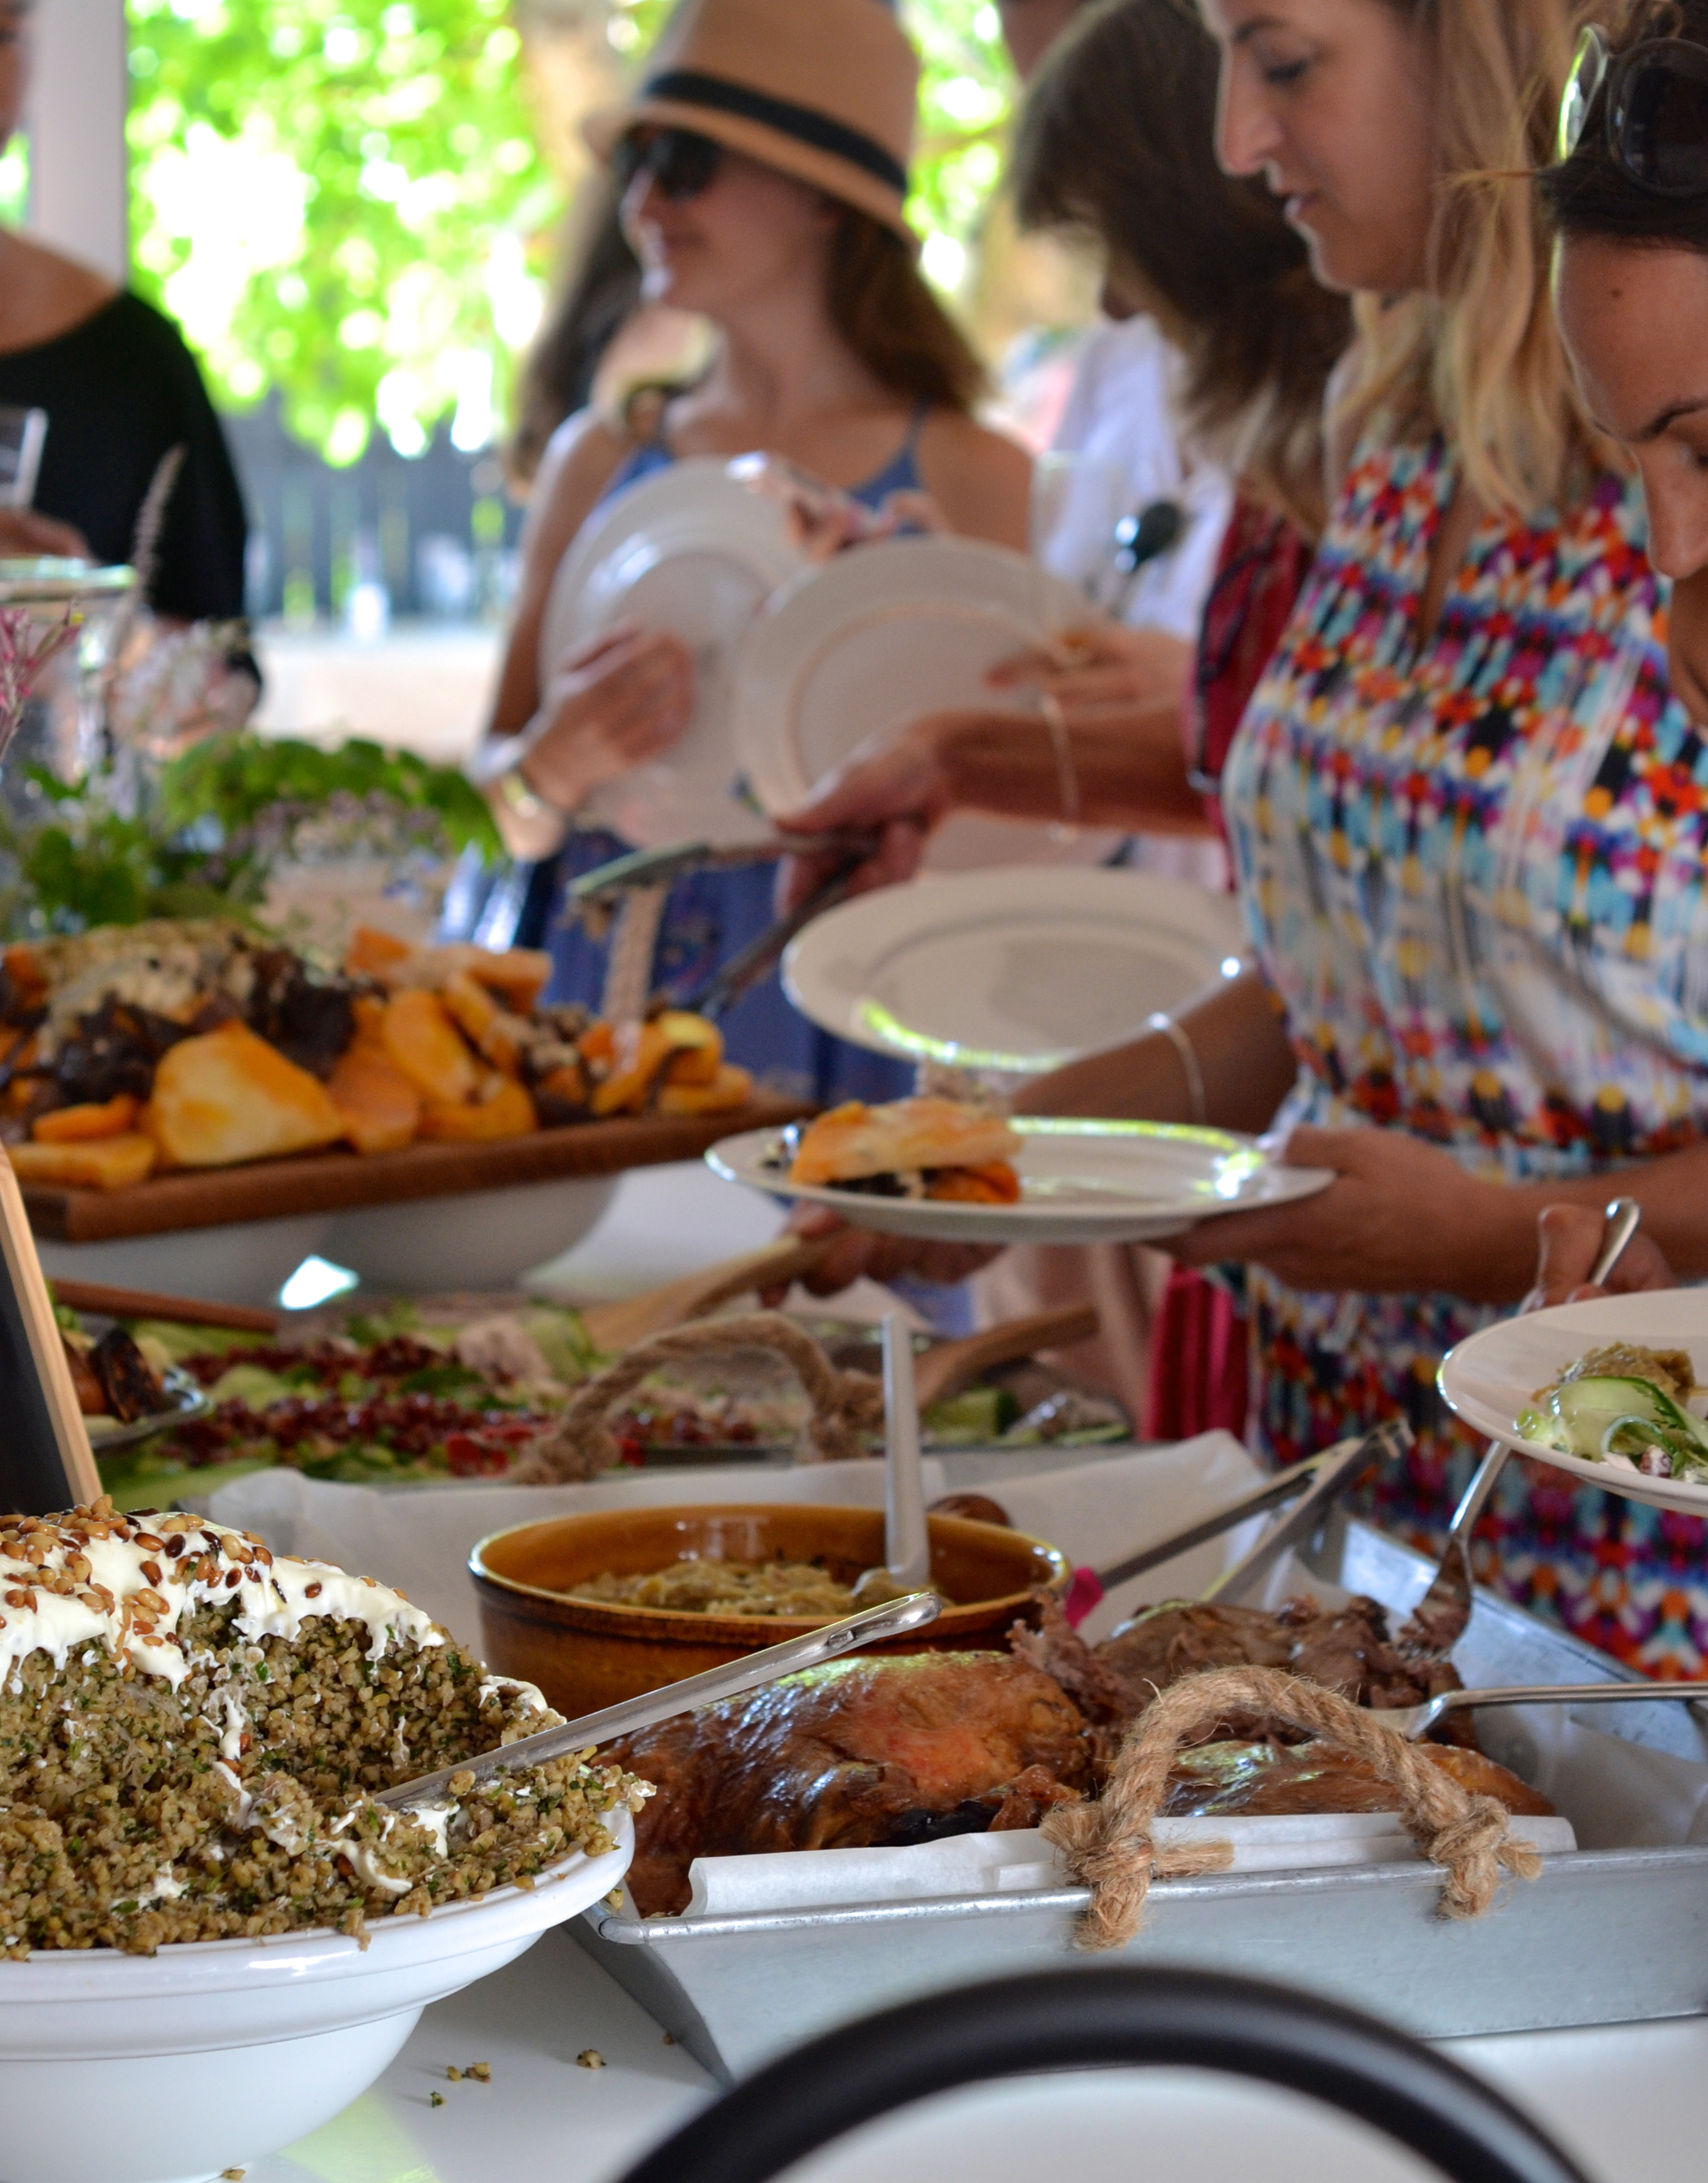
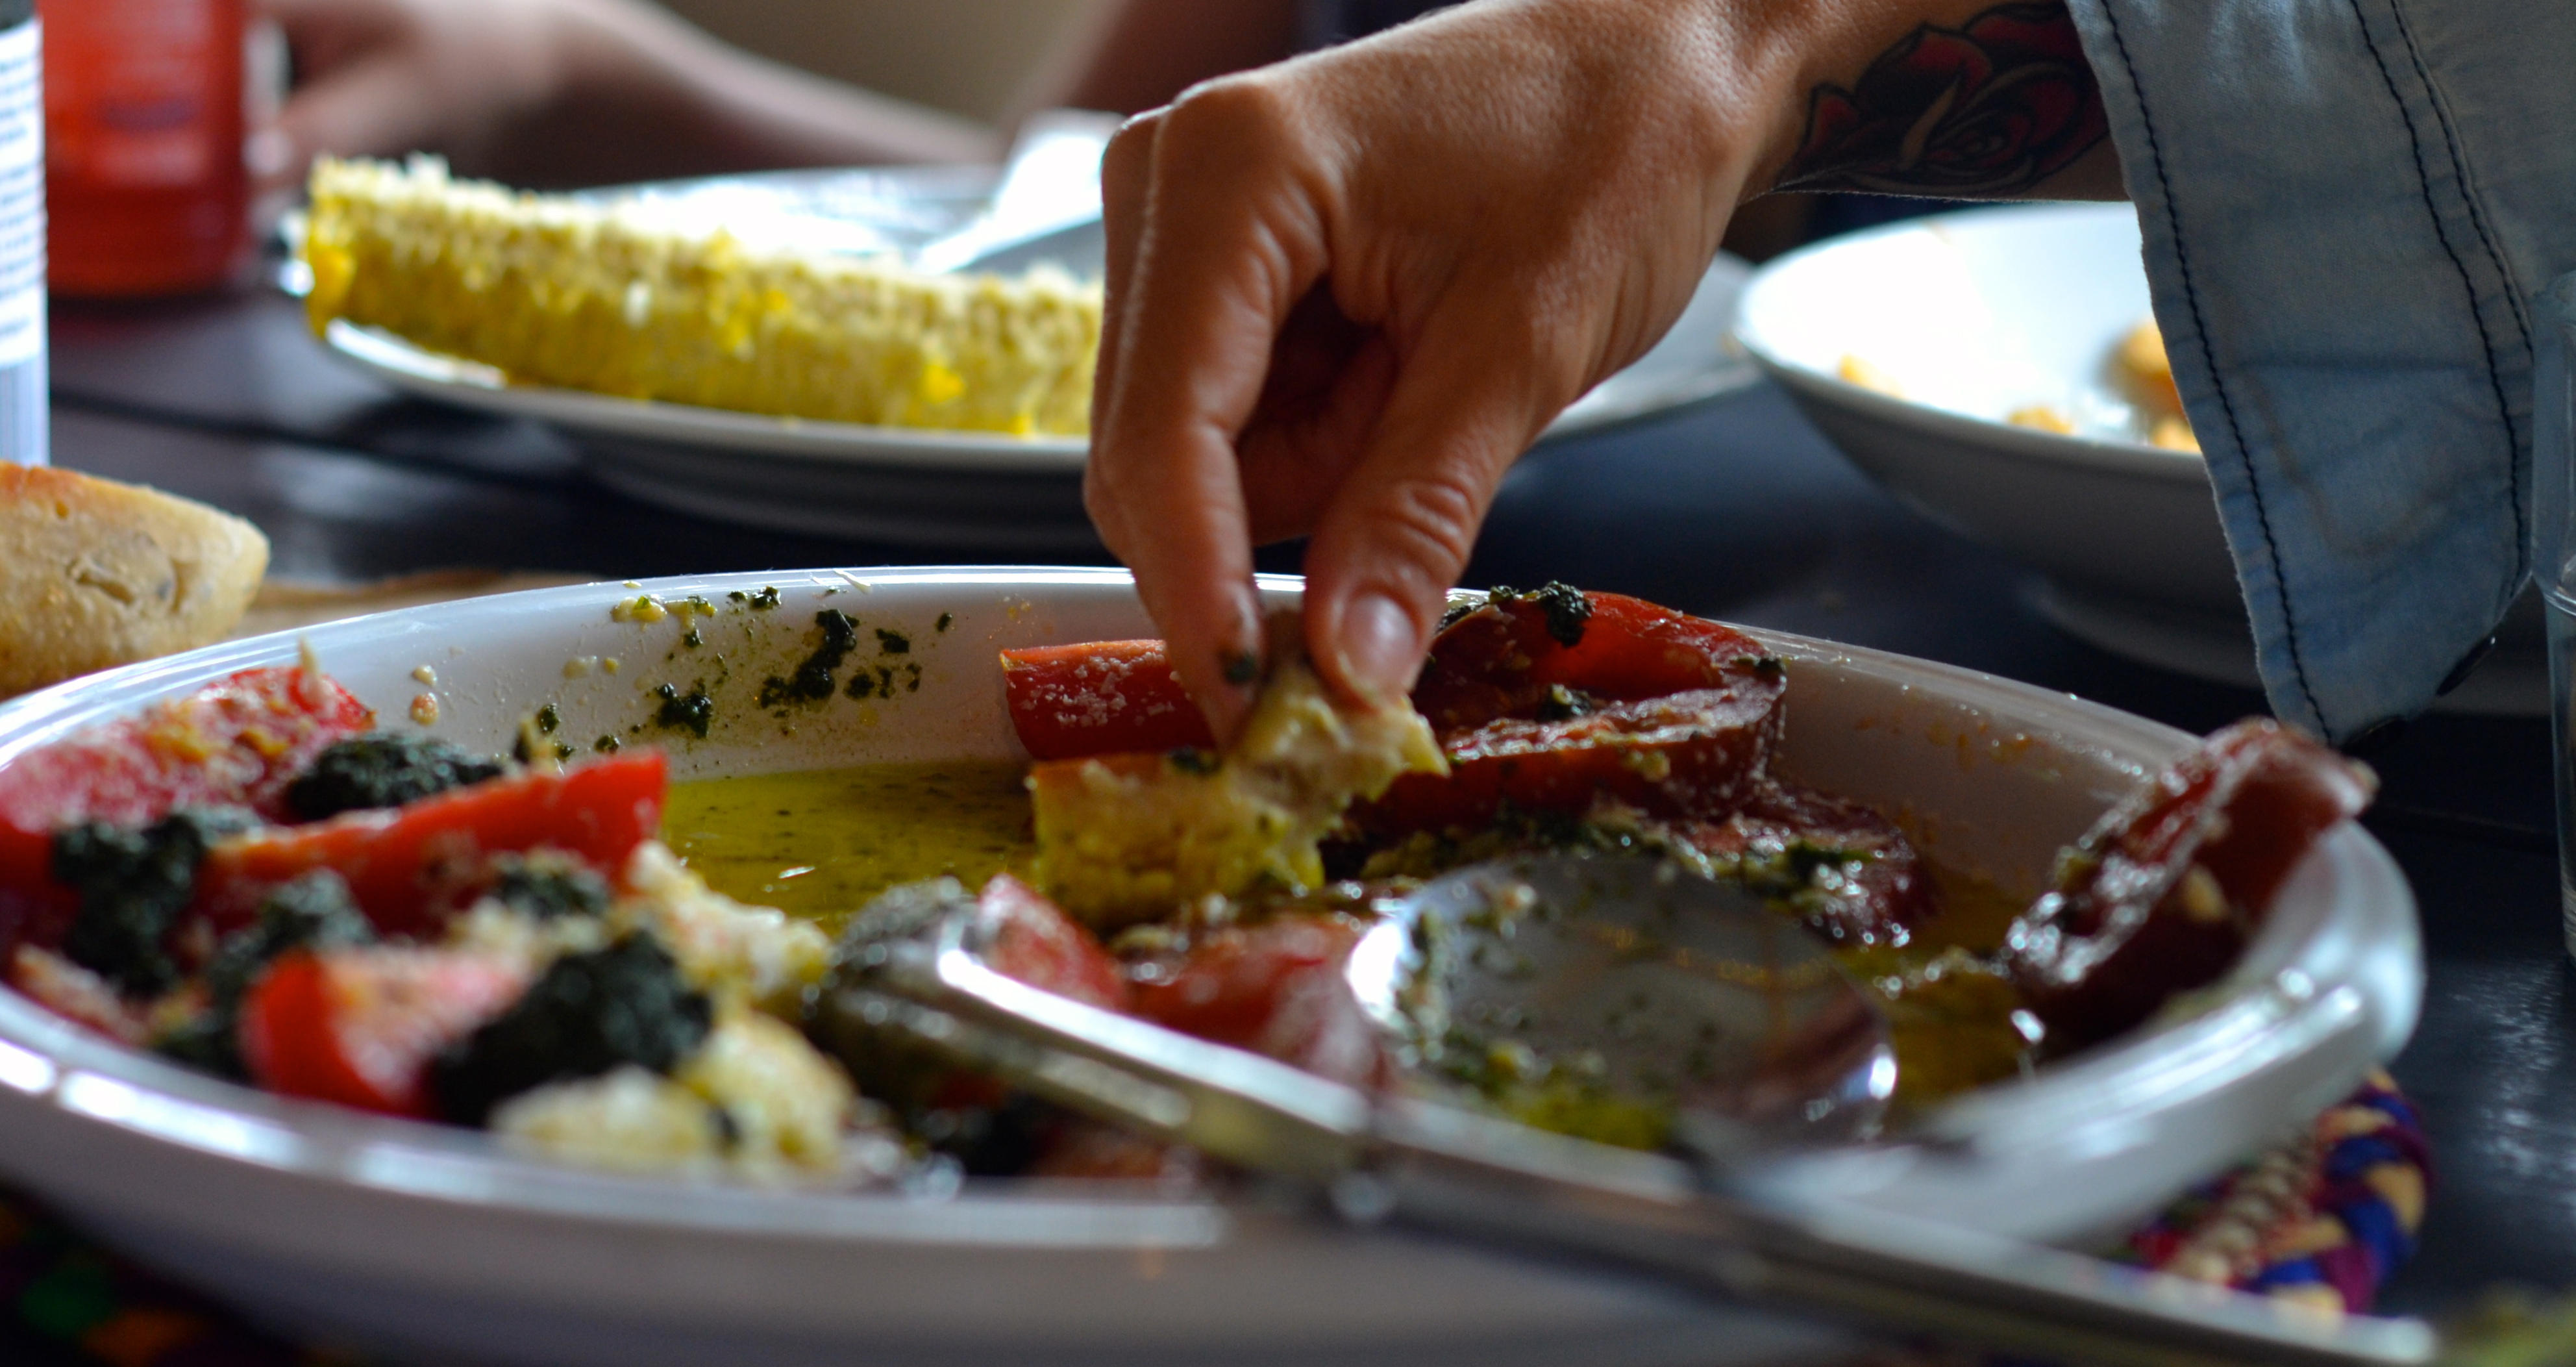
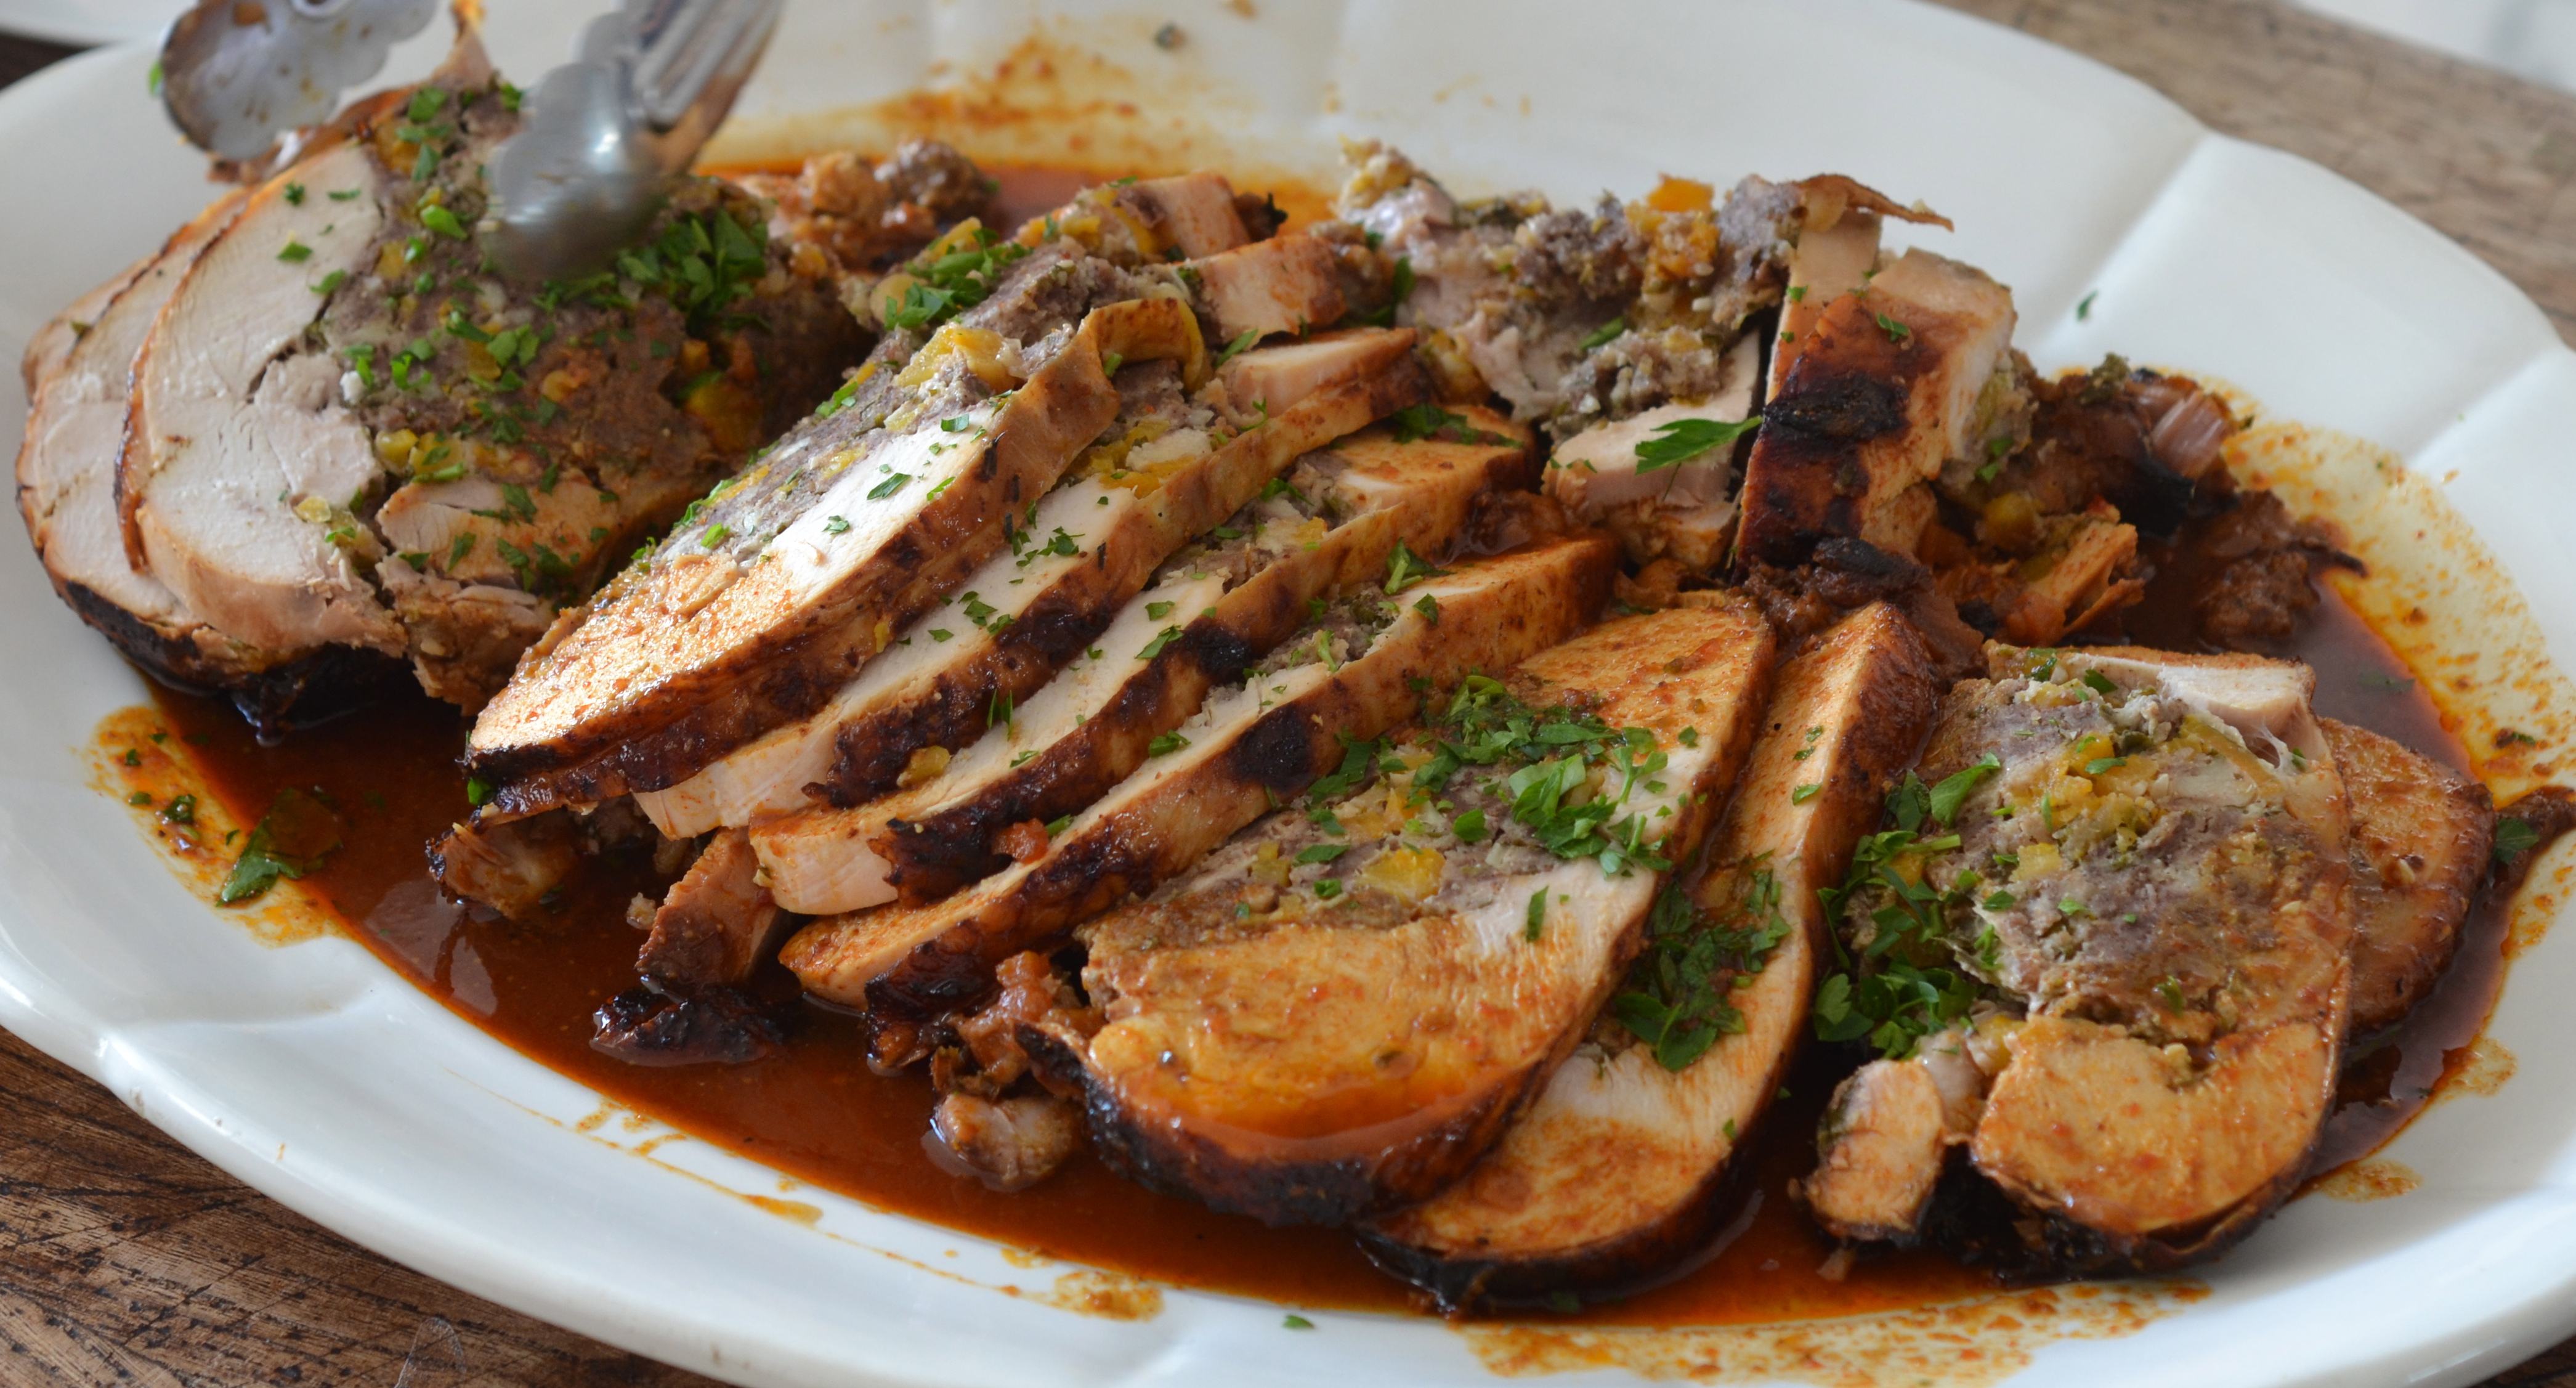
I was preparing the Middle Eastern side dish to accompany roast lamb. Spiked with lemon and mint, it makes such a great partner for the sweet, earthy meat, cutting through its richness. Baba ganoush also serves well as an appetizer, whizzed in a food processor with a big spoonful of natural yoghurt, so that it’s nice and smooth for scooping up with a triangle of toasted pita bread. Placed atop individual, crisp, rounds of golden, puff pastry with some mild goats cheese, a few wedges of cherry tomato and some rocket, it creates a stunning little entrée. And of course, it plays a wonderful role as part of a meze platter, perhaps sprinkled with a few pomegranate seeds for a bit of glamour.

baba ganoush

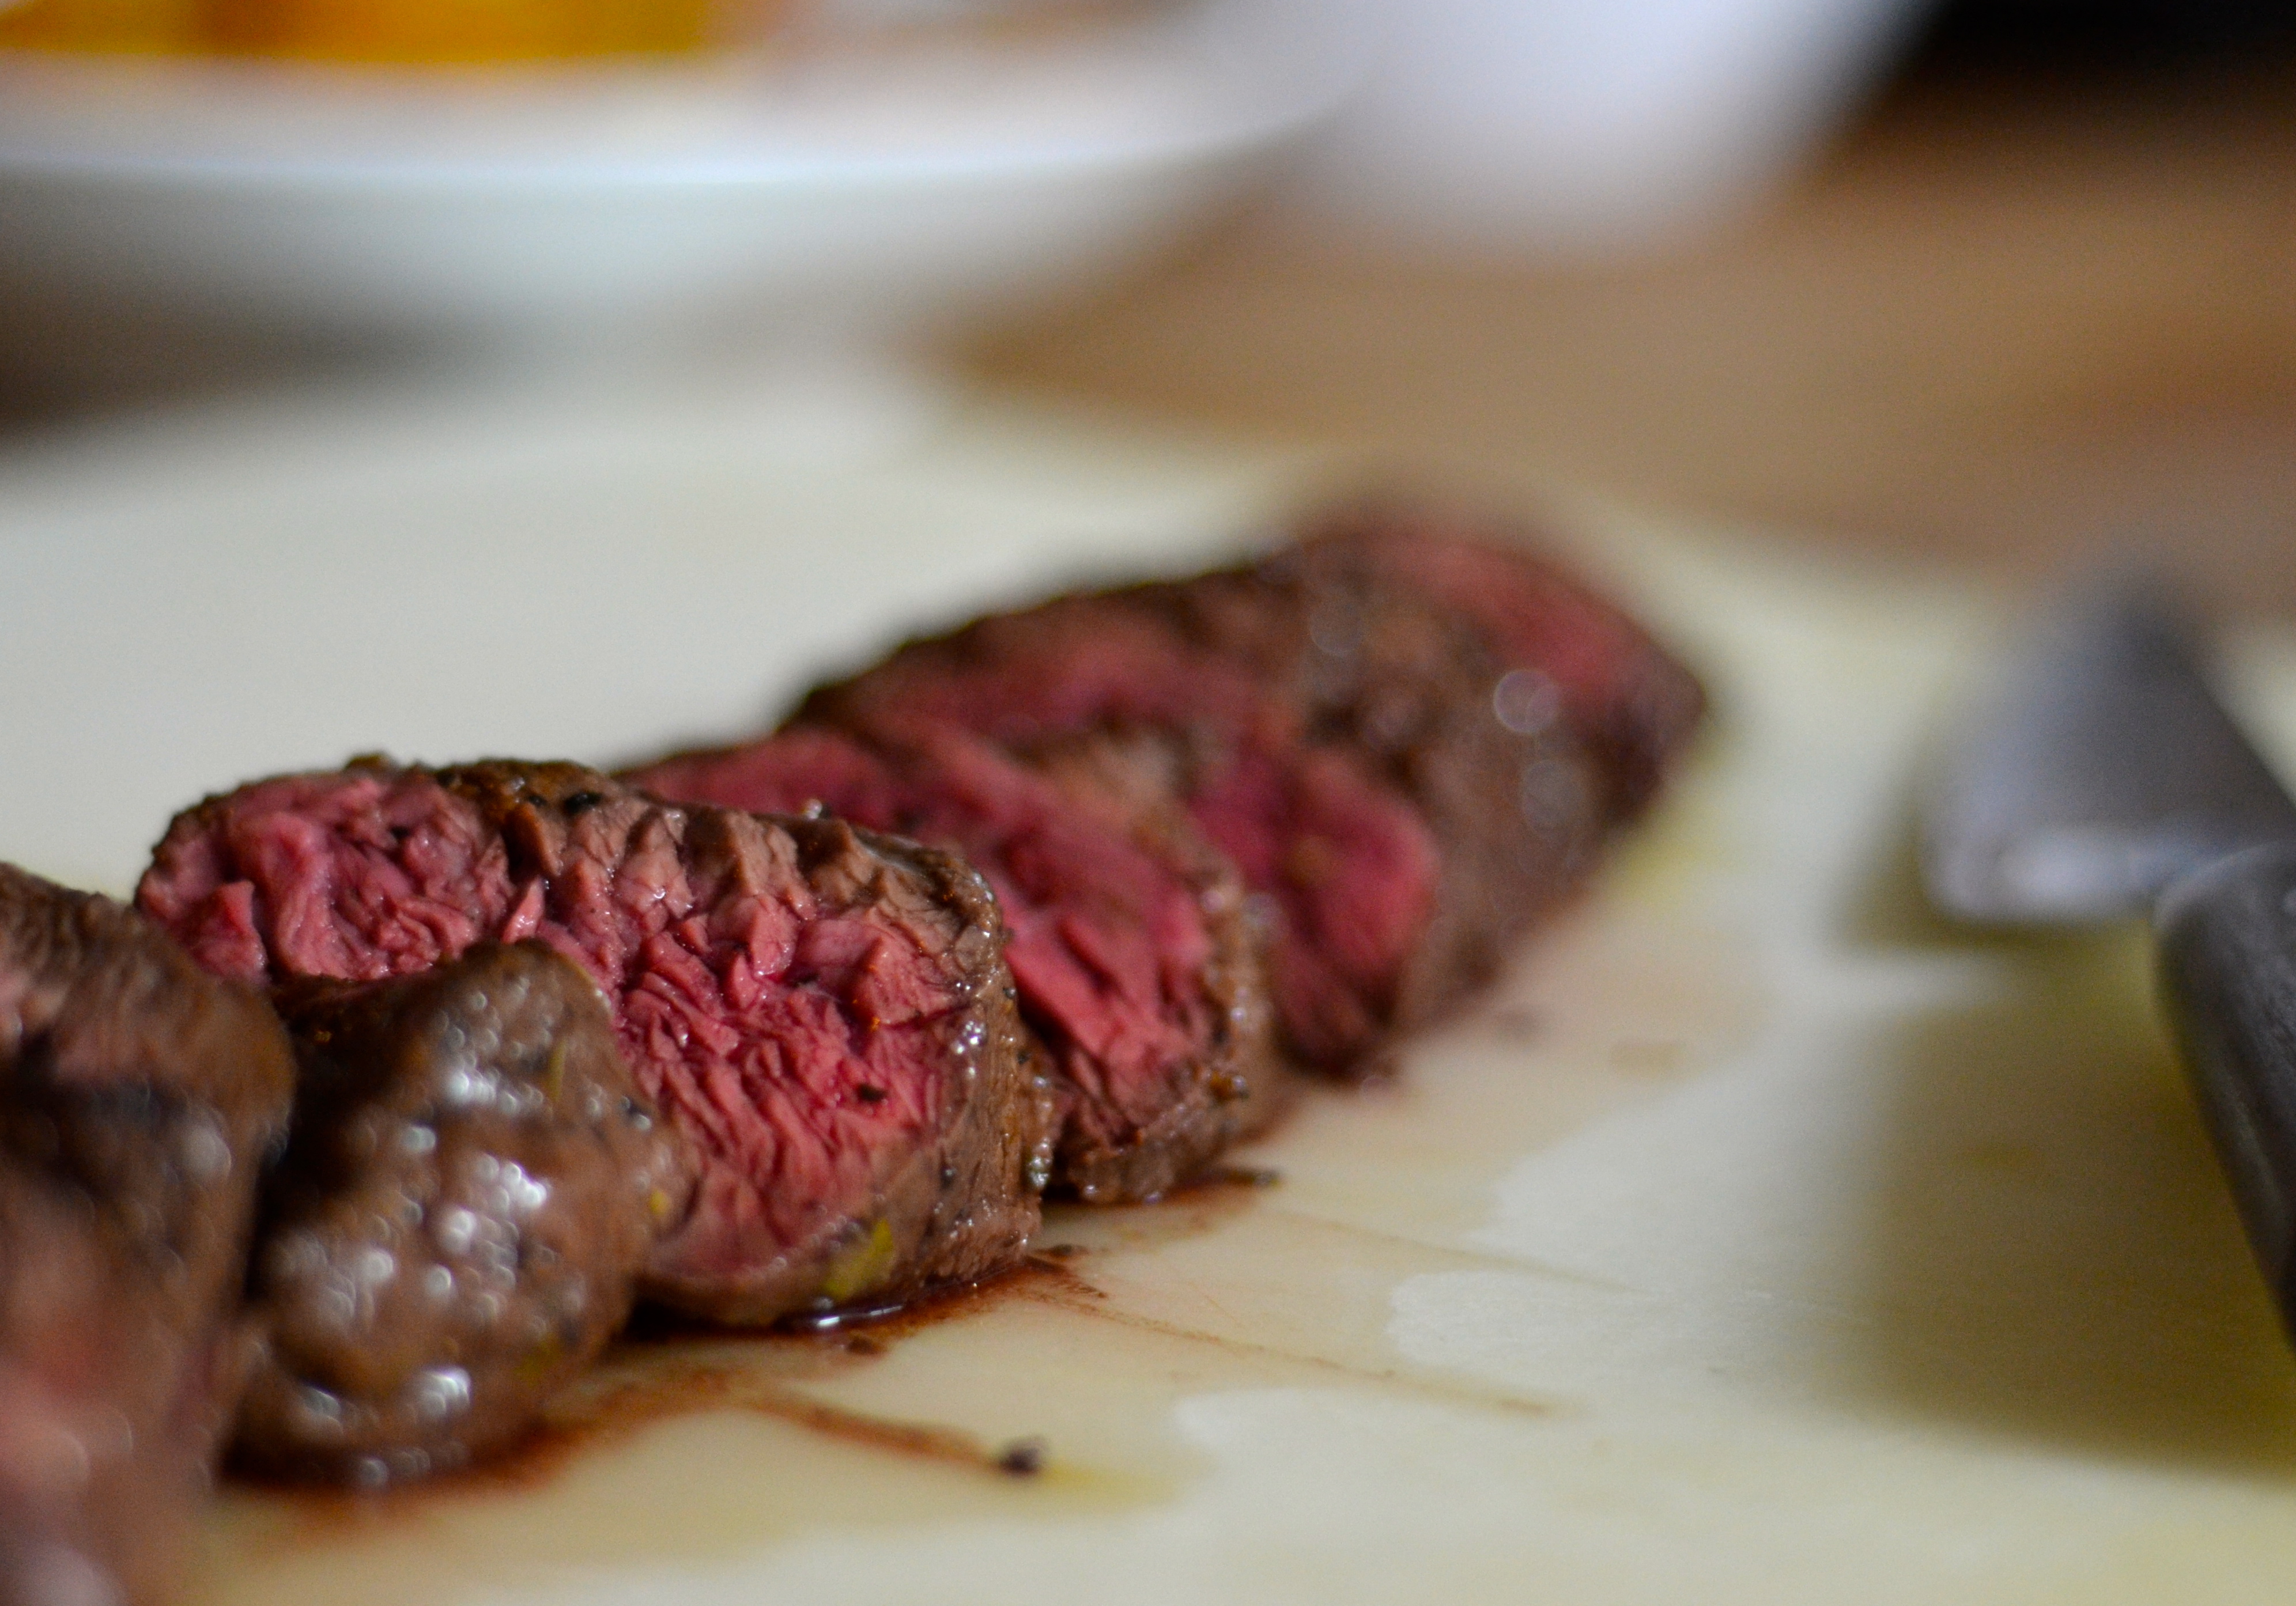
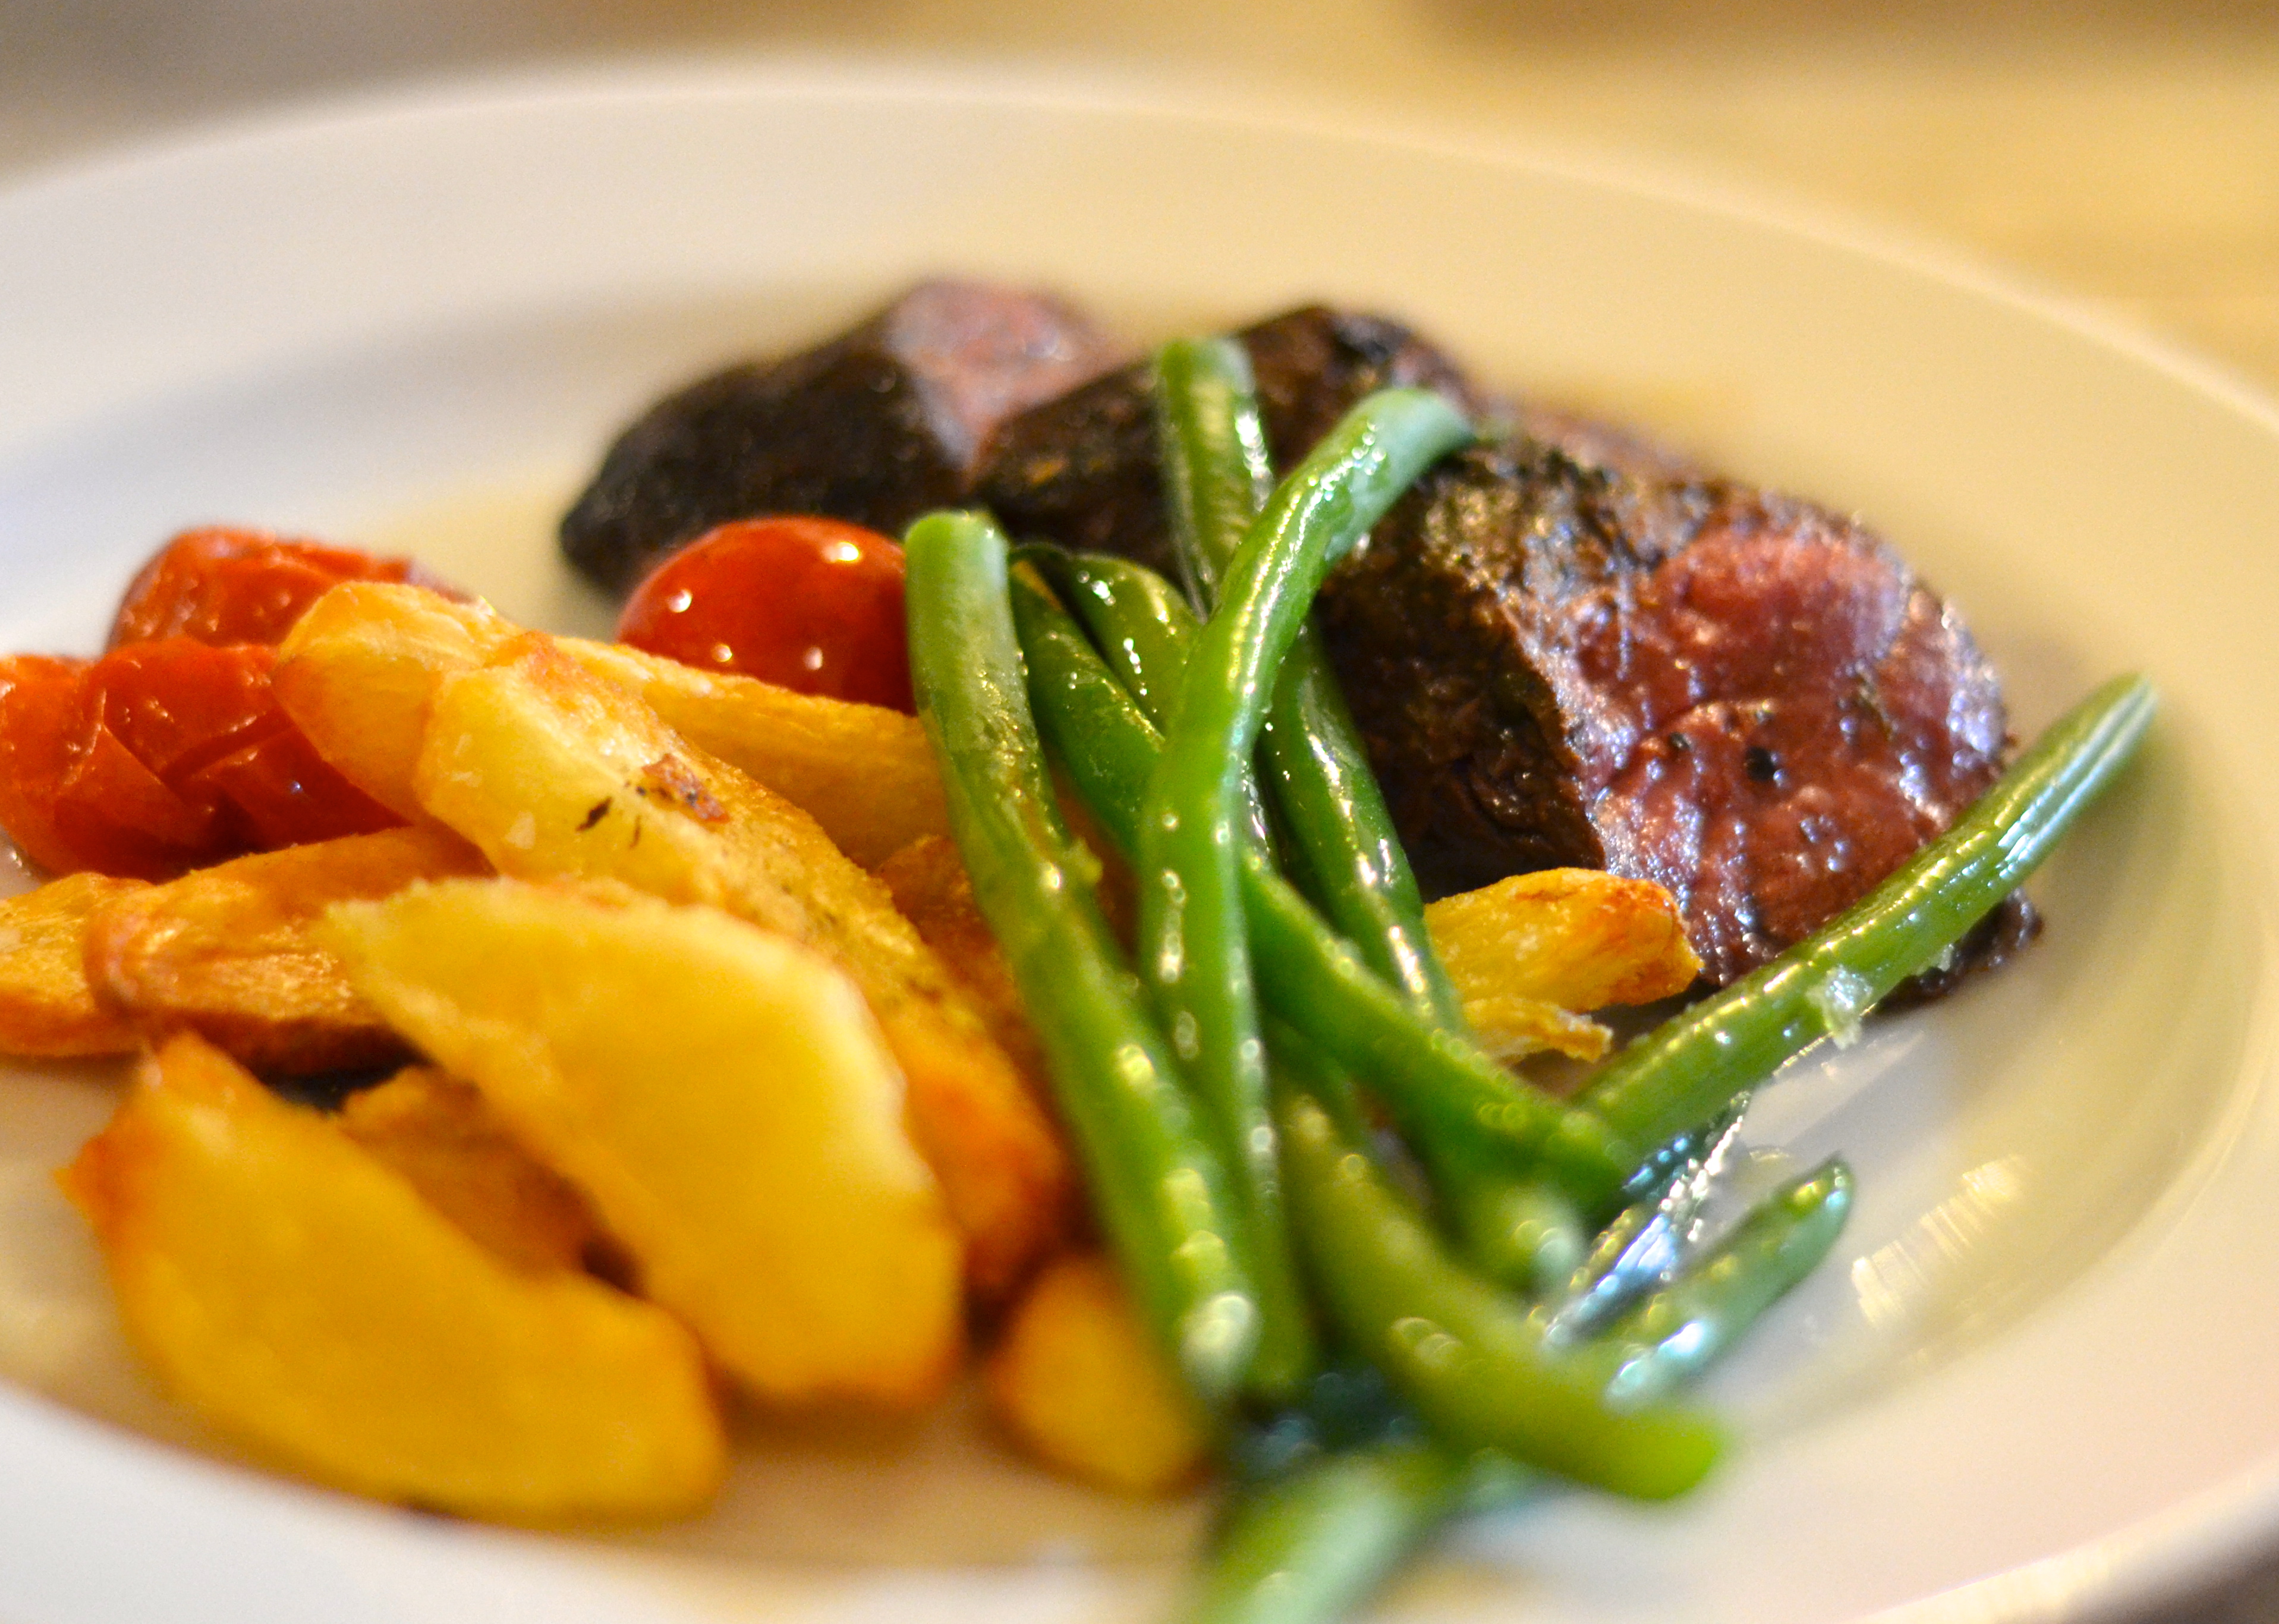
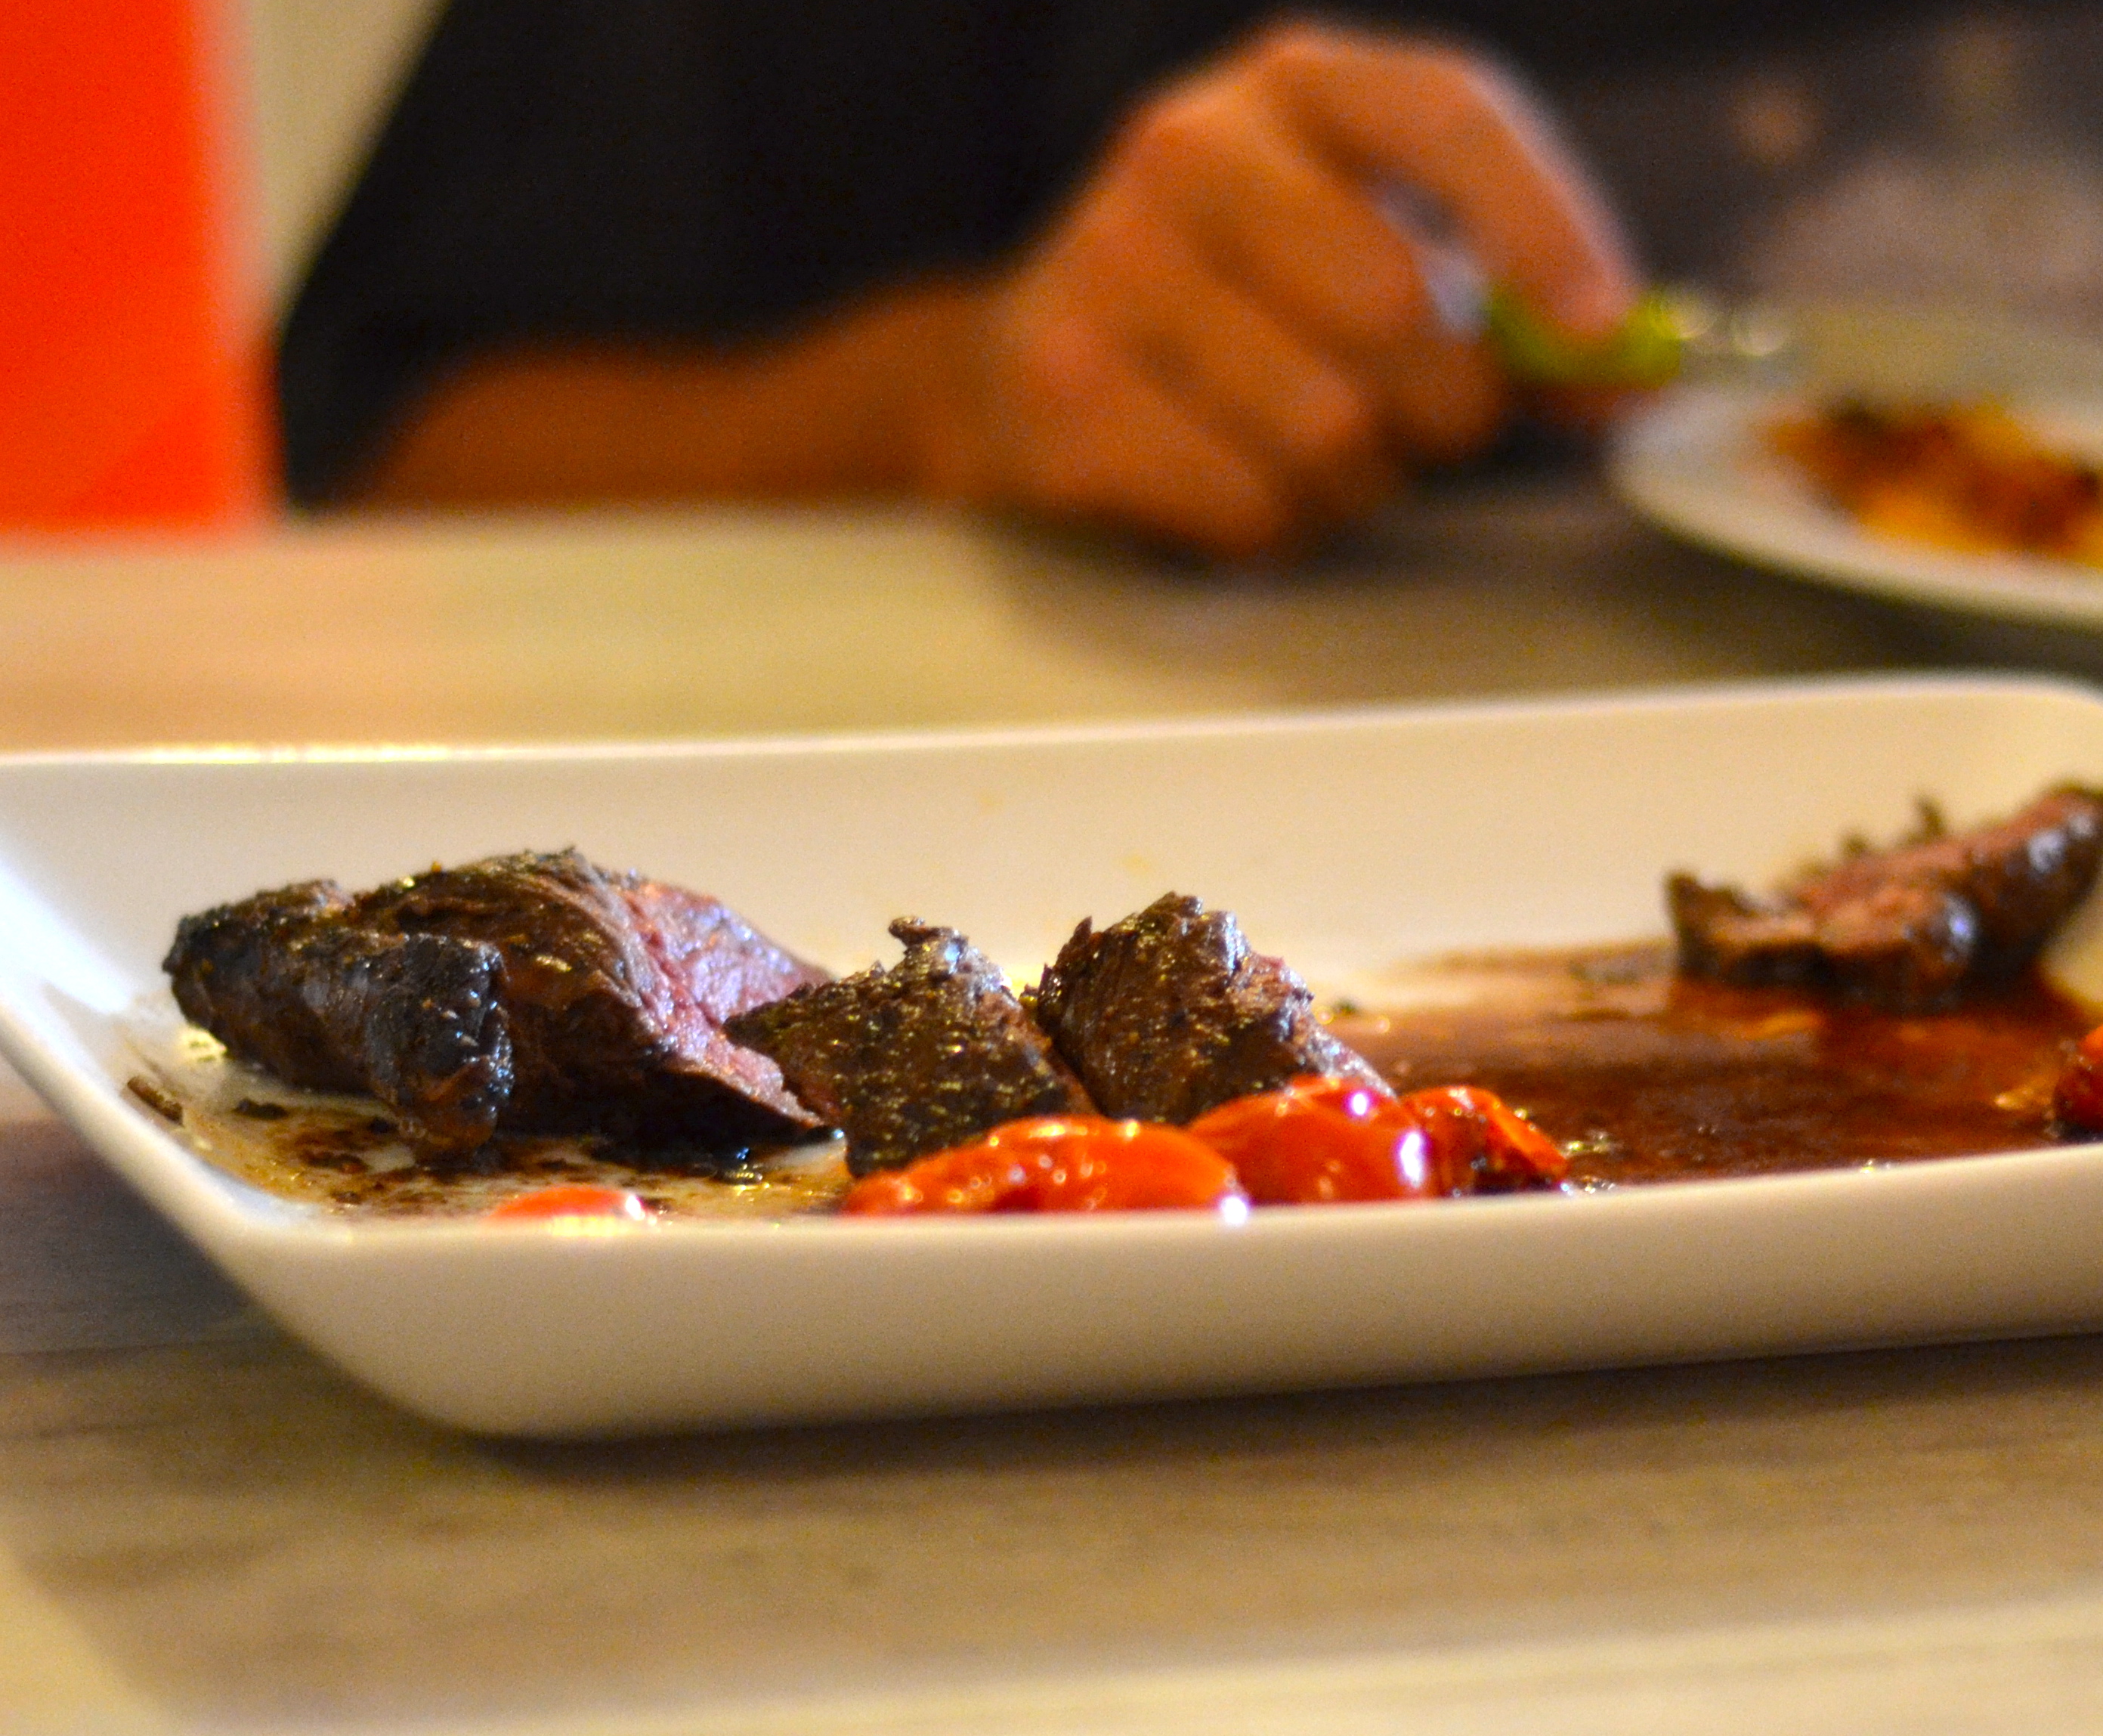
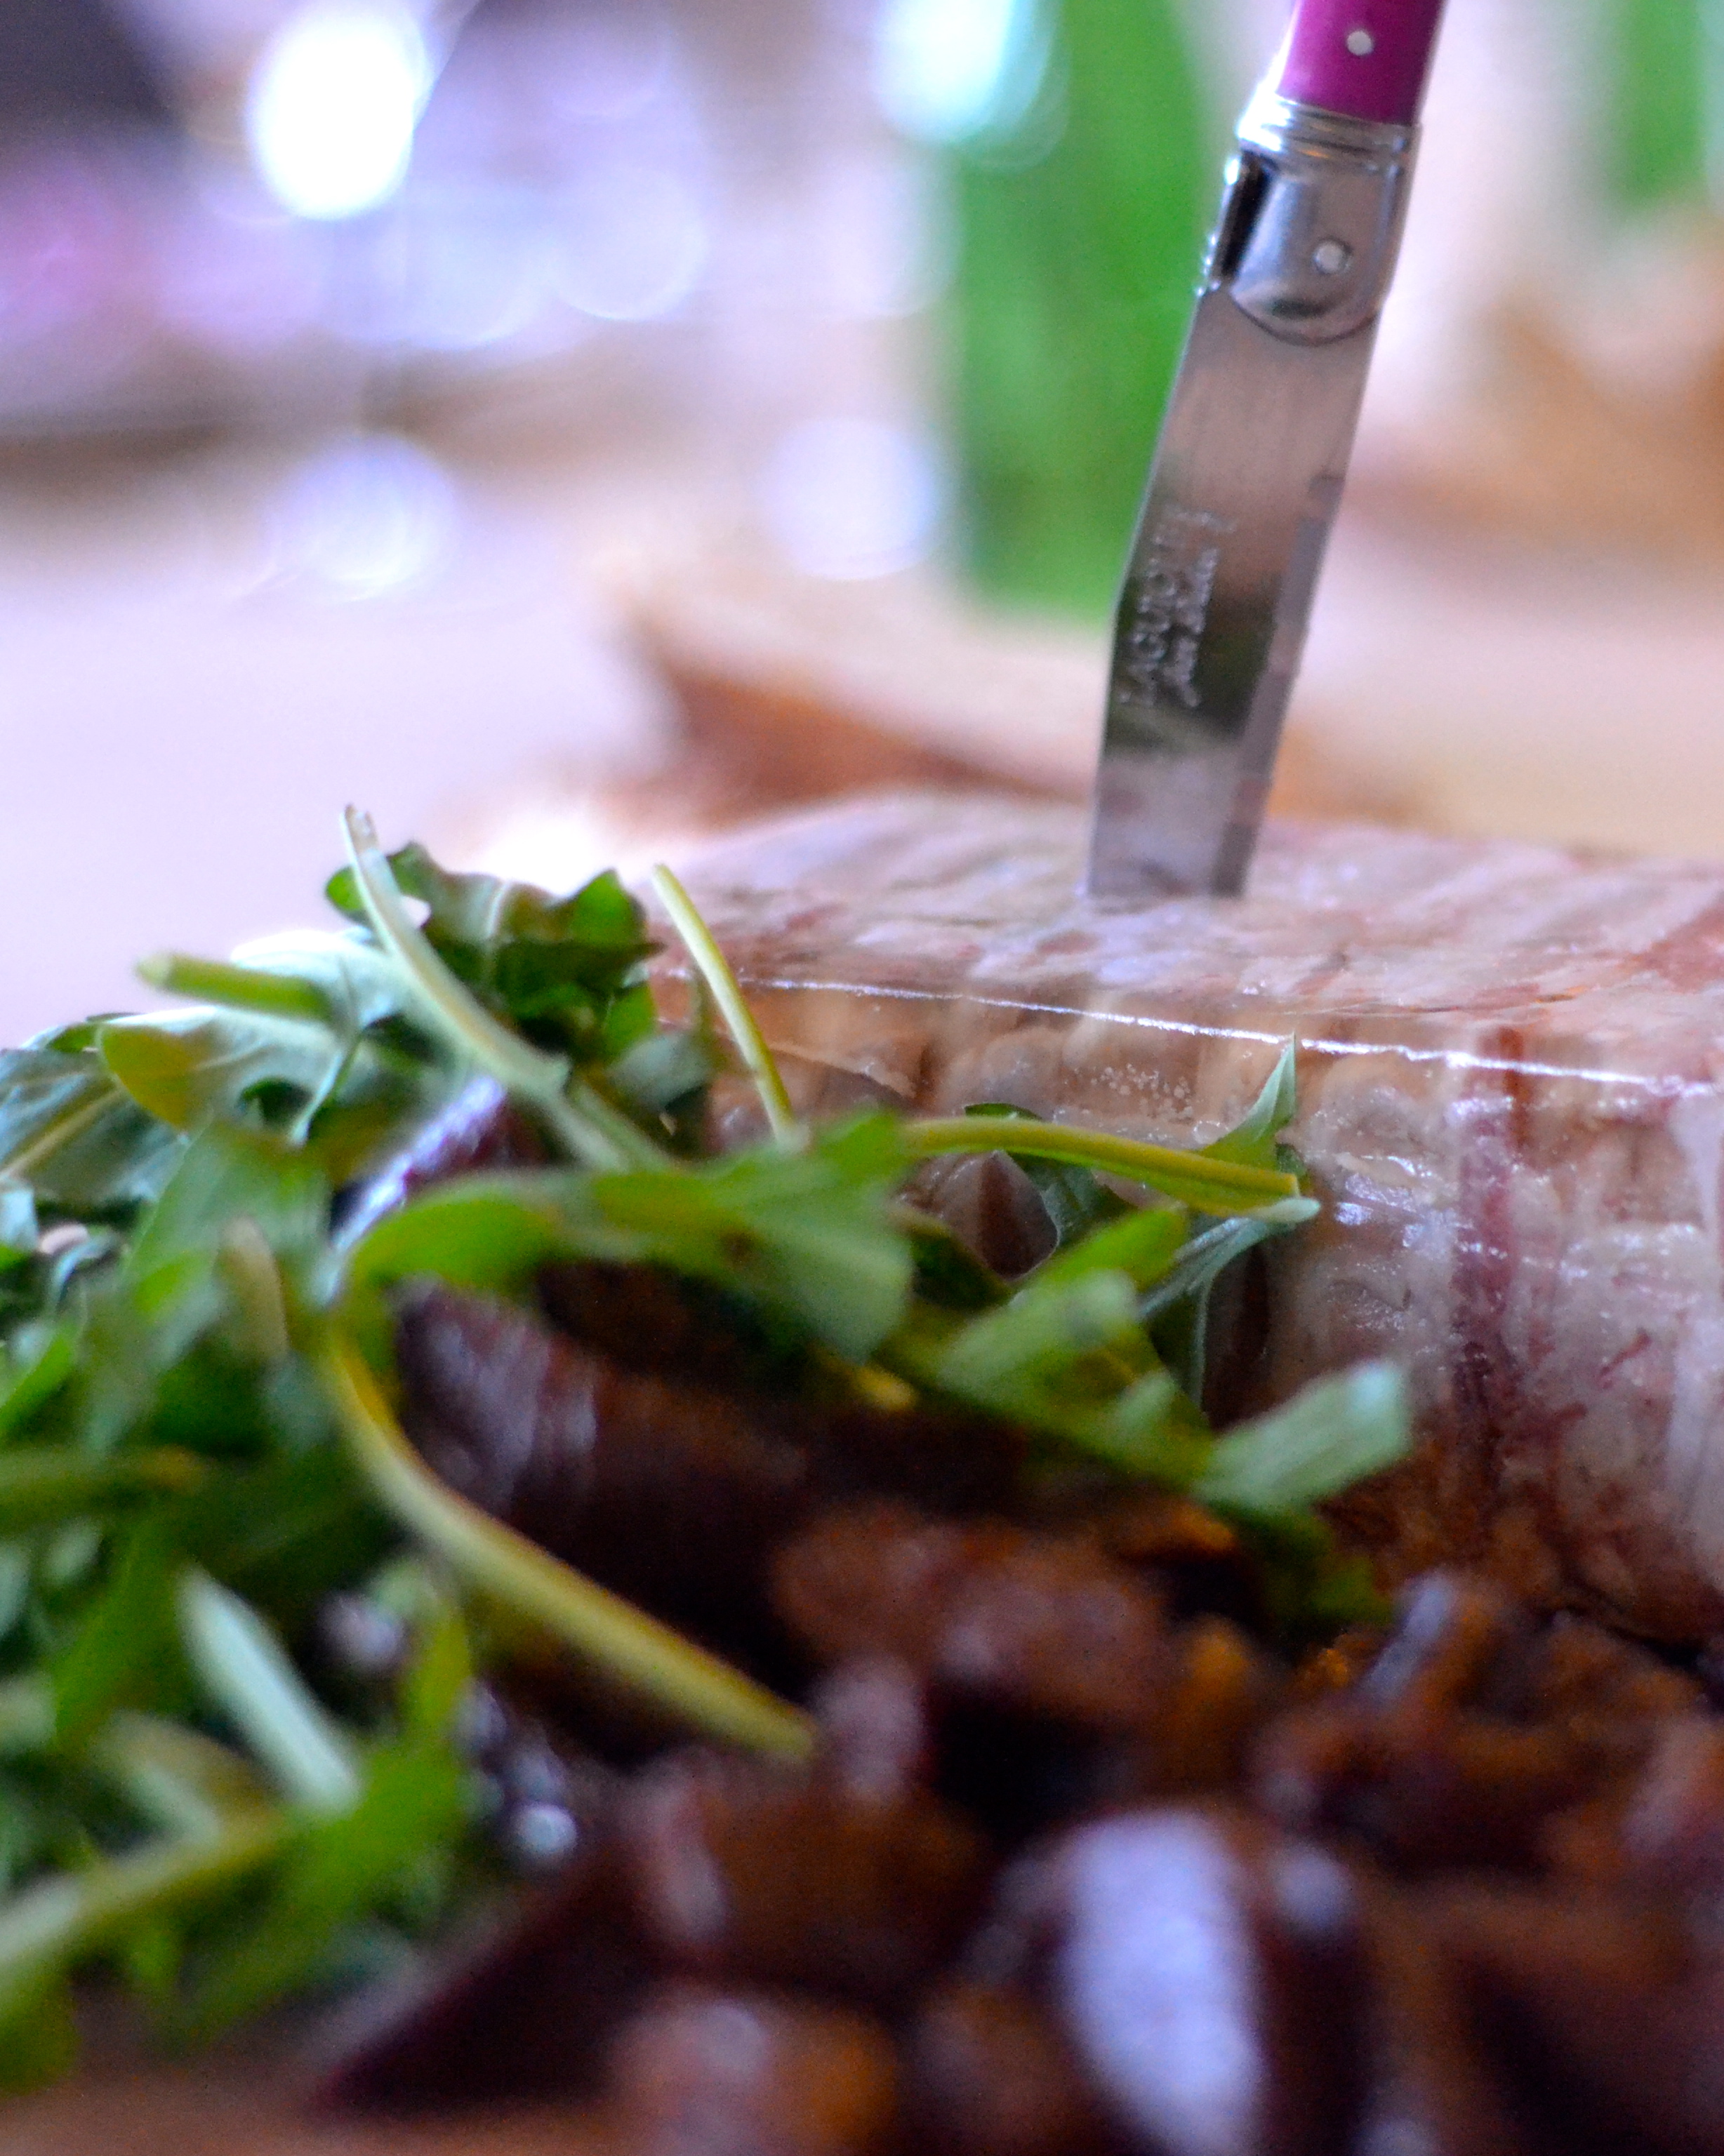
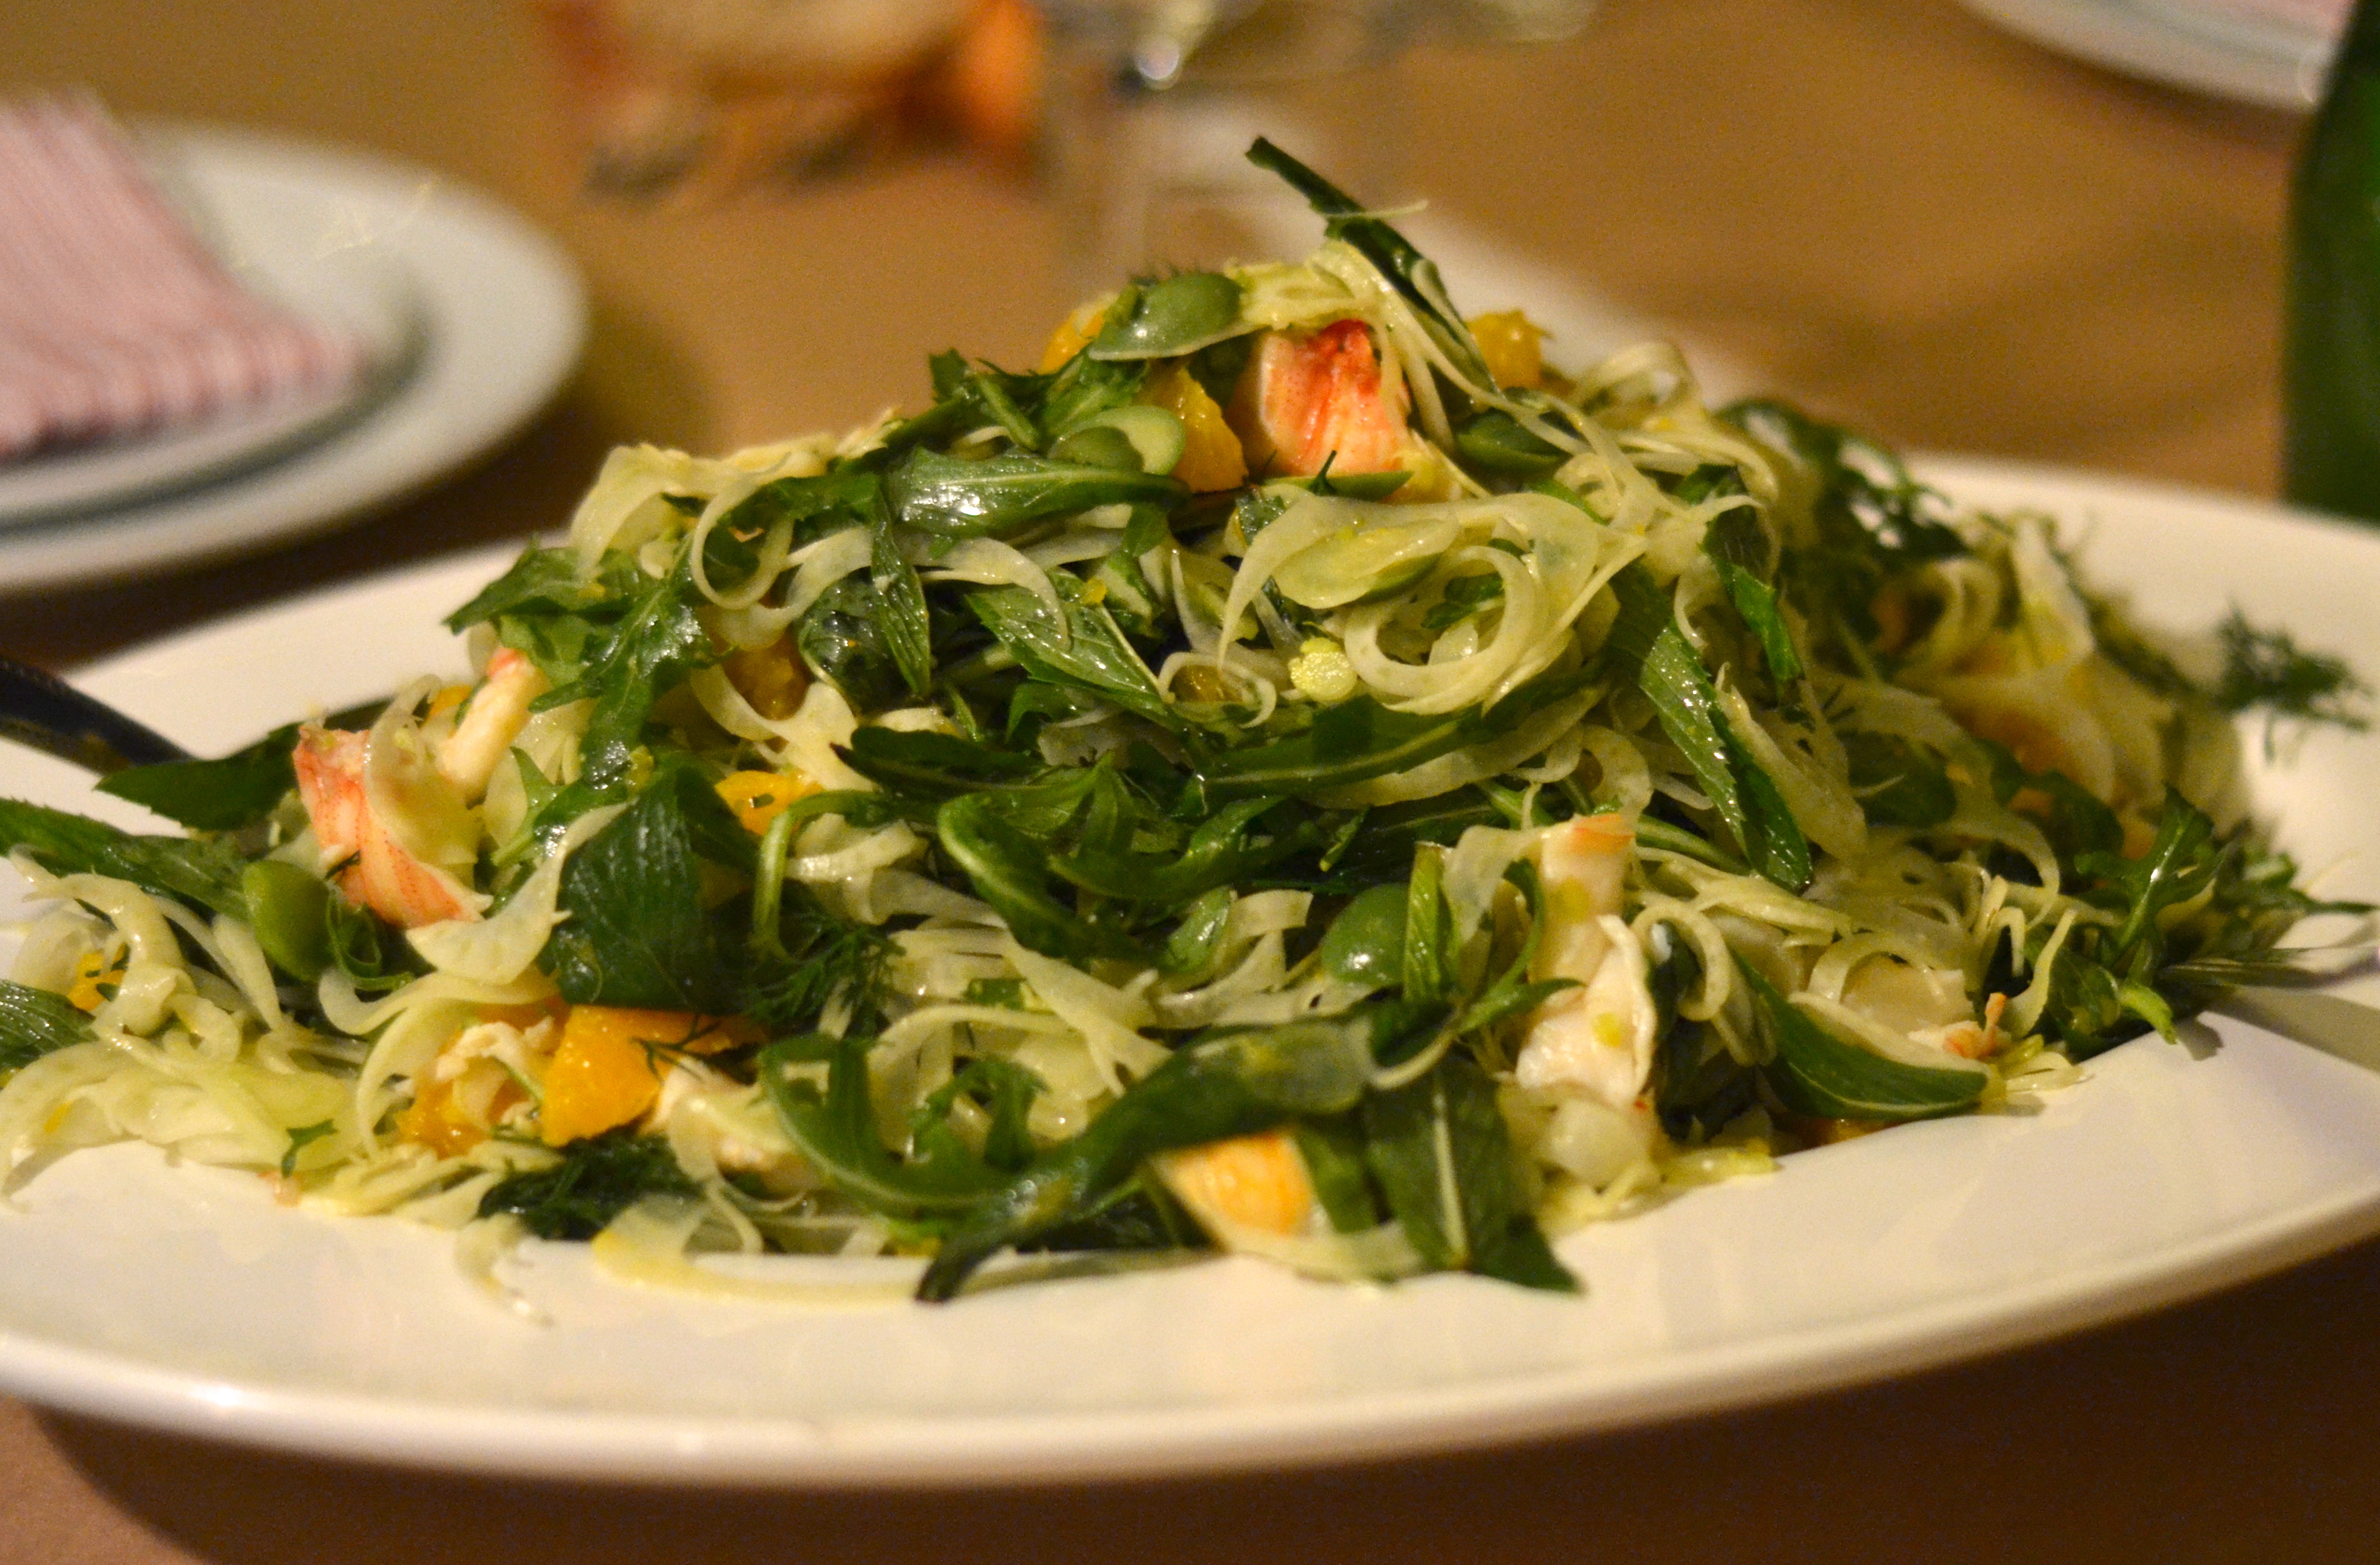
Smoky and zesty could quite possibly be one of my favourite flavour combinations. Think thinly sliced pieces of smoked salmon and a single Iceberg lettuce leaf, (I think Iceberg for the undenied crispness of it), placed on a slice of hot buttered toast, then doused in lemon juice and black pepper. Rounds of chorizo fried in a pan and eaten smothered in lemony, garlic mayonnaise. Paella, full of chicken, pork and seafood, with a wonderful, almost burnt, base layer, and a wedge of lemon to marry all the flavours together. Steak cooked over a char grill, until the exterior is blackened and caramelised, served with pomme frites and lemon dressed salad leaves. You get the picture I’m sure.

There’s something very reassuring and authentic about cooking over a flame, harking back to culinary institutions of times gone by, before induction stoves and Thermomixes. (Sorry. As good as I’m sure they are, I’m not in the Thermomix camp.) And I like to keep in touch with tradition. So even though you can jazz this recipe up with herbs and seeds and pastry and pita, at its core, it’s insanely simple. Traditional. Time honoured. And with good reason.

Baba ganoush

The one thing that makes this dish really sing is cooking the eggplants over an open flame. Be brave. Embrace your inner pyromaniac and try this method. Simply put a cake cooling rack (an old one as it will discolour) over a gas flame on your stove (or you could use a camping stove) and place one or two eggplants on top of it. Yes the eggplant will burn sitting directly above the burner, but only the outer skin, and as you keep turning the fruit until every side is black, the flesh inside will become soft and take on a smoky aroma.

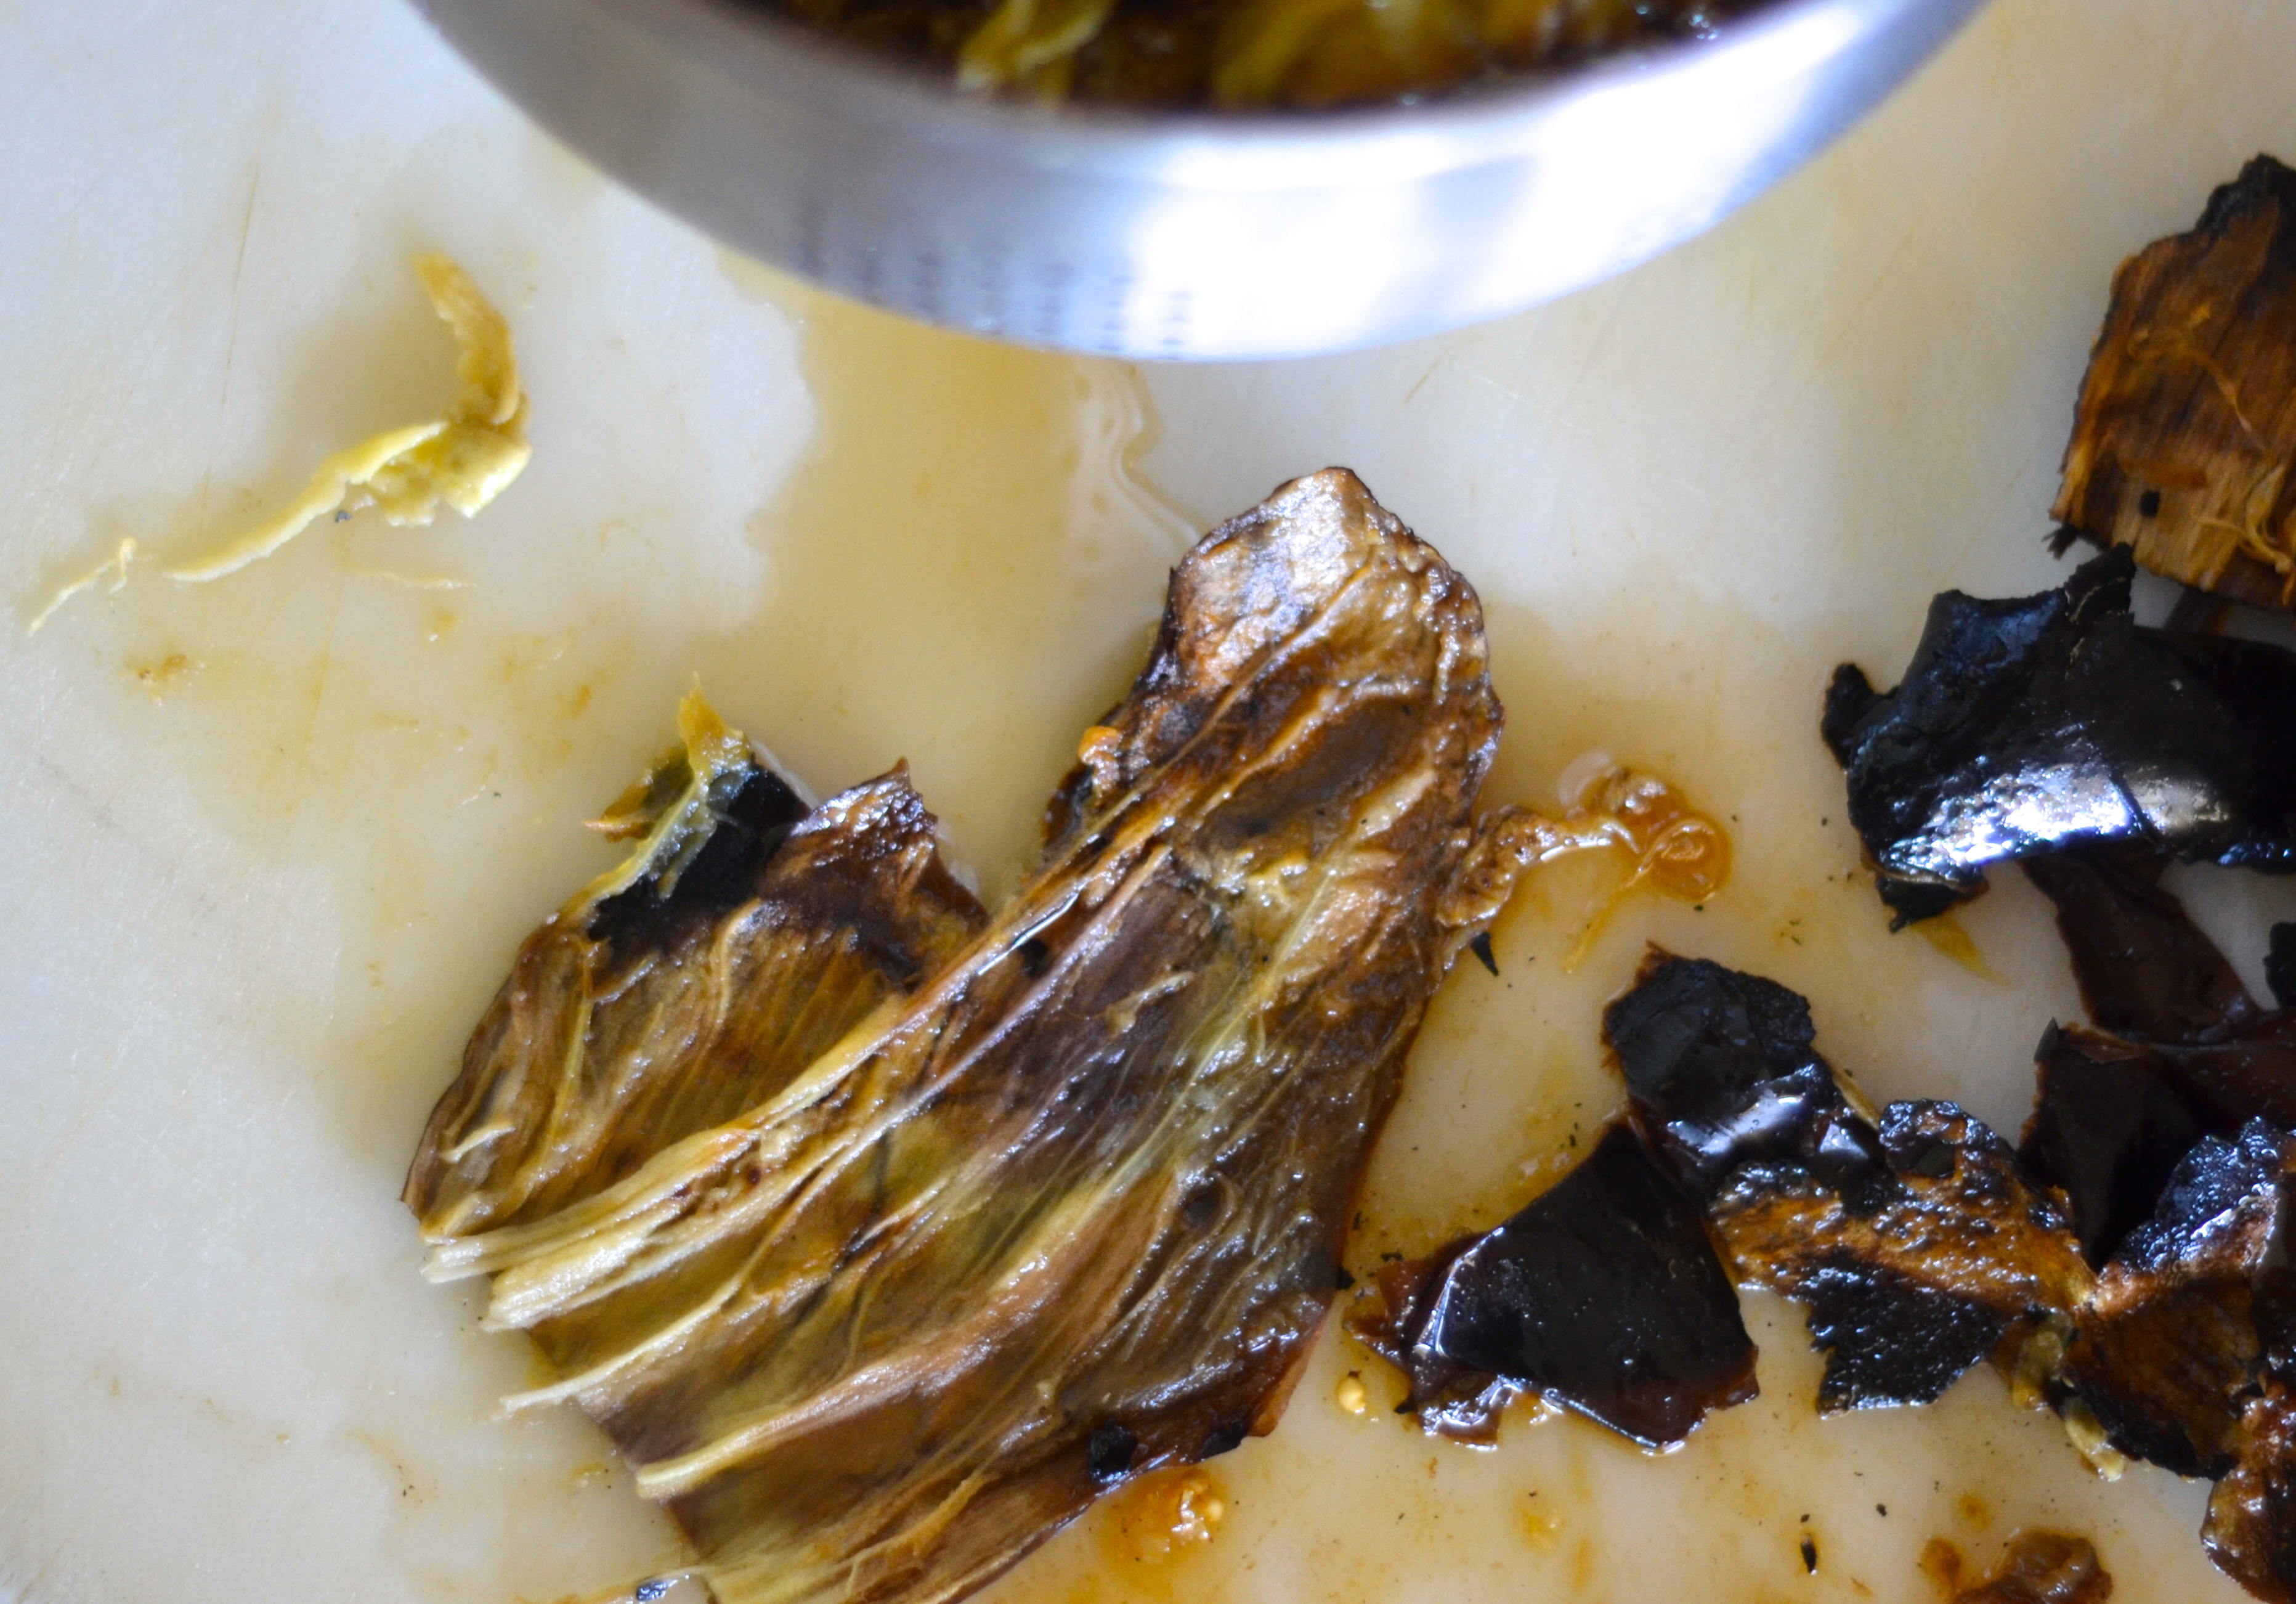
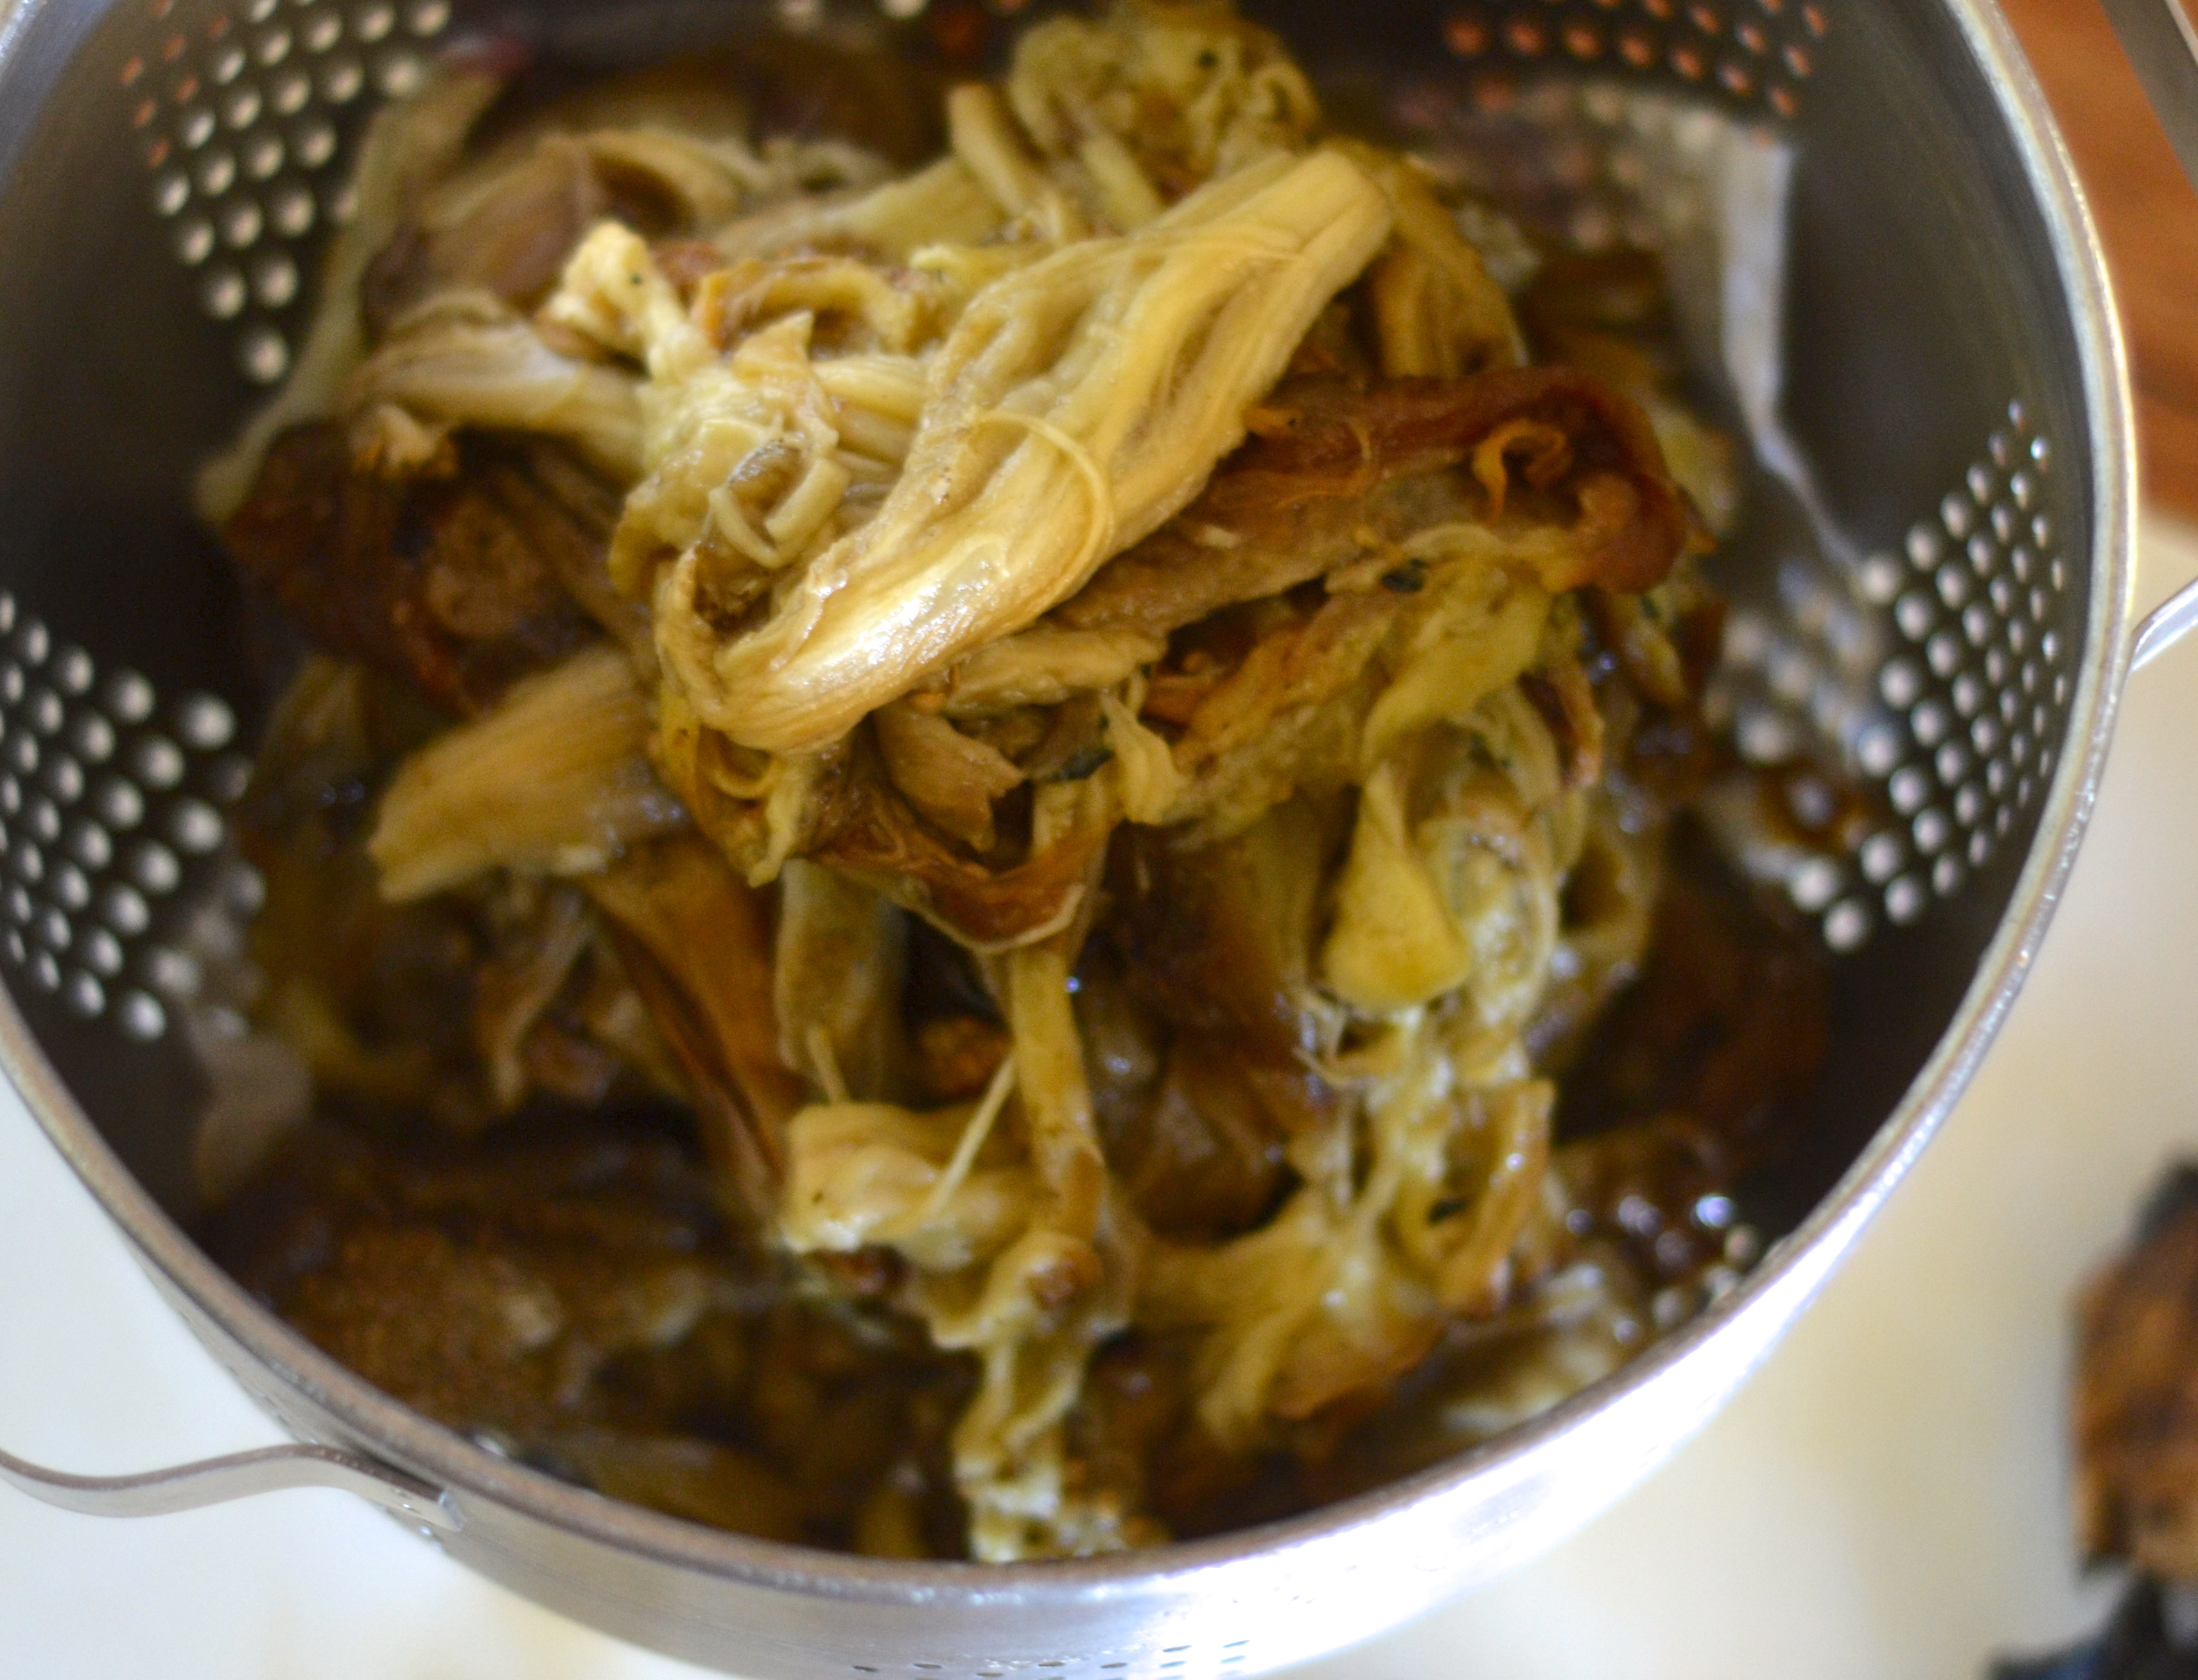
When the eggplants are nicely charred all over, place them in a bowl to cool. When they have dropped in temperature sufficiently enough to be handled, peel away the skin, place the flesh in a colander sitting in a bowl and let the juices run out. Drain for at least one hour.

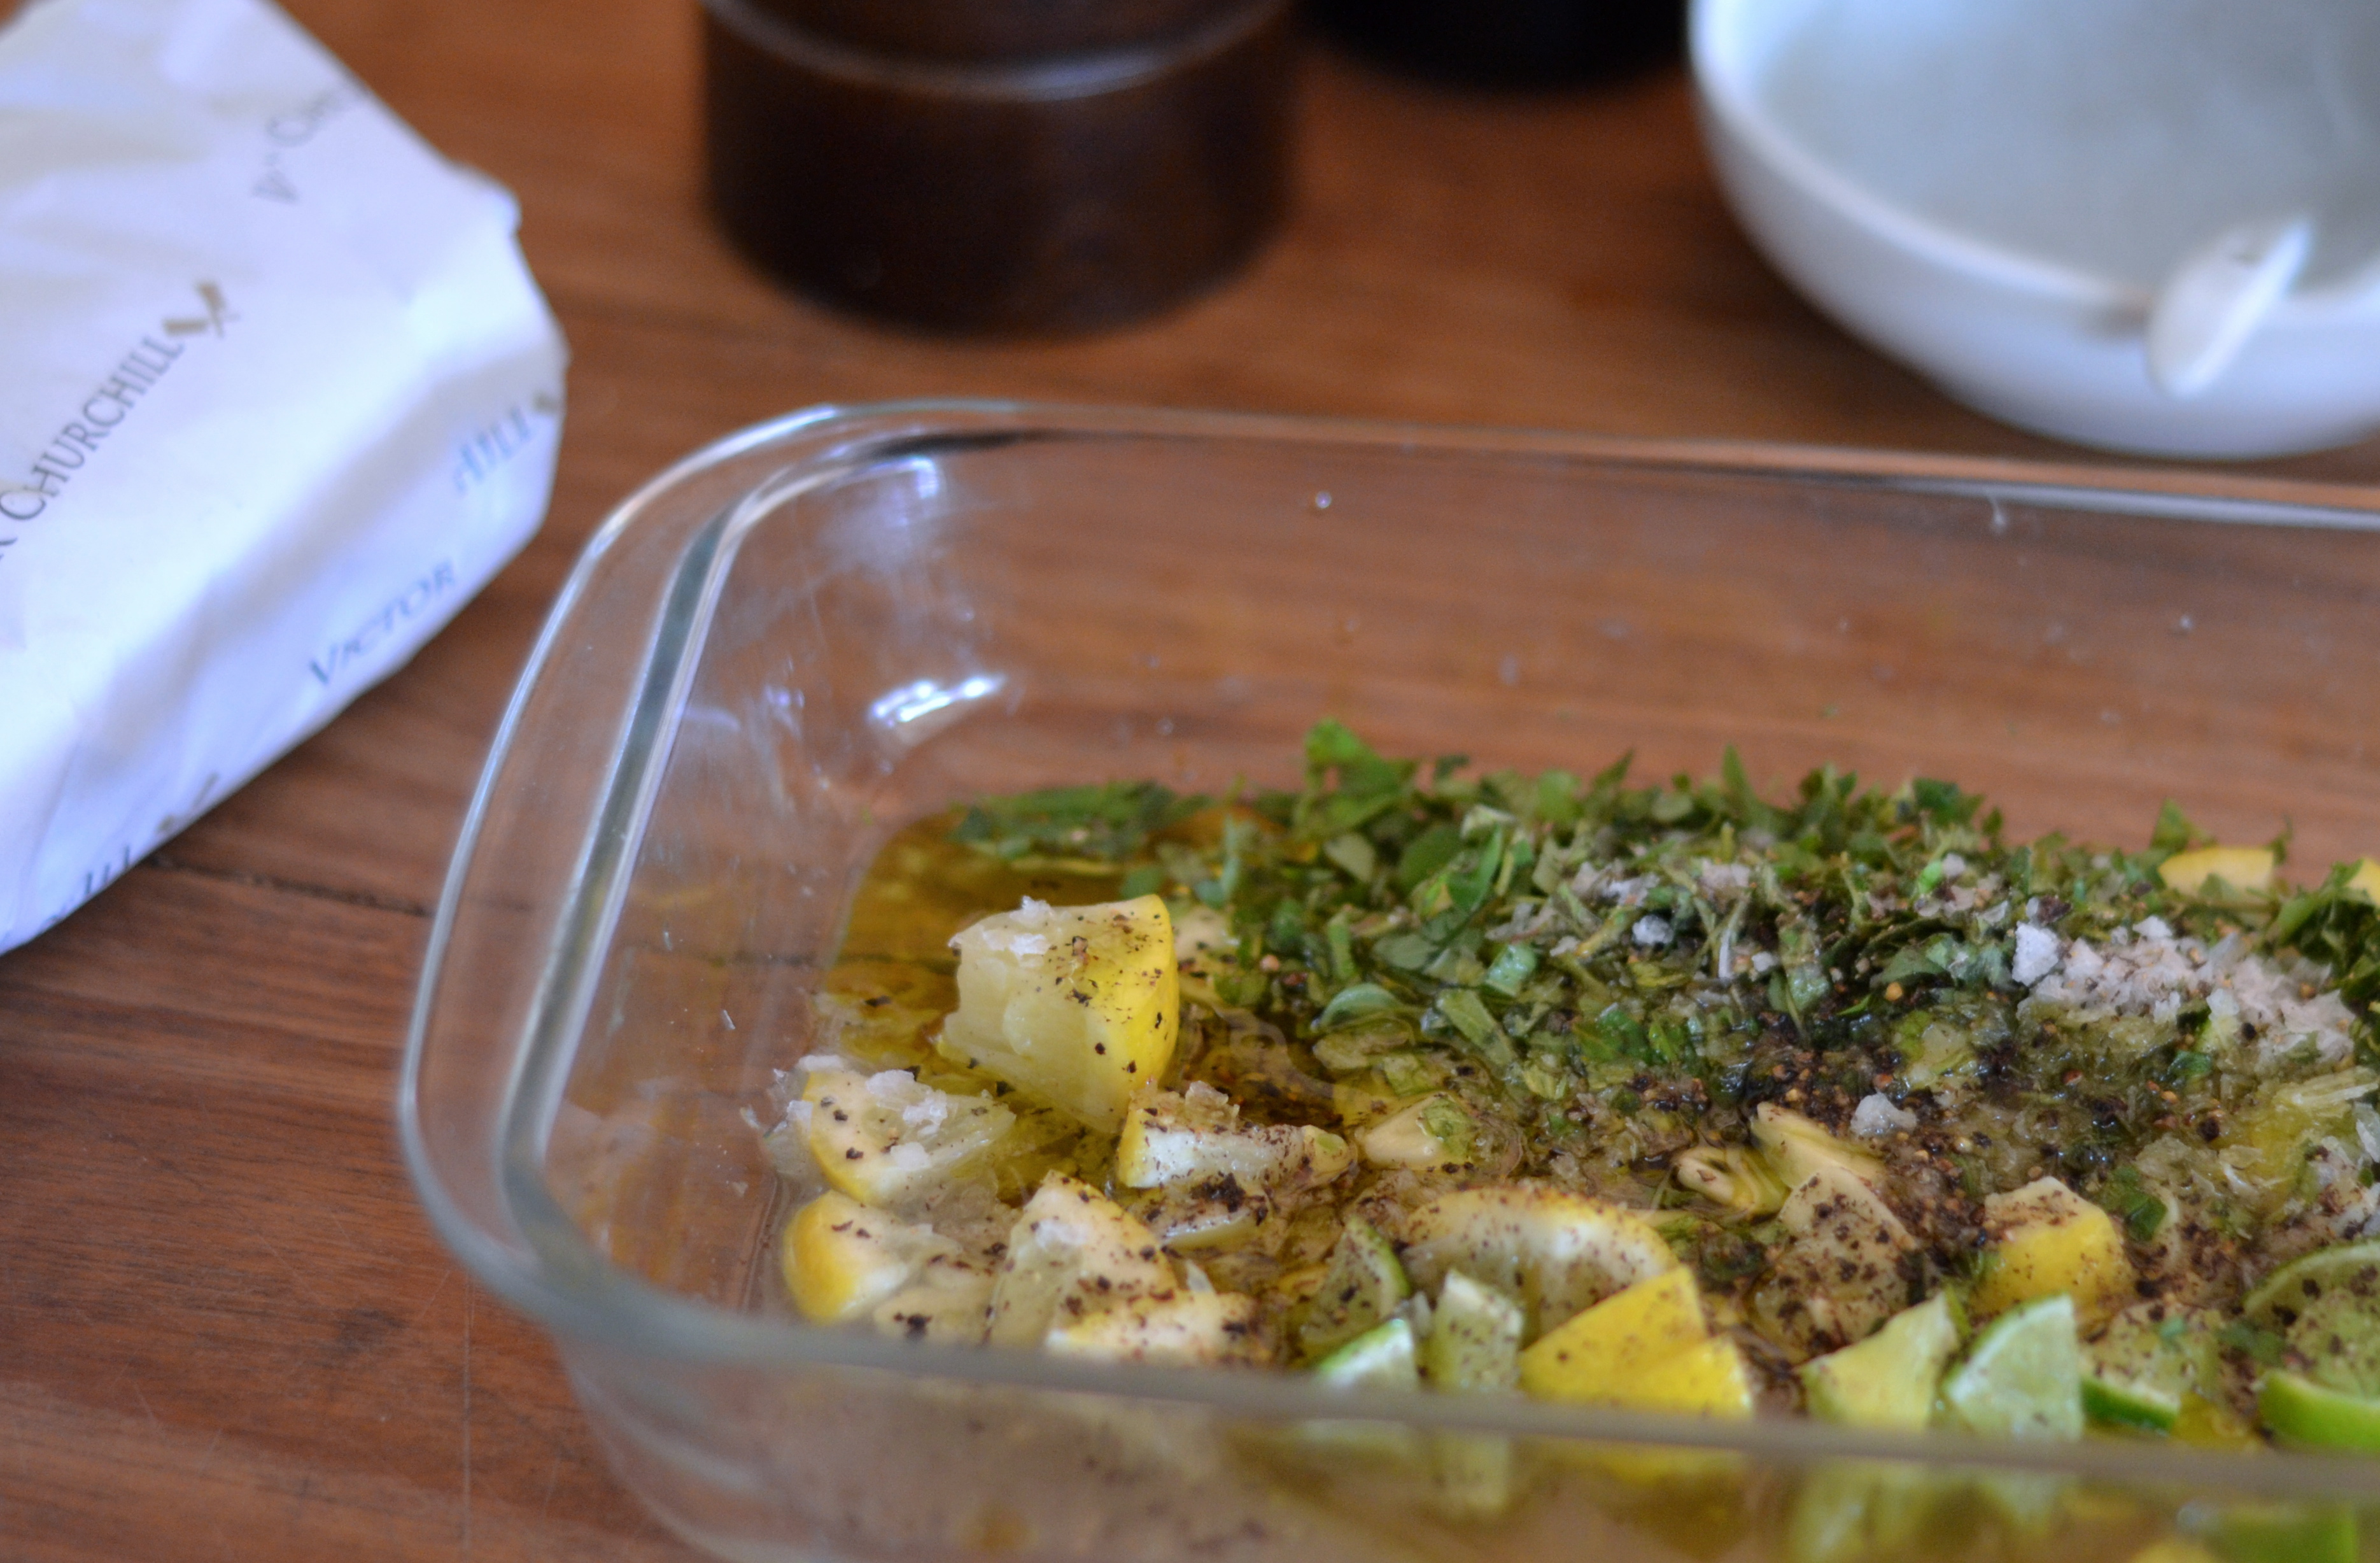
To the drained flesh, add finely chopped garlic, lemon zest and juice, salt and pepper and olive oil. At this point the baba ganoush will benefit from being left to sit for an hour or two, even overnight, to allow the flavours to mingle.

To garnish, just before serving, stir through some finely shredded mint and parsley and sprinkle a few pomegranate seeds on top.

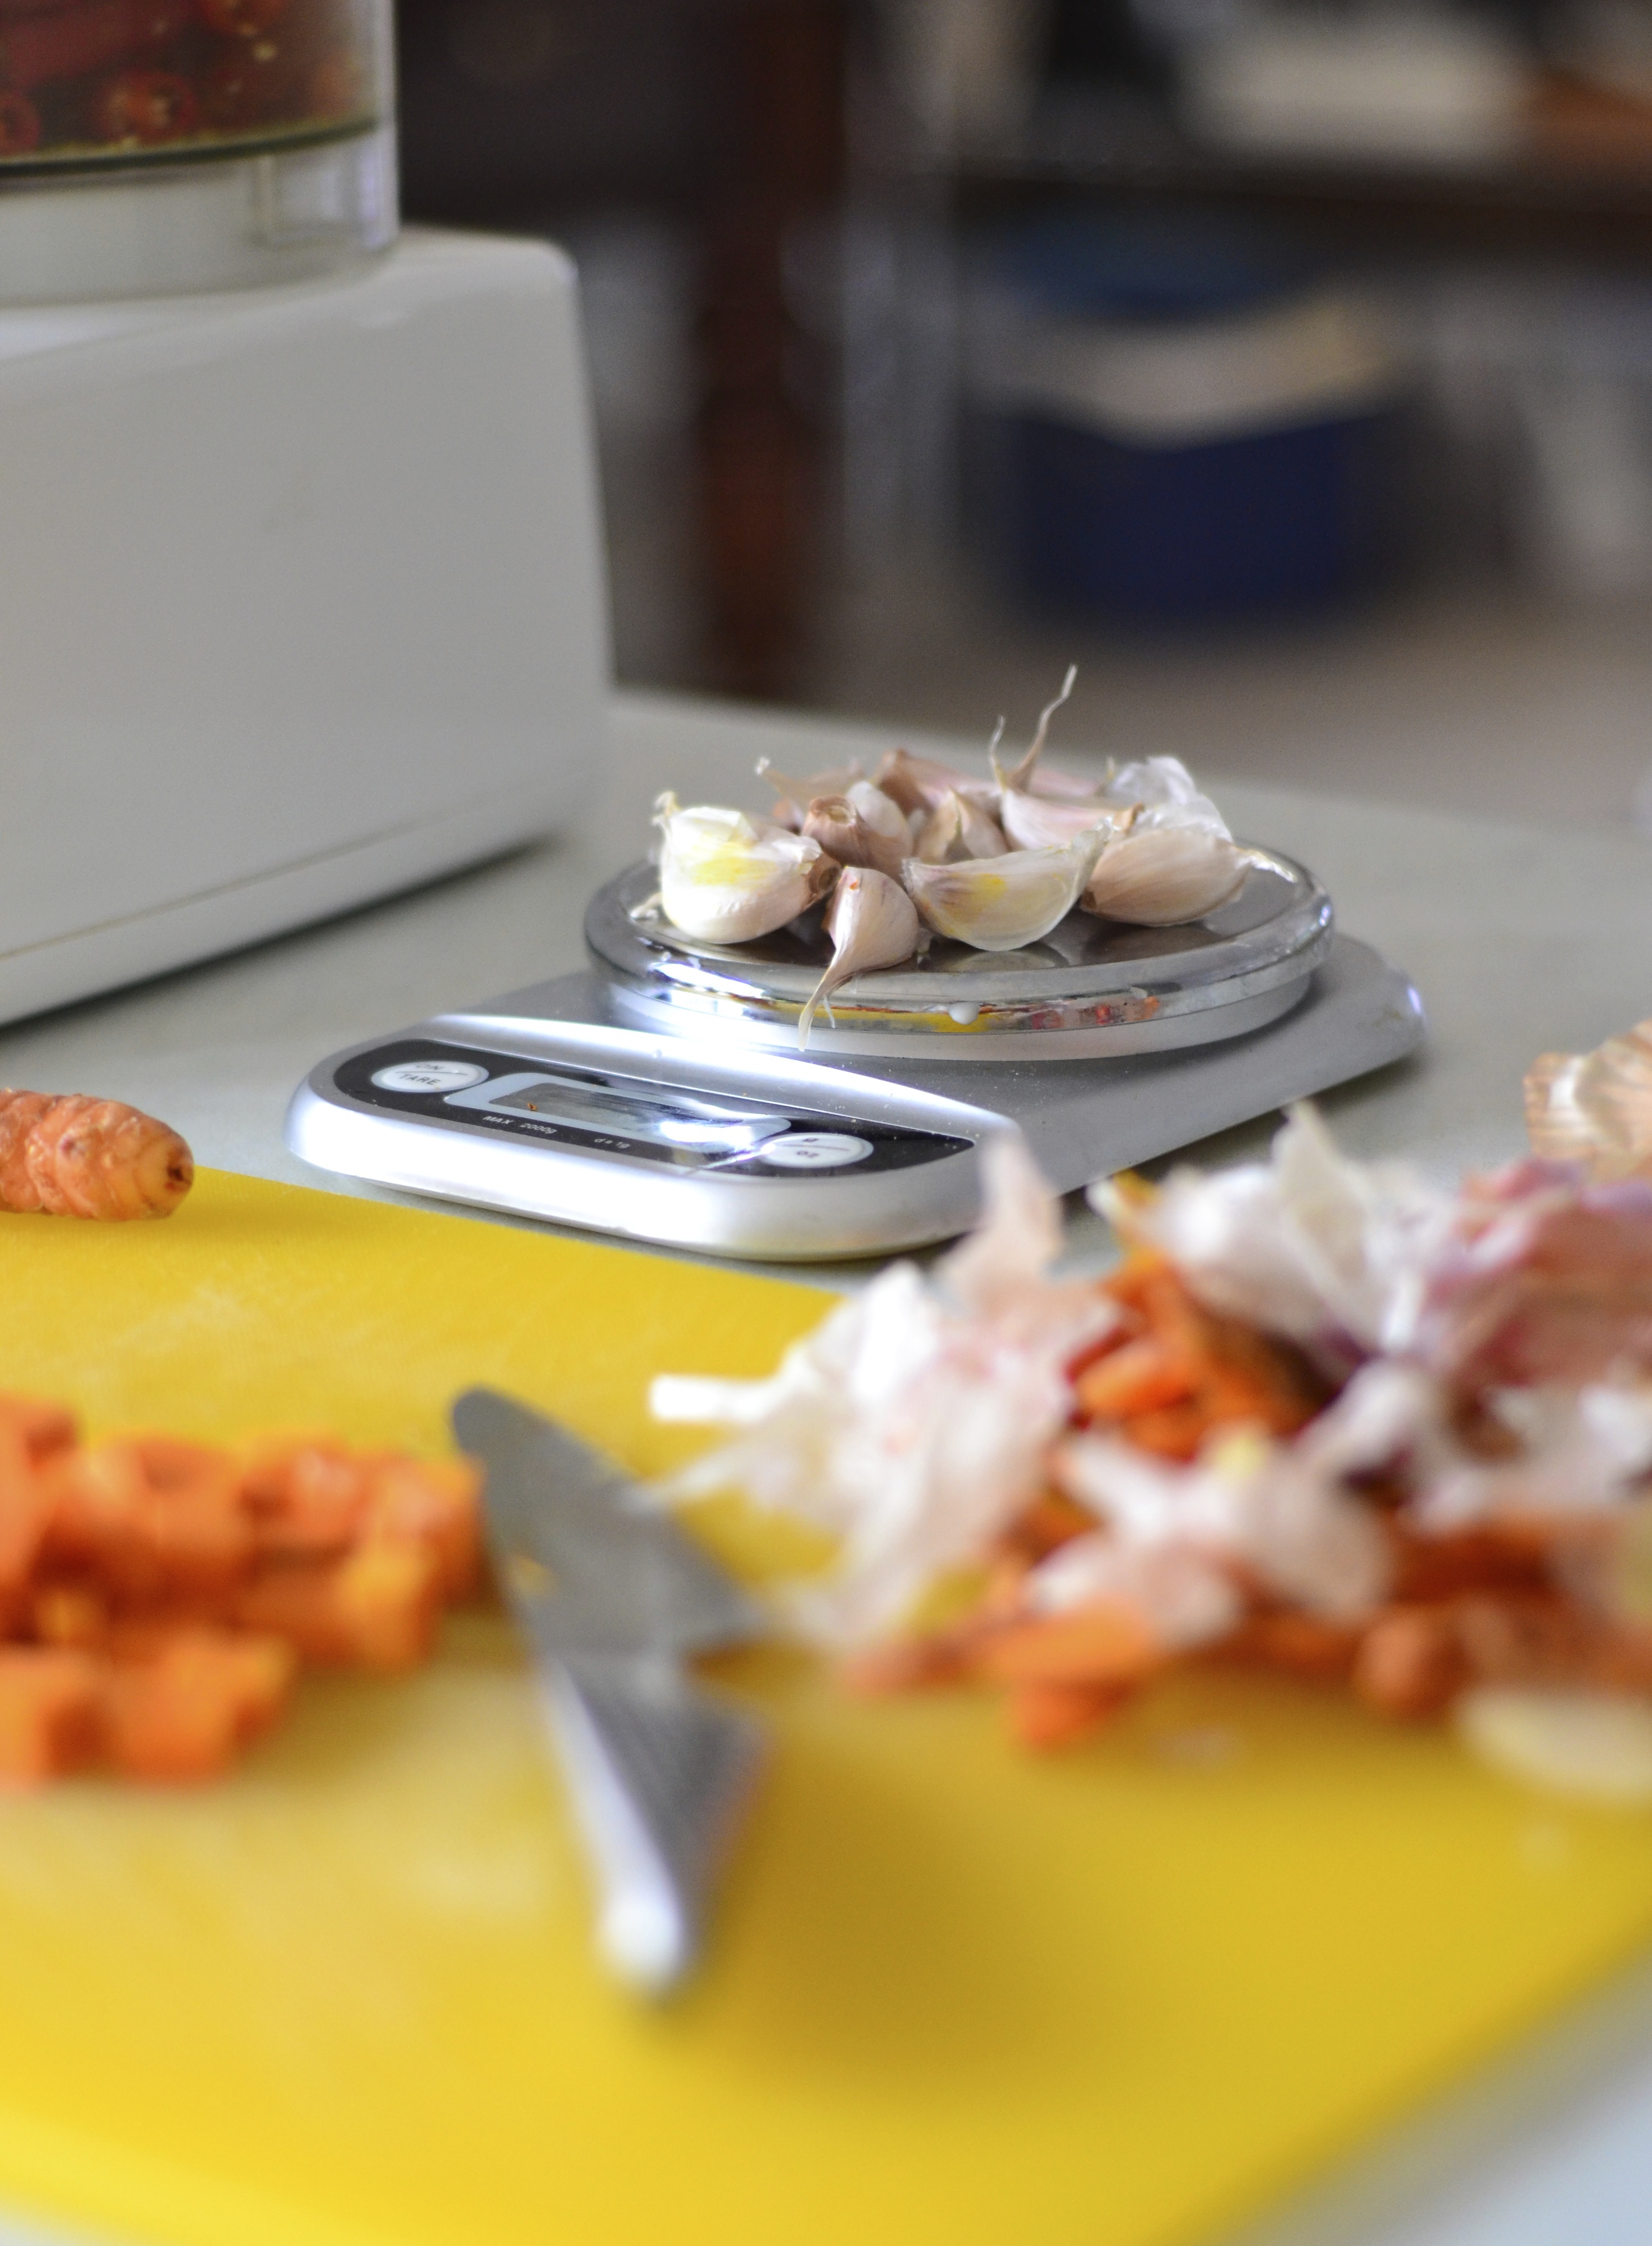
To recap, for 2 eggplants you will need the following.

  • 2 cloves garlic, either grated with a microplane or very finely chopped
  • the zest of 1 lemon plus 2 tbsp lemon juice, or more to your particular taste
  • 6-8 tbsp olive oil
  • generous pinch sea salt and grinding of black pepper
  • optional small handful of each parsley and mint leaves, finely sliced and a few pomegranate seeds

Did I mention that baba ganoush is great with Roast Lamb?


Brown sugar meringue roulade

The prunes kept staring at me from the shelf in the pantry. I had bought a packet of the sticky, black fruit to make devils on horseback, and decanted the remainder neatly into a glass jar. But every time I went to the shelf for some ingredient or other, the prunes looked on woefully, and the little voice in my head said to me, you have to use them up you know. For what though. The last encounter I had had with the dried fruit was in little, yellow, single serve packets, for breakfast every morning while in hospital waiting to have Thea. Which is rather apt as it was around this time two years ago. So I decided to create a recipe to honour the prunes. I came up with a brown sugar meringue roulade filled with cinnamon stewed prunes and cream.meringue roulade

I’m like the proverbial bull in a shop full of delicate objects when I get an idea in my head. I have to make it come to life. NOW. It’s probably a very annoying attribute for those around me, but at least I can be described as a doer. Without a moment’s hesitation, even though it was 10pm, and half the house had gone to bed, I found the recipe I needed for the fruit and began the stewing process. My mother in law questioned me in disbelief, was I cooking again this late at night. No, just soaking some oats for porridge, I sheepishly lied.

meringue roulade

I learned how to a make meringue roulade from a no-nonsense, very practical, very experienced lady named Rosie, whilst attending her information laden cookery course in 2003. A course that, enlightened after working as a chalet girl in France where I realised that cooking was for me, I managed to squeeze into after another attendee dropped out. Fate? I like to think so. During my time with Rosie, I learnt the technique for making an amazing and versatile little salad dressing, since tweaked to become my own. I learnt how to make my first ice cream. Elderflower and gooseberry, the ingredients picked straight from the garden. I learnt how to make puff pasty and croissants. To lay a table. And pop a champagne cork, or not as the case may be.

meringue roulade

I also learnt from Rosie about the characteristics that make a really good recipe. It’s thoroughly tested with clear instructions and reliable. And I was told that if you get just one recipe from a cookbook that you use time and time again, then the book was worth the money that you paid for it. This could explain why my cookery book collection is so large. And still growing. Hopefully though, this meringue roulade recipe, personalised with the use of brown sugar to complement the prunes, is one that you will be able to make over and over. Fill it with the fruit of your choice, stewed rhubarb perhaps or fresh raspberries. Replace the whipped cream with Greek yoghurt or even mascarpone. But do try it.

meringue roulade meringue roulade

Brown sugar meringue roulade

  • 100g brown sugar
  • 125g caster sugar
  • 150ml egg whites (4-6 whites, it’s always best to measure the whites exactly as eggs can vary in size so much)
  • 1 tbsp icing sugar
  • 2 tsp cornflour
  • few drops white vinegar
  • 400ml cream, whipped
  • cinnamon stewed prunes as per Molly Wizenburg’s recipe

A stand mixer will make life much easier when making meringues, but a hand-held mixer will work as well. You will just be left standing in the one spot for a while.

Begin by whisking the egg whites until soft peaks form. Now add the cater sugar, one spoonful at a time, over about 5-7 minutes. Do not rush. This step ensures that the sugar is well combined with the egg whites.

Now add the brown sugar, a little quicker than the white, one spoonful after the other. Just make sure that each spoonful is visibly incorporated before you add the next.

When all the sugar has been added, turn the whisk off. Add the icing sugar, cornflour and vinegar and then turn the whisk on again for about 10 turns, or until everything is just combined.

Transfer the meringue roulade mix onto a baking paper lined tray (mine was 42cm x 30cm) and spread it out evenly. The mixture does not need to be even, peaks and waves will make the finished roll a little more spectacular.

Bake in an oven preheated to 150 C for 30 minutes, or until the top of the roulade is firm, but the base still slightly soft. Cool in the oven with the door held ajar with a folded tea towel.

When the roulade is cool, which will probably take a few hours, lay a clean tea towel on a work surface. On top of this lay a piece of cling wrap. Now invert the roulade on to the cling wrap. Spread it with cream and decorate with prunes.

To roll up the meringue roulade, use the tea towel to help you fold the edge of the roulade over and then to push it along as you continue rolling. This way you don’t have to handle the delicate, and somewhat sticky meringue, and you can use the tea towel to provide momentum.

Slice as neatly as you are able and maybe garnish with some toasted flaked almonds before devouring.

Love making meringue? You may also like my top Pavlova making tips


Devils on horseback with mulled wine

What you might think of as a canapé restricted to the seventies and something your mum used to make for cocktail parties, is in fact a match made in heaven for mulled wine. Sticky, sweet and salty, bacon wrapped prunes, nibbled in between sips of warm, syrupy, spiced red wine, is actually darn good. And as Christmas in July is fast approaching, devils on horseback might just be the perfect little morsels for your gathering, to accompany aforementioned hot wine or tipple of your choosing. So delicious in fact, you’ll wonder why you’ve never made them before.devils on horseback

The great thing that I have discovered about devils on horseback is that, aside from the traditional recipe, there are great many ways to personalise this hors d’oeuvre. Instead of prunes, the classic fruit of choice, dates or apricots can be used. The selected fruit can be steeped in a bath of tea, black, Earl Grey or otherwise or alcohol, like sherry, brandy or whisky, even alcohol spiked tea, before being stuffed with a variety fillings. Whole almonds for a little bit of crunch, mango chutney to give a gooey centre, or cheese for a salty punch. Prosciutto or pancetta will work just as well as bacon to wrap up the final fruity parcel.

devils on horseback

Cold Christmases have been the norm for the better half of my life to date and I still can’t quite get used to celebrating Christmas in the sunshine here in Australia. I site this as the reason I get so excited about Christmas in July. A dinner party, mid way through the year, when the weather is cold and overeating in the company of friends is a very acceptable pastime. Roast root vegetables, caramelised and crisp, big joints of meat, theatrically carved at the table, ripe, oozy  white rind cheese, golden pastry, dried fruit, toasted nuts and warming mulled wine. Preceded by multiple nibbles.

devils on horseback

This year I have an inkling that I’m going to prepare a smorgasbord of glistening devils on horseback to serve with drinks before the pseudo Christmas dinner. Like a box of chocolates without a little card to tell you what you’ve chosen, it will keep people guessing what selection they’ve made. Or I might just make some tonight to go with a glass of red. A late night, après supper treat, sweet and savoury, to snack on in front of the fire.

devils on horseback

Devils on horseback

A somewhat classic recipe with the addition of one of my favourite blue vein cheese, Cambozola.

  • prunes, stones removed
  • streaky bacon
  • Cambozola cheese
  • toothpicks

Arrange the bacon side by side in a line. Take a small amount of Cambozola and stuff it into the cavity of a prune. Now lay the cheese filled prune at one end of a strip of bacon. Roll the bacon neatly around the sticky black fruit and secure with a toothpick. (I used half a rasher of bacon for each prune.) Repeat as many times as needed and there you have it. Devils on horseback.

Cook under a hot grill for 5 minutes each side and serve with mulled wine.

Mulled wine

The following is for 1 bottle of wine. Simply double or triple the quantites depending of how much you are making.

  • 1 bottle red wine
  • 100g caster sugar
  • 1 cup apple juice
  • strips of zest from a lemon and mandarin-use a peeler
  • 6 cloves
  • 1/2 a nutmeg, grated
  • 1 stick cinnamon
  • 1 inch piece ginger, sliced
  • 1 small piece star anise
  • 4 cardamon pods

Very simply, put all the ingredients in a pot and heat very gently for at least 20 minutes. Do not boil the wine. Now, turn off the heat and leave the wine to infuse for an hour or so. Once again, gently reheat and serve in glasses. With devils on horseback.

Enjoy cheese and red wine? then you might like gougers, cheesy bite size balls of choux pastry

devils on horseback

Indonesian chicken curry

My niece is turning 13. Officially becoming a teenager. And I have volunteered to cook her birthday meal. She’s vegetarian though and the challenge is to make food that she and her sometimes fussy siblings, five and seven, will enjoy, as well as the rest of the family. With the flavours of ginger, lemongrass and turmeric still lingering on my palate from a recent holiday to Bali, I felt inspired to make an Indonesian chicken curry. Ahem. Chicken in the form of skewers to be cooked on the barbecue. A medley of vegetables in the sauce. It’s a recipe that I’ve made many times before and I was sure that that the slightly sweet and creamy dish would appeal to everyone.Indonesian chicken curry Indonesian chicken curry

Making curry paste from scratch is a rewarding activity. It’s also fun, akin to being in an apothecary shop, collecting an array of less commonplace spice jars form the kitchen cupboards and transforming them into a flavoursome base for a dish. Some might be put off by the long list of ingredients needed for a spice paste, but there’s no reason. Only one (usually) process needs to be applied to them all, pounding with a pestal and mortar or the less strenuous method of blitzing in a food processor. For large batches of pastes, utilising a motor is very handy, but for small quantities, bashing ingredients together by hand can be extremely satisfying. Even therapeutic.

Indonesian chicken curry

It’s worth mentioning that the turmeric in this recipe, which is vital for the colour and flavour of the dish, will stain. Your hands. Food processor. Kitchen bench. Chopping board. Even sink. Don’t be alarmed though. Simply clean as you go and no permanent damage will be done. Besides, the health benefits of turmeric far outweigh any yellow spots that might sit on the kitchen bench for a few days.

Indonesian chicken curry

It turned out that everyone loved the bright yellow curry, especially the birthday girl, who asked for seconds. Even Miss. five and Miss. seven enjoyed it and both my sister in laws wanted to know the recipe, something that’s always taken as a huge compliment. And always shared. As far as curry pastes go, this one is pretty easy. And if my family is anything to go by, it’s universally liked. So go on, get those spice jars from the back of the cupboard and have a go.

DSC_1534

Indonesian chicken curry

Adapted from a recipe by Alina Lucas

For the curry paste

  • 100g medium–hot red chillies, seeded 
  • 100 g (French) shallots, roughly chopped 
  • 25 g garlic cloves 
  • 5 macadamia nuts 
  • 40 g fresh turmeric, chopped 
  • 15 g ginger, chopped
  • 2 lemongrass stalks, tough outer stem removed and sliced 
  • 25 g galangal, chopped 
  • 2 tsp ground cumin
    2 tsp ground coriander 
  • 1 tsp fennel seeds, toasted and ground
    2 tsp ground cinnamon 
  • 1 tsp grated nutmeg 
  • 1/4 tsp ground cloves
  • 2-4 tbs melted coconut oil  

Simply combine all ingredients in a food processor and run the motor until a coarse paste is formed. Loosen with melted coconut oil.

For the curry

  • 1 litre coconut milk
  • 1 tbs fish sauce
  • 1 tbsp salt 
  • 75 g sugar
  • 1 kg chicken thigh fillets, cut into walnut-sized pieces 
  • 1 kg mixture of pumpkin, sweet potato, carrots, broccoli and snow peas

Fry the curry paste over a moderate heat until it is fragrant, about five minutes. There should have been enough coconut oil added to the paste for there to be no need for any more, but if it starts to stick to the pan, you can add a little non-flavoured oil.

Now add the coconut milk, fish sauce, salt, sugar and bring the brilliant yellow sauce to a simmer.

Add the chicken and root vegetables and simmer until all are just cooked through, about 20 minutes. Now add the green veggies, simmer for a further 5 or so minutes. Check the sauce for seasoning and add more fish sauce, salt or sugar as necessary. The curry should be slightly sweet, rich and creamy.

Enjoy with steamed white rice, or simply in a big bowl with a spoon.

If you liked this recipe, you might also like this beef in red wine stew

Marinated hanger steak

DSC_0841

We were lucky enough to spend the weekend in the city. In a hotel. Crisp, white sheets, a king bed, blackout blinds and the ultimate lie in. No Thea to serve as our early morning alarm clock. Thanks to Ma and Pa she was very well taken care of, trike riding under blue skies, feeding ducks by the lake, exploring cubbies with her cousin and apparently sleeping through the night for them. We on the other hand were indulging in good food, delicious wine and some parental freedom. Inspired by the savoury morsels sampled throughout the day and into the night on Saturday, on Sunday morning after a beautiful breakfast at Kitchen by Mike (I’m a huge fan), we headed to Victor Churchill to continue the feasting at home. The impromptu visit turned into a memorable dinner of marinated hanger steak. A first, but not a last.

marinated hanger steak DSC_0853

Victor Churchill is a pretty darn amazing butcher. The origin of the animal and what it’s been fed are clearly labeled by the way of white handwritten signs studded into the various cuts of meat, which are displayed behind tall glass fridge doors that line one side of the shop. Passionate staff who weave among the customers skillfully assist with purchases, while butchers, behind more glass that lines the opposite side of the store, prepare meat on glorious, oversized, wooden chopping blocks. One such member of staff was on hand to help with our enquiry as to whether there was any hanger steak. We were in luck. There was.

DSC_0887

We came to know hanger steak long before Thea. Back in the days when we could drive, on impulse, to a restaurant that I had a hankering to go to. One of those spur of the moment, let’s go out and have dinner journeys, led us to Bird Cow Fish, an amazing restaurant then run by Alex Herbert. We both ordered the hanger steak. I’m not sure why because normally we order different things so that we can try the maximum amount of things on the menu between the two of us. But this night we ordered the same. And I’m glad we did. The standout steak, which was followed by a ridiculously good chocolate tart with light as air pastry and an unctuously rich filling, kept company with a little pot of thick cream, has stuck fast in our minds ever since. So we seized the opportunity to buy hanger steak to see if we could make it taste as good as we remembered.

DSC_0922

With strict instructions from the butcher that this was a cut of beef that we really had to cook right and not to undercook the steak or it would be bloody and chewy and not to overcook it, or it would be tough and tasteless, I decided a digital thermometer would result in the best outcome we could hope for. Google, in the car back from the city, told me that the magic number that I should look for was between 51-54 C. I also found out that hanger steak takes well to bathing in some citrus before cooking. With this knowledge, when we got home I laid the steak in a marinade of lemon and lime juice, garlic, oregano and olive oil. It luxuriated there while we caught up with Ma and Pa on Thea’s adventures and shared our own from the previous night.

marinated hanger steak

Our mission for our night in the city had been to have no plan. To simply find a few  bars, have a drink and a plate of food in each before moving on to the next. Among our ramble through Sydney, we found 10 William Street, a seriously cool little wine bar. Loud and dimly lit, with bentwood chairs, round, little marble tables and informative staff, a great selection of drops by the glass and some moorish nibbles to go with them. We stayed in the bustling narrow establishment for two glasses, Iggy’s bread (you have to try it to understand how good this sourdough bread really is), simple but excellent calamari, home made biltong and olives. We also found ourselves back at The Baxter Inn, perched on bar stools, sipping single malt from old fashioned brandy glasses, listening to the likes of Bobby Darin. The whisk(e)ys, it’s predominantly a whisky bar, on offer at Baxters is staggering and with there being so many, I always falter when making my selection, wanting to get the perfect drink. In my mind that’s a smoky, smooth, slightly sweet wee dram.

DSC_0935

Weekend stories exchanged, the hanger steak went onto the barbecue. All eyes were on the thermometer, watching the digits steadily rise, as garlic smoked trailed into the night. At 53C, the steaks came off the heat and sat on the kitchen bench while the beans were cooked and the duck fat ‘chips’ (roast potatoes cut into batons, boiled until soft and then roasted in the oven with duck fat) finished crisping. When all the elements were ready for the table, the steak was sliced on the diagonal and heaped onto a communal platter. It’s interior was a surprisingly dark, ruby red colour. It sliced easily and once in the mouth was tender, with a small amount of chew and a deep, zingy flavour. The butcher who served us would be proud.

DSC_0942

Marinated hanger steak

Serves 4

Approximately 1kg trimmed hanger steak

For the marinade

  • 1 lemon, juice and zest
  • 1 lime, juice and zest
  • 4 garlic cloves, thickly sliced
  • handful oregano
  • olive oil
  • sea salt and black pepper

Simply mix all the marinade ingredients together and then bathe the meat in the mixture for about two hours.

Heat a pan or the barbecue, whatever your preference, until really hot and then cook the steak until it reaches between 51-54C. Ok. That’s the simple version.

With meat, it doesn’t need to be constantly agitated. Once you put it on the heat, leave it. Leave it until a nice crust forms. A beautiful, brown caramelised outside that will impart texture and flavour into the meat. When you feel that the piece of meat that you are cooking has formed said crust on one side, turn it. And once again leave it. If there is another side that still hasn’t seen the heat, if you are cooking a round piece of meat like a fillet for example, turn it once again to sear the final side.

Searing meat is really important and it’s actually really easy. The biggest factor is patience. And a scorchingly hot pan to start with. Anothter pointer. Oil the meat, not the pan. I sometimes use melted butter to add another flavour dimension and because it forms such a beautiful crust. But good old oil will do just fine. Next salt and pepper the meat. By salt, and always when I refer to salt here, I mean sea salt. Large, transluscent flakes, which can be liberally sprinkled all over the cut about to be cooked. Salt is another factor that helps form a crust and again, imparts flavour. I add pepper too. Some say that it’s not necessary at this stage. I disagree. I grind the hell out of my pepper grinder until  my steak is covered in little black flecks of peppery heat.

So. The hanger steak has reached 53C. Whisk it from the heat, place it on a deep plate so that the juices can be contained and leave it to rest. To relax. To metaphorically sit back in a comfortable chair, yawn, stretch and unwind. It will feel so much better in your mouth if this rule is adhered to, the resting rule of thumb being, rest meat for at least half the time it took to  cook. As I’ve written before about roast lamb, meat stays hot. Don’t fret about it getting cold, and if you are worried that is will happen, simply cover the patter with foil and some tea towels.

So, to recap. Patience to sear. Patience to rest. And now time to enjoy. Open a bottle of red. Pour a glass. Slice the hanger steak on the diagonal, which is much more visually pleasing. And eat.


The best roast lamb ever.

the best roast lamb ever

I have been wanting to share this recipe with you for a while. Well, it’s more of a technique really. A way to cook the best roast lamb ever. It requires no effort. None. Apart from actually going to your butcher and buying a leg of lamb or three, getting a roasting tray and some foil ready and turning on the oven. That’s it. And the results are worthy of any dinner table. Tender, moist, flavoursome lamb that falls away from the bone with the touch of a feather. The thing that makes this lamb so great, apart from the ease with which it’s cooked, is the time that it gives you once it is done. It will happily sit on the kitchen bench wrapped in foil and a beach towel for hours. YES really, while you, well, get ready for the party!

the best roast lamb ever

The thing about once having been a cafe owner is that you get to repeat tasks over and over again, and you become quite skilled at certain recipes. By making mistakes and learning from them, you get even better too and realise what works and what certainly does not. So having cooked lamb like this to fill wraps along with tabbouleh and minted yoghurt many, many times, the process has become second nature, but the results are no less memorable.

the best roast lamb ever

I think the whole process of cooking lamb for lengthy periods of time first started after reading Paula Wolfert’s recipe for Seven Hour Garlic Crowned Lamb in her wonderful book The Slow Mediterranean Kitchen. Again I read Alice Waters‘ thorough explanation of slow cooking shoulder joints in her book The Art of Simple Food and somehow combined the two accounts to create a method where I could put lamb in the oven just before I went to bed and then take it out first thing in the morning ready to take to the cafe with me to satisfy lunch time customers. The technique is well tested.

DSC_1042

Preparing lamb in this way has also become a favourite dish with some of my regular chef by the sea catering clients. Perhaps because even though the meat in itself is a spectacular but understated main, it’s the perfect partner to such a wide array of sides. Complemented by smoky baba ganoush or piquant chimichurri, at home with roast potatoes or herby quinoa, side by side with shredded kale, barbecued corn or roast pumpkin, on a plate for lunch and in a roll for dinner. It’s a perfect entertaining staple. And I hope that it serves you well.

the best roast lamb ever the best roast lamb ever the best roast lamb ever a cheese cake a cheese cake

The best roast lamb ever

For this recipe, which is more anecdotal than a precise list of steps, you will need three things.

  1. A whole leg or shoulder of lamb, bone in.
  2. A deep baking tray
  3. Aluminium foil

Preheat your oven to it’s hottest setting, so somewhere around 250 C. My oven is like a furnace, which for some things is actually fantastic, like caramelising the outside of a joint of meat before leaving it to braise in a few inches of water for the day or overnight.

While the oven is preheating, place the meat in the baking tray and when the oven’s little light goes out to indicate the right temperature has been reached, pop your joint of meat in for 20 minutes.

When 20 minutes has elapsed, remove the meat from the oven and turn the temperature down to about 100 C. The first time you do this you may need to use an oven thermometer to calibrate the point where your oven cooks at the is temperature, because for me this heat is not actually any temperature indicated on my oven’s dial, but rather marked with a Sharpie from having worked it out many times before.

Before putting your meat back into the oven, fill the baking tray with about two inches of water and cover it tightly with foil. Now put it back into the oven and you can leave the lamb to cook anywhere from six to 12 hours.

Before serving the lamb, and I believe this detail to be just as important as the initial 20 minute heat blast, remove it from the oven and its baking tray, place it on a deep platter, wrap it in foil and cover it with a towel. I have even placed the lamb in a suitable plastic container and popped it in an esky to rest and keep warm. It will sit quite happily for a few hours and still be piping hot, but succulently moist when you come to serve it.

And to serve, simply use two forks or a pair of tongs and help yourself.

Enjoy x

Gougeres-bite size balls of cheesy choux pastry

Always a sucker for a new food store, and a French one at that, I popped in to Le Petit Marche in Newport when I had a spare five minutes last week. Beautiful wooden shelves were filled with jars and canisters of imported French deliciousness. Of course the visit resulted in a purchase. I was able to talk myself out of any food, although the salted caramel spread that I was given a taste of did make me slightly weak at the knees and the ‘with the fairies’ strawberry and vanilla tea (who wouldn’t fall in love with a tea with that name) nearly had me reaching for my purse. But no. What I bought was a book. The Paris pastry club. I just can’t help myself when it comes to books, and if a cookbook can give you just one good recipe that you use again and agin, then it’s a winner in my eyes. This book’s a winner and the gougeres that I made from it on Sunday have firmly been wedged in to my repertoire.

DSC_0667DSC_0669 DSC_0670 DSC_0679

But what are gougeres? They are moorish and delicious and far too easy to consume with very little effort. More technically, they are bite size balls of cheesy choux pastry, light and airy with a bit of crunch and a salty cheese hit. Even though the thought of making choux pastry intimidated me slightly, Fanny Zanotti’s  description of these savoury snacks won me over and I made a commitment to try the recipe out. With a side of red, as she suggested. The perfect opportunity arose when Ma and Pa came over on Sunday afternoon. Thea loooves Ma. I think it’s because she is such a calming presence and gives Thea her complete undivided attention. Ma doesn’t try to multi task like me, she’s simply in tune with Thea, and Thea knows it and relishes in it. Plus Ma always knows how to make her cackle. The biggest, heart melting, overwhelmed with love, tear in the eye type cackles you have ever heard. So when Ma and Pa took Thea out for a walk to the park, I set about making gougeres.

DSC_0695

Having been concerned by the thought of choux pastry, my worries were unfounded. I mean, I know I have room for improvement in the technique department, but within half an hour of following some simple step I had several dozen bites of cheesy pastry in the oven. Plus taste wise, I was happy. Very happy. My main concern was that I wouldn’t be able to restrain myself from eating all the gougeres until Ma and Pa and Thea returned. For this attempt I made the gougeres with Parmesan through the choux mix and Cheddar grated over the top. Next time I think I’ll try with a gorgeous artisan French cheese from Le Petit Marche with a few poppy seeds sprinkled on top. And perhaps I’ll double the recipe. And choose my favourite wine glass. And a beautiful bottle of red. And my favourite movie… Now Im just dreaming. But sometimes that’s what one little recipe can do.

DSC_0708 DSC_0711DSC_0731 DSC_0756

DSC_0770DSC_0779DSC_0785

Gougeres

Adapted from a recipe by Fanny Zanotti

  • 125g whole milk
  • 50g butter
  • 2 tsp paprika
  • 1 tsp chilli flakes
  • 1 tsp sea salt flakes
  • 75g plain flour
  • 2 eggs
  • 60g grated hard cheese, like Cheddar, Parmesan of Gruyere
  • 1 egg, beaten for egg wash

Preheat the oven to 250c.

Add the milk, butter and spices to a pot and set over a low heat until the butter melts, then increase the heat until the milk comes to a rolling boil.

Add the flour in one go and stir until completely combined. Keep stirring the mixture over heat until a crust forms on the bottom of the pan, which indicates that the mix is now dry enough for the next step.

Remove pot from the heat and transfer contents to a bowl. Add the eggs, beating well after each addition so that they are well incorporated. While the mix is still warm, fold in half of the grated cheese (30g) and then transfer the mix to a piping bag.

Pipe 3cm wide mounds of cheesy choux pastry onto a paper lined baking tray and then brush each mound with egg wash and sprinkle the remaining cheese.

Pop the tray in the oven and turn it OFF. Bake for 15 minutes and then turn the oven back on and bake for a further 10-15 minutes until the gougeres are golden.

Remove from the oven and enjoy.

NOTE. These get better and better as they cool down, so the more restraint you show will work in your favour. Promise.

Enjoy this recipe? You may also like chicken and cheese empanadas

My top pavlova making tips.

DSC_0240

DSC_0245

Today was a perfect day. It began with sipping my morning coffee while browsing though the Sunday paper, the whole time wresteling with Thea for a portion of my Birthday almond croissant. Of course she won, stuffing fistfuls of the nutty, flaky pastry into her mouth with complete abandon and glee.

DSC_0242

The breakfast battle over, I donned my kitchen apron and ran through my prep list for lunch. Moreton bay bugs with garlic and parsley butter, mango and coriander marinated prawns, chargrilled squid and cannellini bean salad, homemade sourdough crumbs and herb topped mussels and buffalo mozzarella and tomato salad. Oh and a huge, billowy, two tiered pavlova, with more cream than necessary and fresh summer berries.

DSC_0228

DSC_0250

Being a celebratory day, Pimm’s was the aperitif of choice, which after quaffing, we all sat down to eat. Since we were all family, there was no ceremonious behaviour around the table and platters of seafood were passed up and down, back and forth, as everyone dug in and filled their plates. Even Thea, seated at at the head of the table in her high chair, sat still for a portion of the meal, munching on this and that, sometimes sneakily feeding what she didn’t like to the dog. (It always makes me chuckle how much she delights in doing this, as I’m sure must he!)

DSC_0249 DSC_0252 DSC_0253 DSC_0261 DSC_0288 DSC_0282

The main course finished, it was time for dessert. A Cinderella skirt size pavlova, decked out in whipped cream, strawberries, raspberries, blueberries and blackberries was served. It was wonderful to actually sit down and be able to savour one of my own meringues. I have cooked so many this summer, and thankfully, the practice has paid off. It was delicious. And devoured. No one complained about the larger than average portion sizes of crunchy, creamy, light, soft, sweet and chewy final course and yes please to seconds. A truly perfect way to finish a long birthday lunch.

DSC_0295

DSC_0307 DSC_0325

Pavlova

The following is enough to make a beautiful two tiered pavlova. Adjust accordingly.

  • 8 egg whites (320ml)
  • 450g caster sugar
  • 2 tsp white vinegar
  • 4 tsp cornflour

Pre heat the oven to 200C.

Start by separating eight eggs. It’s a really good idea to measure the egg whites out exactly. One egg white is approximately 40ml. When you have separated the amount needed, pour into the bowl of a free standing mixer and begin to whisk with a whisk attachment. Start with a slow speed for a few minutes and then increase to high.

Whisk the whites until they are stiff, in that they will hold a soft peak, then begin to add the sugar, little by little.

When all the sugar is incorporated, stop the mixer. The mixture should be beautifully glossy. Add the vinegar and sift in the cornflour and gently fold in with 10 slow turns of the whisk.

Now, with haste, pile the mixture within the circle, or circles, that you have drawn on greaseproof paper lining a baking tray, or trays. Put the tray(s) into the preheated oven and immediately turn down the oven to 100C.

Cook for about 1 hour and then turn the oven off, prop the oven door ajar and leave the pavlova to cool.

Pavlova making top tips

*Do make sure that the bowl and whisk that you will be whisking the egg whites with are free from grease
*Do make sure your eggs are fresh and at room temperature. If you do get any yolk in your whites as you are separating them, use half and empty egg shell to retrieve it. The shell attracts the yolk. Clever! Same goes for any bits of shell.
*Start by whisking the whites slowly, then increase the speed
*When the whites are stiff, slowly add the sugar in increments over 10 minutes, whisking constantly
*In between whisking in the sugar, line a tray with baking paper and trace a circle (or several circles) on it so you know where to pile the meringue mix
*When you have added all the sugar, stop whisking, add the vinegar and corn flour and then whisk in slowly with about 10 turns of the whisk. As soon as you have done this, speed is of the essence.
*Pile the meringue onto the prepared baking sheet and pop into an oven preheated to 200 degrees. As soon as you close the door, turn the temperature down to 100 degrees. Cook for about one hour until the outside is firm.
*Leave the pavlova to cool in the oven (overnight) by turning the oven off and propping the door ajar with an oven mitt or something similar
*Enjoy. With whatever fruit is in season and more cream then necessary.

Meringue canapés you’ll want to make.

DSC_0116

What better way to start an elegant, girly dinner, than with a miniature dessert and a pomegranate Bellini. A dainty, pink, raspberry, pistachio and rosewater meringue kiss to nibble on in one hand and a ruby red, sparkling, pomegranate aperitif to sip in the other. A slightly exotic combination with rosewater and pomegranate, that’s also slightly different to serving savoury morsels to entice people to dinner.  DSC_0130

The recipe (see below) for the kisses is from the fabulous Meringue Girls cookbook, a neon covered, hedonistic collection of THE prettiest, girlies desserts. You will want to make every single one. But then that’s me saying that and I’m slightly dotty about meringue. It’s gorgeously sweet, but not heavy or sickly, crisp and chewy and extremely pretty and playful, the perfect partner to fresh fruit, cream and a little glass of sticky. Plus there are endless combinations to try, like adding nuts, cocoa or lime zest to a basic meringue mixture, adorning with cream, yoghurt or sorbet, even drizzling with chocolate or caramel. DSC_0149

pistachio, raspberry and rosewarer meringue canapesAfter nibbling through the kisses, and finishing the Bellinis, a very simple mix of prosecco, a splash of pomegranate juice and the glamorous addition of a few pomegranate arils, seated around the table everyone chatted freely and easily. Babes were in bed at home with their dads and there was a sense of relaxation, to be away from home, communally enjoying an evening meal with friends. Eager to make the night special, I had prepared a fennel, orange and Moreton Bay bug salad and a chicken and pistachio terrine with pickled figs to start. Ingredients with a touch of luxury in dishes that could still be enjoyed informally, passing platters around the table, picking out favourite bits and taking second and thirds. Bread was dotted here and there and in-between the enjoyment of wine, slices were spread with terrine or dotted with salad leaves and pieces of seafood, as the remains of the entree was finished.
pomegranate bellini

So that I could stay and enjoy conversation around the table and not spend too much time in the kitchen, when it came to the main course, I had prepared a fillet of beef rolled in herbs and wrapped in prosciutto. A Jamie Oliver recipe from his second book. I cooked it before anyone arrived and had left it to rest wrapped in abundant layers of foil and tea towels on the kitchen bench. I love using this method when cooking meat. Not only does it take the stress out of catering, but it ensures that the meat is well rested and juicy. Contrary to what most people believe, it stays hot too. I simply had to slice it and arrange it on a platter, along with some greens and roast potatoes. I was back at the table in no time, choosing the crispiest spuds!

DSC_0180

DSC_0204

After having our fill of of meat, fish and vegetables, it was time for dessert, also a replica of a Meringue Girls creation. To the table I gingerly brought a metre long plank of chocolate meringue. It was smothered with mascarpone, dotted with quartered, cinnamon poached pears and toasted walnuts before being anointed with caramel and chocolate. A spectacular centrepiece, that between the 10 of us, was gone in five minutes. Everyone agreed that it was the standout dish of the night, some having seconds and thirds. I was truly honoured. And it wrapped up the evening nicely. Meringue to start and finish a gorgeous evening with friends.

DSC_0213

Meringue canapes

Adapted from the Meringue Girls cookbook

Serves 8

300g caster suger
5 egg whites (150g)
50g finely ground pistachios
1 tsp rosewater
300ml Cup whipping cream
Fresh raspberries

Preferably in a stand mixer, whisk the egg whites until stiff peaks form. Now add the sugar a little at a time over a 10 minute period. Stop the mixer and add the pistachios and rosewater. Start the mixer again, and let the whisk turn no more than 10 times. You want the ingredients combined, but don’t want to knock any of the air from your meringue.

Working quickly, transfer the mixture into a piping bag, and pipe little mounds on to a baking tray lined with baking paper. The more you pipe, the better and more consistent your mounds will be. The trick is to squeeze the bag firmly and keep the tip of it in the mixture then lift up quickly.

Bake the mini meringues at 95 degrees C for 30-40 minutes until they lift easily from the paper. When they are done, turn the oven off, open the door and leave the meringues to cool on the tray. Stored in an airtight container, the meringues will keep for two weeks.

Dollop each meringue with a generous tablespoon of whipped cream and top with a fresh raspberry.

Stored in an airtight container, the meringues will keep for two weeks.

Enjoy this? You might also like my brown sugar meringue roulade

A simple but stunning chestnut soup recipe.

DSC_0606My baby girl is one. A year has passed since the scary day that she came into the world unnaturally early. Eleven weeks premature, red, transparent and frighteningly small, proclaiming to the world with her kitten like screams that she had arrived. I cried. Tears of sadness, not joy. I felt cruel for having her before she was ready to breathe or feed by herself, not doing my best as a mother to protect her. But as my body was not giving her the things that she needed to survive in utero, it was time for her to brave the big wide world and show us her true strength.

And show us she has. I have marveled at her constant tenacity and unyeilding inquisitiveness for life. Her small stature has in no way affected her ability to reach milestones and endlessly gains her attention, in which she delights. She is cheeky, determined, curious, adventurous, never misses a thing, has an infectious, perpetual smile and takes everything in her stride. I am ridiculously proud to be able to call myself her mama and eternally grateful for the gift of a beautiful, healthy daughter.

DSC_0637 DSC_0638

DSC_0651 To celebrate Thea’s first birthday, July 26th, I threw a Christmas in July long lunch for all our closest friends and family. For the occasion I wanted to make chestnut soup. Chestnuts are not in season in NSW in July though, but ever the pre planner, I ordered them online in May. With the help of Ma, I roasted and peeled  three kilos and froze them ready to make soup in July. Doing a job like this is so satisfying. It takes time, but ultimately I always feel the resulting dish is that much better for the love that you put in to  it. All the babes at the party seemed to agree, lapping up spoonfuls of their mum’s and dad’s chestnut soup.

DSC_0667 DSC_0678DSC_0677DSC_0682

Christmas in July would not be complete without a turkey and this bird was  stuffed with lamb, harissa and rose petals. The idea of something a little bit different appealed to me and the rose petals sealed the deal. It was served with all the essential seasonal trimmings, including Brussels sprouts, roast parsnips and duck fat roasted potatoes. Thea loves roast potatoes! I think that she had four, which for a tiny human is a big deal.

DSC_0673 DSC_0707

For her first birthday cake, I made her a banana and coconut maple buttercream frosted  baby friendly cake, baby friendly because it contains no refined white sugar or flour, only delicious, whole ingredinets. I found the recipe on the lovely blog Rubies and radishes. The frosting truly was something else and perfect for small fingers to get stuck in to. DSC_0611DSC_0612

This was a very special meal to mark an especially happy occasion with a wonderful group of people who supported me, the contemporary builder and Thea through an emotionally tough period in our lives. The act of preparing food, for me, is a way of showing love and affection, thanks and respect and I hope everyone left the party with satisfied tummies and full hearts. x

DSC_0625DSC_0619

 Chestnut soup

  • 1 onion, chopped
  • 4 carrots, chopped
  • 4 sticks celery, chopped
  • butter to sweat veggies
  • 1kg chestnuts, roasted and peeled
  • 2 litres chicken stock
  • good pinch of thyme, few bay leaves, grating of nutmeg
  • sea salt, black pepper
  • milk to thin to desired consistency
  • chopped parsley and cream to garnish

Sweat the onion, carrot and celery over a low heat with the lid on for about 10 minutes until very soft and translucent. Add the stock, chestnuts, herbs, spices and seasoning and simmer until the chestnuts are soft enough that you can blend them with a stick blender. Thin the soup with milk as desired and check seasoning. Enjoy x