Category Archives: lunch

Making matzo ball soup

matzo ball soup

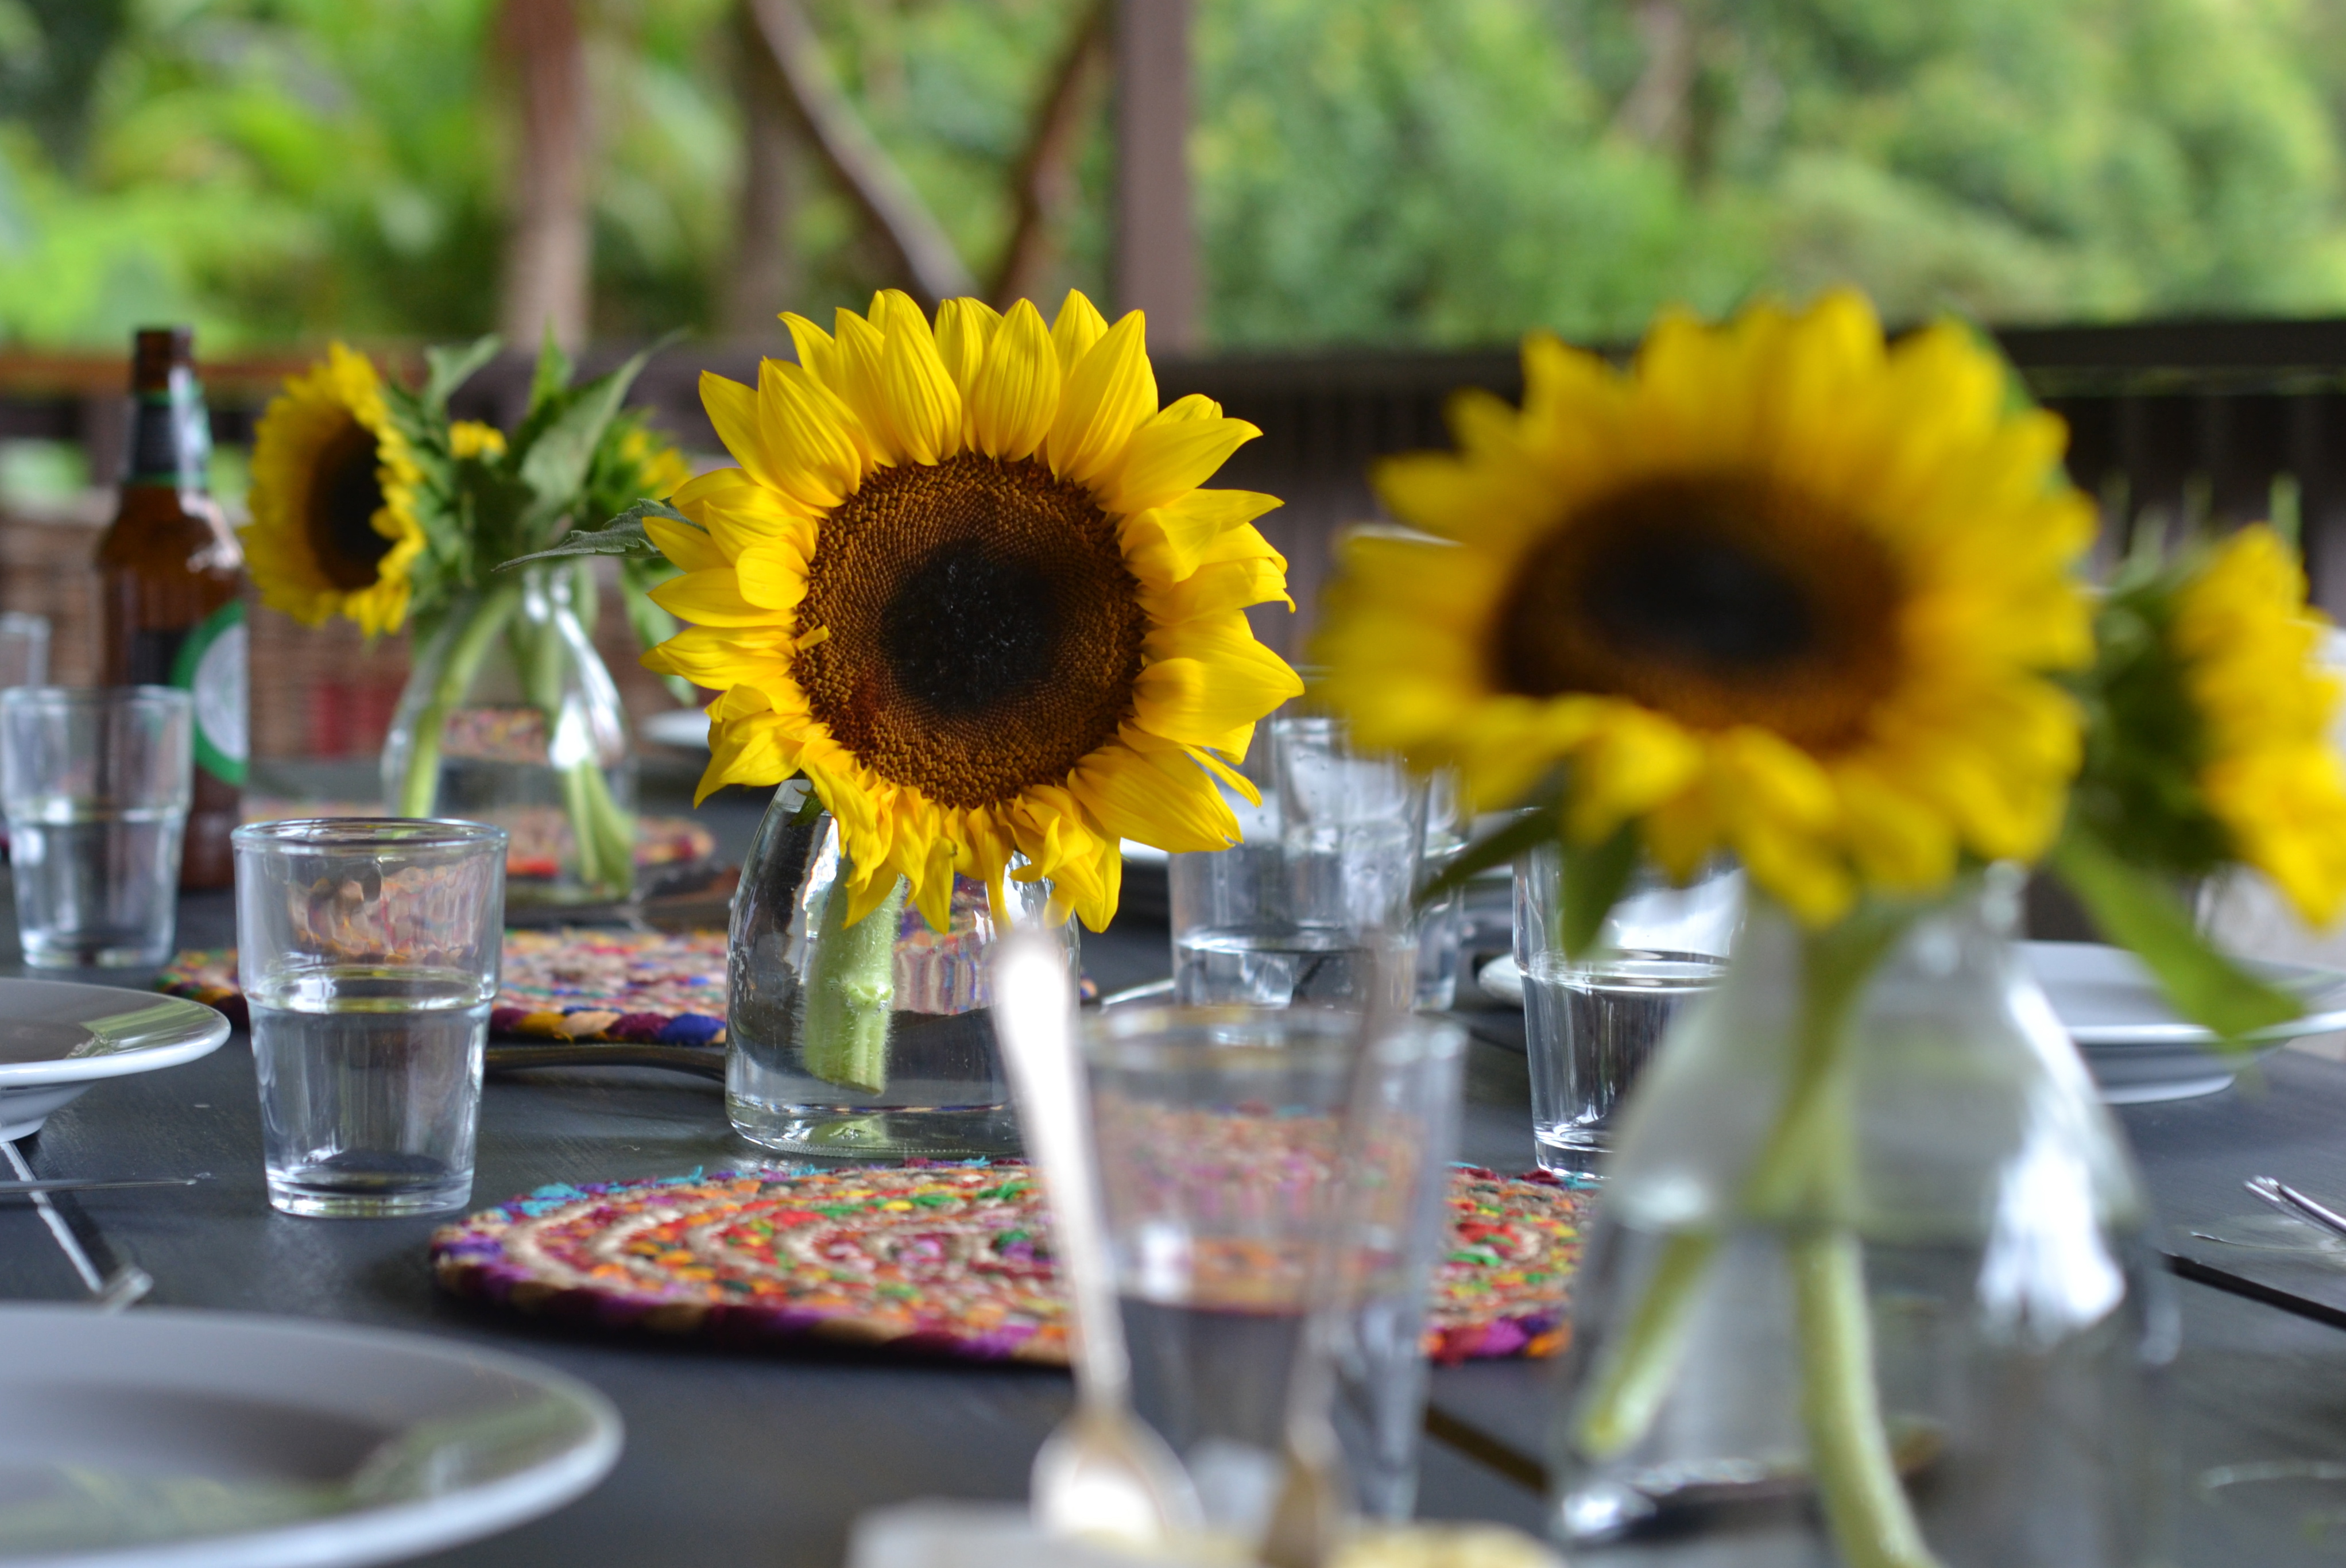
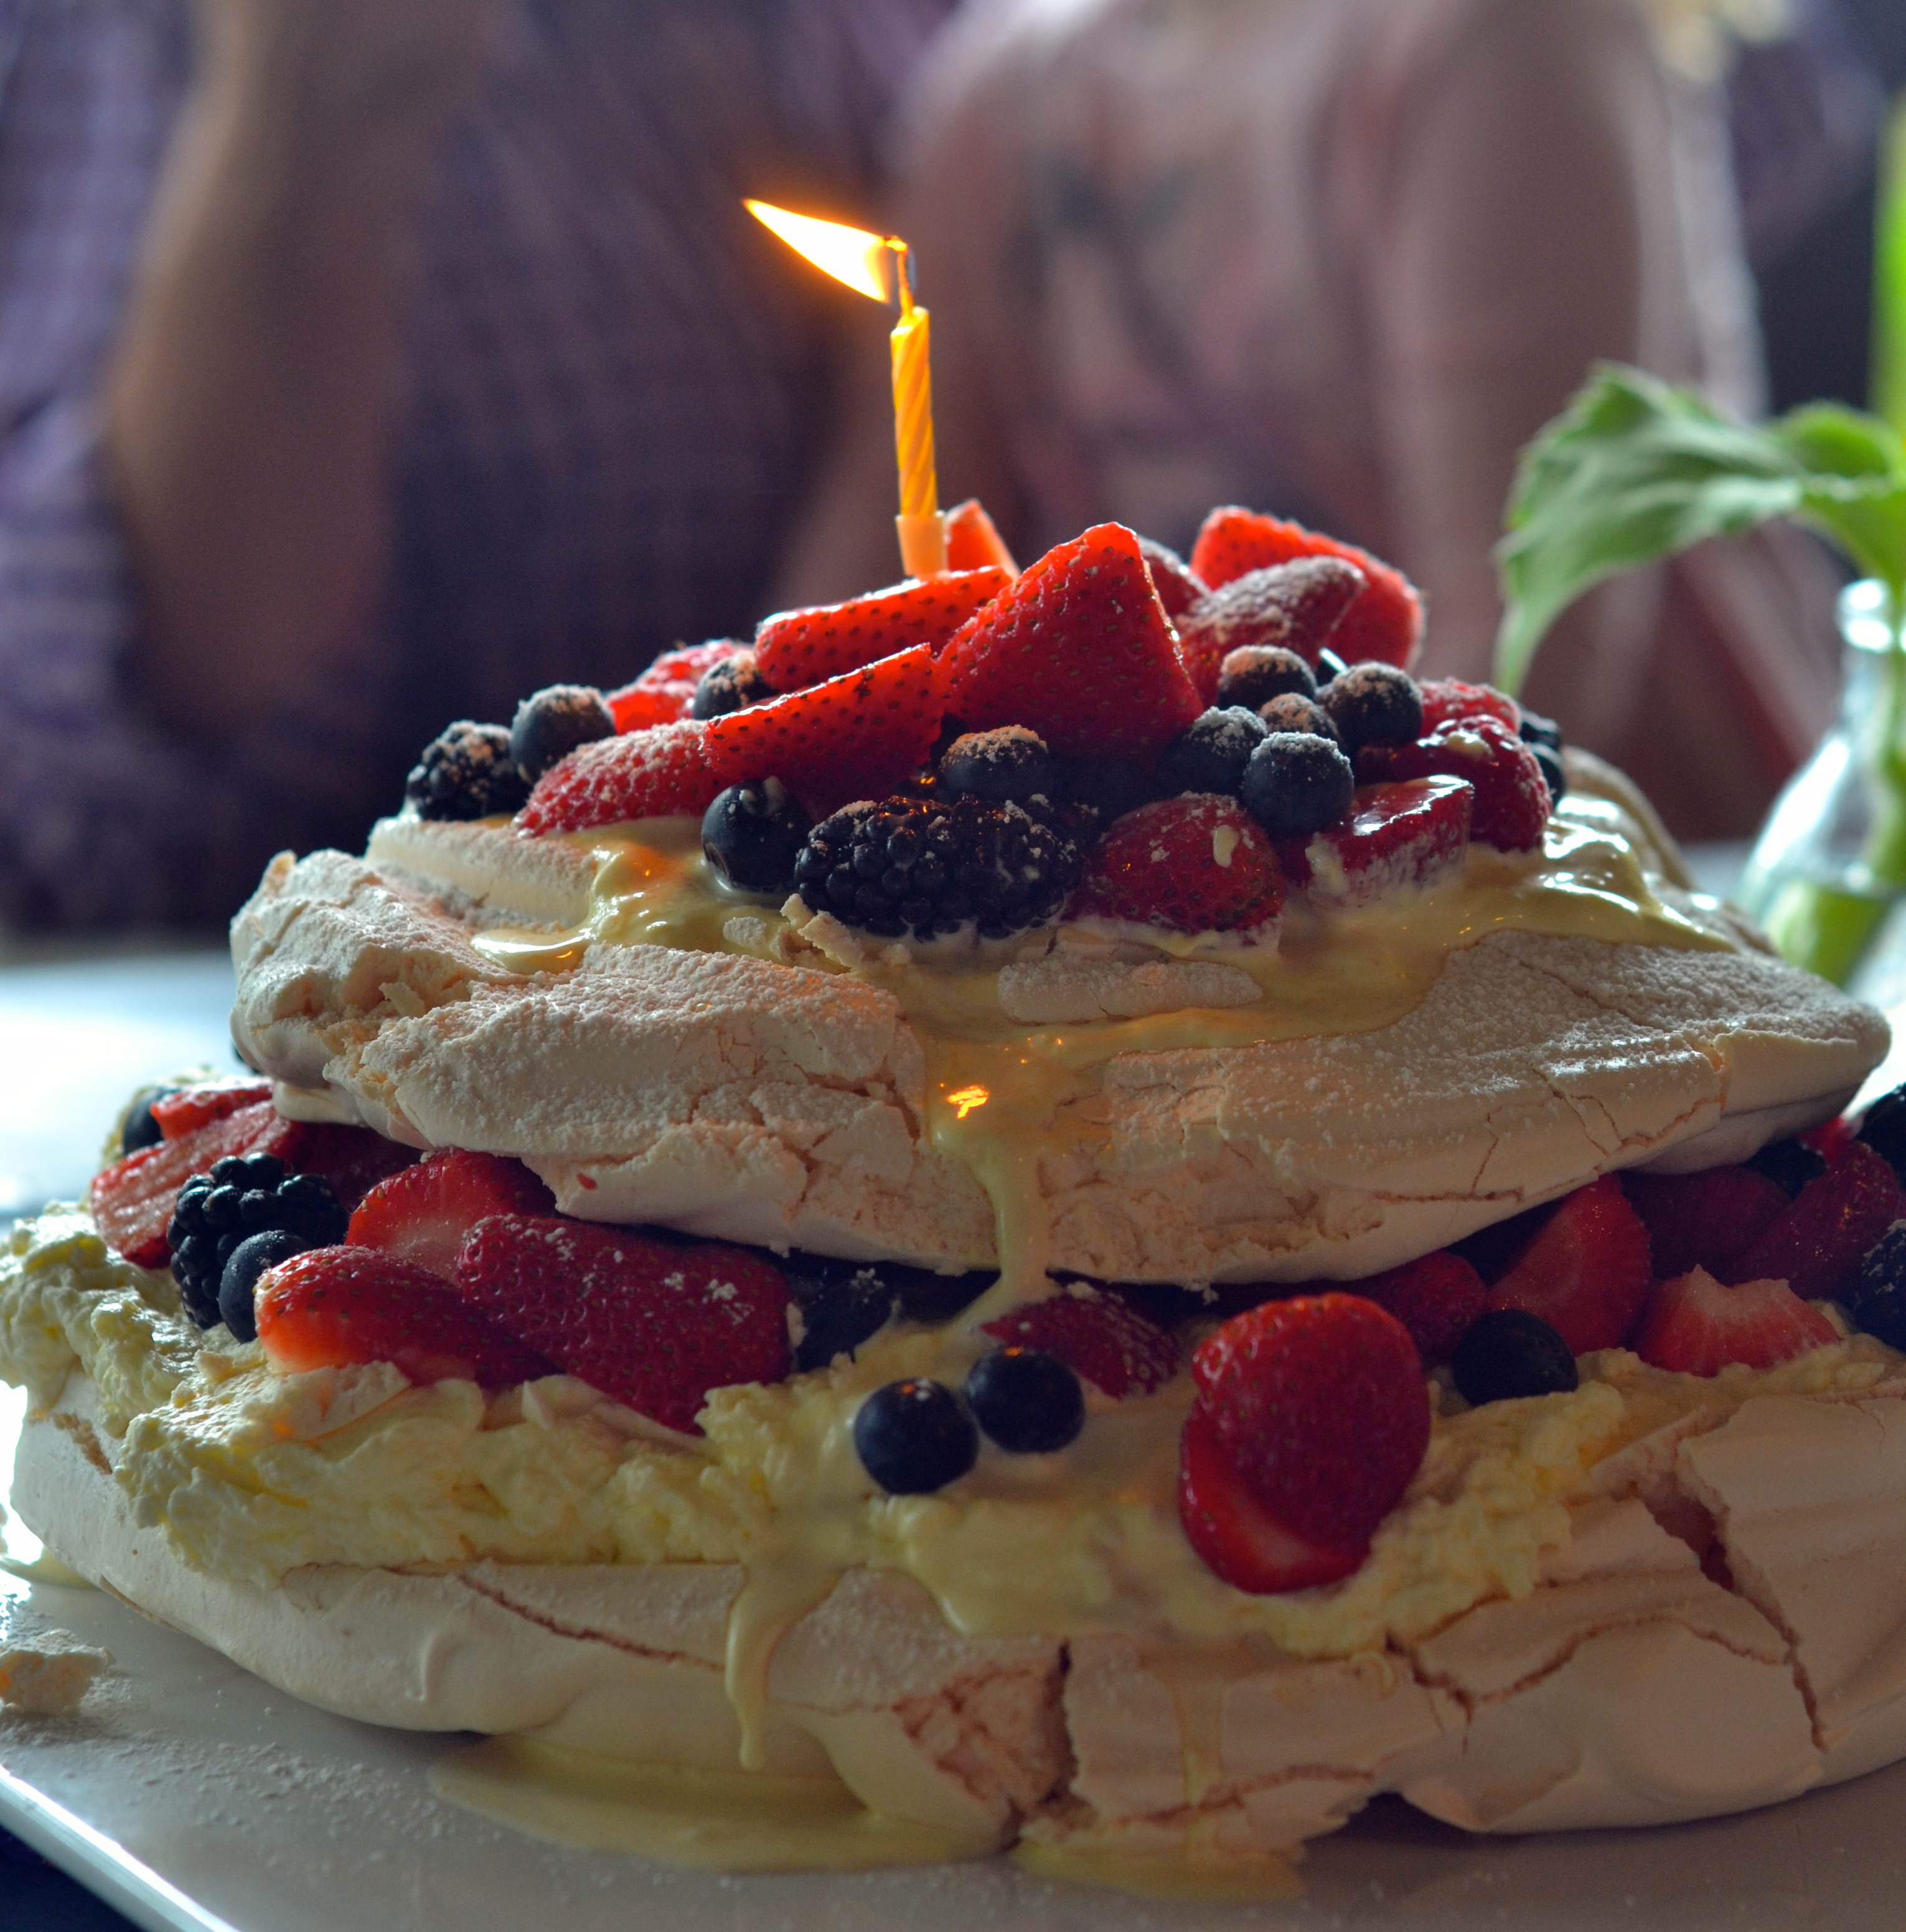
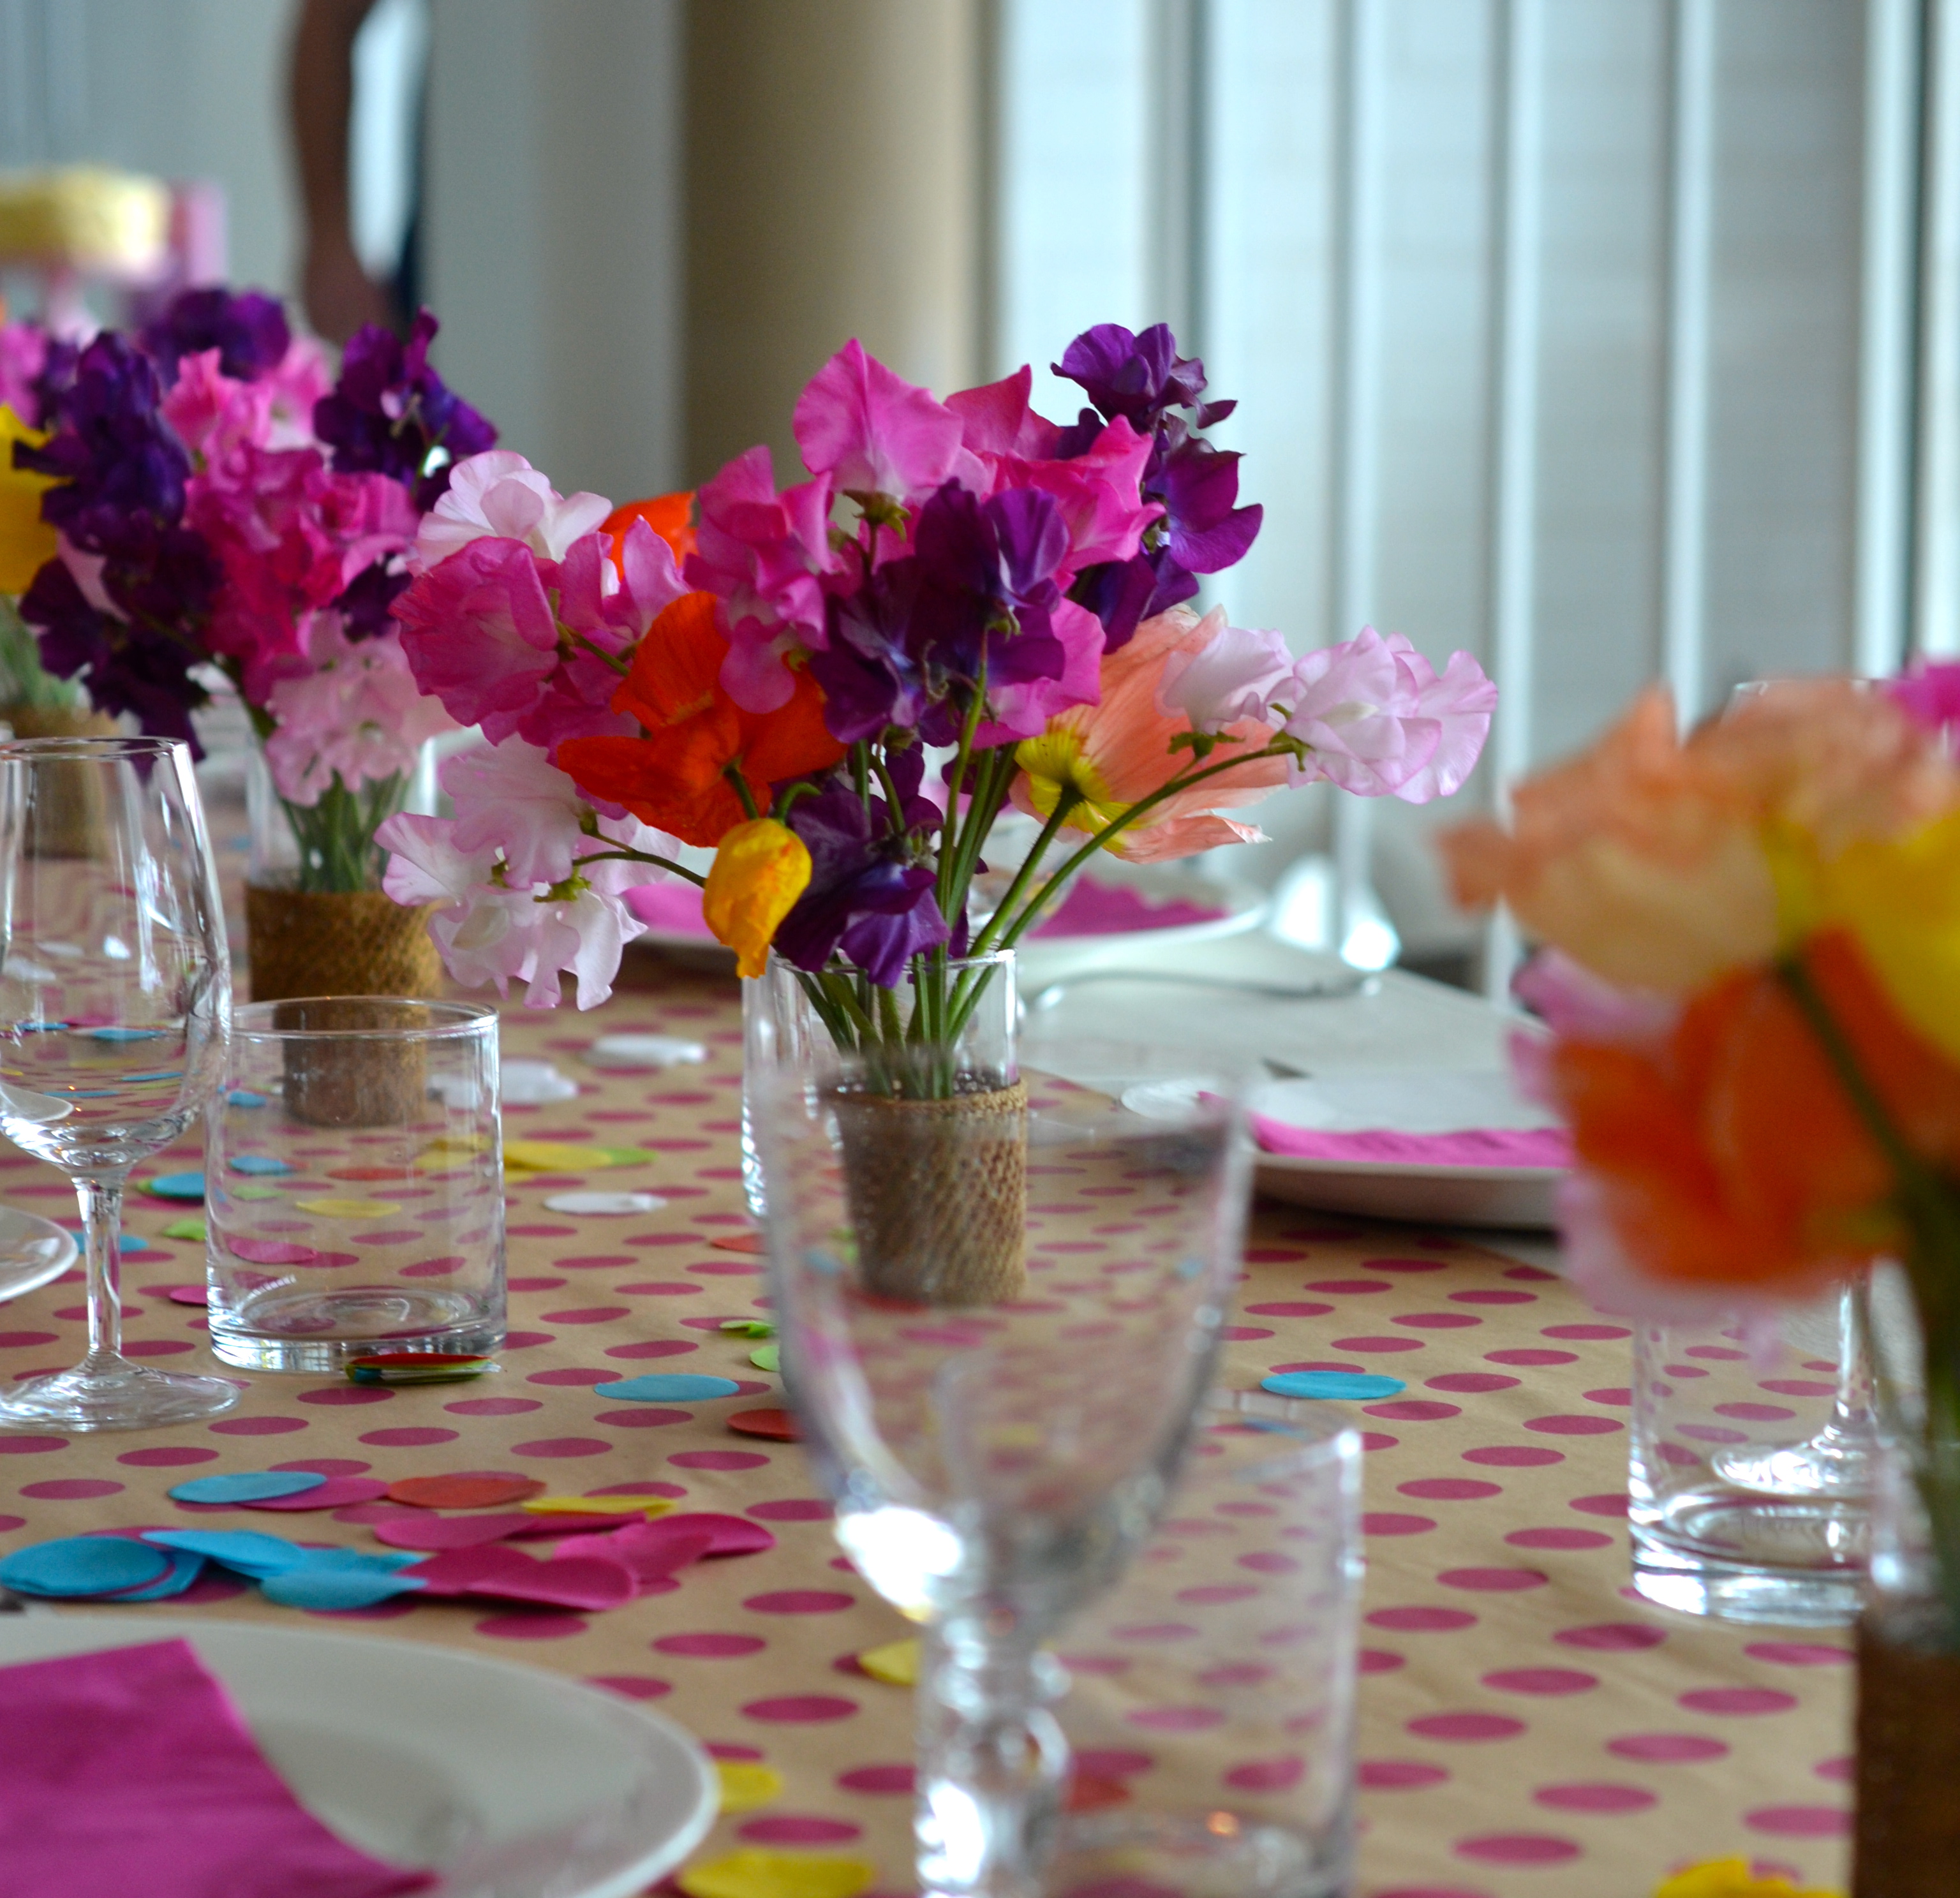
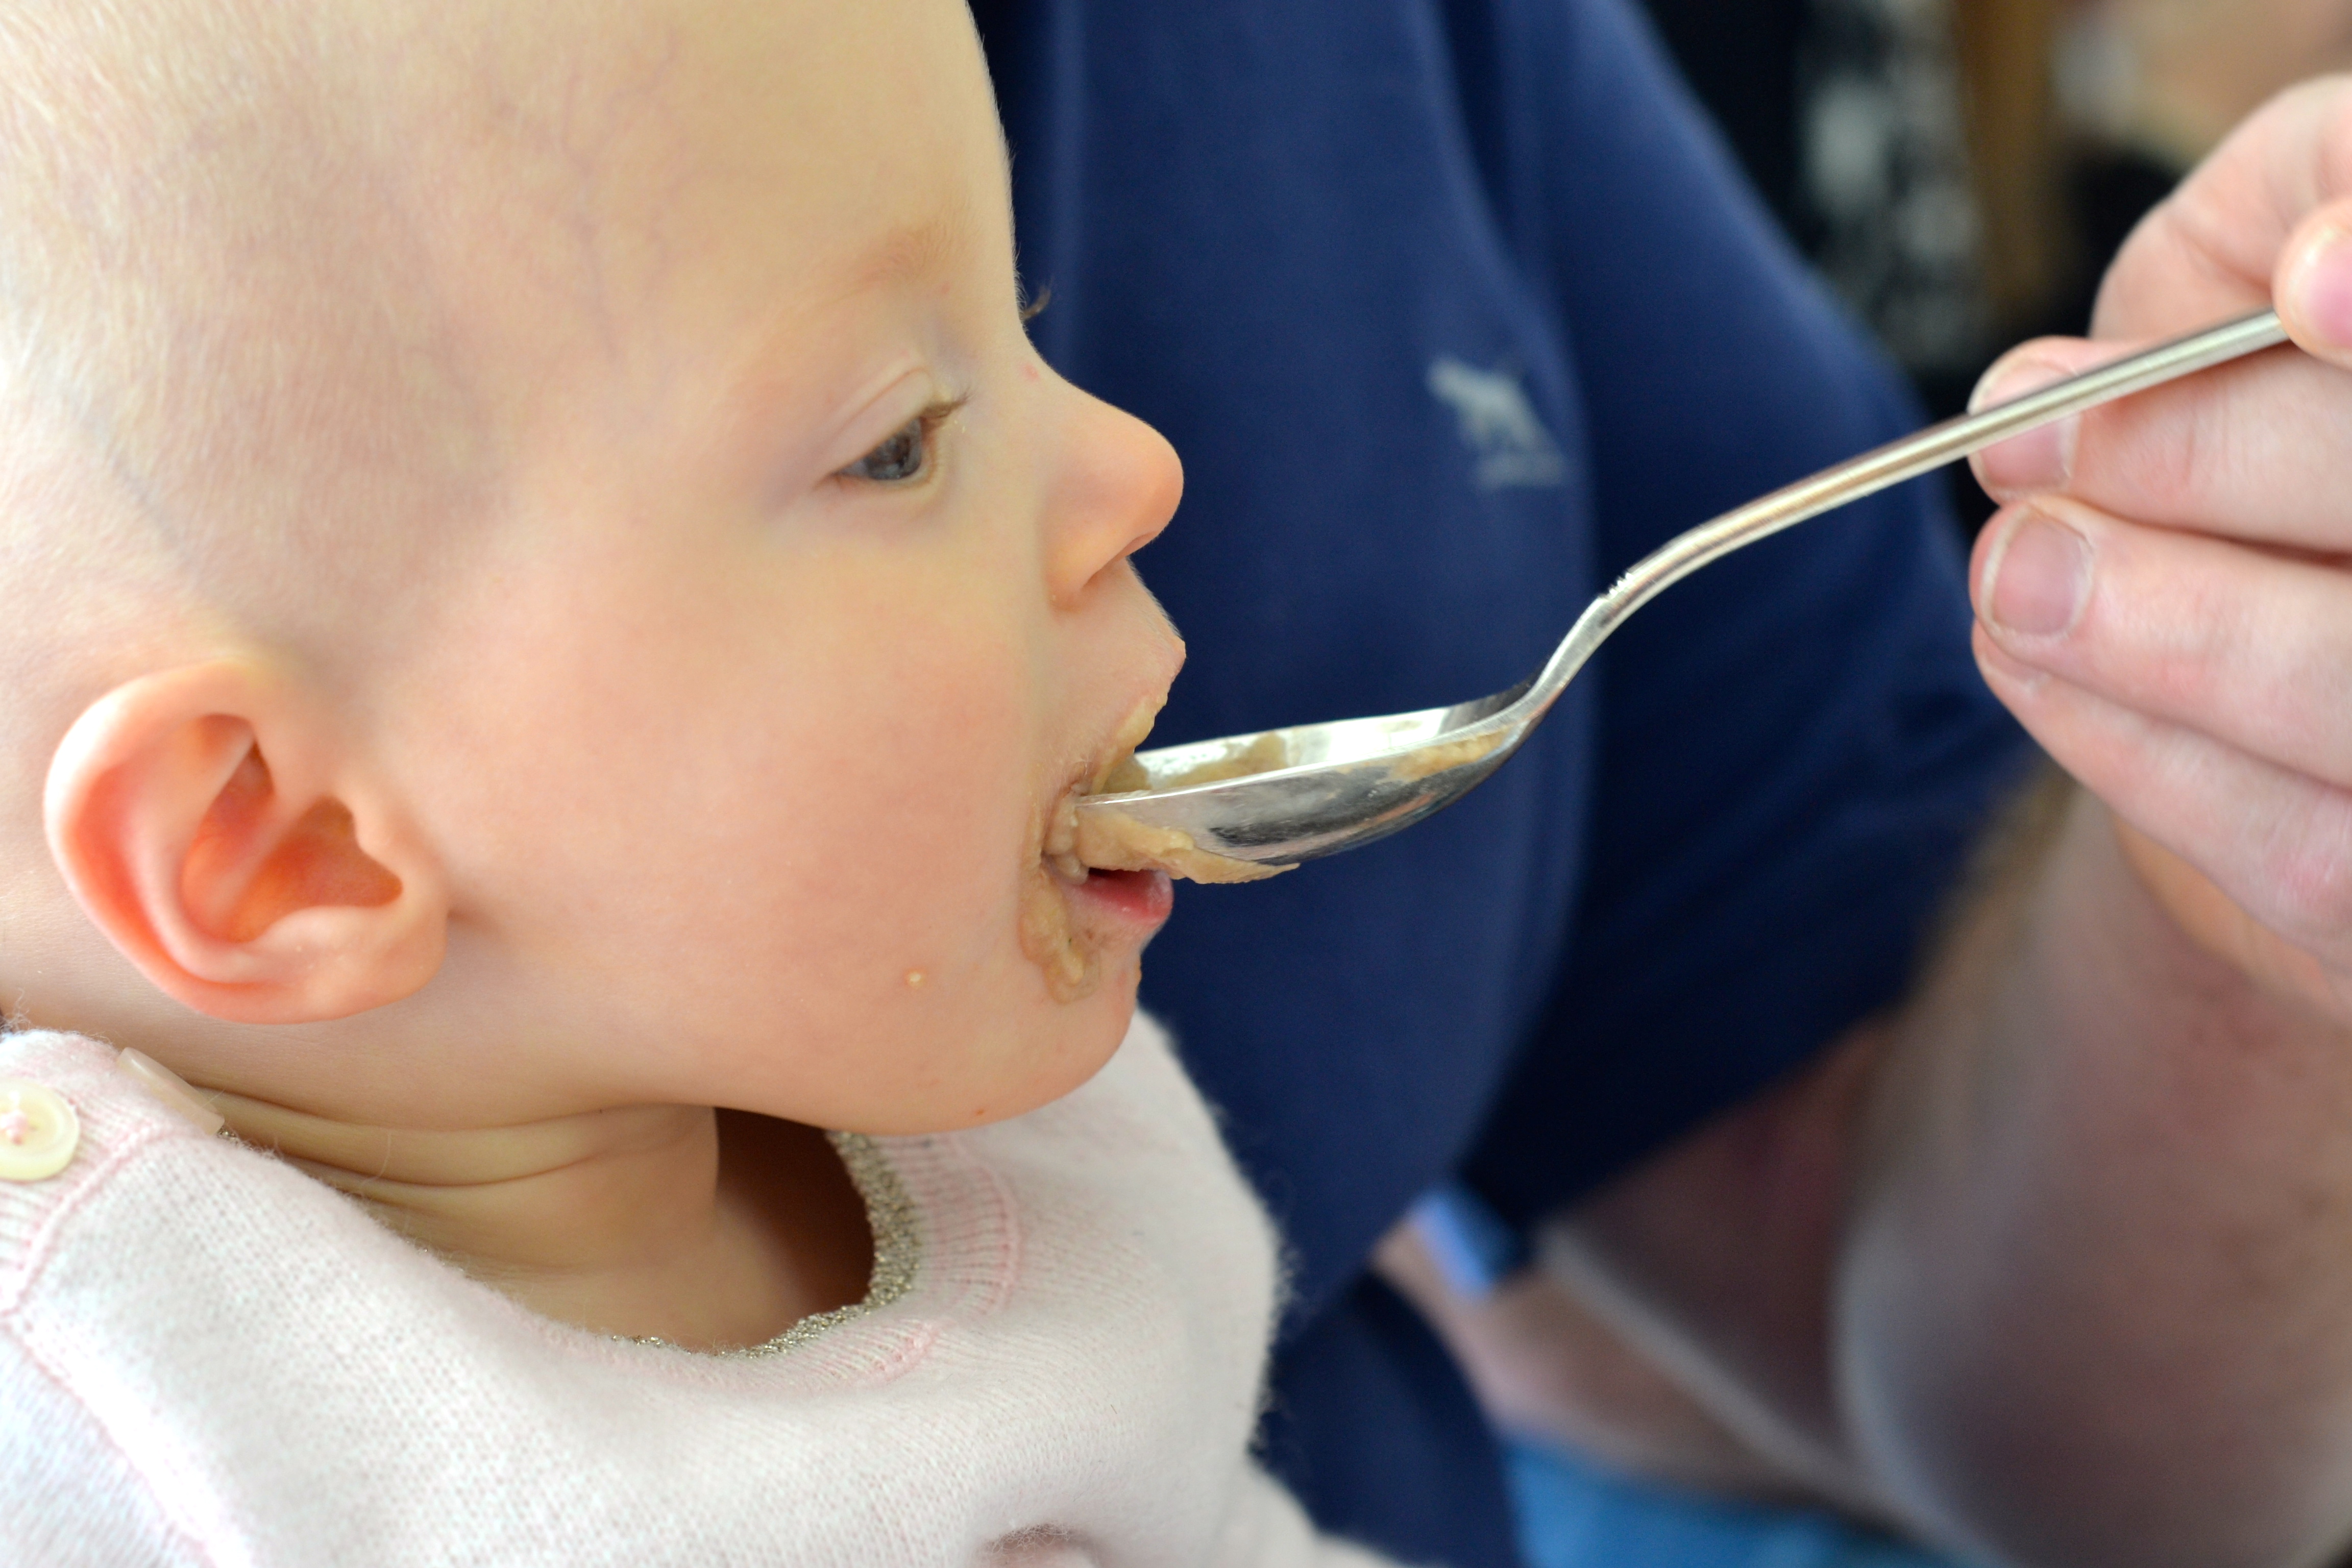
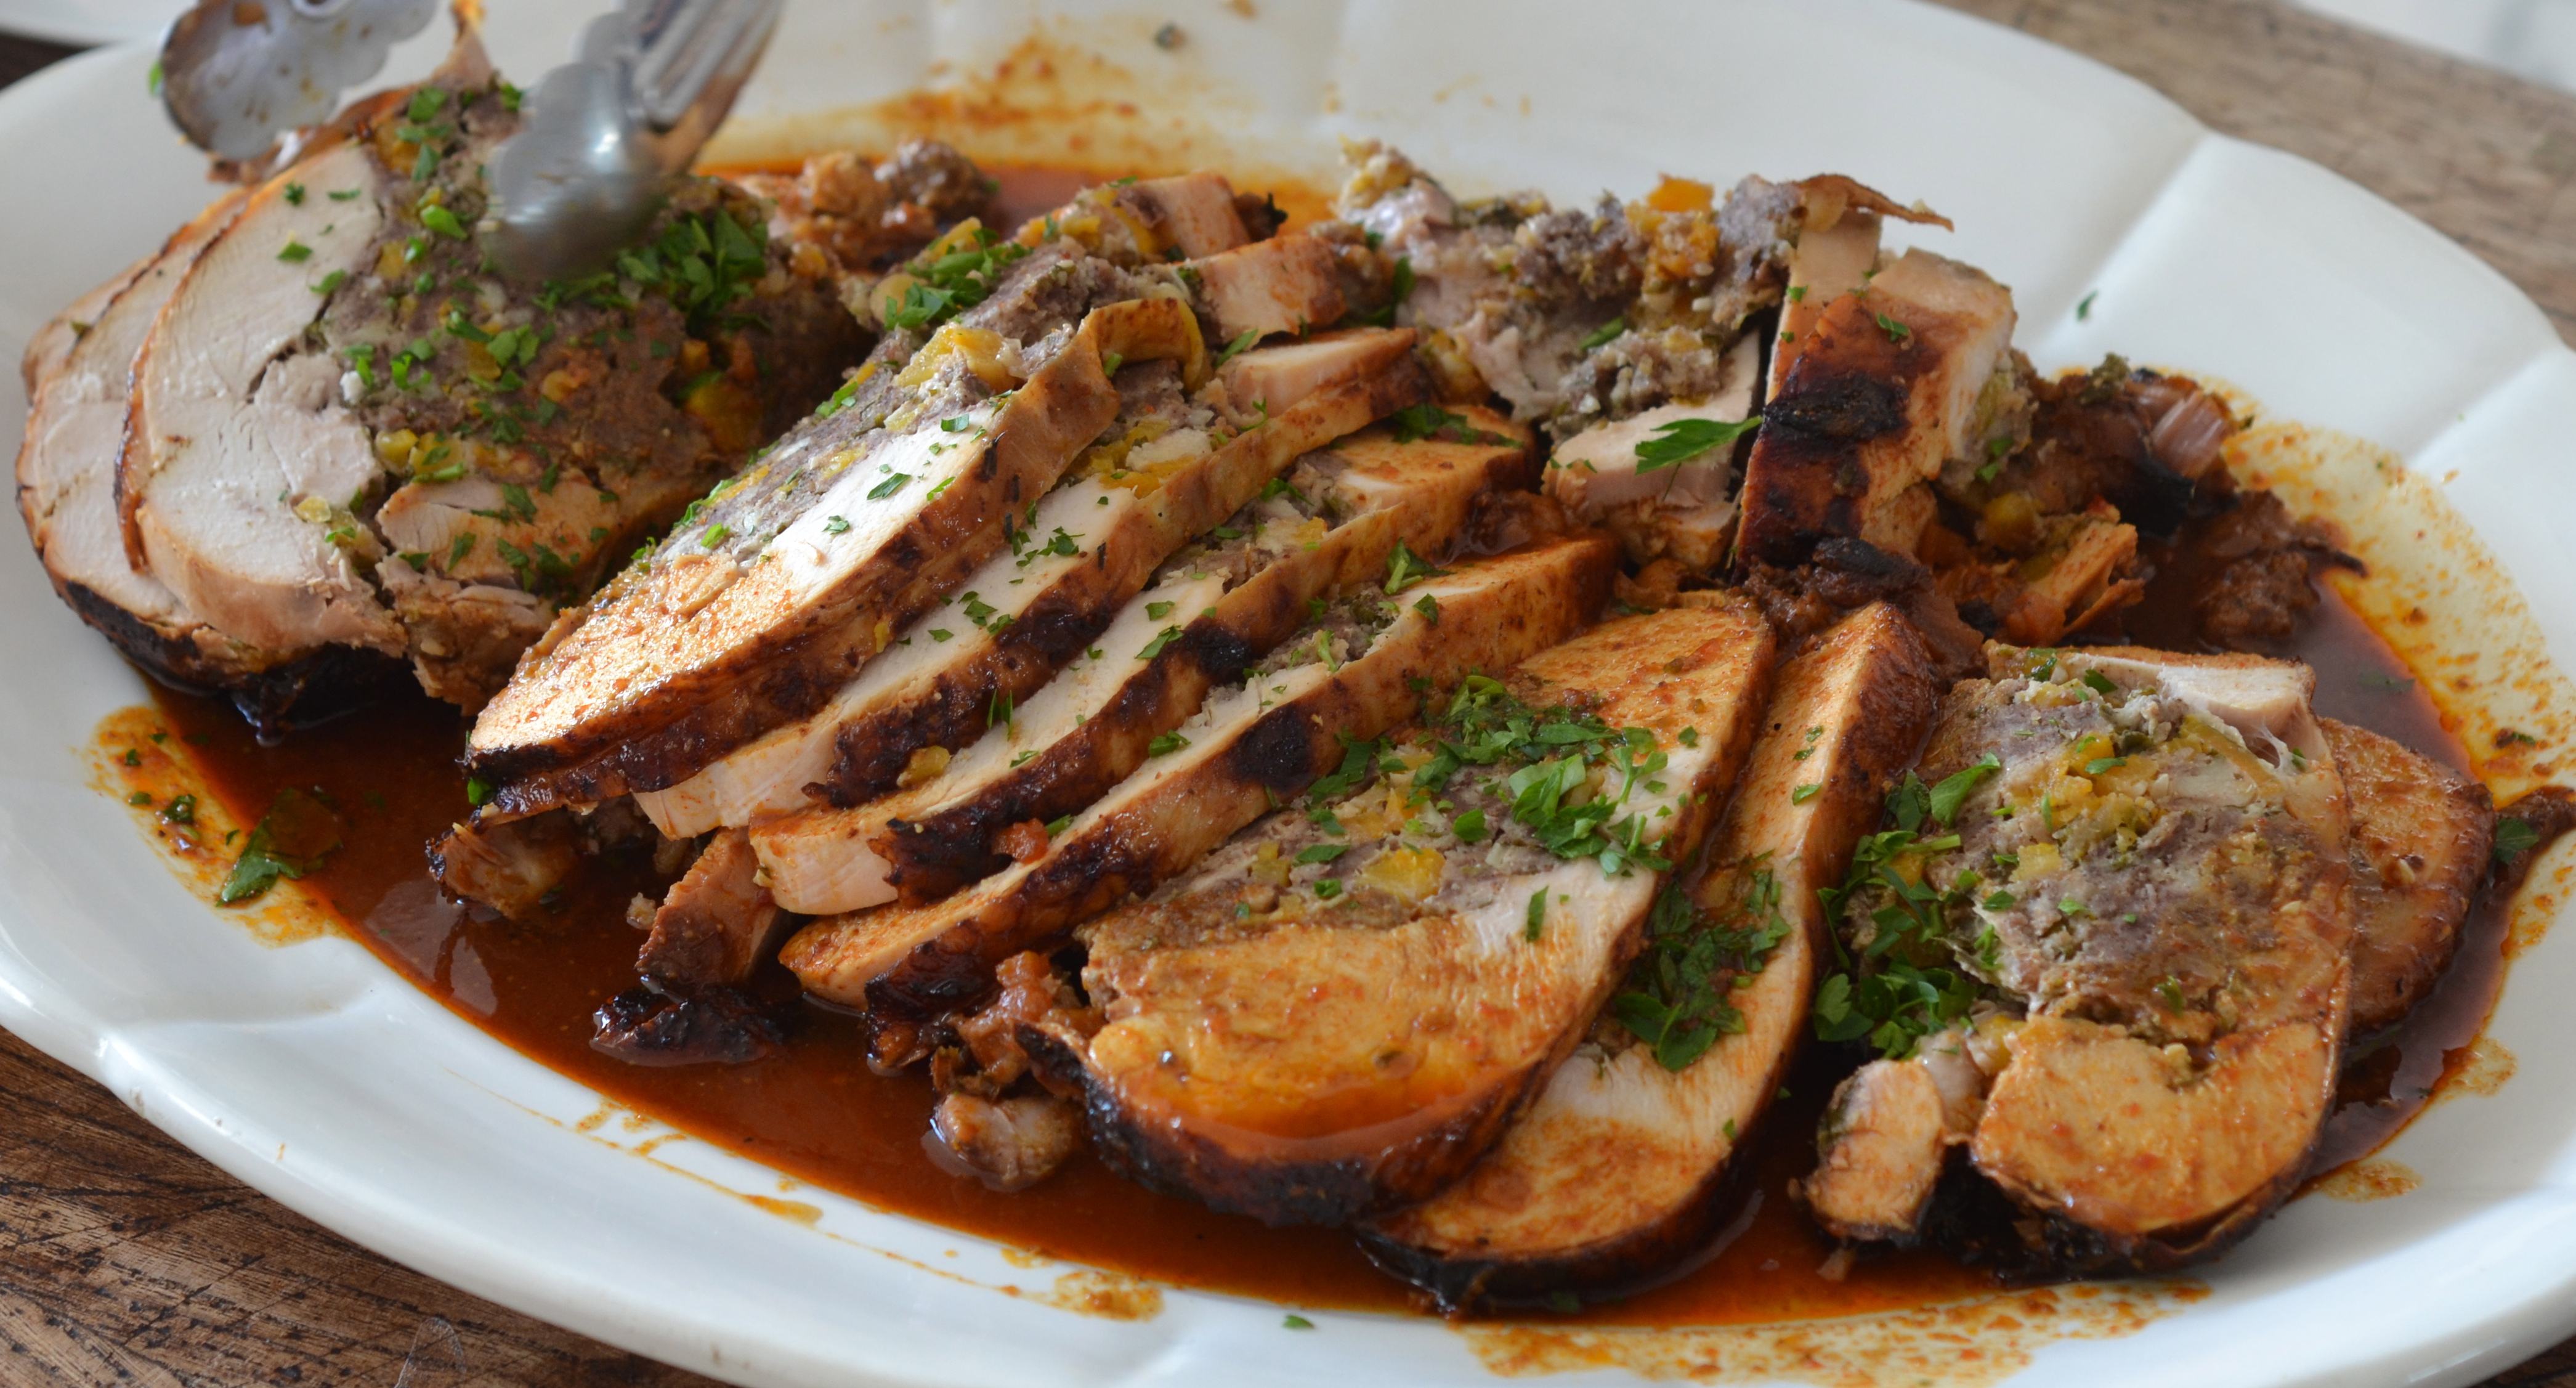
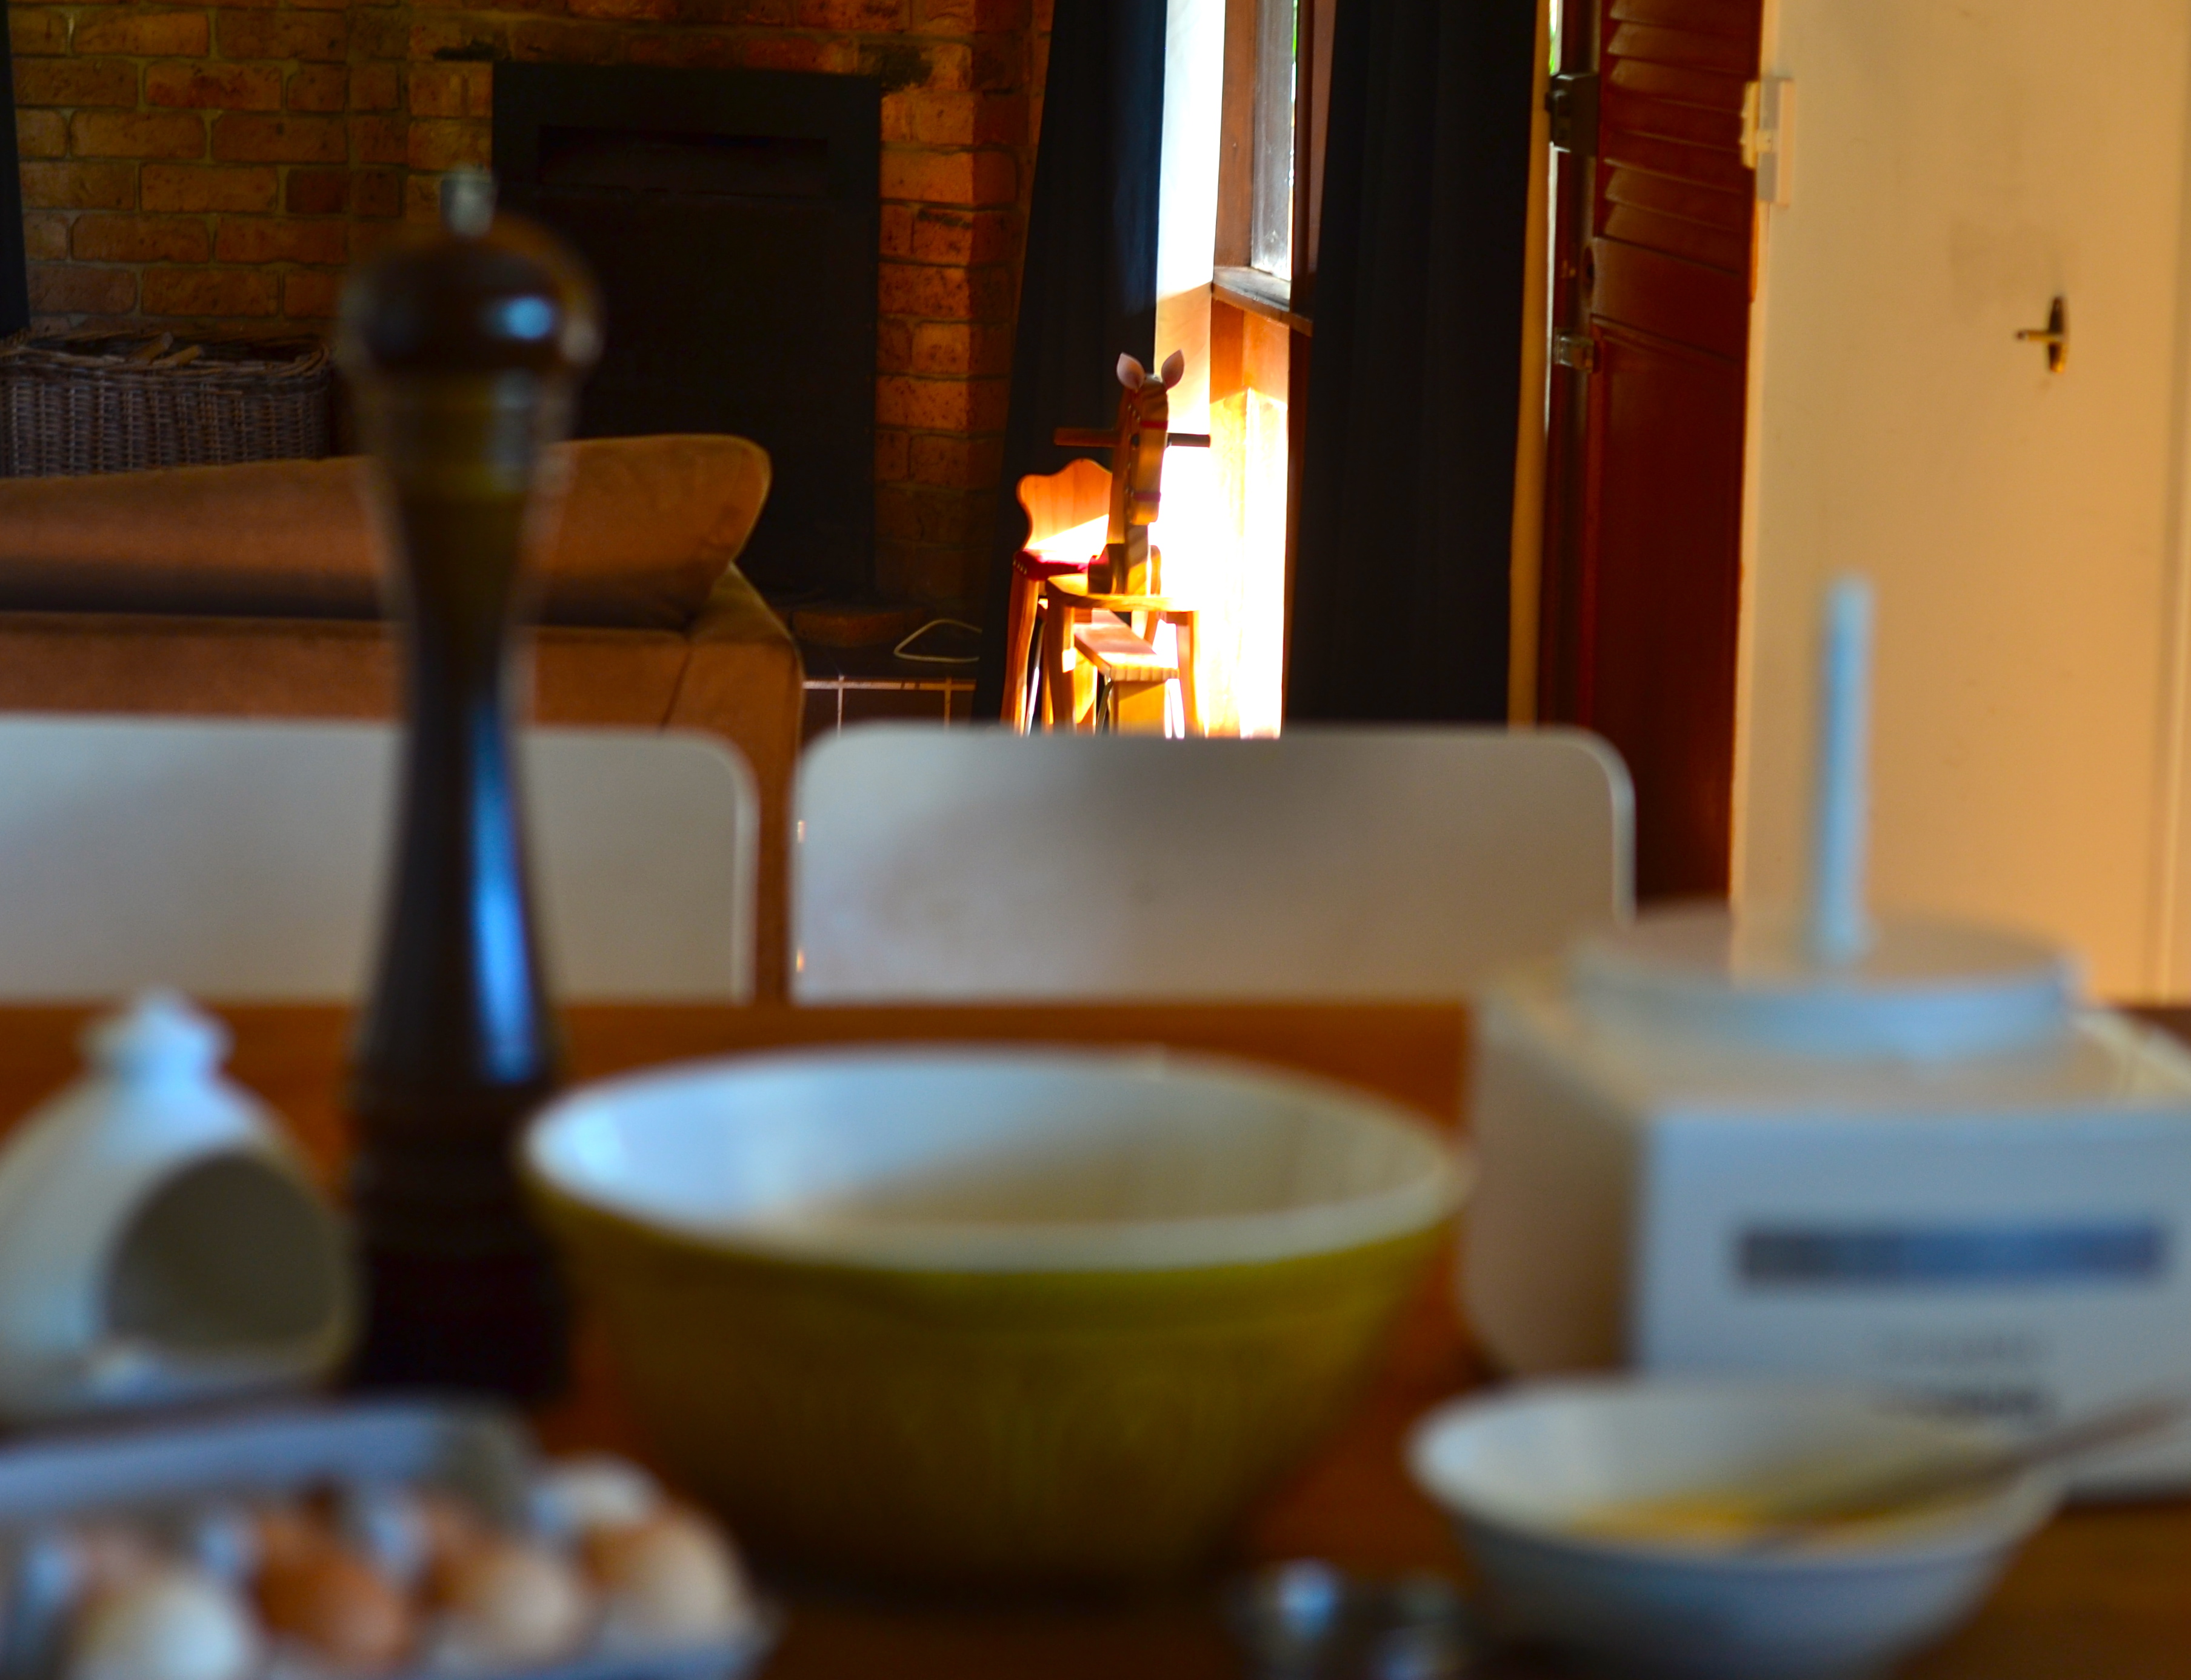
Easter came and went in a bit of a blur this year. There were late nights and early mornings, and not too much sleep in-between due to a small someone getting two new teeth. The whole house was a constant hive of activity. There was me in the kitchen preparing food for clients, as well as the family. Ma was the most amazing helper, taking on the responsibility of chief washer-uper. Mark and Pa worked in the back yard, excitingly undertaking preparations for a swimming pool, completion date Summer 2015. There were also cousins running excitedly around, searching for eggs, Thea hot on their tails, not quite yet knowing what all the commotion was about. Thank goodness! So this recipe for matzo ball soup is rather timely, not only for its nourishing and restorative properties after a hectic few days, indeed it is dubbed ‘Jewish penicillin by many, but also because it is a traditional dish consumed during passover (the last day of which, as I write, is today).

matzo ball soup

A number of years ago I can recall lying on my bed, atop clean, pale grey sheets, the curtains to my right dancing in the breeze, reading Ruth Reichl‘s ‘Garlic and Sapphires’. The scene is still so vivid. The light was bright and the air slightly cool. It was my day off and all alone in the house I was doing one of my favourite things. Reading a book. A simple but escapist activity. As I turned the pages, I absorbed Reichl’s rendition of matzo ball soup and the dish has been firmly imprinted on my mind ever since. It’s something that I have always wanted to make, intrigued to know what it would taste like, but haven’t for fear that it would be too complicated. Fast forward to a week ago when Alice in frames posted a picture on Instagram for Matzo ball soup. I was once again reminded of the day just described, reading about the peculiar Jewish chicken soup. Now though, I was determined to make it, spurred on by the fact there was a big tub of home made chicken stock lurking in the depths of the chest freezer for just this kind of moment.

matzo ball soup

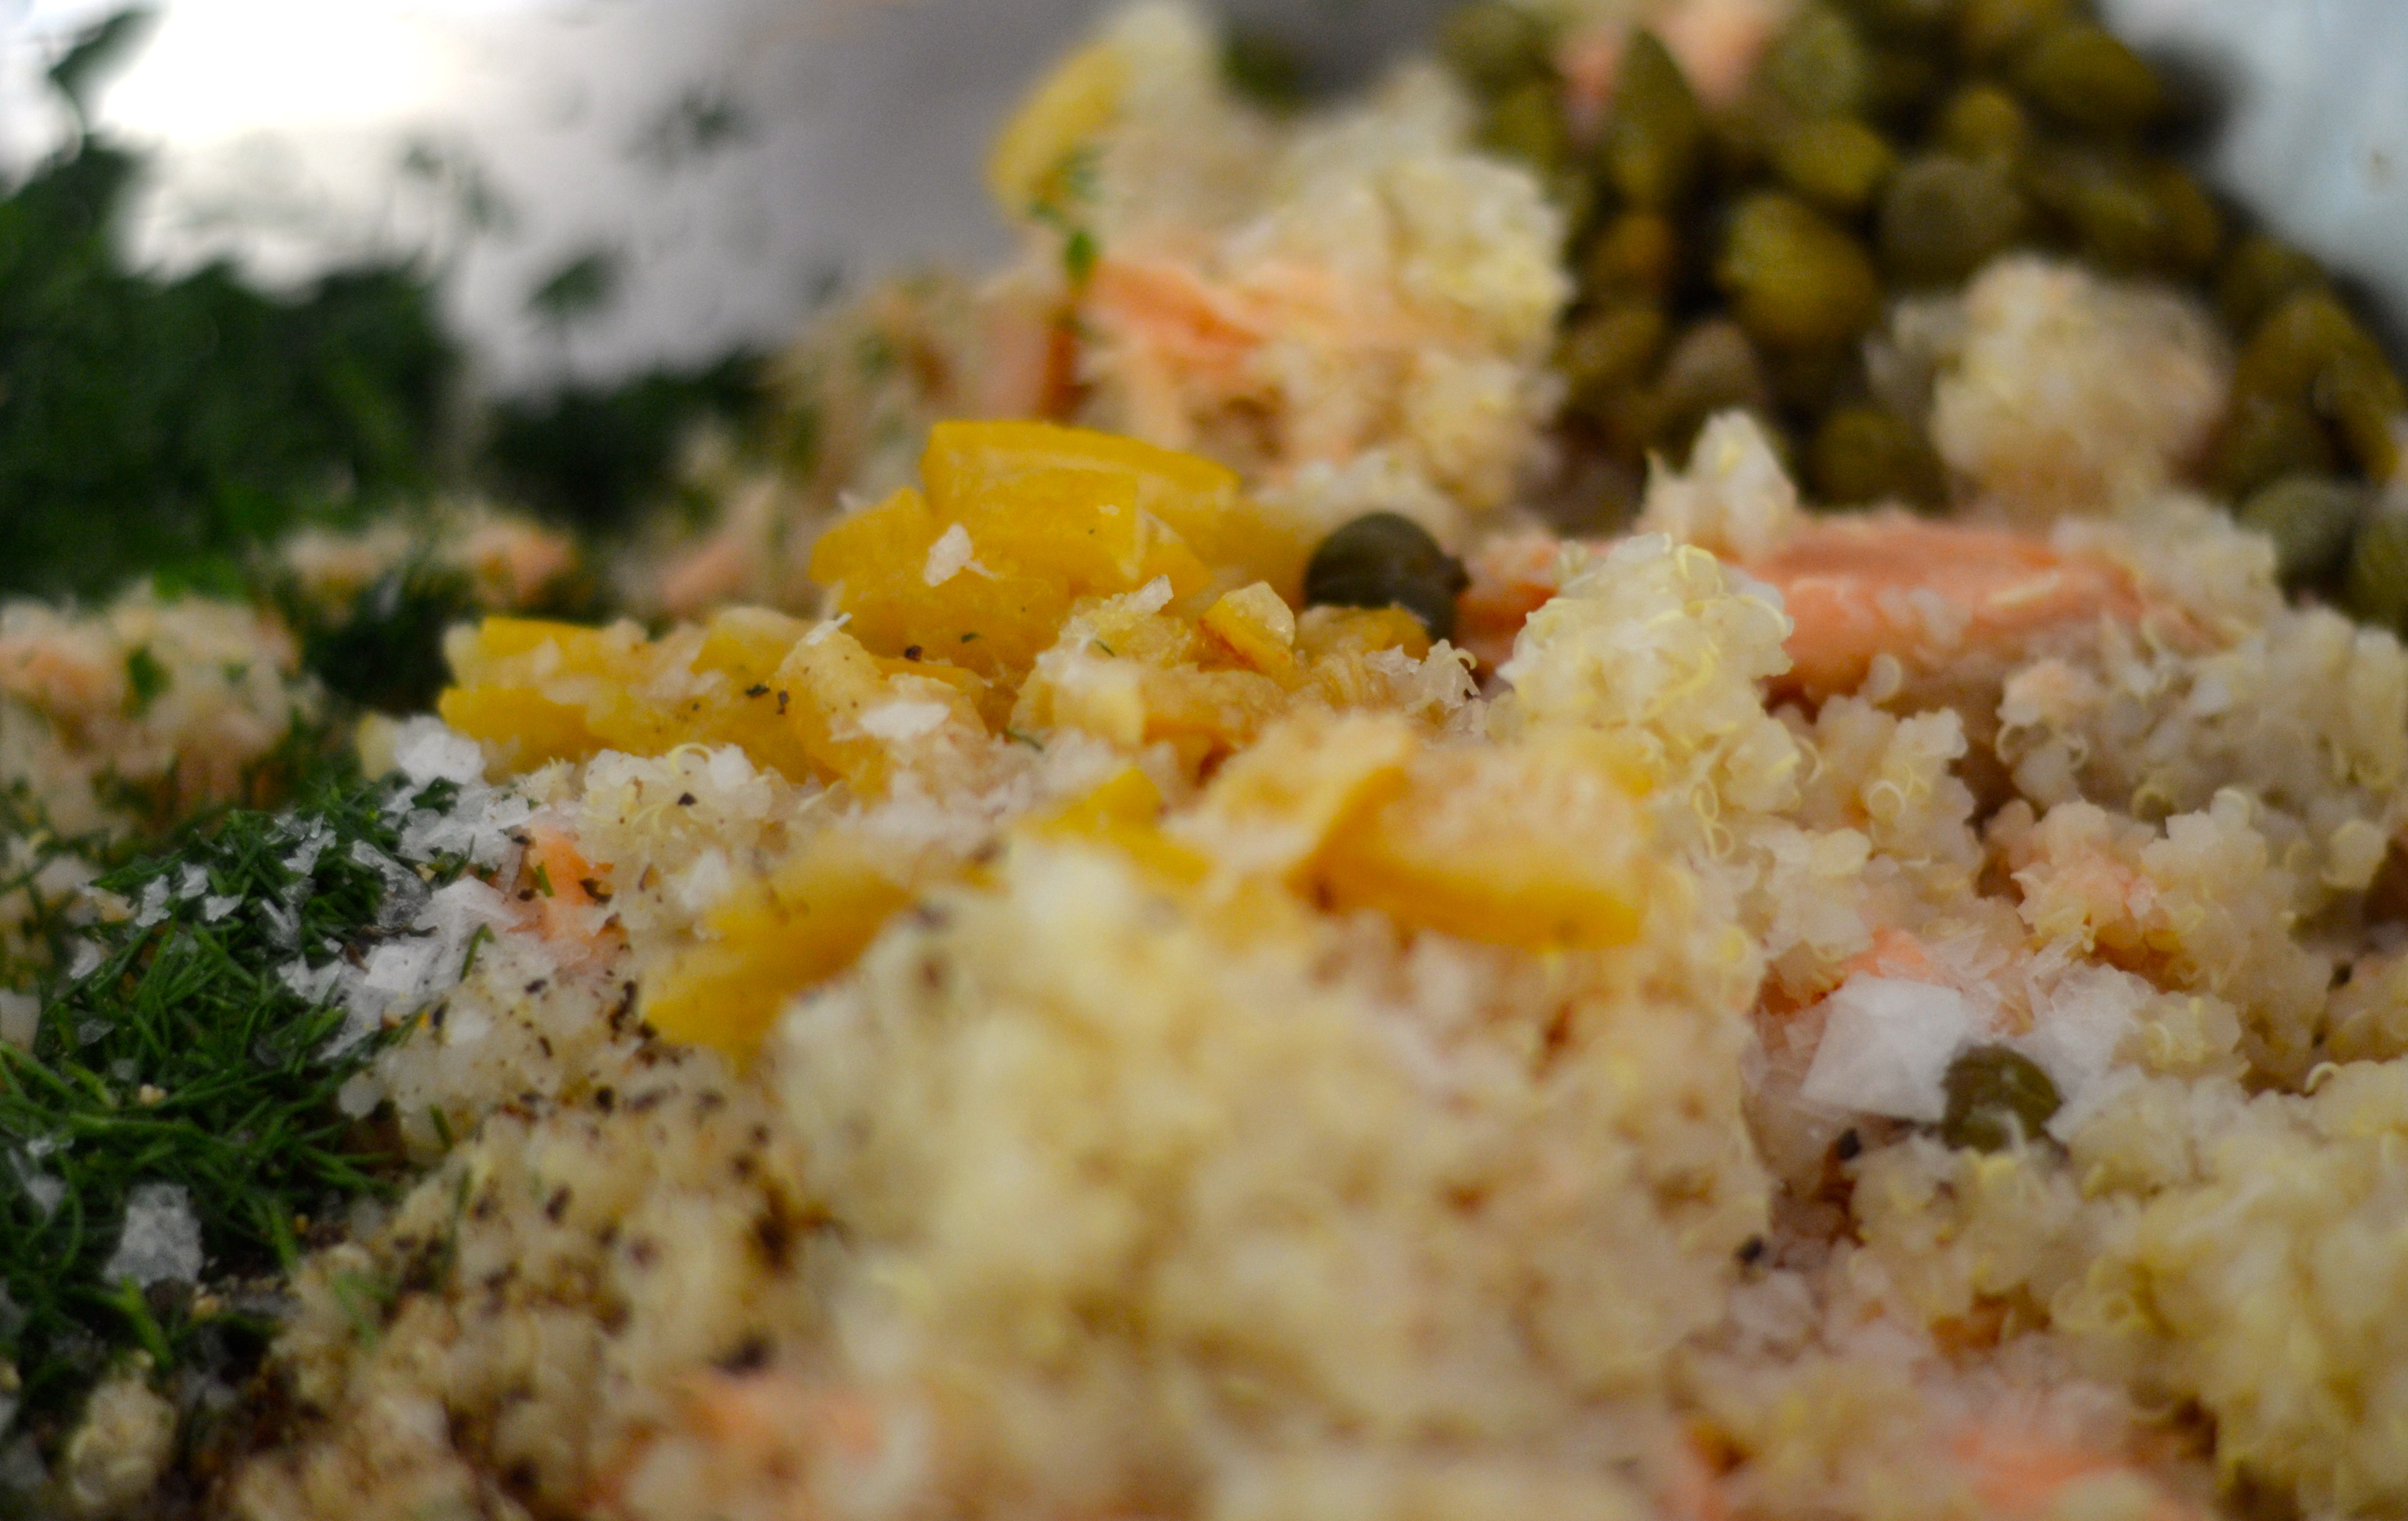
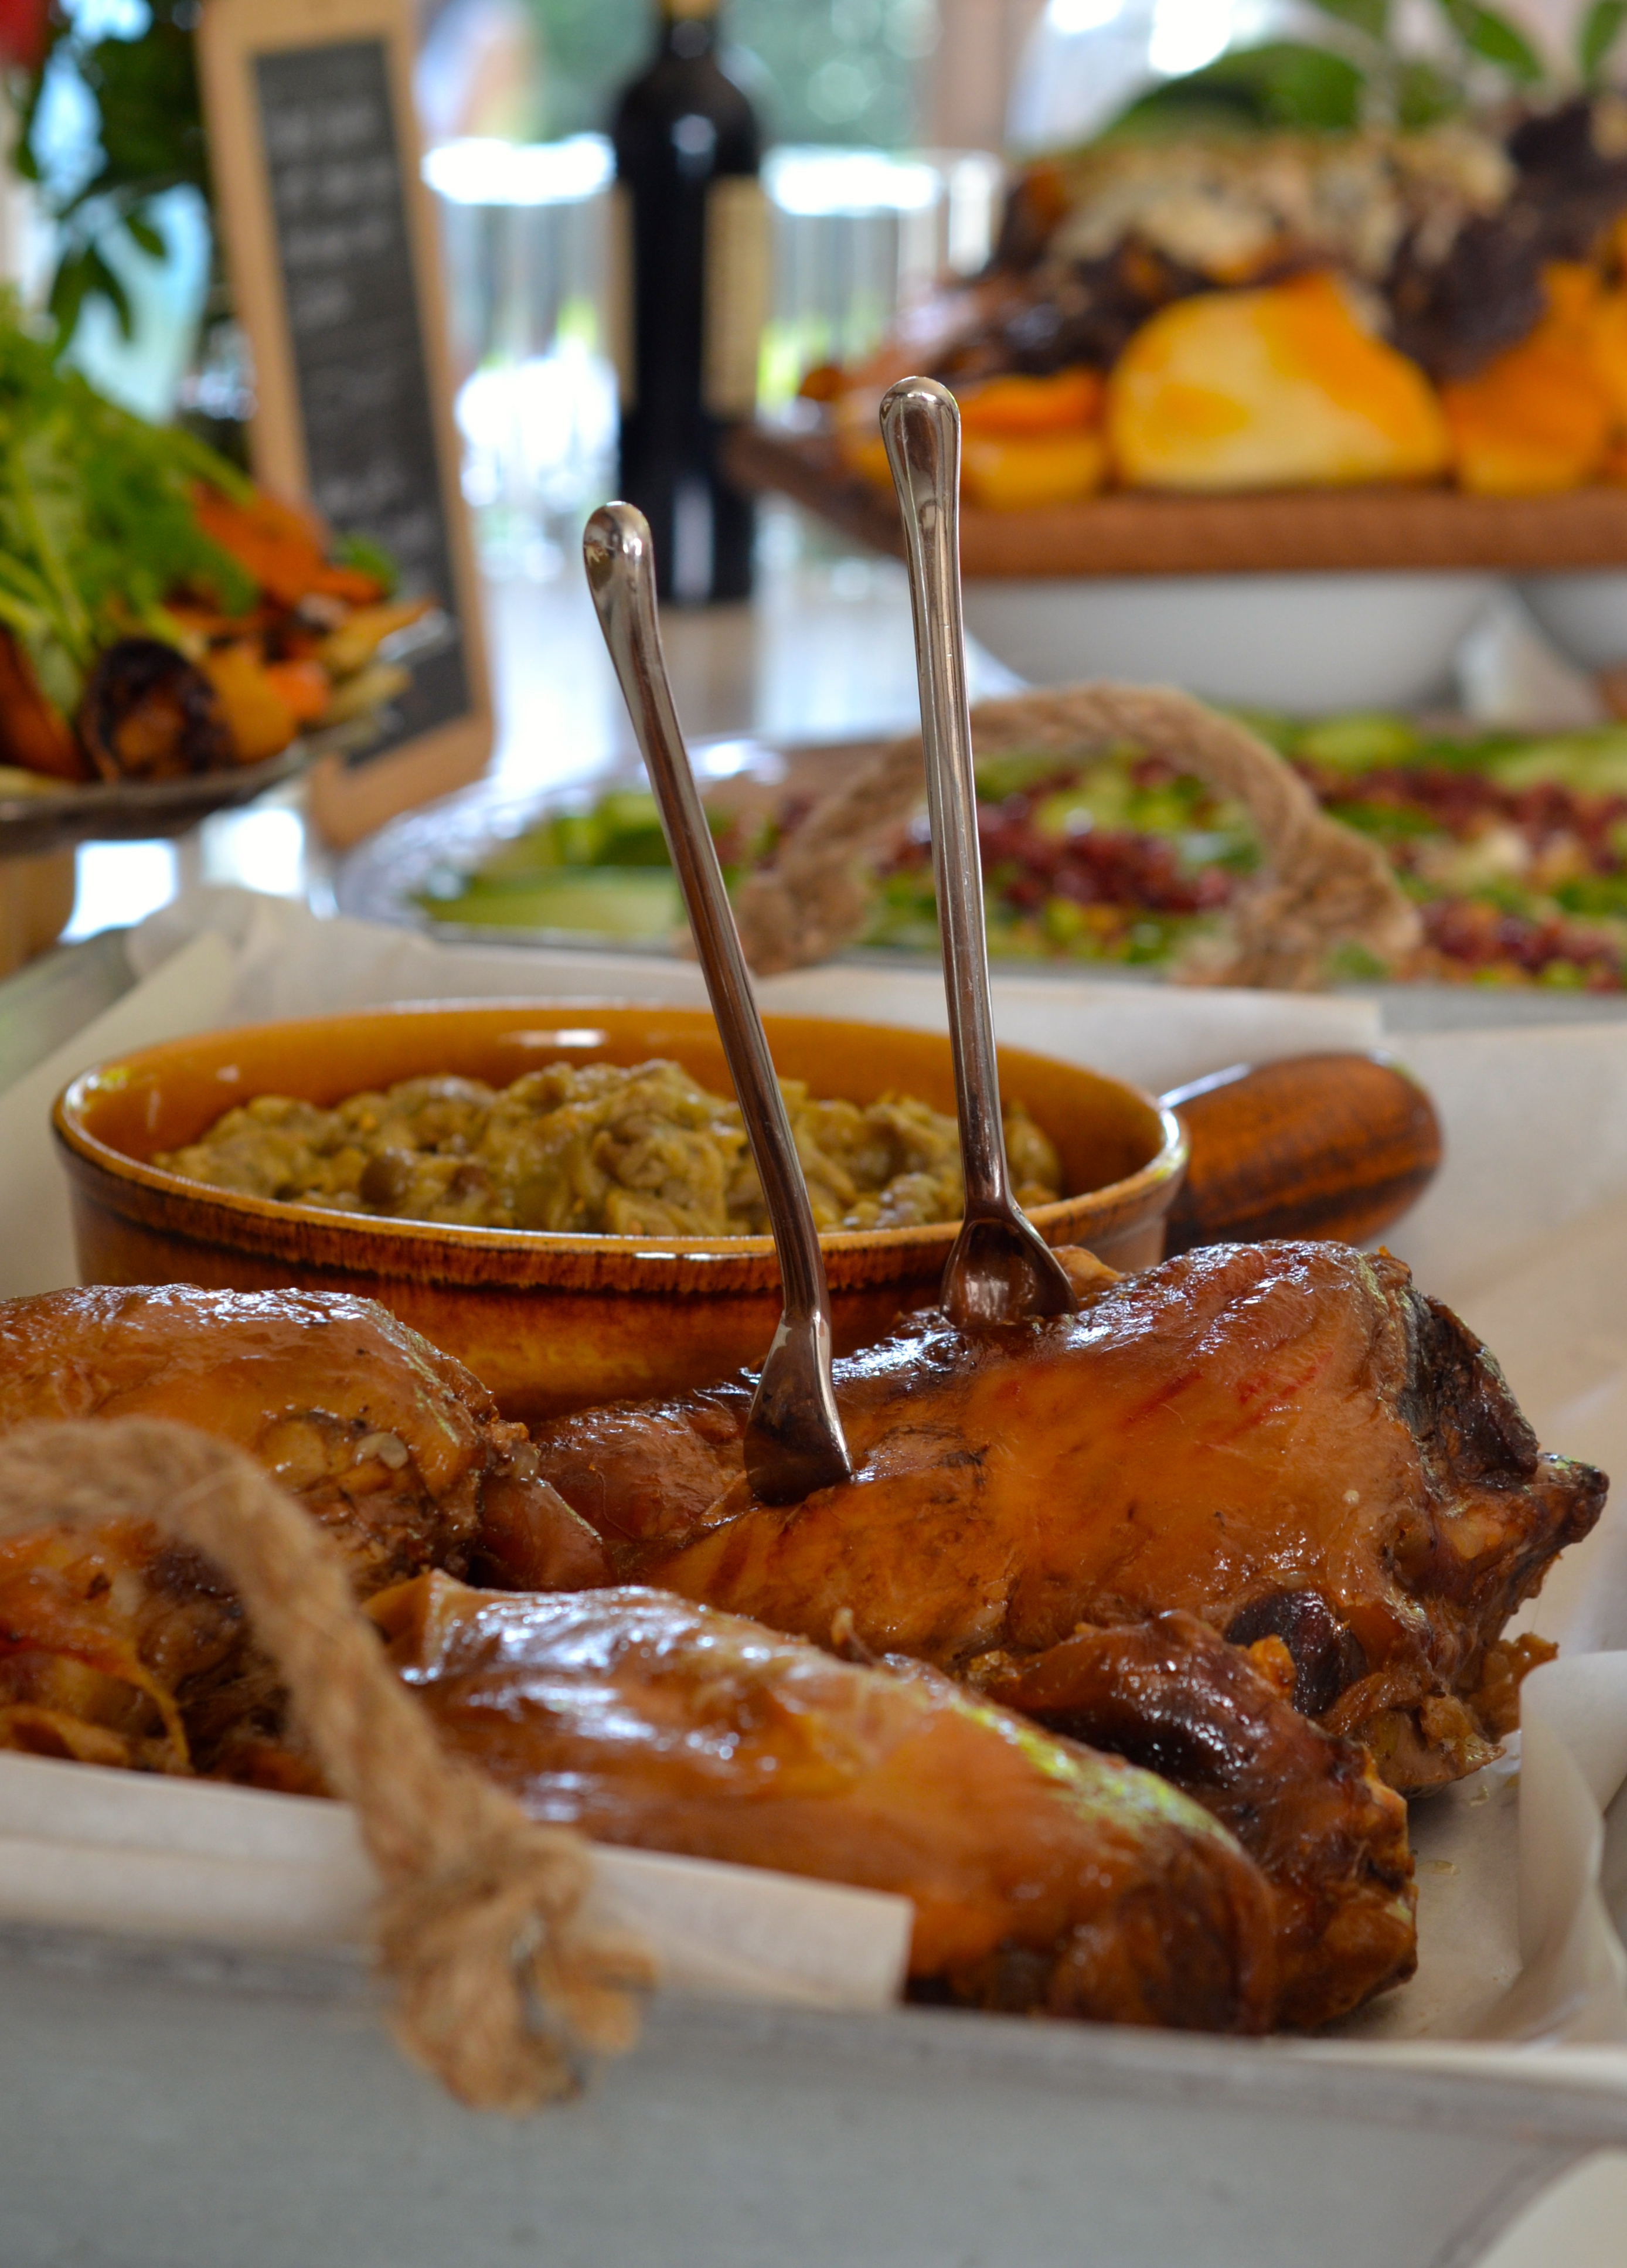
After figuring out what Matzo crackers are and the substitute, being in Australia, that I could use in their place to make Matzo balls, all additional ingredients are pantry staples; eggs, salt, black pepper and sparkling water. The only other tricky ingredient that is traditionally used to make them is schmaltz or chicken fat. It’s entirely possible to skim the top of chicken stock to gain some, or collect it from the bottom of a tray that a chicken has been roasted in. Being impatient though and determined to make the soup the next day after seeing Alice’s post, I decided to go with her mum’s version and use duck fat. Duck fat is always in the fridge and is great to have on hand. It withstands being used at high heat and imparts something special into the things that it’s cooked with. Roast potatoes are more glamorous, both in name and flavour, seared, plump scallops are made a little bit more wonderful and egg fried rice, extra tasty.

matzo ball soup

At this point I feel it’s worthwhile mentioning the chicken stock hibernating in the freezer, which makes up the rejuvenating element of the dish. Whenever roast chicken is eaten for dinner, the carcass is never thrown away. Instead it goes into a pot along with cold water and some lemon juice, which helps to extract all the lovely minerals from the bones, and simmers on the stove for most of the next day. And that’s chicken stock, at its most basic at least. Sometimes peppercorns, bay leaves, celery, carrots and onions are added. Even chicken’s feet for their gelatinous qualities. Sometimes not. Making this practice part of a kitchen routine will result in beautiful, nutritious, home cooking. Use the resulting stock to make risotto, cook quinoa, braise vegetables, create delicious gravies, master velouté sauces and add to smoothies, yes REALLY-it’s fantastic for gut and joint health and along with a banana, no-one would ever know. Thea and I pinkie promise x

matzo ball soup matzo ball soup

matzo ball soup


Matzo ball soup

Adapted from a recipe by Smitten Kitchen

For the Matzo Balls

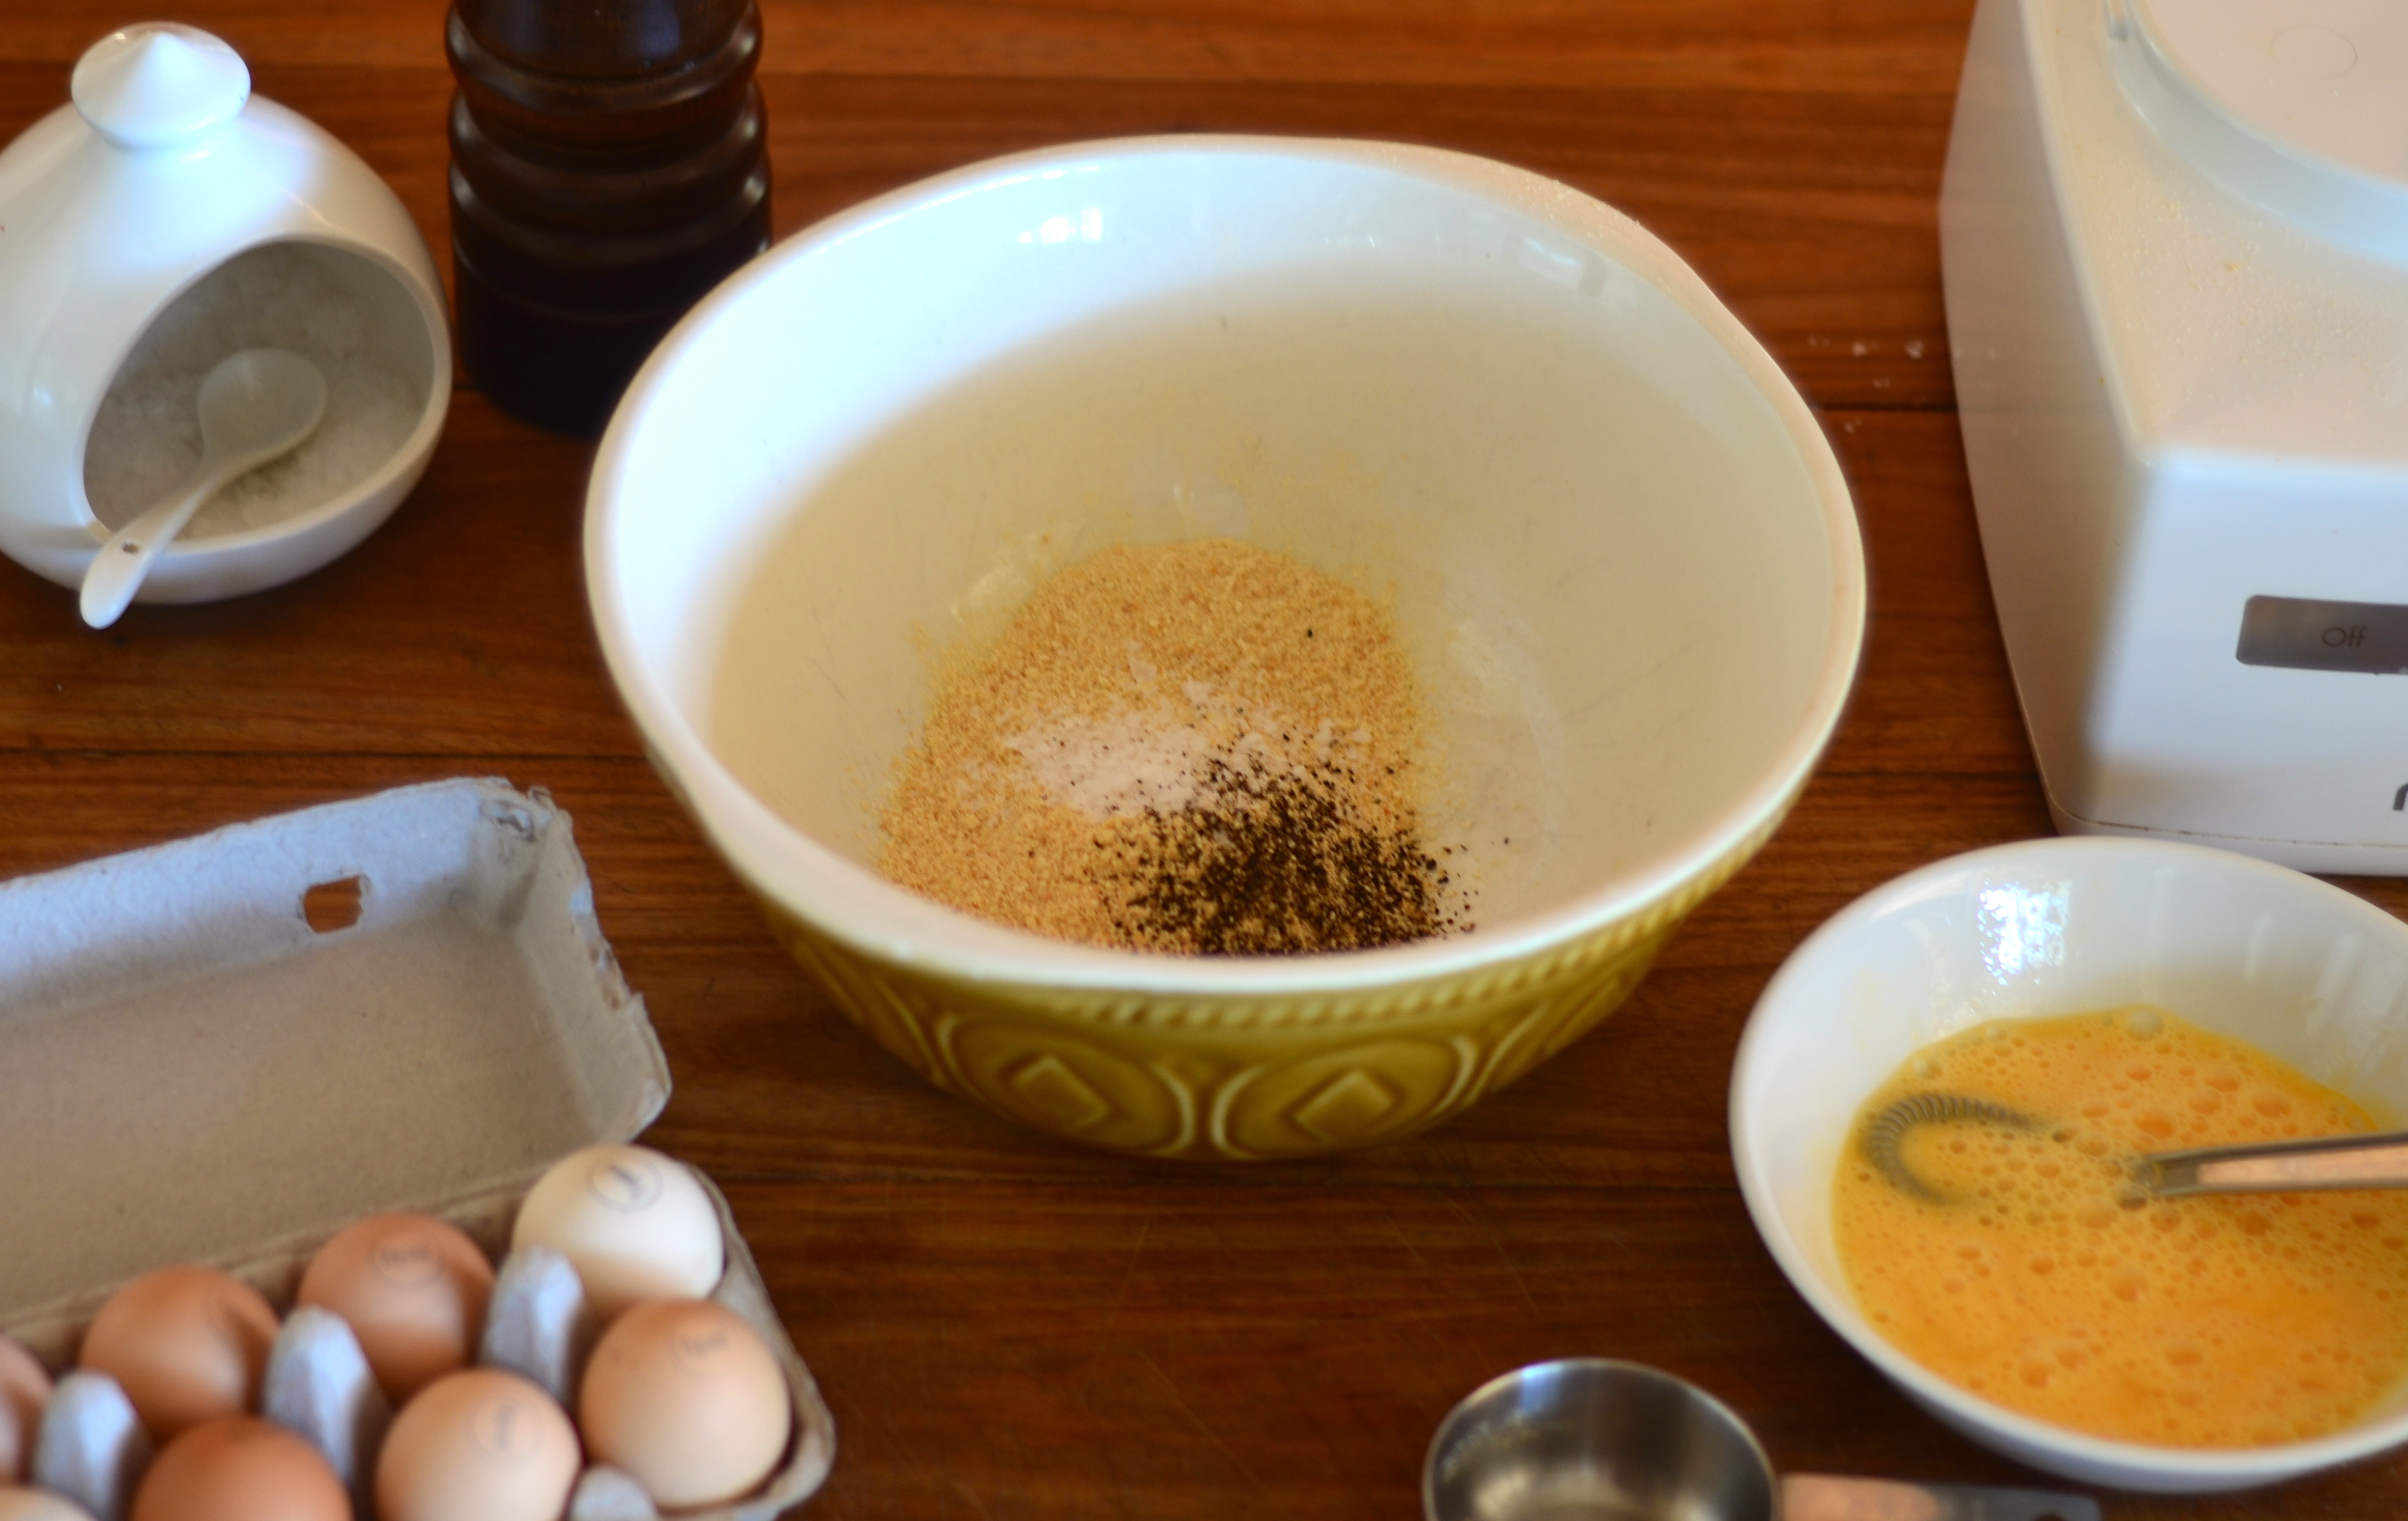
  • 1/2 cup Salada crumbs
  • 2 eggs, beaten
  • 2 tbsp duck fat
  • 1 tsp salt
  • 1/4 tsp black pepper
  • 2 tbsp sparkling water (renowned to make the balls extra light)

For the soup

  • 2 litres chicken stock, preferably home made, but a a good quality store bought one would be fine
  • 1 carrot, peeled and finely sliced
  • a few chopped herbs like parsley or dill, or a handful of frozen peas, or all of the above

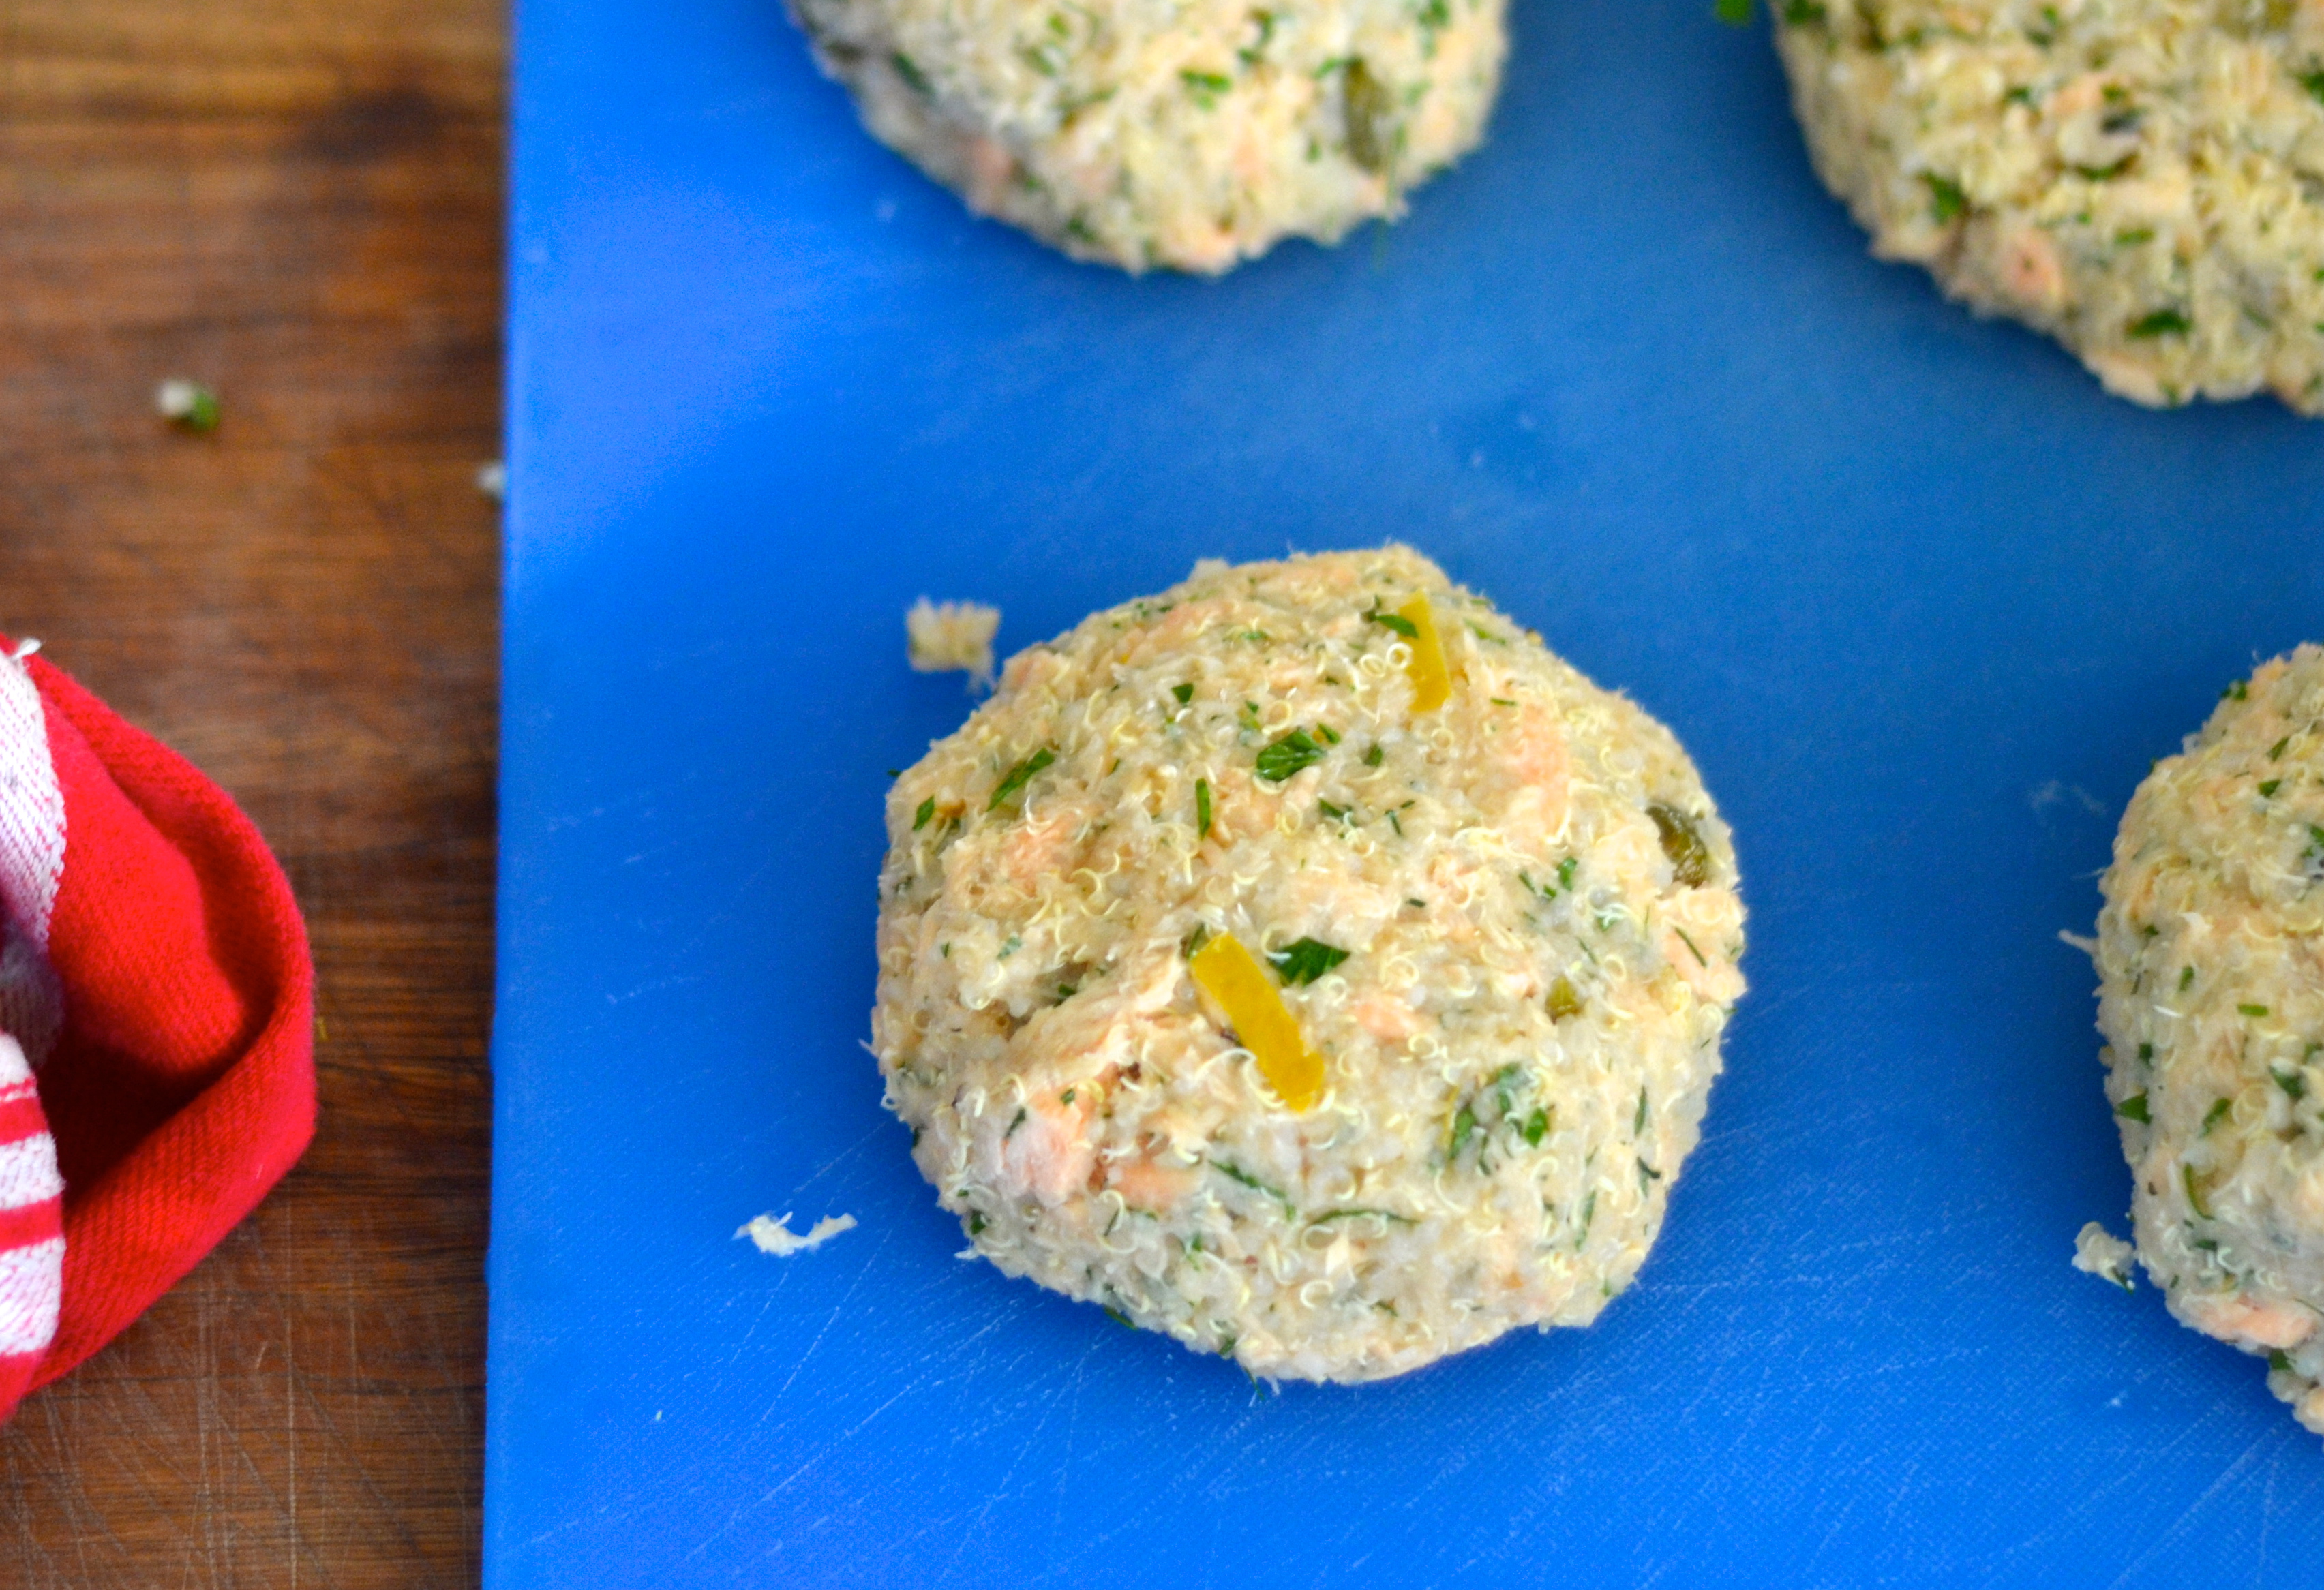
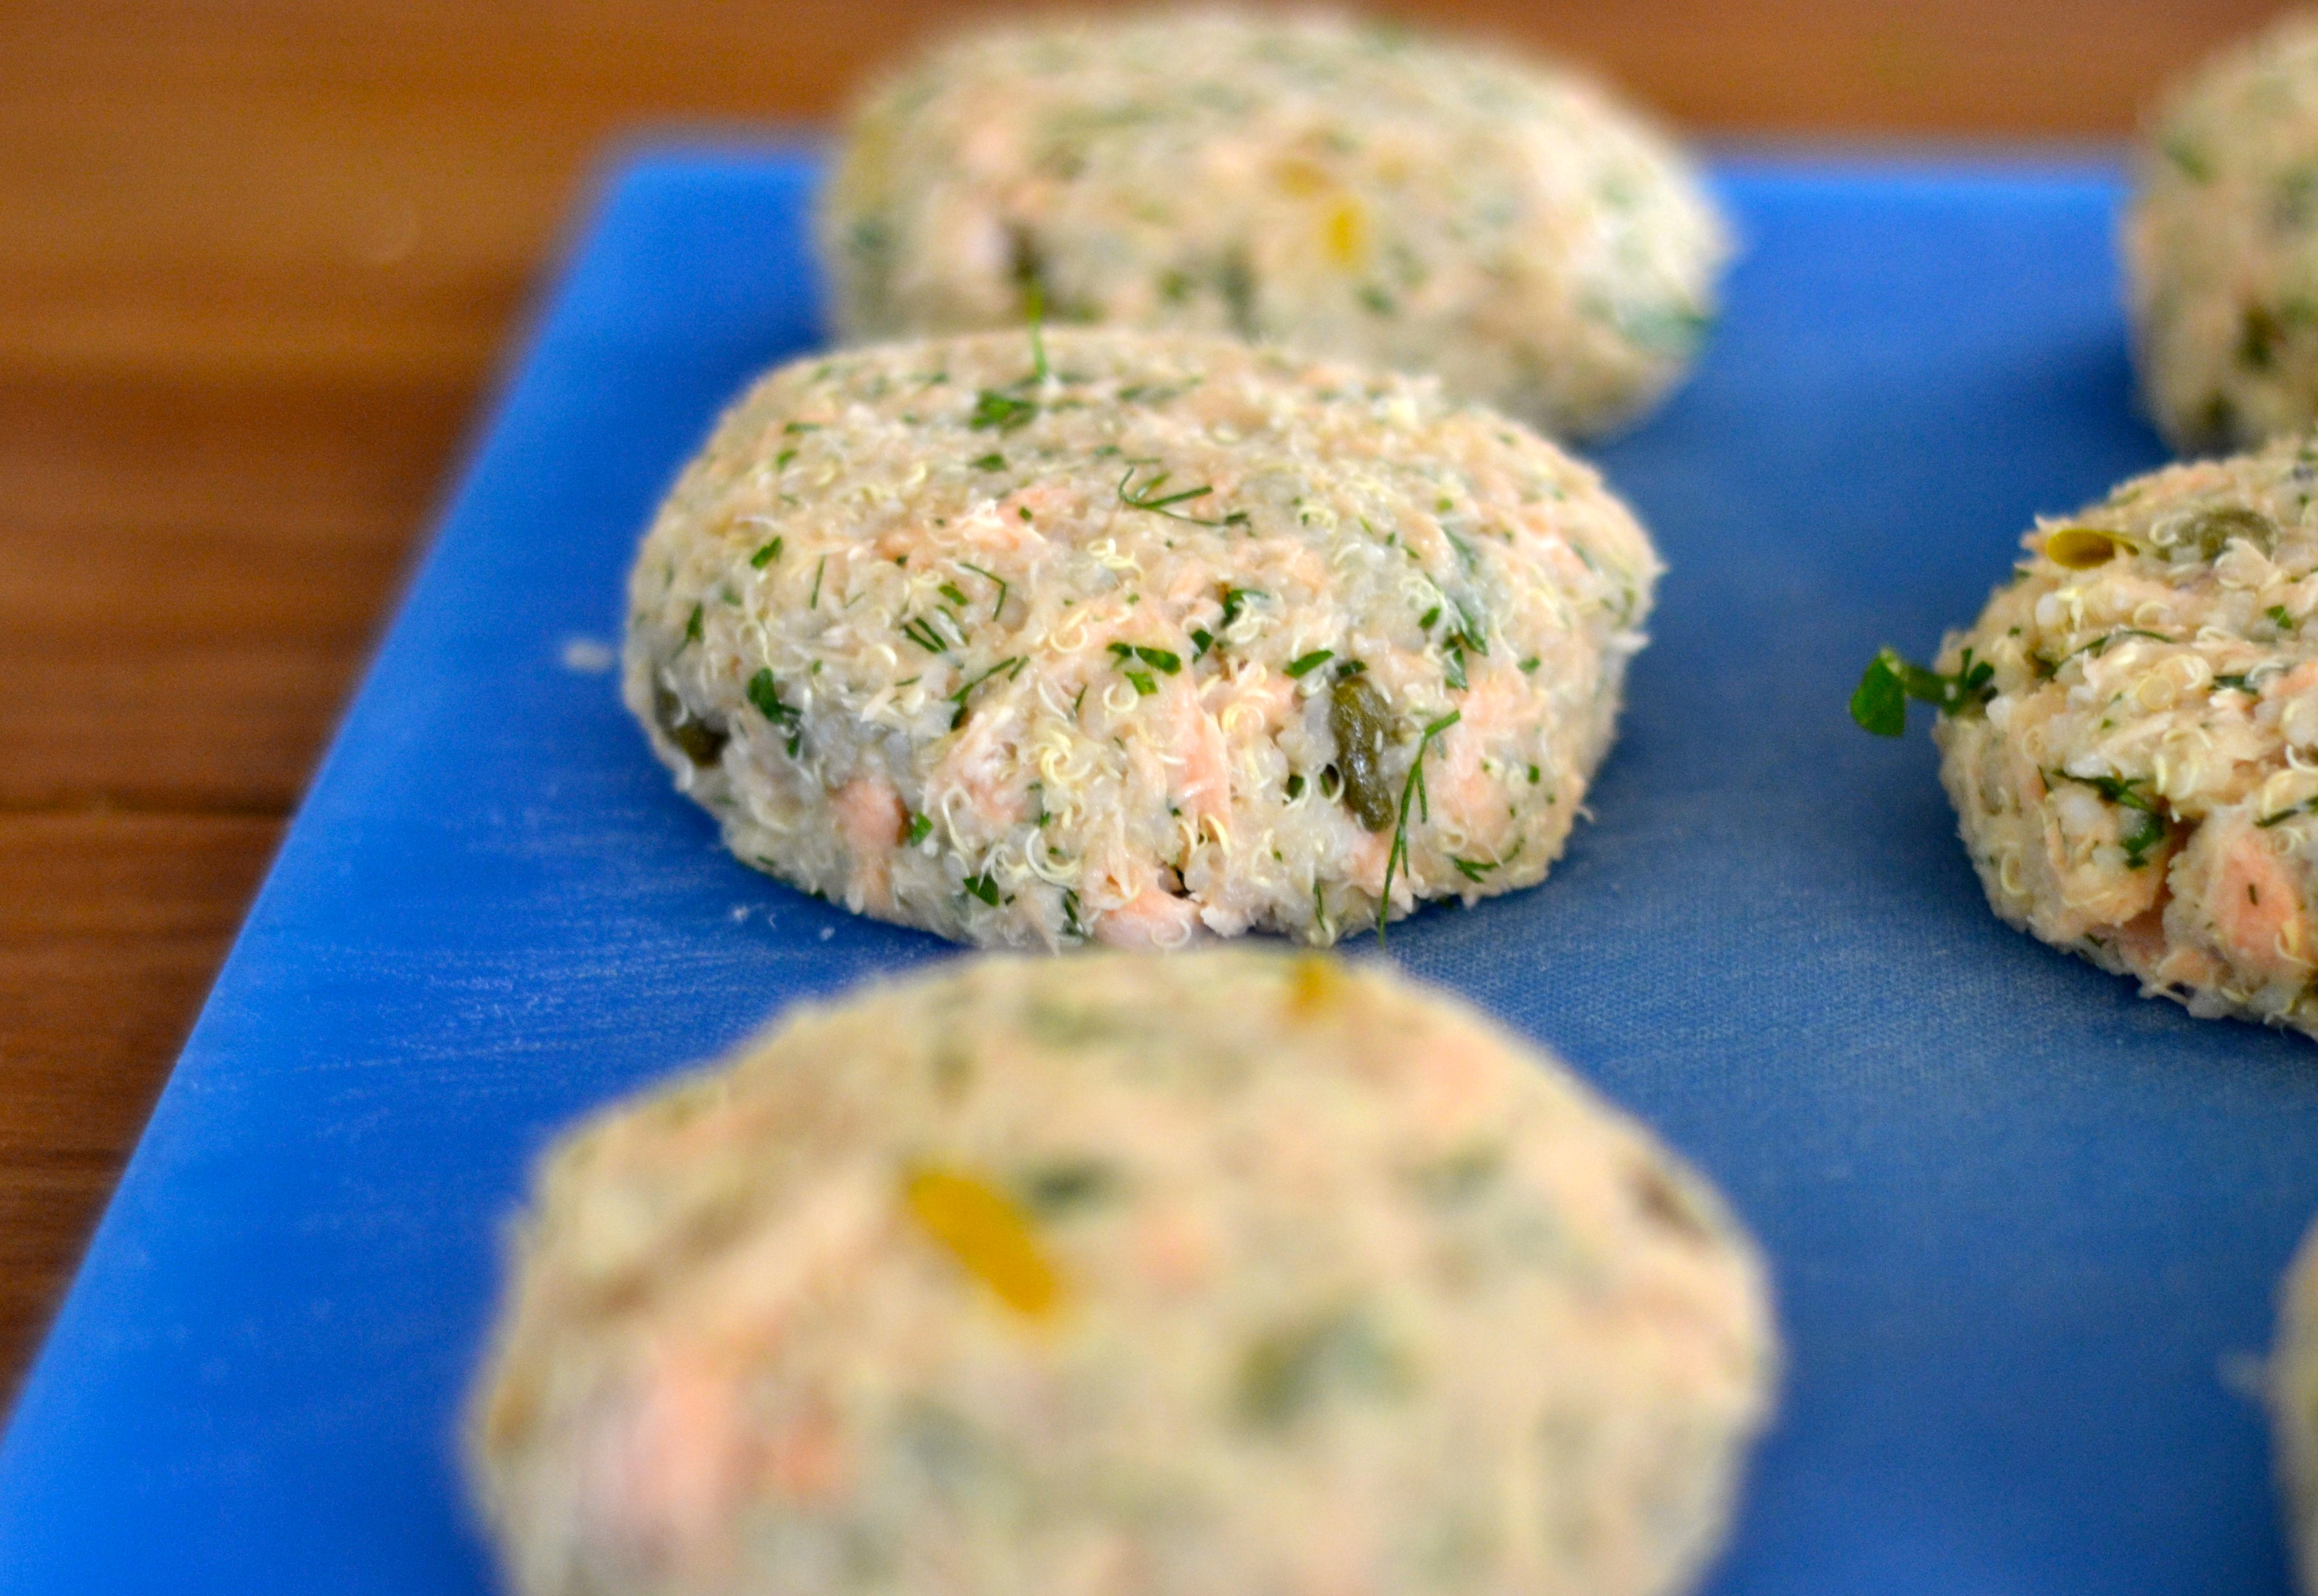
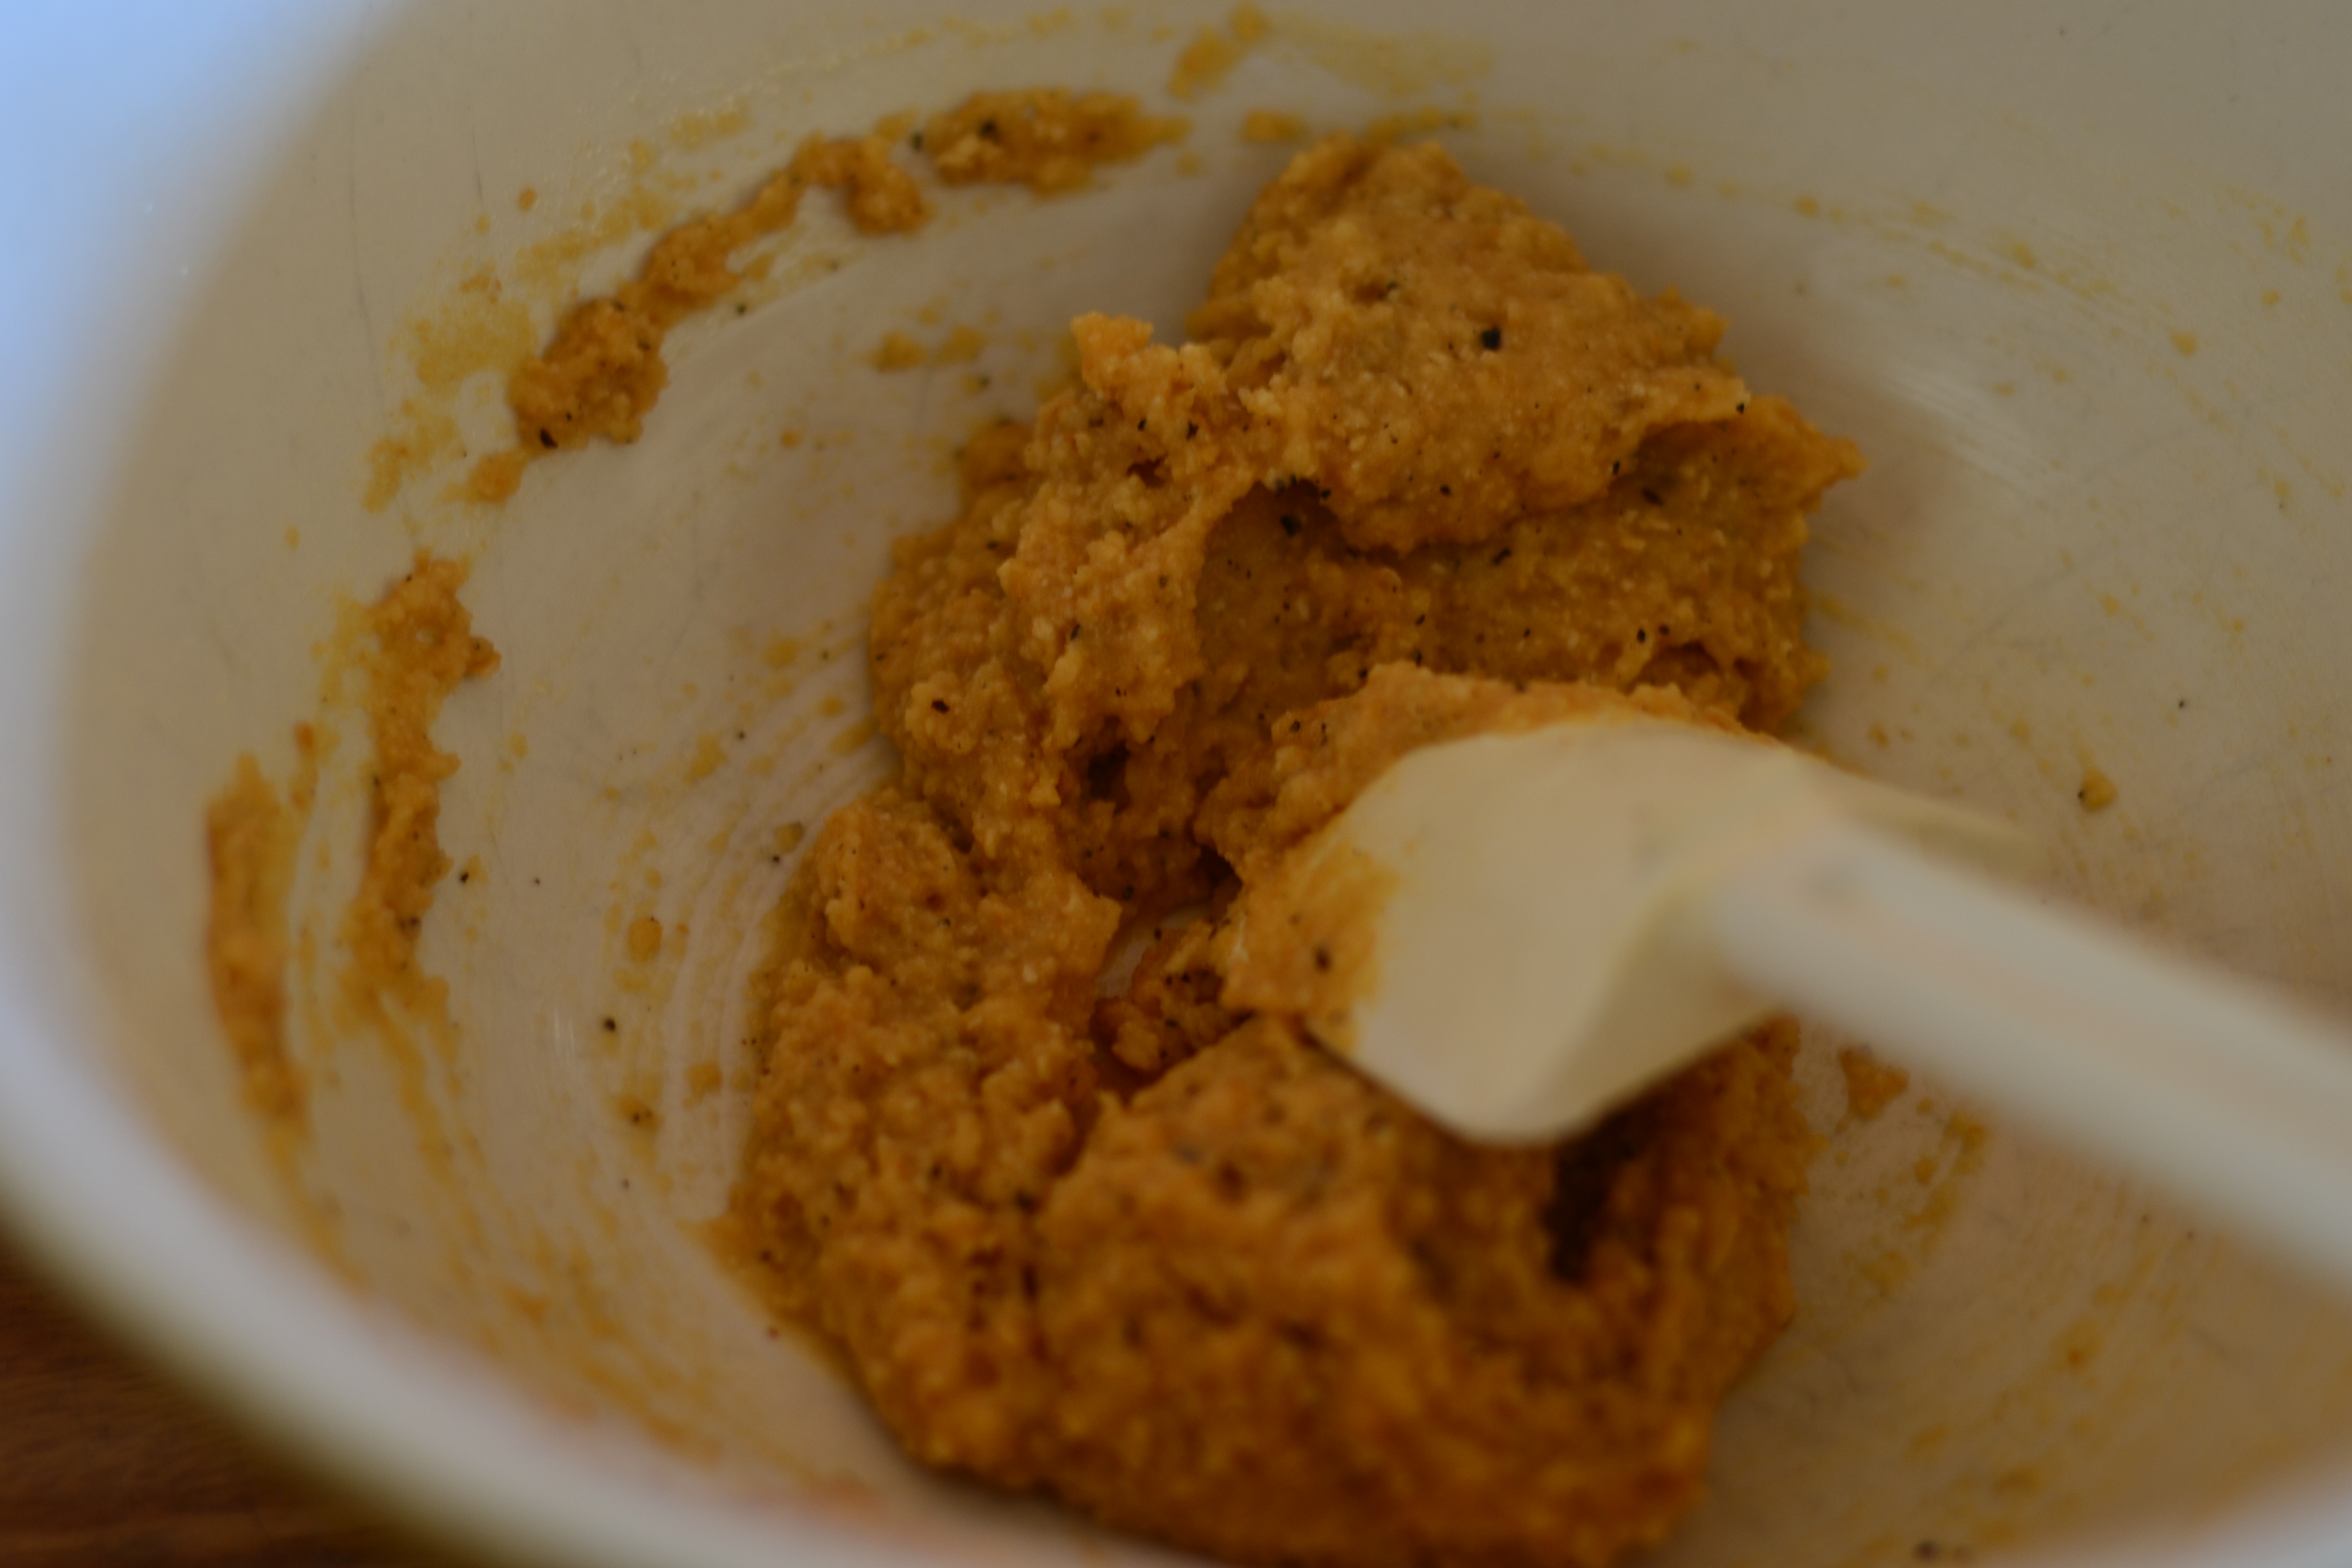
To make Salada crumbs, simply whizz the crackers in a food processor until they resemble sand, then mix them with all the other matzo ball ingredients. Cover the mixture and place in the refrigerator for at least 30 minutes. From this point on, the matzo balls will be referred to as simply balls, owing to the fact that in this recipe they contain no Matzo crackers.

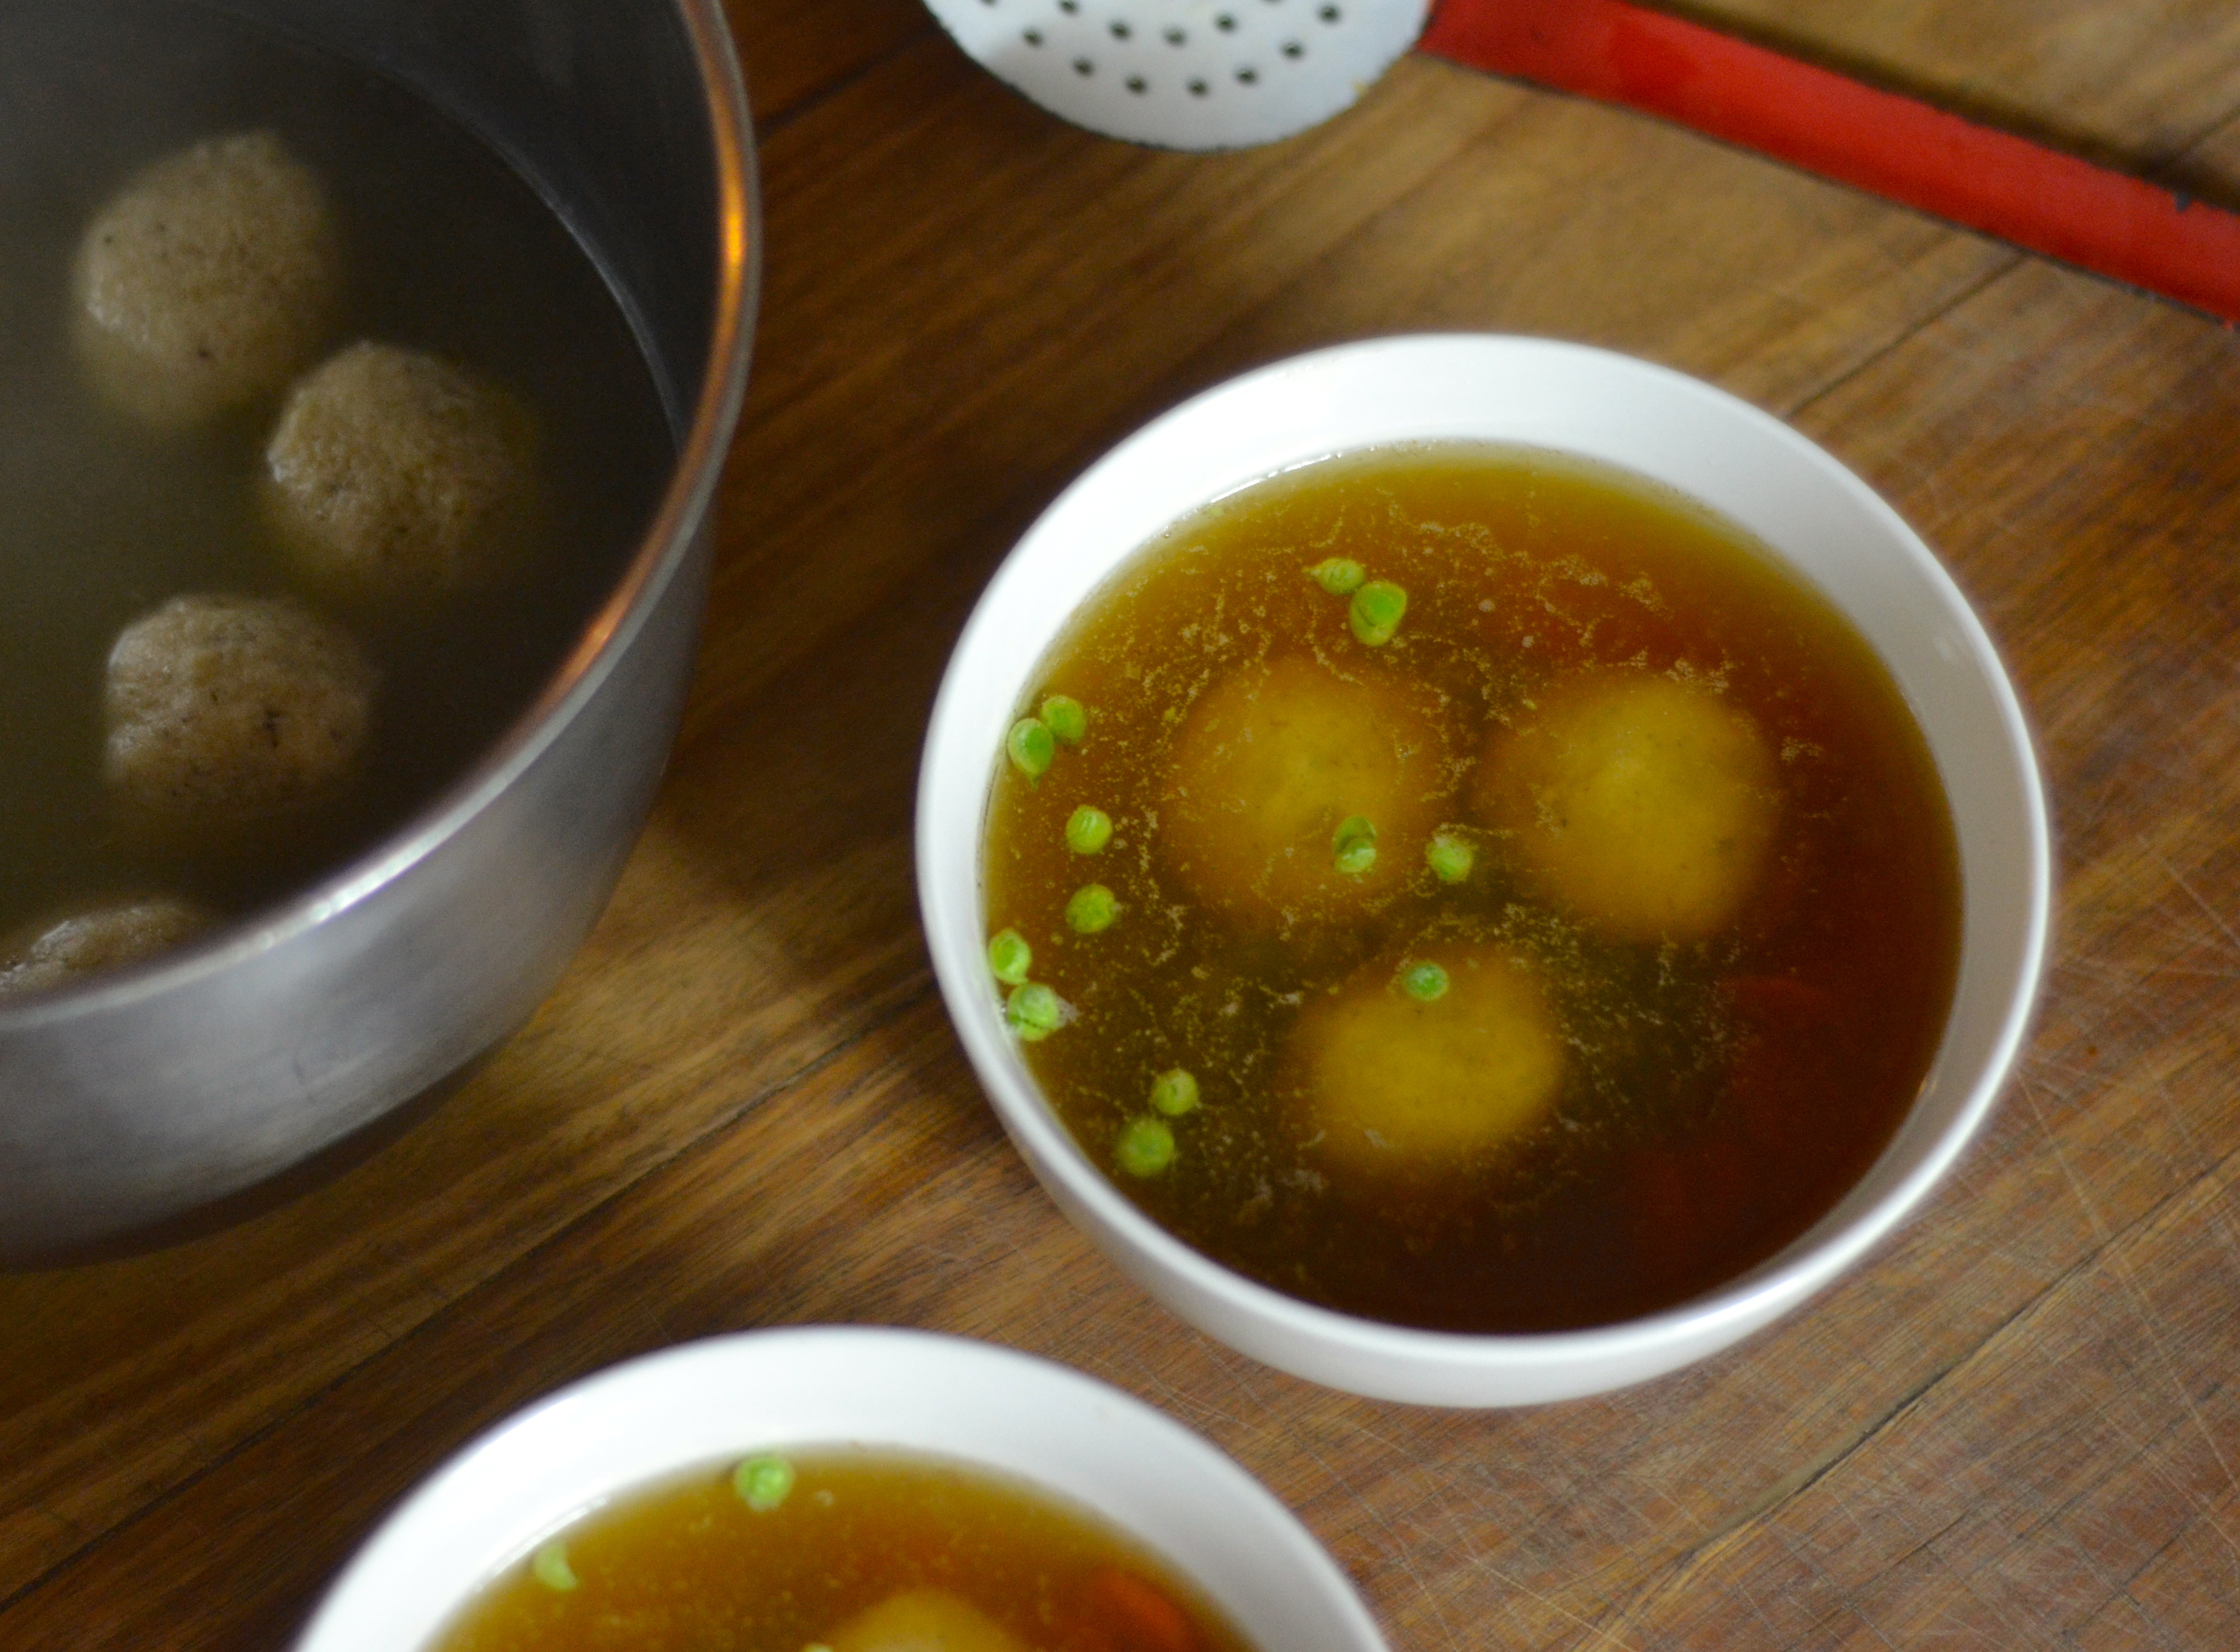
When you are ready to make the soup, bring 1.5 litres of well-salted water to a rolling boil in a medium sized pot. Reduce the heat so that the water is just simmering. With wet hands, form ping pong size balls from the Salada mixture and one by drop them into the simmering water. Cover the pot and leave the balls to cook for 30 to 40 minutes.

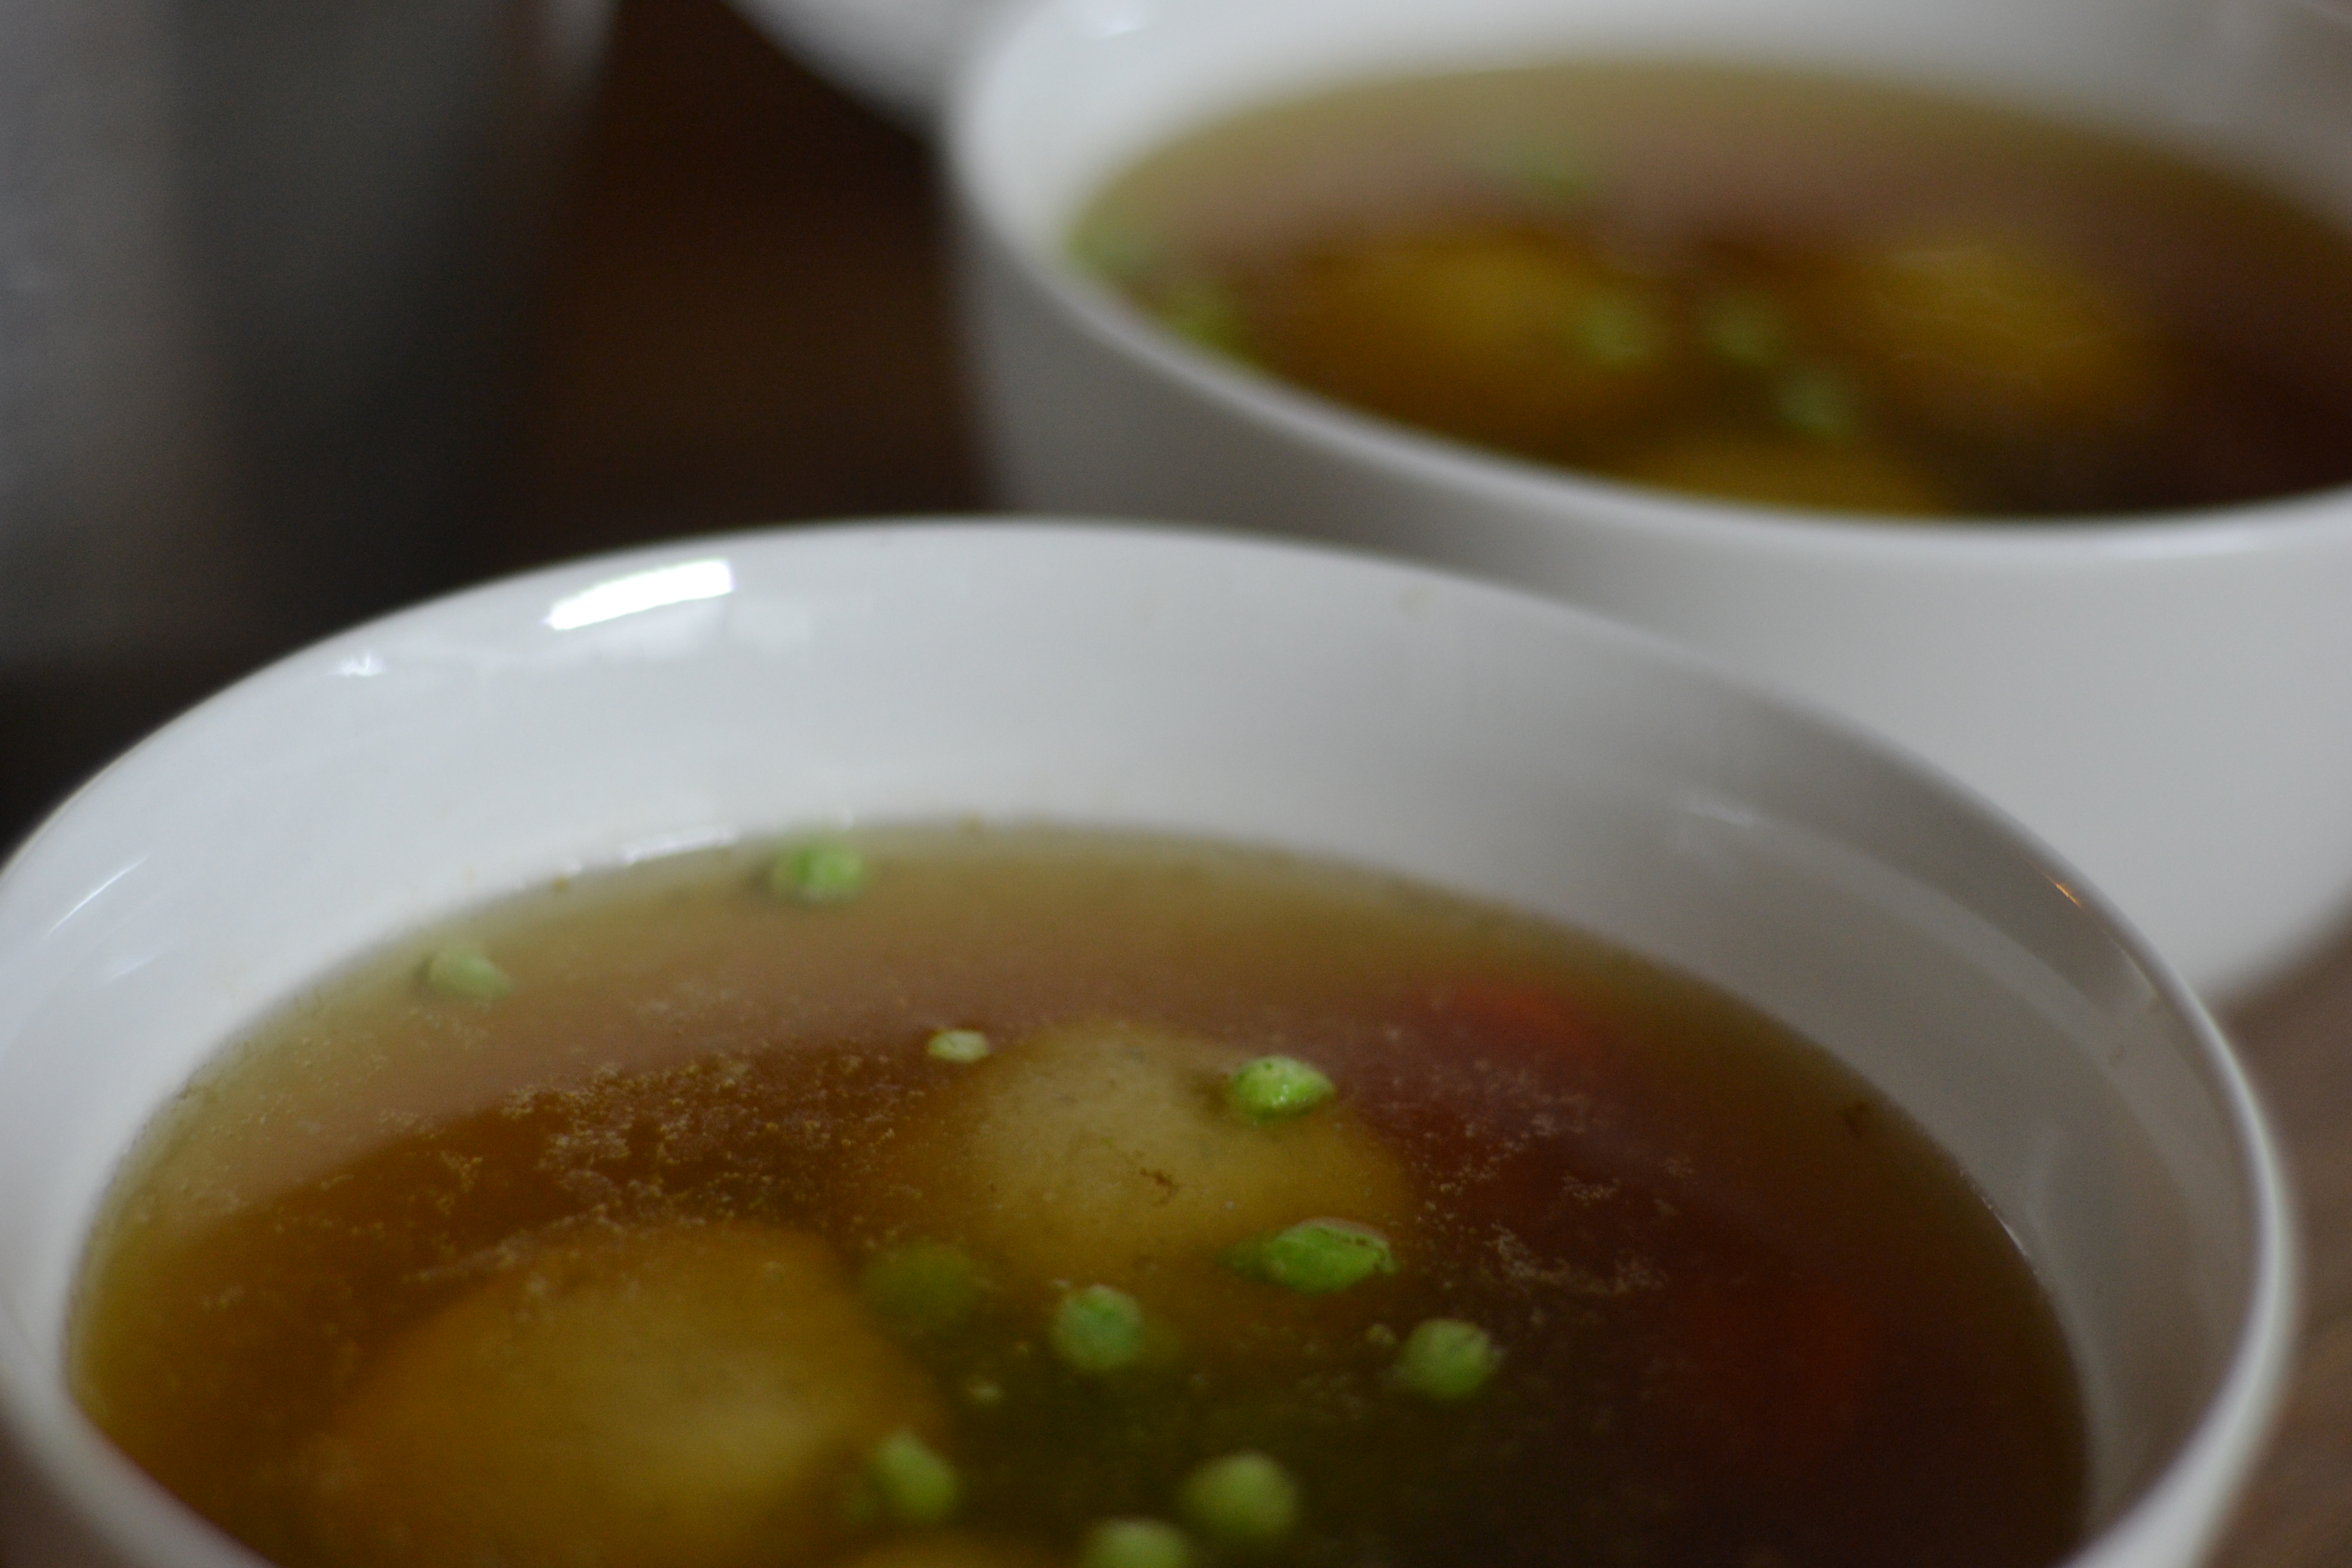
!0 minutes before the balls are ready, bring the chicken stock, with the discs of sliced carrot, to simmering point. When both the stock is hot and the balls are ready, if they are floating this is a good indication that they are, ladle a few spoonfuls of the stock into a bowl and add two, three or four balls depending on your appetite. Sprinkle with a few herbs and enjoy x

Overcooked quinoa 2 ways.

overcooked quinoa

I’m not quite sure what I was thinking, but I added double the recommended amount of water to cook some quinoa the other day. Having spied some preserved lemons at the back of the fridge, I was intending to make a Morroccan inspired salad to go with some lamb cutlets. Then besides dinner, I got stuck in to other household chores, rushing to get them done before Thea woke up and totally forgot about the simmering pot on the stove. After a sharp intake of breath when I remembered the intended base for the salad, which now resembled a mass of tiny, sludgy, beige pearls, I composed myself and set about thinking what the hell was I going to do with a mound of overcooked quinoa.

overcooked quinoa

I’m not one to waste food, which drives Mark crazy. He despairs with all the little parcels of leftovers in the fridge, but I always find a use for them. Stale sourdough bread is consistently made into crumbs for schnitzels, the ends of cheese are grated to go into a smelting pot in the freezer for pizza, cheese sauce and the occasional toasted sandwich and leftover gravy is added to béchamel sauce for robust green leafed  vegetable gratins that I love to serve with roast pork.  Faced with the watery, stodgy, flavourless mound of pseudo grains, I thought about what they resembled and in turn might be converted into. The mushy quinoa seemed like it would work well in place of mashed potato to make salmon cakes. And the fishcakes could be spiked with preserved lemon, capers, dil and parsley, punchy ingredients that would transform the bland pile into something edible once again. Some crisp green leaves would form a complete evening meal and once again dinner was back on track.

overcooked quinoa

But wait. That’s not all. After making six large salmon fishcakes, I still had oodles of overcooked quinoa left. I started to wonder if I’d added four times the amount of water I was supposed to! That or I’d had a brain freeze and cooked enough for a large catering order. Either way, another recipe was needed to make use of what still remained. With the tiny person still asleep, I embarked upon another dish. This time a recipe from the Petite kitchen cookbook for Cheddar and quinoa muffins with sun dried tomatoes and basil. Single serve snacks that could be put in the freezer for when a tummy rumble struck. They’re very simple and quick to make and baked in little paper cases, an entirely portable snack.

overcooked quinoa

After all the huffing and puffing and scolding of myself for not having set a timer for the quinoa, I was now able to survey my kitchen bench burdened with dinner, possible lunches and enough snacks for the foreseeable future. Hindsight usually reveals mistakes to be entirely perfect in their outcome.

overcooked quinoa

 Salmon fishcakes – a recipe using overcooked quinoa.

4 cups (over)cooked quinoa
2 fillets of cooked salmon, flaked
A handful of chopped parsley
A handful of chopped dill
1-2 tbs chopped capers
1 preserved lemon, rind finely chopped
Sea salt and black pepper
2 eggs

Mix all ingredients together in a large bowl and then shape into tennis ball size fish cakes.

I will confess that I tried to pan fry one of the salmon cakes, imagining that it would go crisp and chewy. This was not the case as the patties were too wet from, ahem, the overcooked quinoa. Baking resulted in a much better result.

Bake for 30-40 minutes at 180C.

Enjoy with a crisp green leaf salad.

Cheddar and quinoa muffins with sun dried tomatoes and basil.

From My Petite Kitchen Cookbook by Eleanor Ozich

540g cooked quinoa
4 eggs
100g Cheddar cheese, grated
2 large handfuls basil, chopped
40g sun dried tomatoes, chopped
Sea salt and black pepper

Mix all ingredients in a large bowl and then divide among the holes of paper lined muffin tin.

Makes approximately 6 large and 12 mini muffins.

Bake at 180C for about 25 minutes.

The best roast lamb ever.

the best roast lamb ever

I have been wanting to share this recipe with you for a while. Well, it’s more of a technique really. A way to cook the best roast lamb ever. It requires no effort. None. Apart from actually going to your butcher and buying a leg of lamb or three, getting a roasting tray and some foil ready and turning on the oven. That’s it. And the results are worthy of any dinner table. Tender, moist, flavoursome lamb that falls away from the bone with the touch of a feather. The thing that makes this lamb so great, apart from the ease with which it’s cooked, is the time that it gives you once it is done. It will happily sit on the kitchen bench wrapped in foil and a beach towel for hours. YES really, while you, well, get ready for the party!

the best roast lamb ever

The thing about once having been a cafe owner is that you get to repeat tasks over and over again, and you become quite skilled at certain recipes. By making mistakes and learning from them, you get even better too and realise what works and what certainly does not. So having cooked lamb like this to fill wraps along with tabbouleh and minted yoghurt many, many times, the process has become second nature, but the results are no less memorable.

the best roast lamb ever

I think the whole process of cooking lamb for lengthy periods of time first started after reading Paula Wolfert’s recipe for Seven Hour Garlic Crowned Lamb in her wonderful book The Slow Mediterranean Kitchen. Again I read Alice Waters‘ thorough explanation of slow cooking shoulder joints in her book The Art of Simple Food and somehow combined the two accounts to create a method where I could put lamb in the oven just before I went to bed and then take it out first thing in the morning ready to take to the cafe with me to satisfy lunch time customers. The technique is well tested.

DSC_1042

Preparing lamb in this way has also become a favourite dish with some of my regular chef by the sea catering clients. Perhaps because even though the meat in itself is a spectacular but understated main, it’s the perfect partner to such a wide array of sides. Complemented by smoky baba ganoush or piquant chimichurri, at home with roast potatoes or herby quinoa, side by side with shredded kale, barbecued corn or roast pumpkin, on a plate for lunch and in a roll for dinner. It’s a perfect entertaining staple. And I hope that it serves you well.

the best roast lamb ever the best roast lamb ever the best roast lamb ever a cheese cake a cheese cake

The best roast lamb ever

For this recipe, which is more anecdotal than a precise list of steps, you will need three things.

  1. A whole leg or shoulder of lamb, bone in.
  2. A deep baking tray
  3. Aluminium foil

Preheat your oven to it’s hottest setting, so somewhere around 250 C. My oven is like a furnace, which for some things is actually fantastic, like caramelising the outside of a joint of meat before leaving it to braise in a few inches of water for the day or overnight.

While the oven is preheating, place the meat in the baking tray and when the oven’s little light goes out to indicate the right temperature has been reached, pop your joint of meat in for 20 minutes.

When 20 minutes has elapsed, remove the meat from the oven and turn the temperature down to about 100 C. The first time you do this you may need to use an oven thermometer to calibrate the point where your oven cooks at the is temperature, because for me this heat is not actually any temperature indicated on my oven’s dial, but rather marked with a Sharpie from having worked it out many times before.

Before putting your meat back into the oven, fill the baking tray with about two inches of water and cover it tightly with foil. Now put it back into the oven and you can leave the lamb to cook anywhere from six to 12 hours.

Before serving the lamb, and I believe this detail to be just as important as the initial 20 minute heat blast, remove it from the oven and its baking tray, place it on a deep platter, wrap it in foil and cover it with a towel. I have even placed the lamb in a suitable plastic container and popped it in an esky to rest and keep warm. It will sit quite happily for a few hours and still be piping hot, but succulently moist when you come to serve it.

And to serve, simply use two forks or a pair of tongs and help yourself.

Enjoy x

My top pavlova making tips.

DSC_0240

DSC_0245

Today was a perfect day. It began with sipping my morning coffee while browsing though the Sunday paper, the whole time wresteling with Thea for a portion of my Birthday almond croissant. Of course she won, stuffing fistfuls of the nutty, flaky pastry into her mouth with complete abandon and glee.

DSC_0242

The breakfast battle over, I donned my kitchen apron and ran through my prep list for lunch. Moreton bay bugs with garlic and parsley butter, mango and coriander marinated prawns, chargrilled squid and cannellini bean salad, homemade sourdough crumbs and herb topped mussels and buffalo mozzarella and tomato salad. Oh and a huge, billowy, two tiered pavlova, with more cream than necessary and fresh summer berries.

DSC_0228

DSC_0250

Being a celebratory day, Pimm’s was the aperitif of choice, which after quaffing, we all sat down to eat. Since we were all family, there was no ceremonious behaviour around the table and platters of seafood were passed up and down, back and forth, as everyone dug in and filled their plates. Even Thea, seated at at the head of the table in her high chair, sat still for a portion of the meal, munching on this and that, sometimes sneakily feeding what she didn’t like to the dog. (It always makes me chuckle how much she delights in doing this, as I’m sure must he!)

DSC_0249 DSC_0252 DSC_0253 DSC_0261 DSC_0288 DSC_0282

The main course finished, it was time for dessert. A Cinderella skirt size pavlova, decked out in whipped cream, strawberries, raspberries, blueberries and blackberries was served. It was wonderful to actually sit down and be able to savour one of my own meringues. I have cooked so many this summer, and thankfully, the practice has paid off. It was delicious. And devoured. No one complained about the larger than average portion sizes of crunchy, creamy, light, soft, sweet and chewy final course and yes please to seconds. A truly perfect way to finish a long birthday lunch.

DSC_0295

DSC_0307 DSC_0325

Pavlova

The following is enough to make a beautiful two tiered pavlova. Adjust accordingly.

  • 8 egg whites (320ml)
  • 450g caster sugar
  • 2 tsp white vinegar
  • 4 tsp cornflour

Pre heat the oven to 200C.

Start by separating eight eggs. It’s a really good idea to measure the egg whites out exactly. One egg white is approximately 40ml. When you have separated the amount needed, pour into the bowl of a free standing mixer and begin to whisk with a whisk attachment. Start with a slow speed for a few minutes and then increase to high.

Whisk the whites until they are stiff, in that they will hold a soft peak, then begin to add the sugar, little by little.

When all the sugar is incorporated, stop the mixer. The mixture should be beautifully glossy. Add the vinegar and sift in the cornflour and gently fold in with 10 slow turns of the whisk.

Now, with haste, pile the mixture within the circle, or circles, that you have drawn on greaseproof paper lining a baking tray, or trays. Put the tray(s) into the preheated oven and immediately turn down the oven to 100C.

Cook for about 1 hour and then turn the oven off, prop the oven door ajar and leave the pavlova to cool.

Pavlova making top tips

*Do make sure that the bowl and whisk that you will be whisking the egg whites with are free from grease
*Do make sure your eggs are fresh and at room temperature. If you do get any yolk in your whites as you are separating them, use half and empty egg shell to retrieve it. The shell attracts the yolk. Clever! Same goes for any bits of shell.
*Start by whisking the whites slowly, then increase the speed
*When the whites are stiff, slowly add the sugar in increments over 10 minutes, whisking constantly
*In between whisking in the sugar, line a tray with baking paper and trace a circle (or several circles) on it so you know where to pile the meringue mix
*When you have added all the sugar, stop whisking, add the vinegar and corn flour and then whisk in slowly with about 10 turns of the whisk. As soon as you have done this, speed is of the essence.
*Pile the meringue onto the prepared baking sheet and pop into an oven preheated to 200 degrees. As soon as you close the door, turn the temperature down to 100 degrees. Cook for about one hour until the outside is firm.
*Leave the pavlova to cool in the oven (overnight) by turning the oven off and propping the door ajar with an oven mitt or something similar
*Enjoy. With whatever fruit is in season and more cream then necessary.

A simple but stunning chestnut soup recipe.

DSC_0606My baby girl is one. A year has passed since the scary day that she came into the world unnaturally early. Eleven weeks premature, red, transparent and frighteningly small, proclaiming to the world with her kitten like screams that she had arrived. I cried. Tears of sadness, not joy. I felt cruel for having her before she was ready to breathe or feed by herself, not doing my best as a mother to protect her. But as my body was not giving her the things that she needed to survive in utero, it was time for her to brave the big wide world and show us her true strength.

And show us she has. I have marveled at her constant tenacity and unyeilding inquisitiveness for life. Her small stature has in no way affected her ability to reach milestones and endlessly gains her attention, in which she delights. She is cheeky, determined, curious, adventurous, never misses a thing, has an infectious, perpetual smile and takes everything in her stride. I am ridiculously proud to be able to call myself her mama and eternally grateful for the gift of a beautiful, healthy daughter.

DSC_0637 DSC_0638

DSC_0651 To celebrate Thea’s first birthday, July 26th, I threw a Christmas in July long lunch for all our closest friends and family. For the occasion I wanted to make chestnut soup. Chestnuts are not in season in NSW in July though, but ever the pre planner, I ordered them online in May. With the help of Ma, I roasted and peeled  three kilos and froze them ready to make soup in July. Doing a job like this is so satisfying. It takes time, but ultimately I always feel the resulting dish is that much better for the love that you put in to  it. All the babes at the party seemed to agree, lapping up spoonfuls of their mum’s and dad’s chestnut soup.

DSC_0667 DSC_0678DSC_0677DSC_0682

Christmas in July would not be complete without a turkey and this bird was  stuffed with lamb, harissa and rose petals. The idea of something a little bit different appealed to me and the rose petals sealed the deal. It was served with all the essential seasonal trimmings, including Brussels sprouts, roast parsnips and duck fat roasted potatoes. Thea loves roast potatoes! I think that she had four, which for a tiny human is a big deal.

DSC_0673 DSC_0707

For her first birthday cake, I made her a banana and coconut maple buttercream frosted  baby friendly cake, baby friendly because it contains no refined white sugar or flour, only delicious, whole ingredinets. I found the recipe on the lovely blog Rubies and radishes. The frosting truly was something else and perfect for small fingers to get stuck in to. DSC_0611DSC_0612

This was a very special meal to mark an especially happy occasion with a wonderful group of people who supported me, the contemporary builder and Thea through an emotionally tough period in our lives. The act of preparing food, for me, is a way of showing love and affection, thanks and respect and I hope everyone left the party with satisfied tummies and full hearts. x

DSC_0625DSC_0619

 Chestnut soup

  • 1 onion, chopped
  • 4 carrots, chopped
  • 4 sticks celery, chopped
  • butter to sweat veggies
  • 1kg chestnuts, roasted and peeled
  • 2 litres chicken stock
  • good pinch of thyme, few bay leaves, grating of nutmeg
  • sea salt, black pepper
  • milk to thin to desired consistency
  • chopped parsley and cream to garnish

Sweat the onion, carrot and celery over a low heat with the lid on for about 10 minutes until very soft and translucent. Add the stock, chestnuts, herbs, spices and seasoning and simmer until the chestnuts are soft enough that you can blend them with a stick blender. Thin the soup with milk as desired and check seasoning. Enjoy x