Category Archives: dessert

How to make Italian buttercream

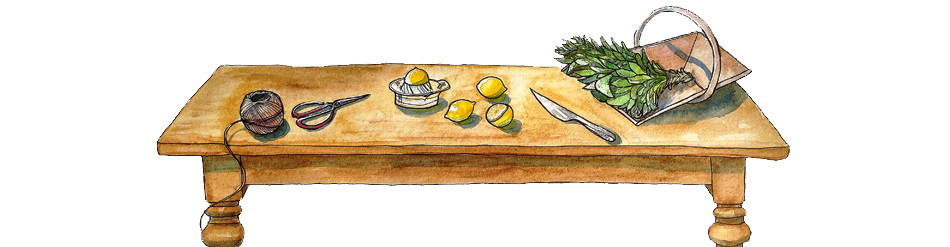
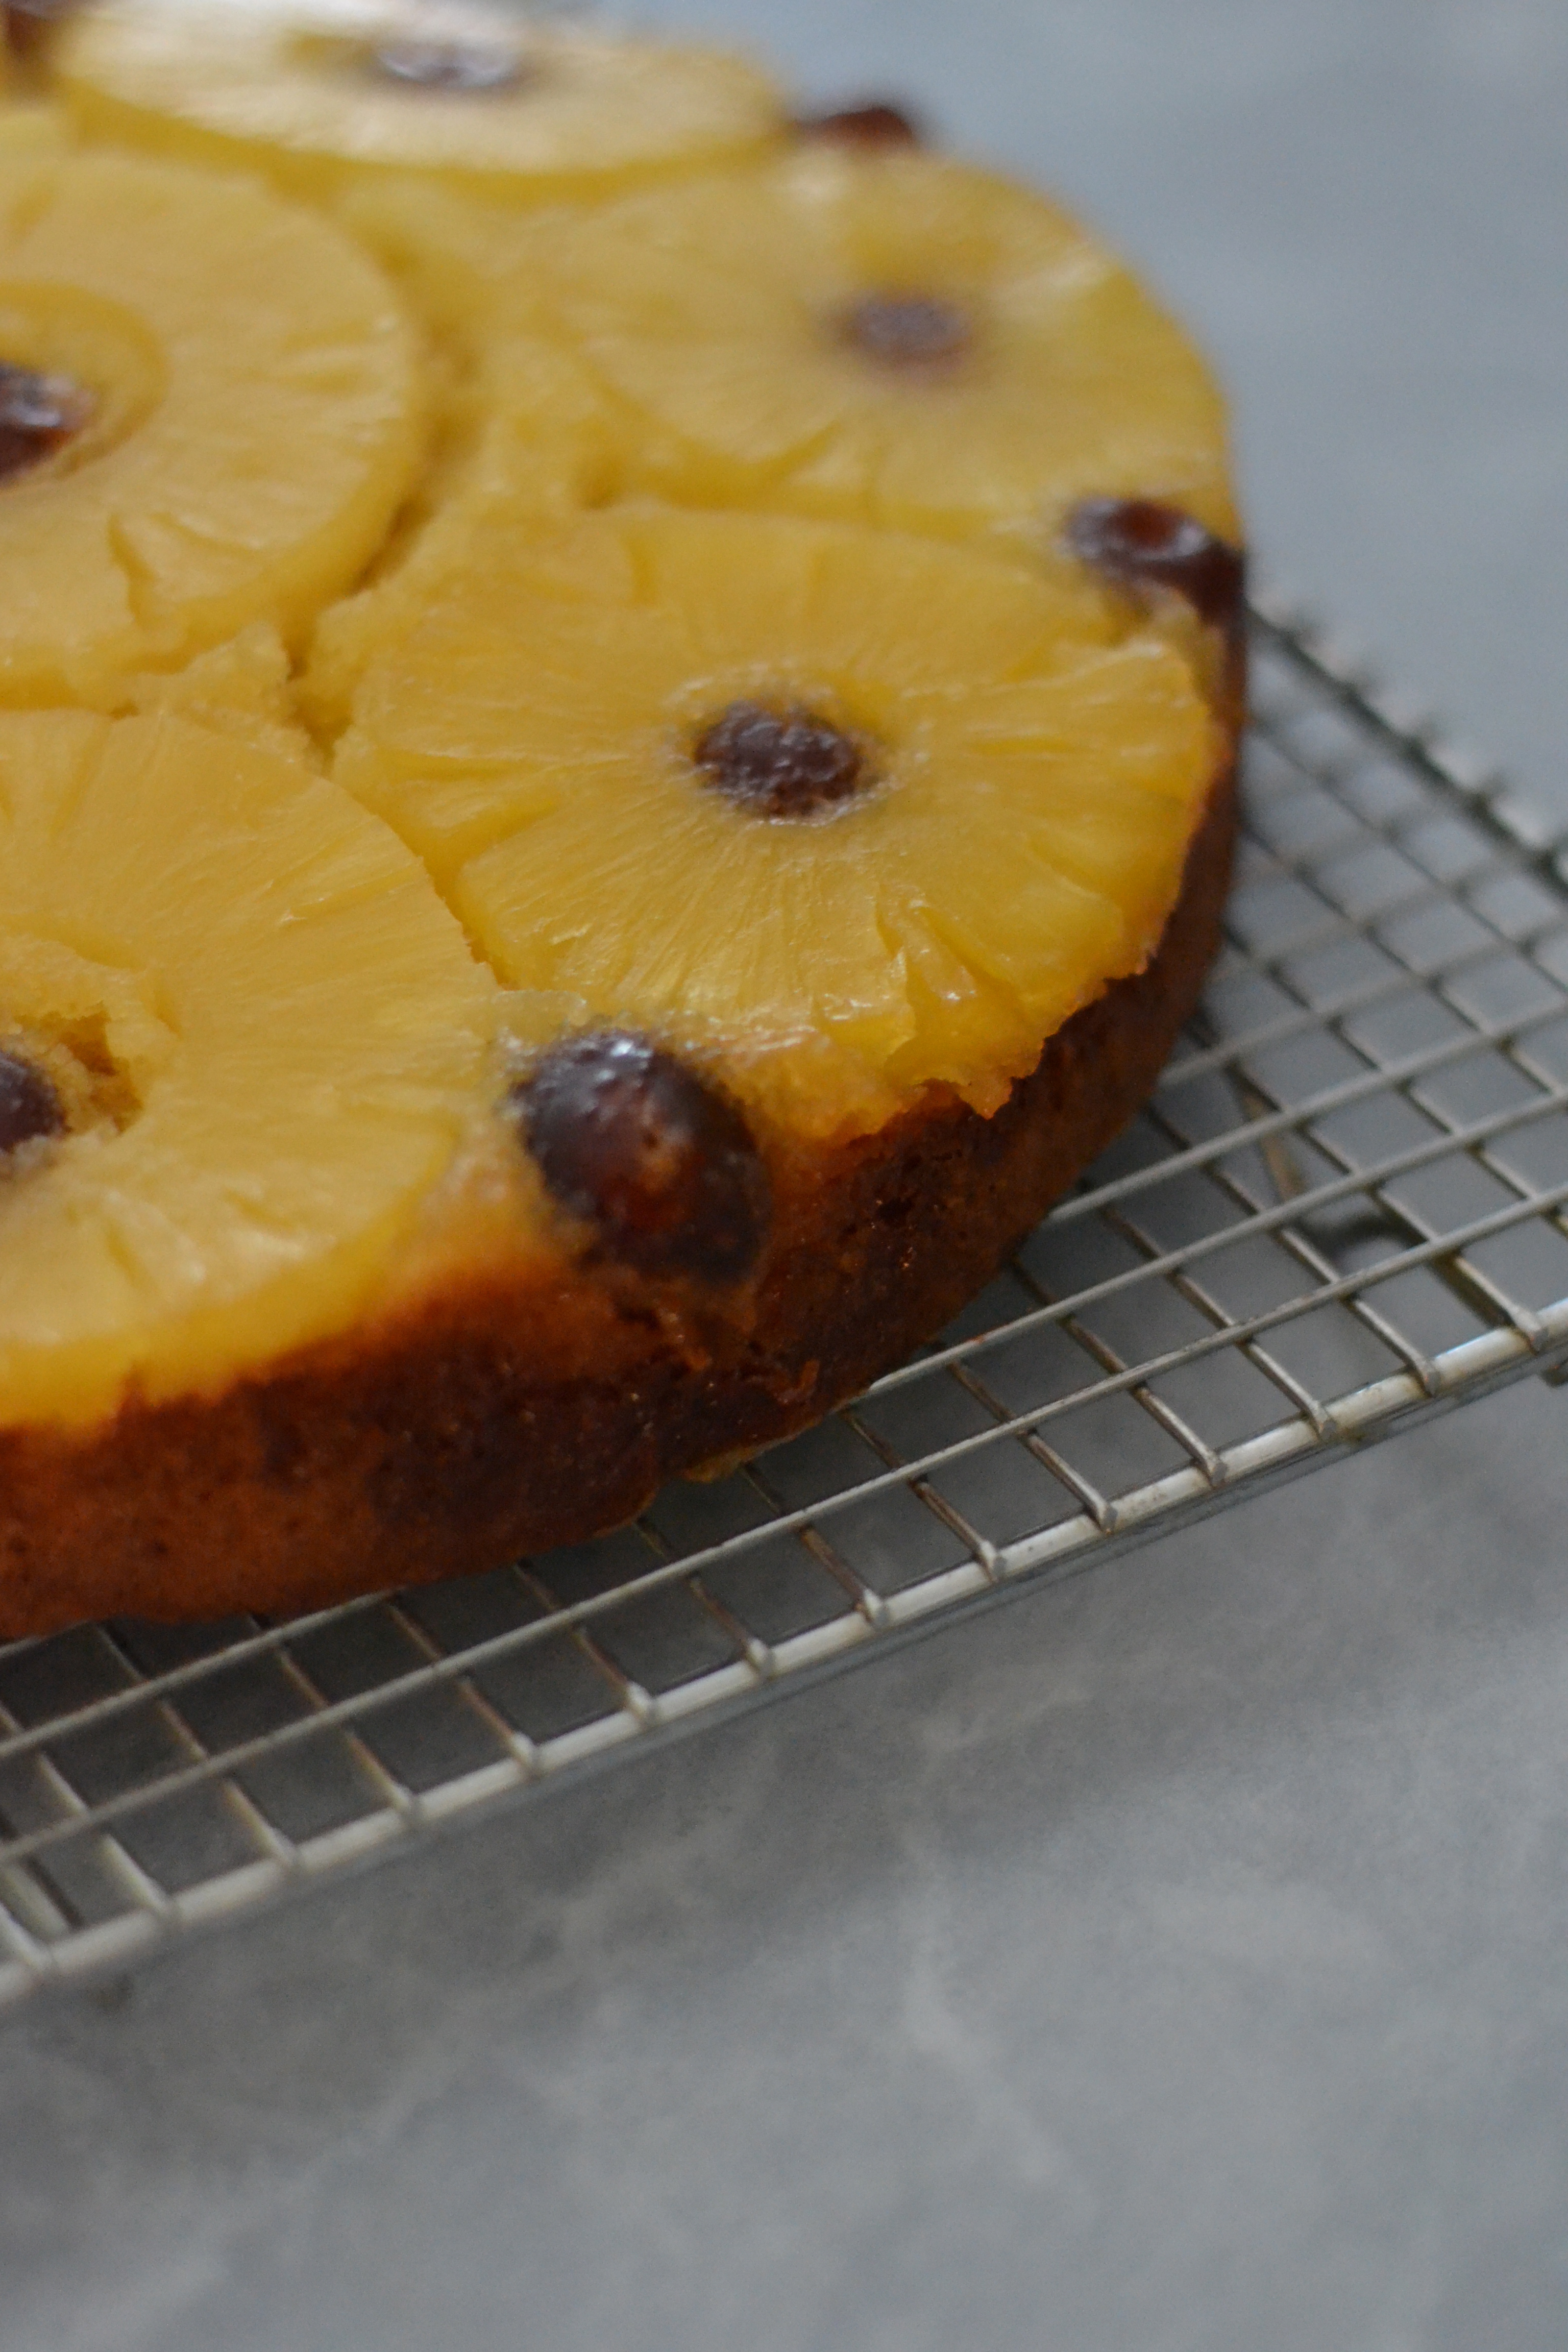
A cheese and pineapple echidna, chocolate cornflake cakes, popcorn, fresh fruit skewers, homemade lemonade. And cake. What a kid’s birthday party is all about. Singing happy birthday, blowing out candles, making a wish and eating cake. For Thea’s first birthday I had baked her a baby friendly banana and coconut birthday cake with THE most delicious maple buttercream frosting, a beautiful recipe from rubies and radishes. No grains and no refined sugars for little tummies and their first taste of cake. I was looking forward to baking it again for Pat’s celebratory day. Little did I know, it was going to turn into a lesson on how to make Italian buttercream. 
DSC_0199

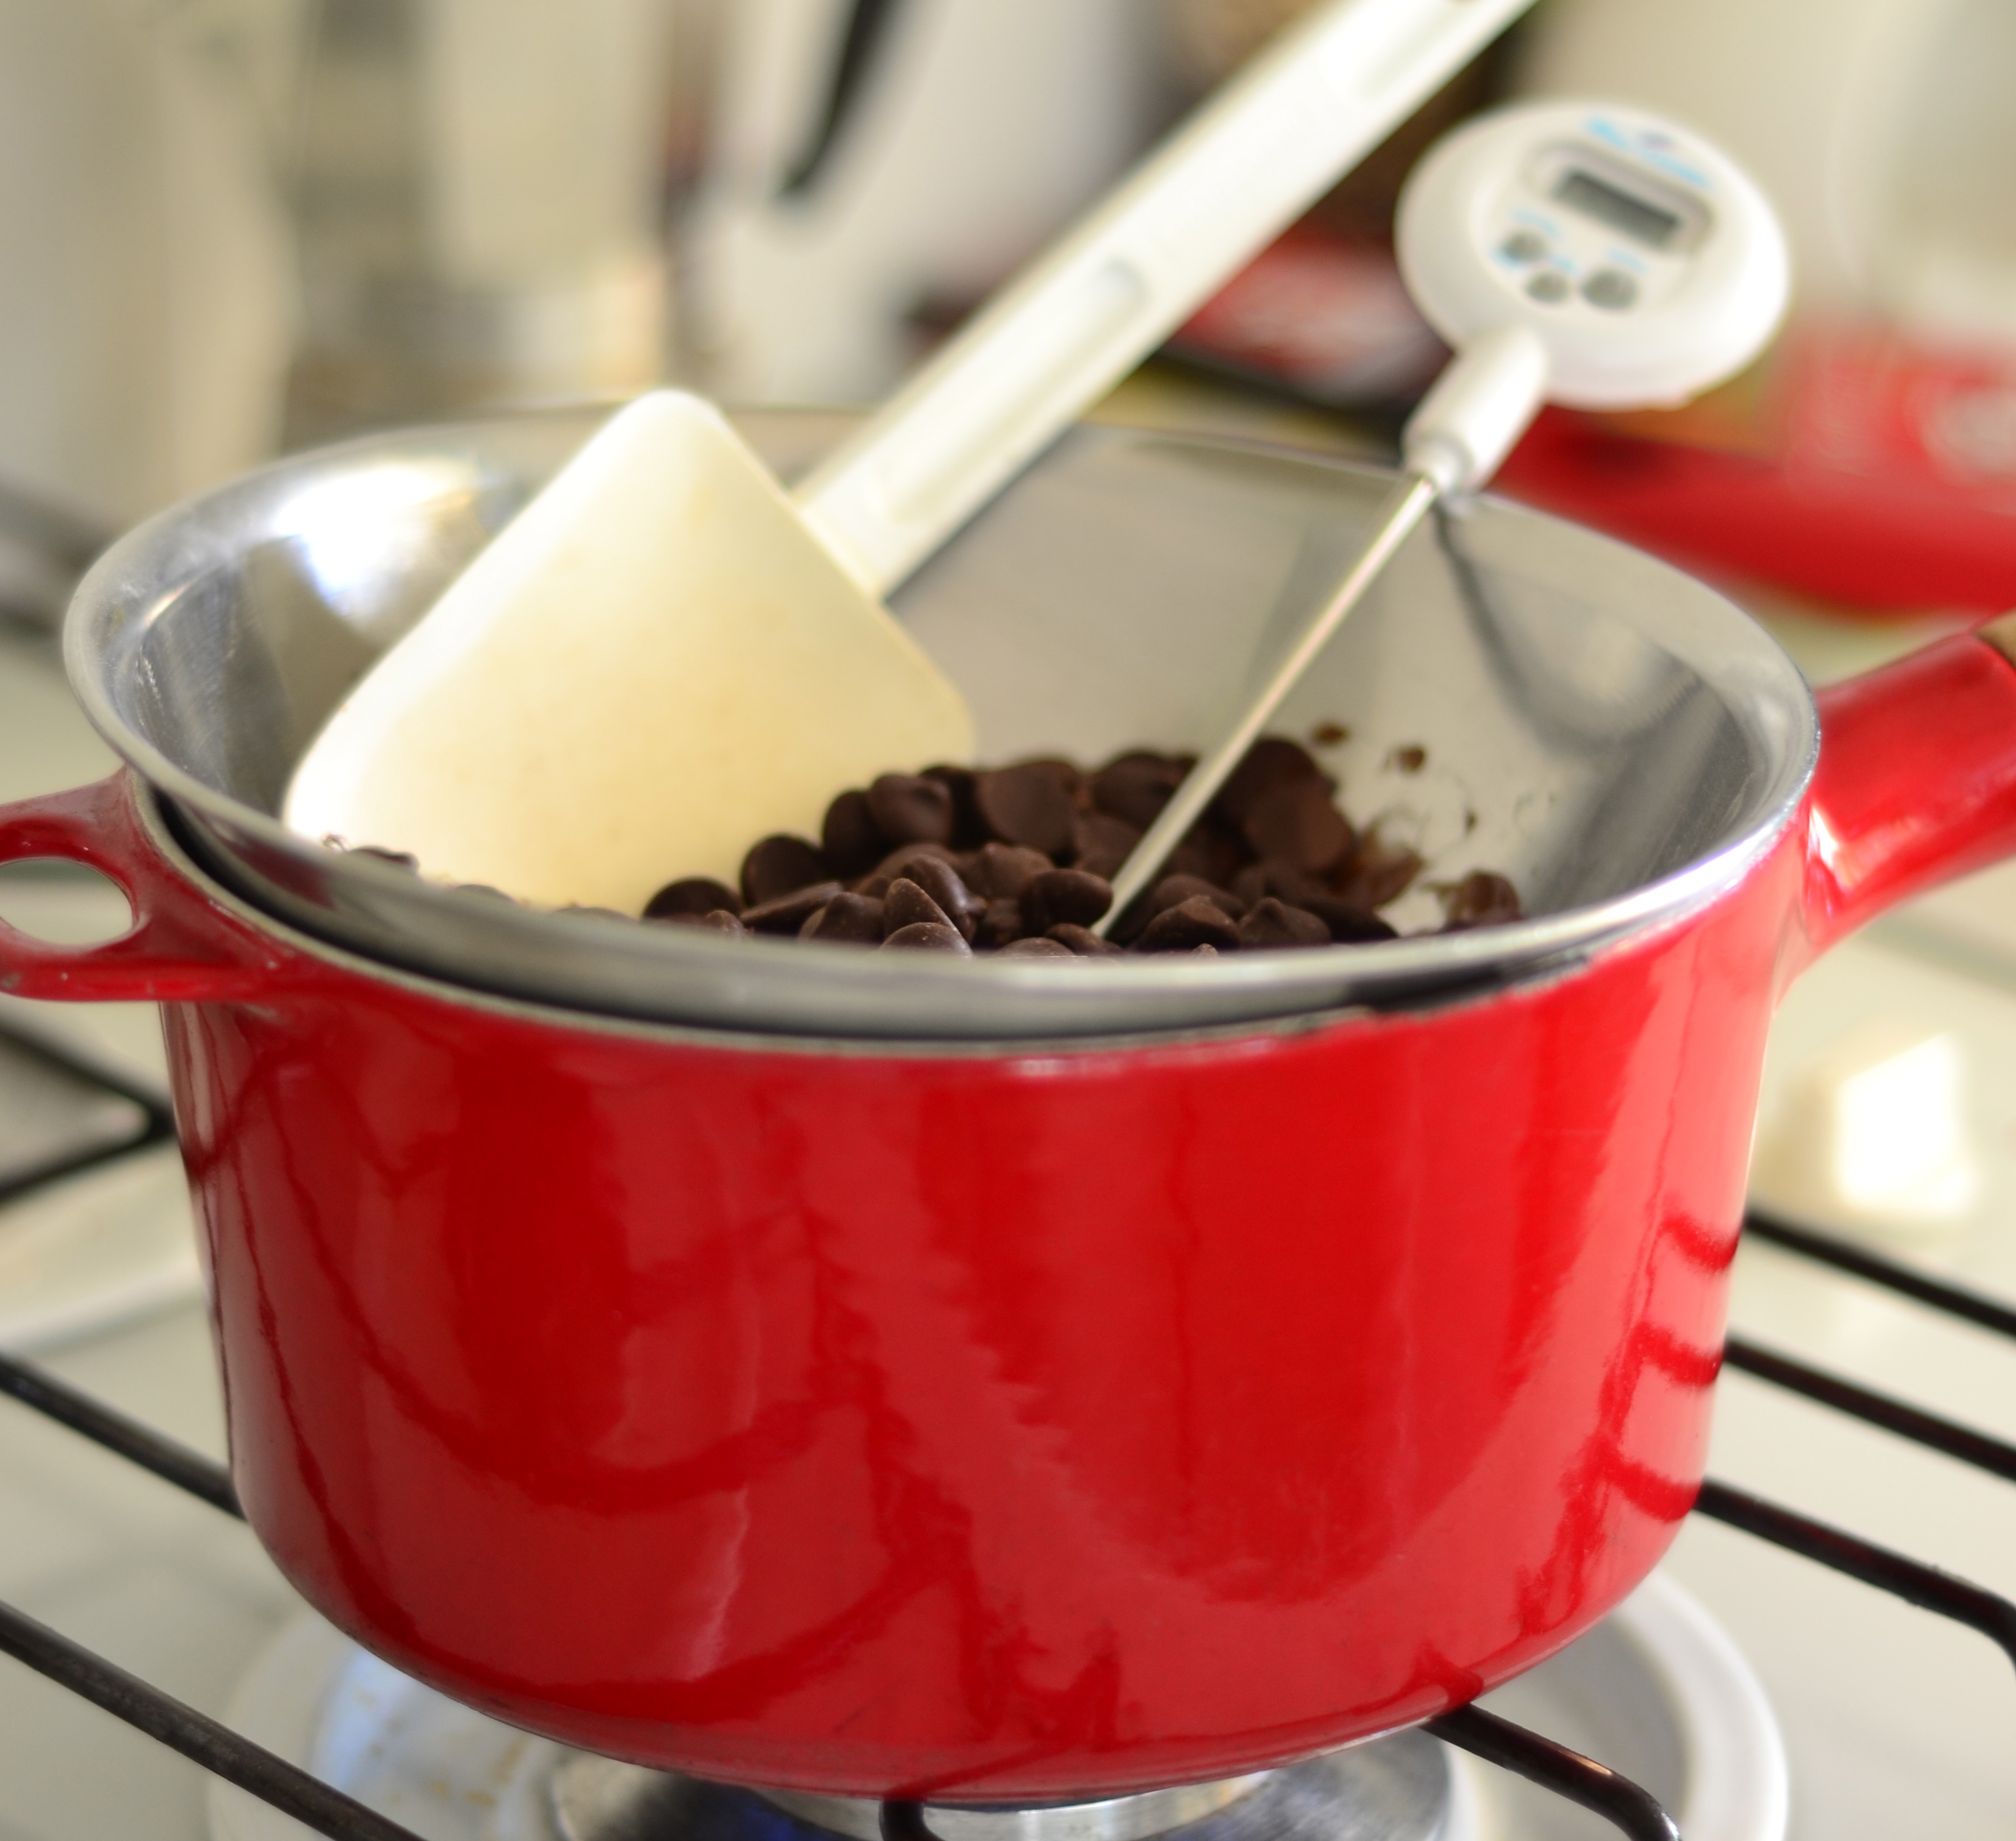
The night before Pat’s party, to be held at a ride on model railway, the banana and coconut component of Pat’s cake was on the bench ready to be iced. With Thea and Pat in bed it was time to start making the best part, the maple buttercream, to ice it. I poured the maple syrup into a saucepan and heated it to 115 degrees. While it was heating I whisked up four eggs. Ok. Now time to add the hot syrup to the eggs, steady stream, all in. And now the butter. Shit. The beautiful billowy whisked eggs turned to soup. Damn it. What had I done wrong. I’d made this icing before. Weird. Maybe the syrup wasn’t hot enough. So I tried again, this time with a different thermometer.

DSC_0202Oh shit. On my second attempt with the new thermometer I forgot to change the settings from Fahrenheit to Celsius. Third attempt. Soup. Ok. Seriously. What is going on. You tube. Fourth attempt. Fifth attempt. I was raging. All those beautiful ingredients. What was I missing. Why wasn’t it working. I’d done it before damn it. Who could I call. What was my plan B. Cross and disheartened I went to bed thinking that I would just whip up some fresh cream in the morning and ice the cake at the party.

DSC_0205

Anyone who knows me will know that I don’t give up. I’m stubborn and determined, and like a rumbling dark storm cloud when something isn’t going my way. So without even knowing why, in the morning still in my pajamas with 15 minutes until we had to walk out the door, I abandoned plan B and started my sixth attempt at the icing. Heat the maple syrup, oh wait no I used it all last night. Ok honey. Heat the honey. Whisk the eggs until doubled in size. Honey hits 115. Pour the honey down the side of the bowl with the motor still on high. Now the bit that I didn’t do the night before. I left the mixer going on high for a generous 15 minutes. I even held an ice pack against the side of the bowl during this time (a you tube tip from this lady) to help bring the mixture to room temperature. With the first piece of butter in my hands ready to add to the mixture, there was now no time for a back up plan. Every single one of my eggs was in that basket. My heart sank. The eggs lost some of their volume. Shit shit shit. Oh fuck it. I just kept adding the butter.

How to make Italian buttercream

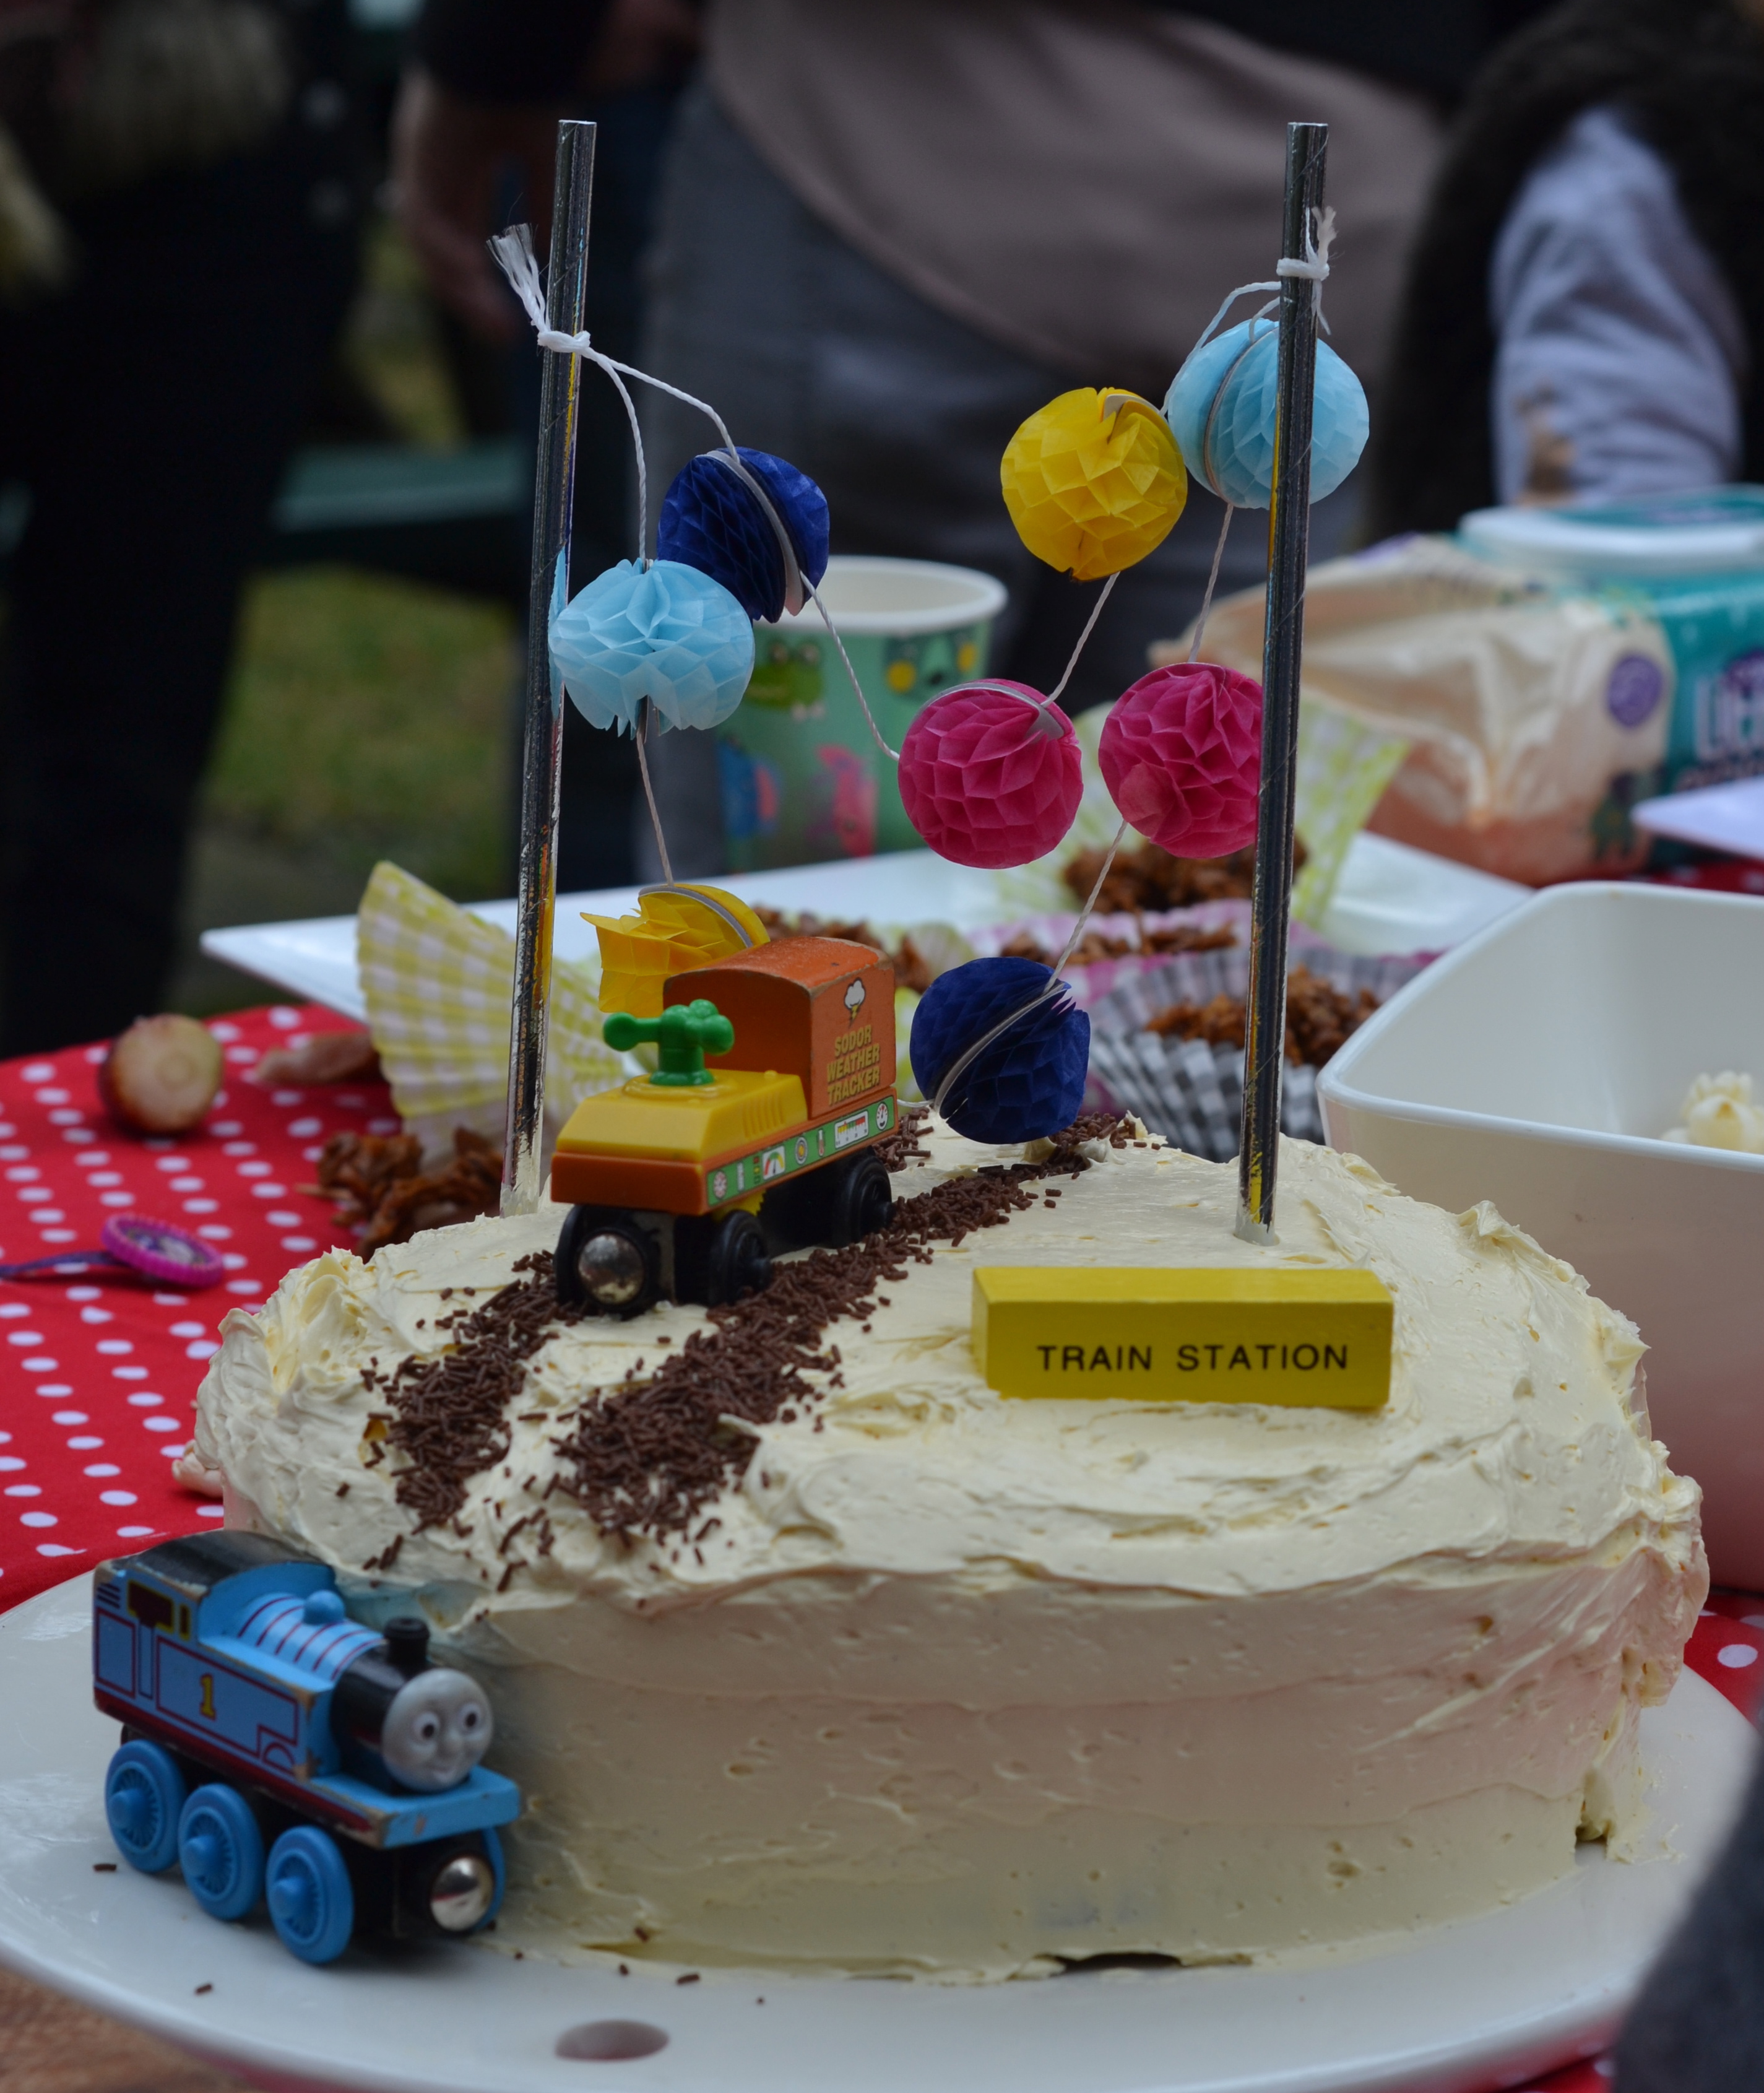
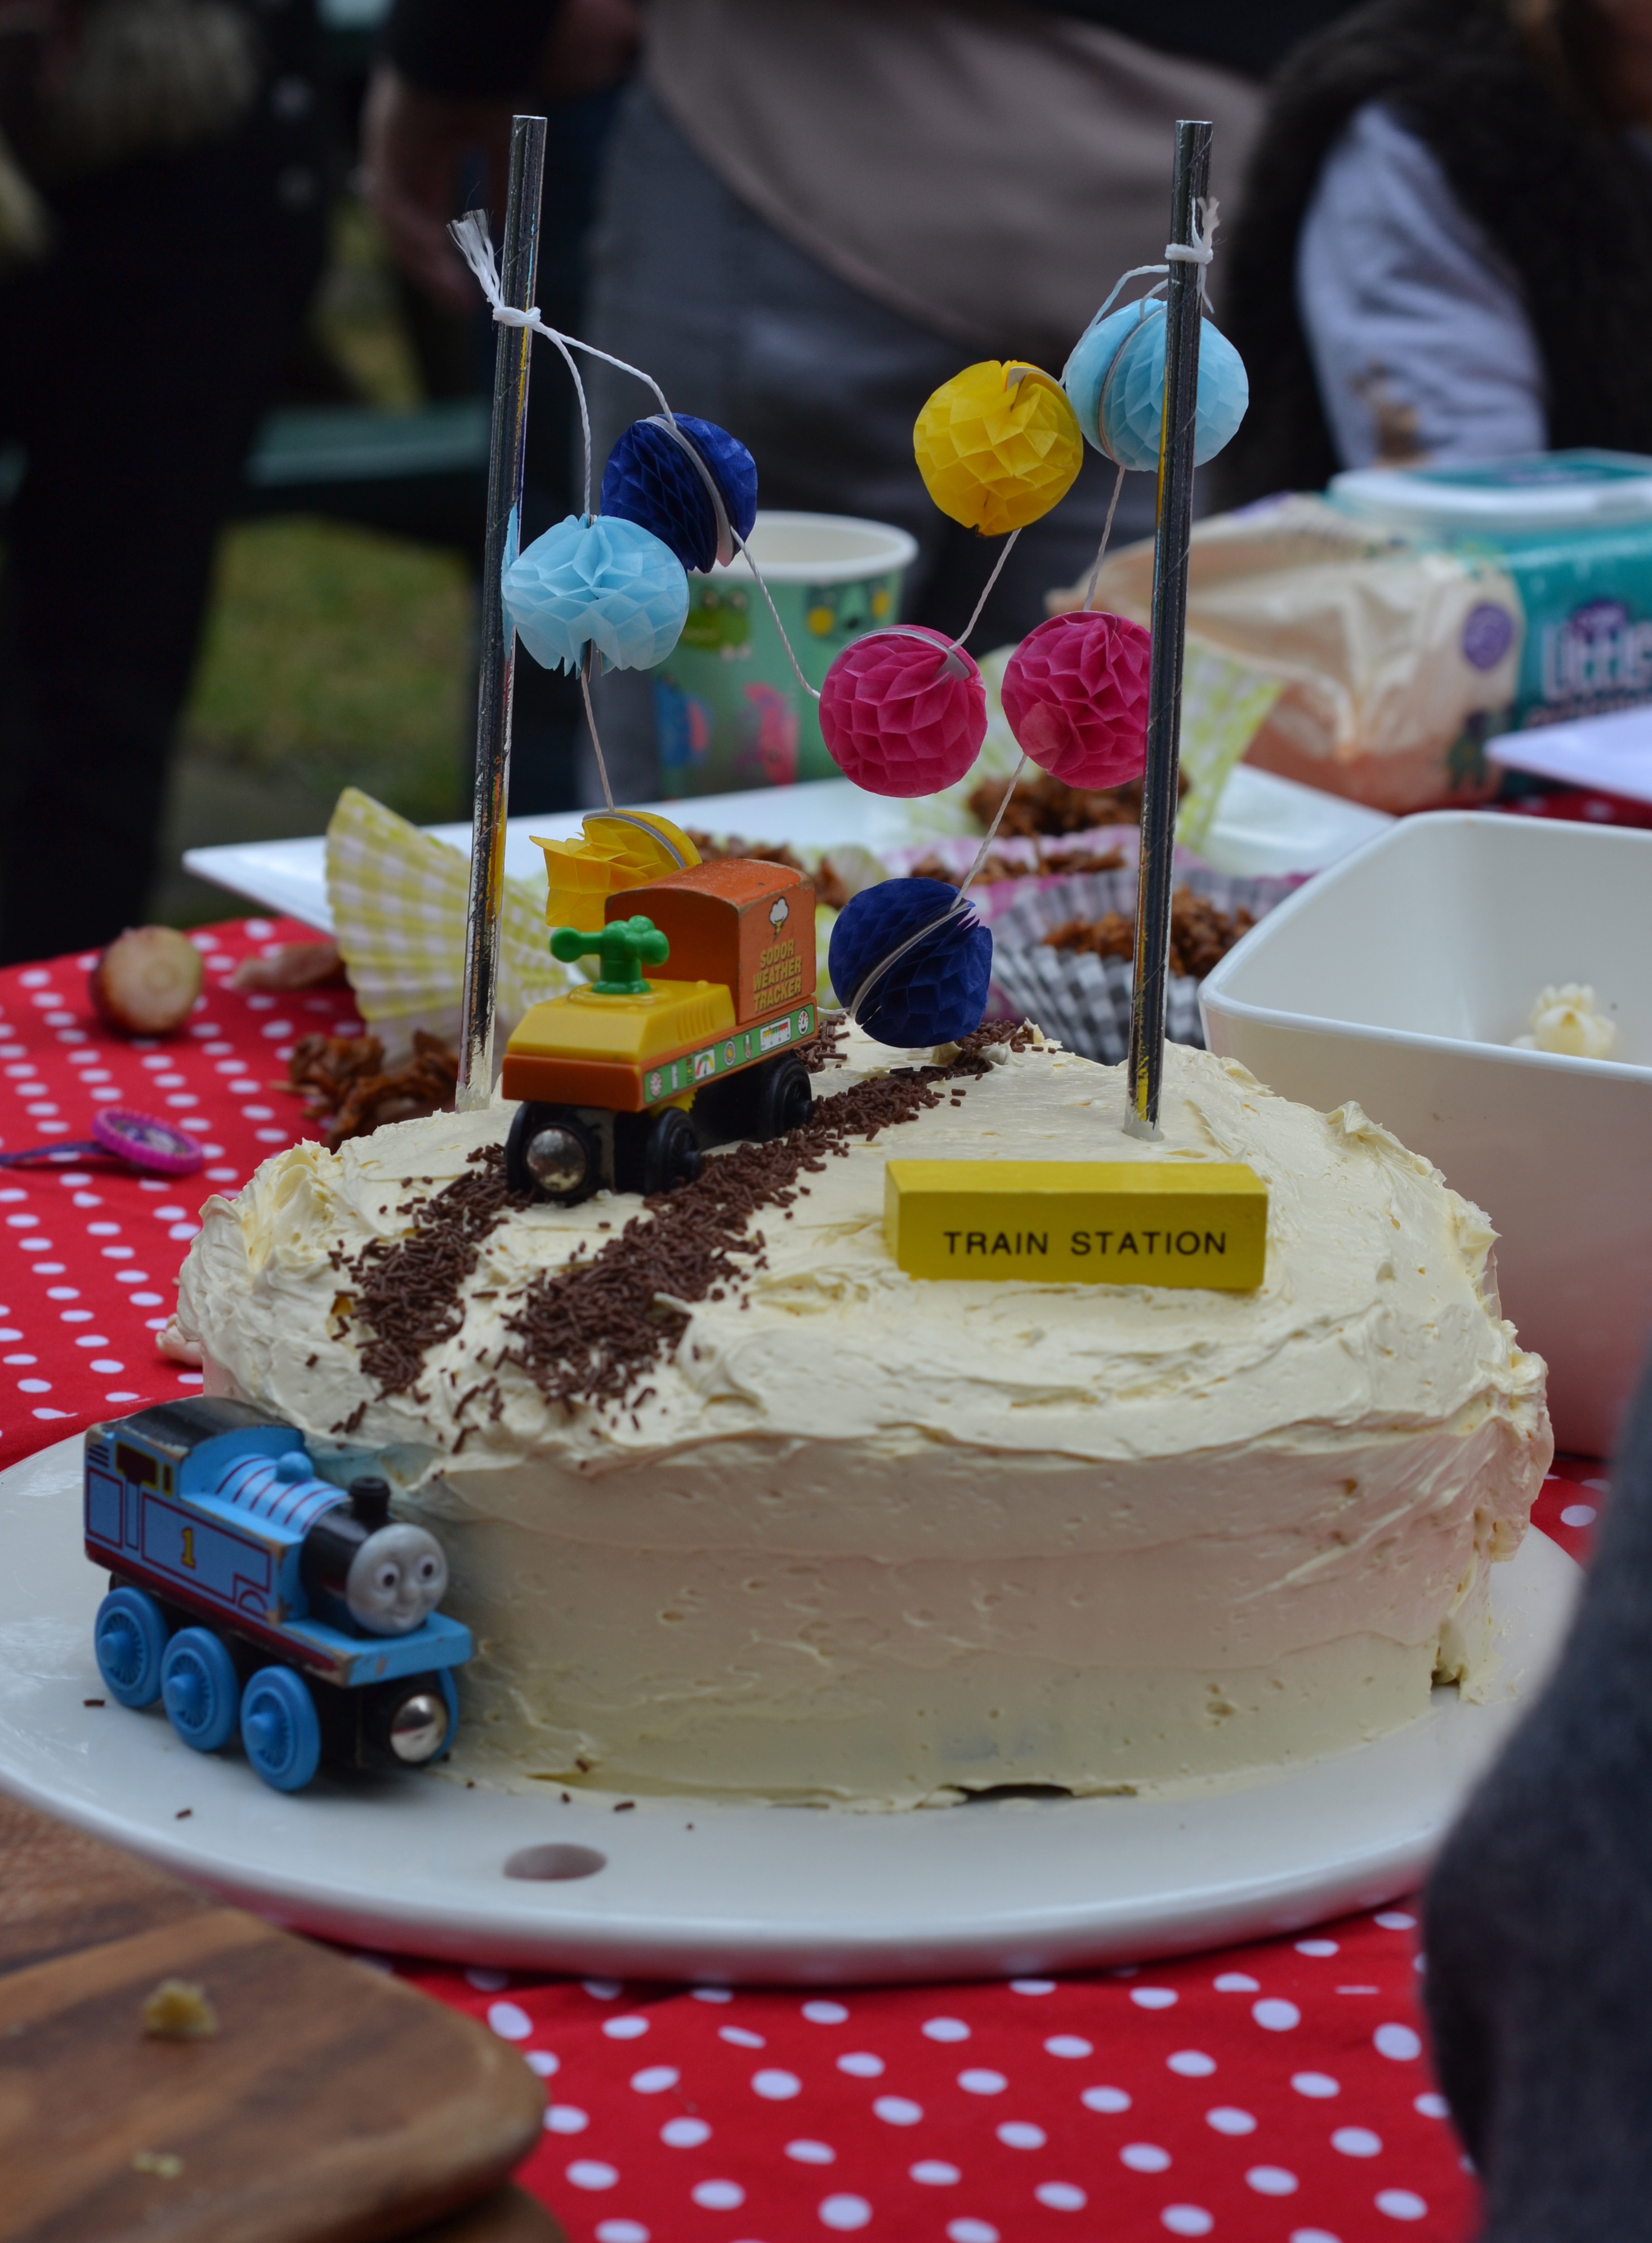
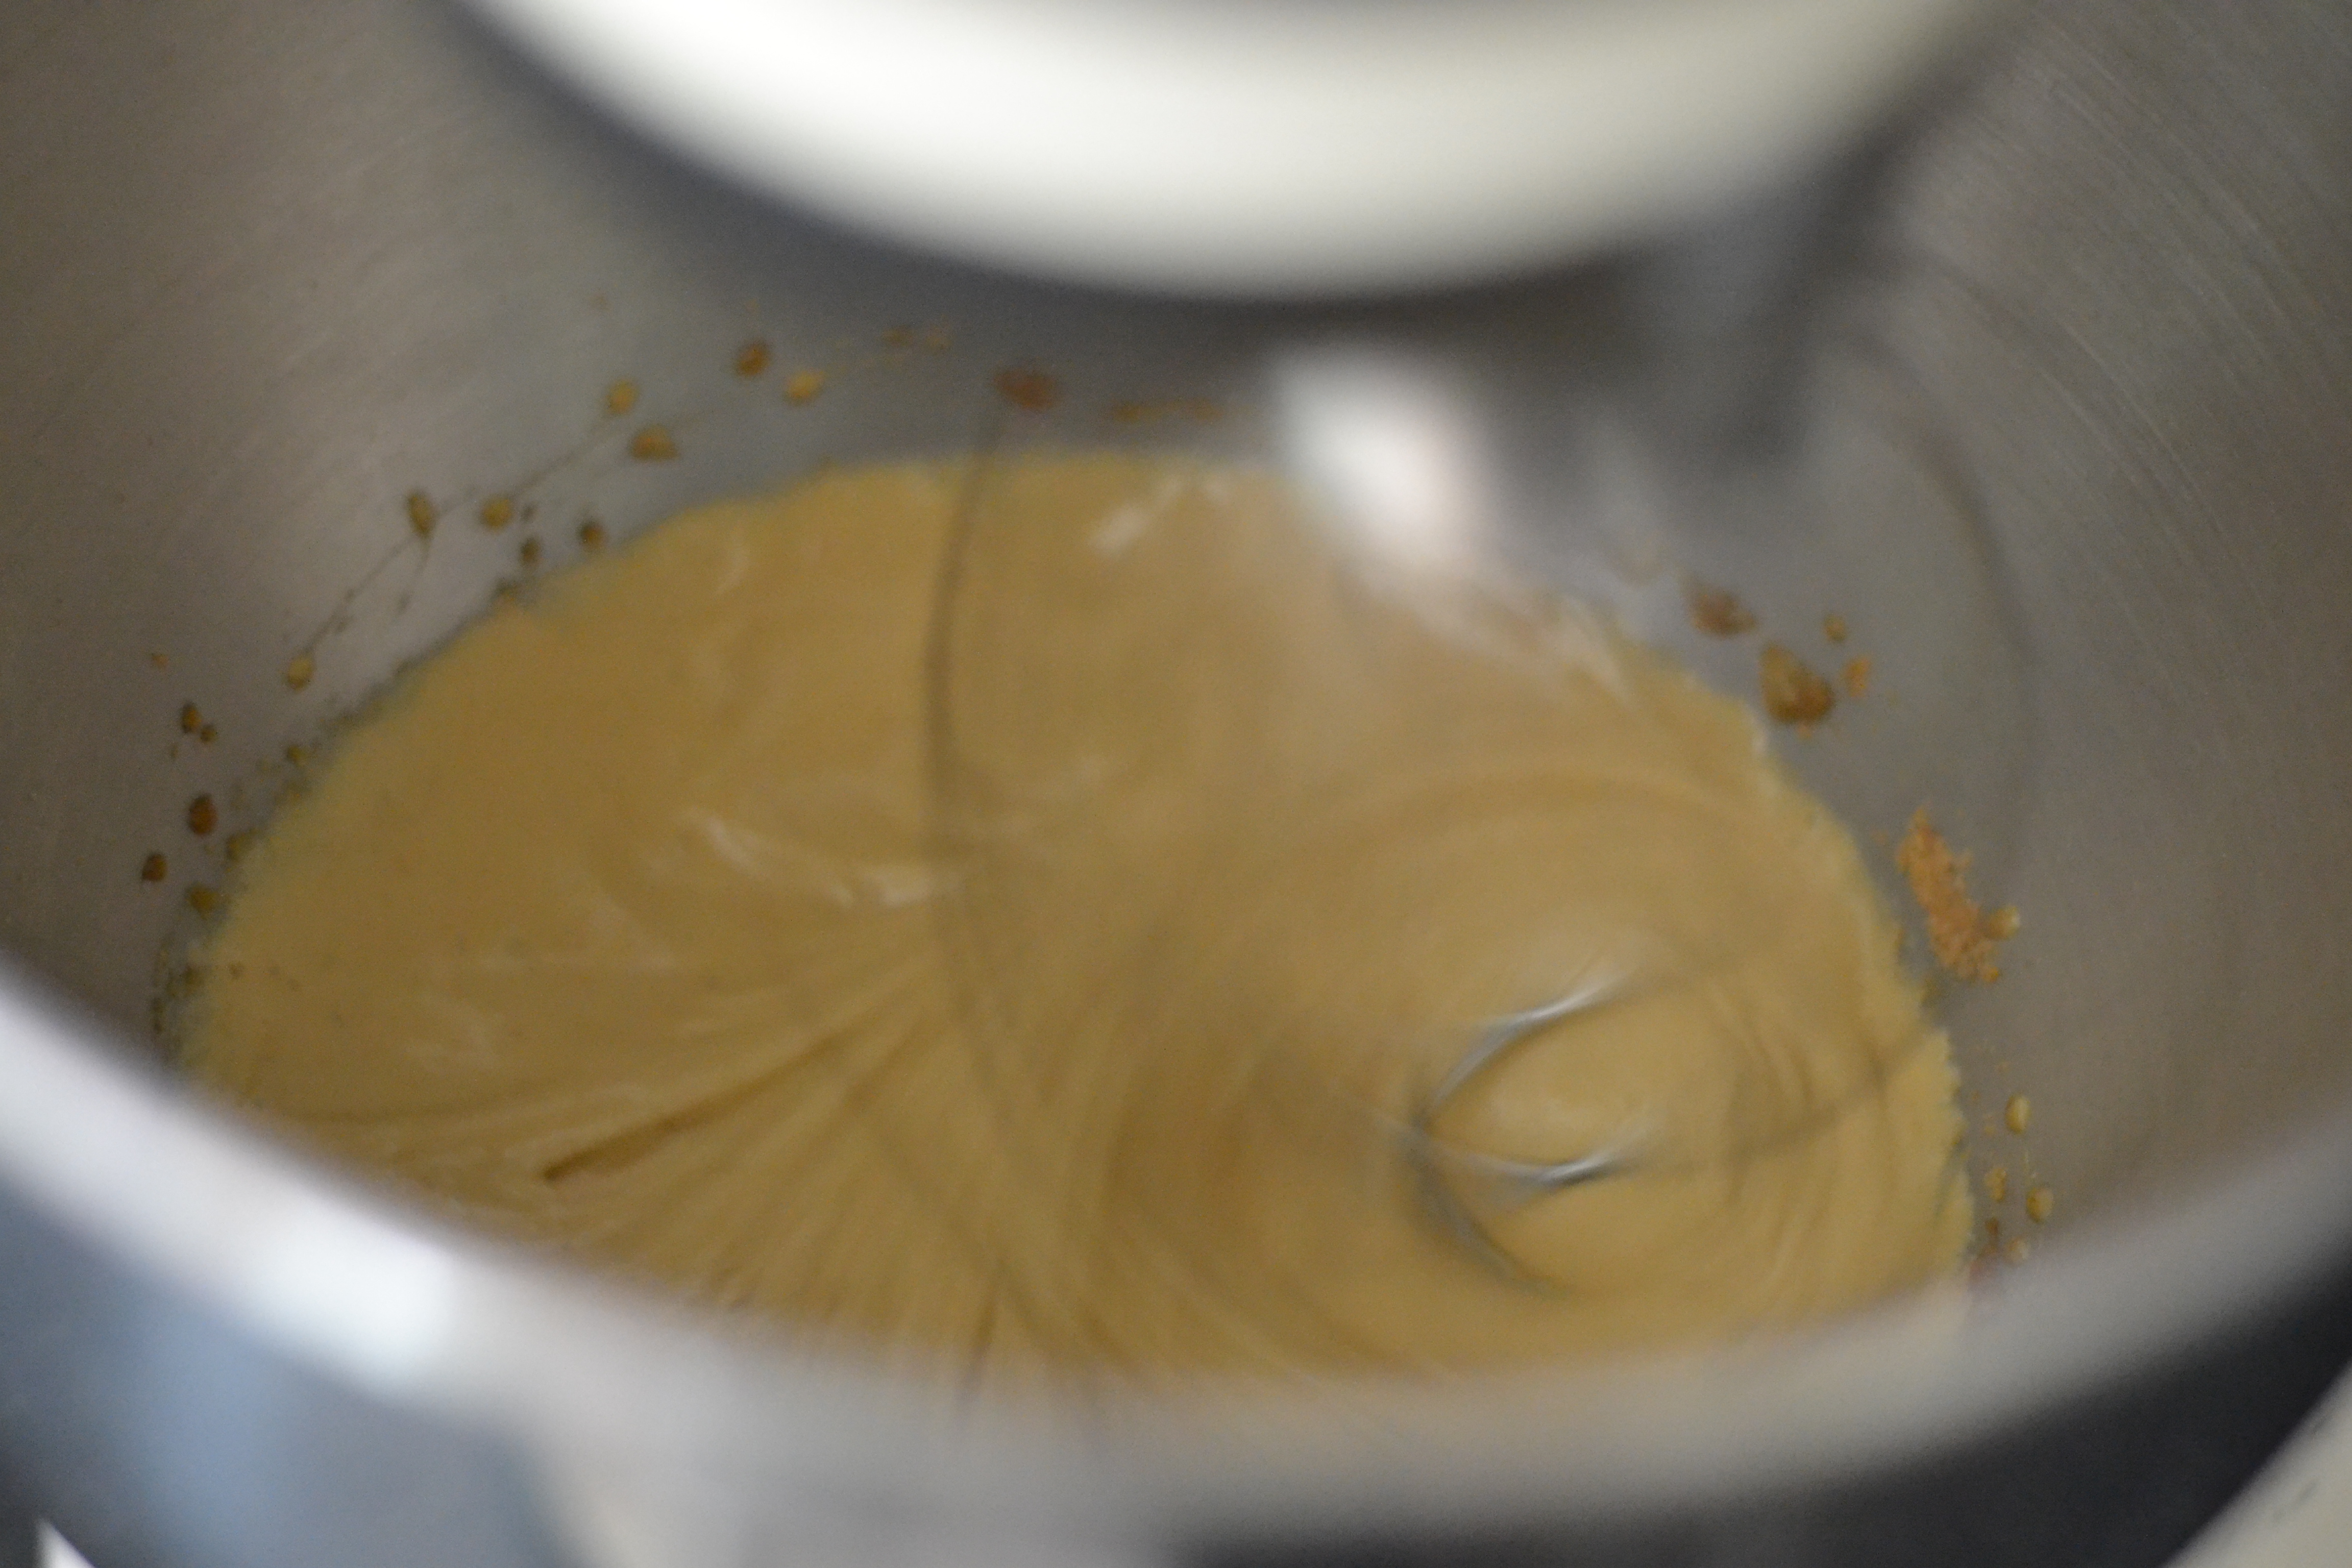
Piece by piece I dropped the butter into the bowl and watched, quite astonished after so many agonizing attempts, as the buttercream began to increase in volume again. Wow. I’d done it. I had made honey Italian buttercream. Elated knowing that there would be icing on the cake I grabbed the bowl, a spatula, some Thomas trains and we headed for the party.

How to make Italian buttercream

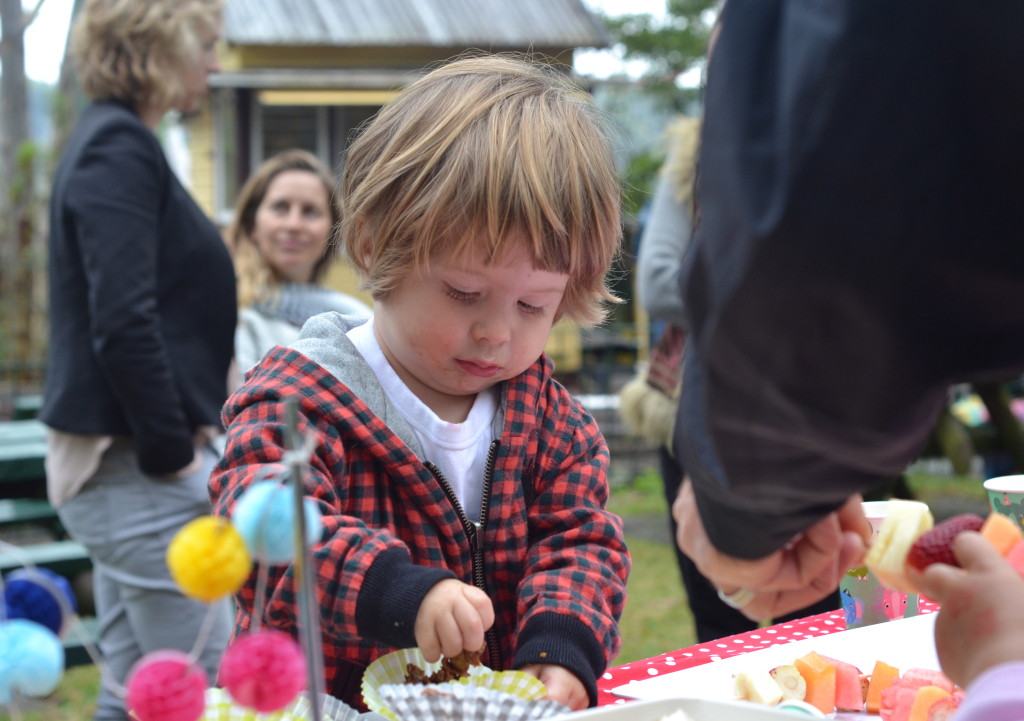
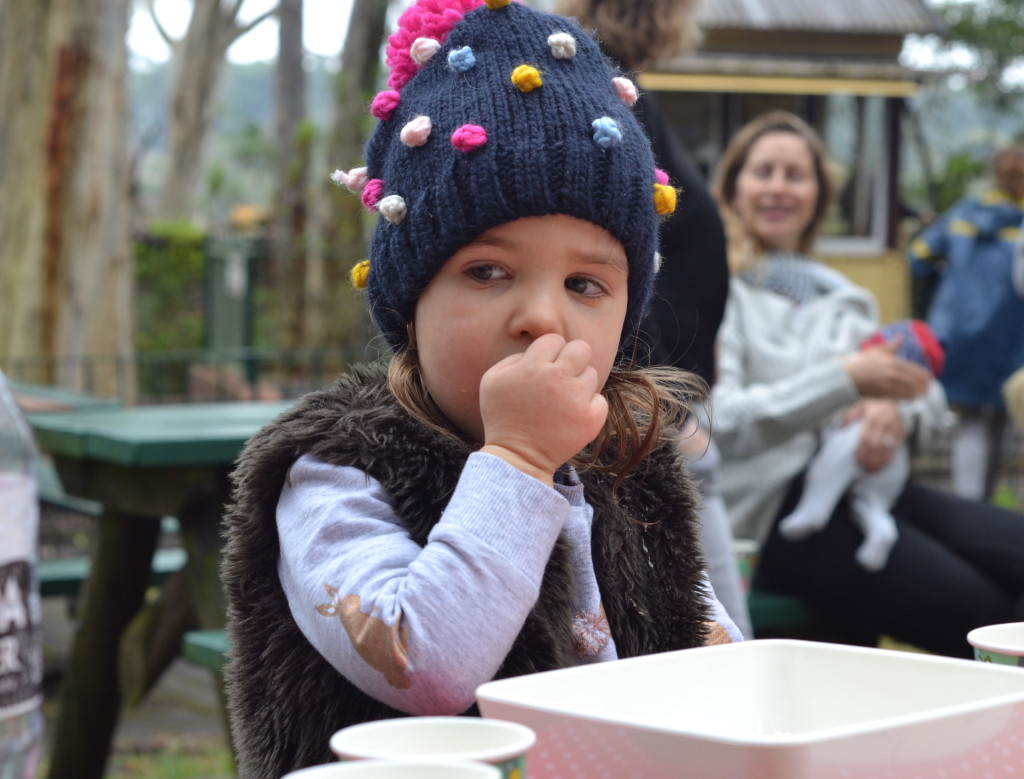
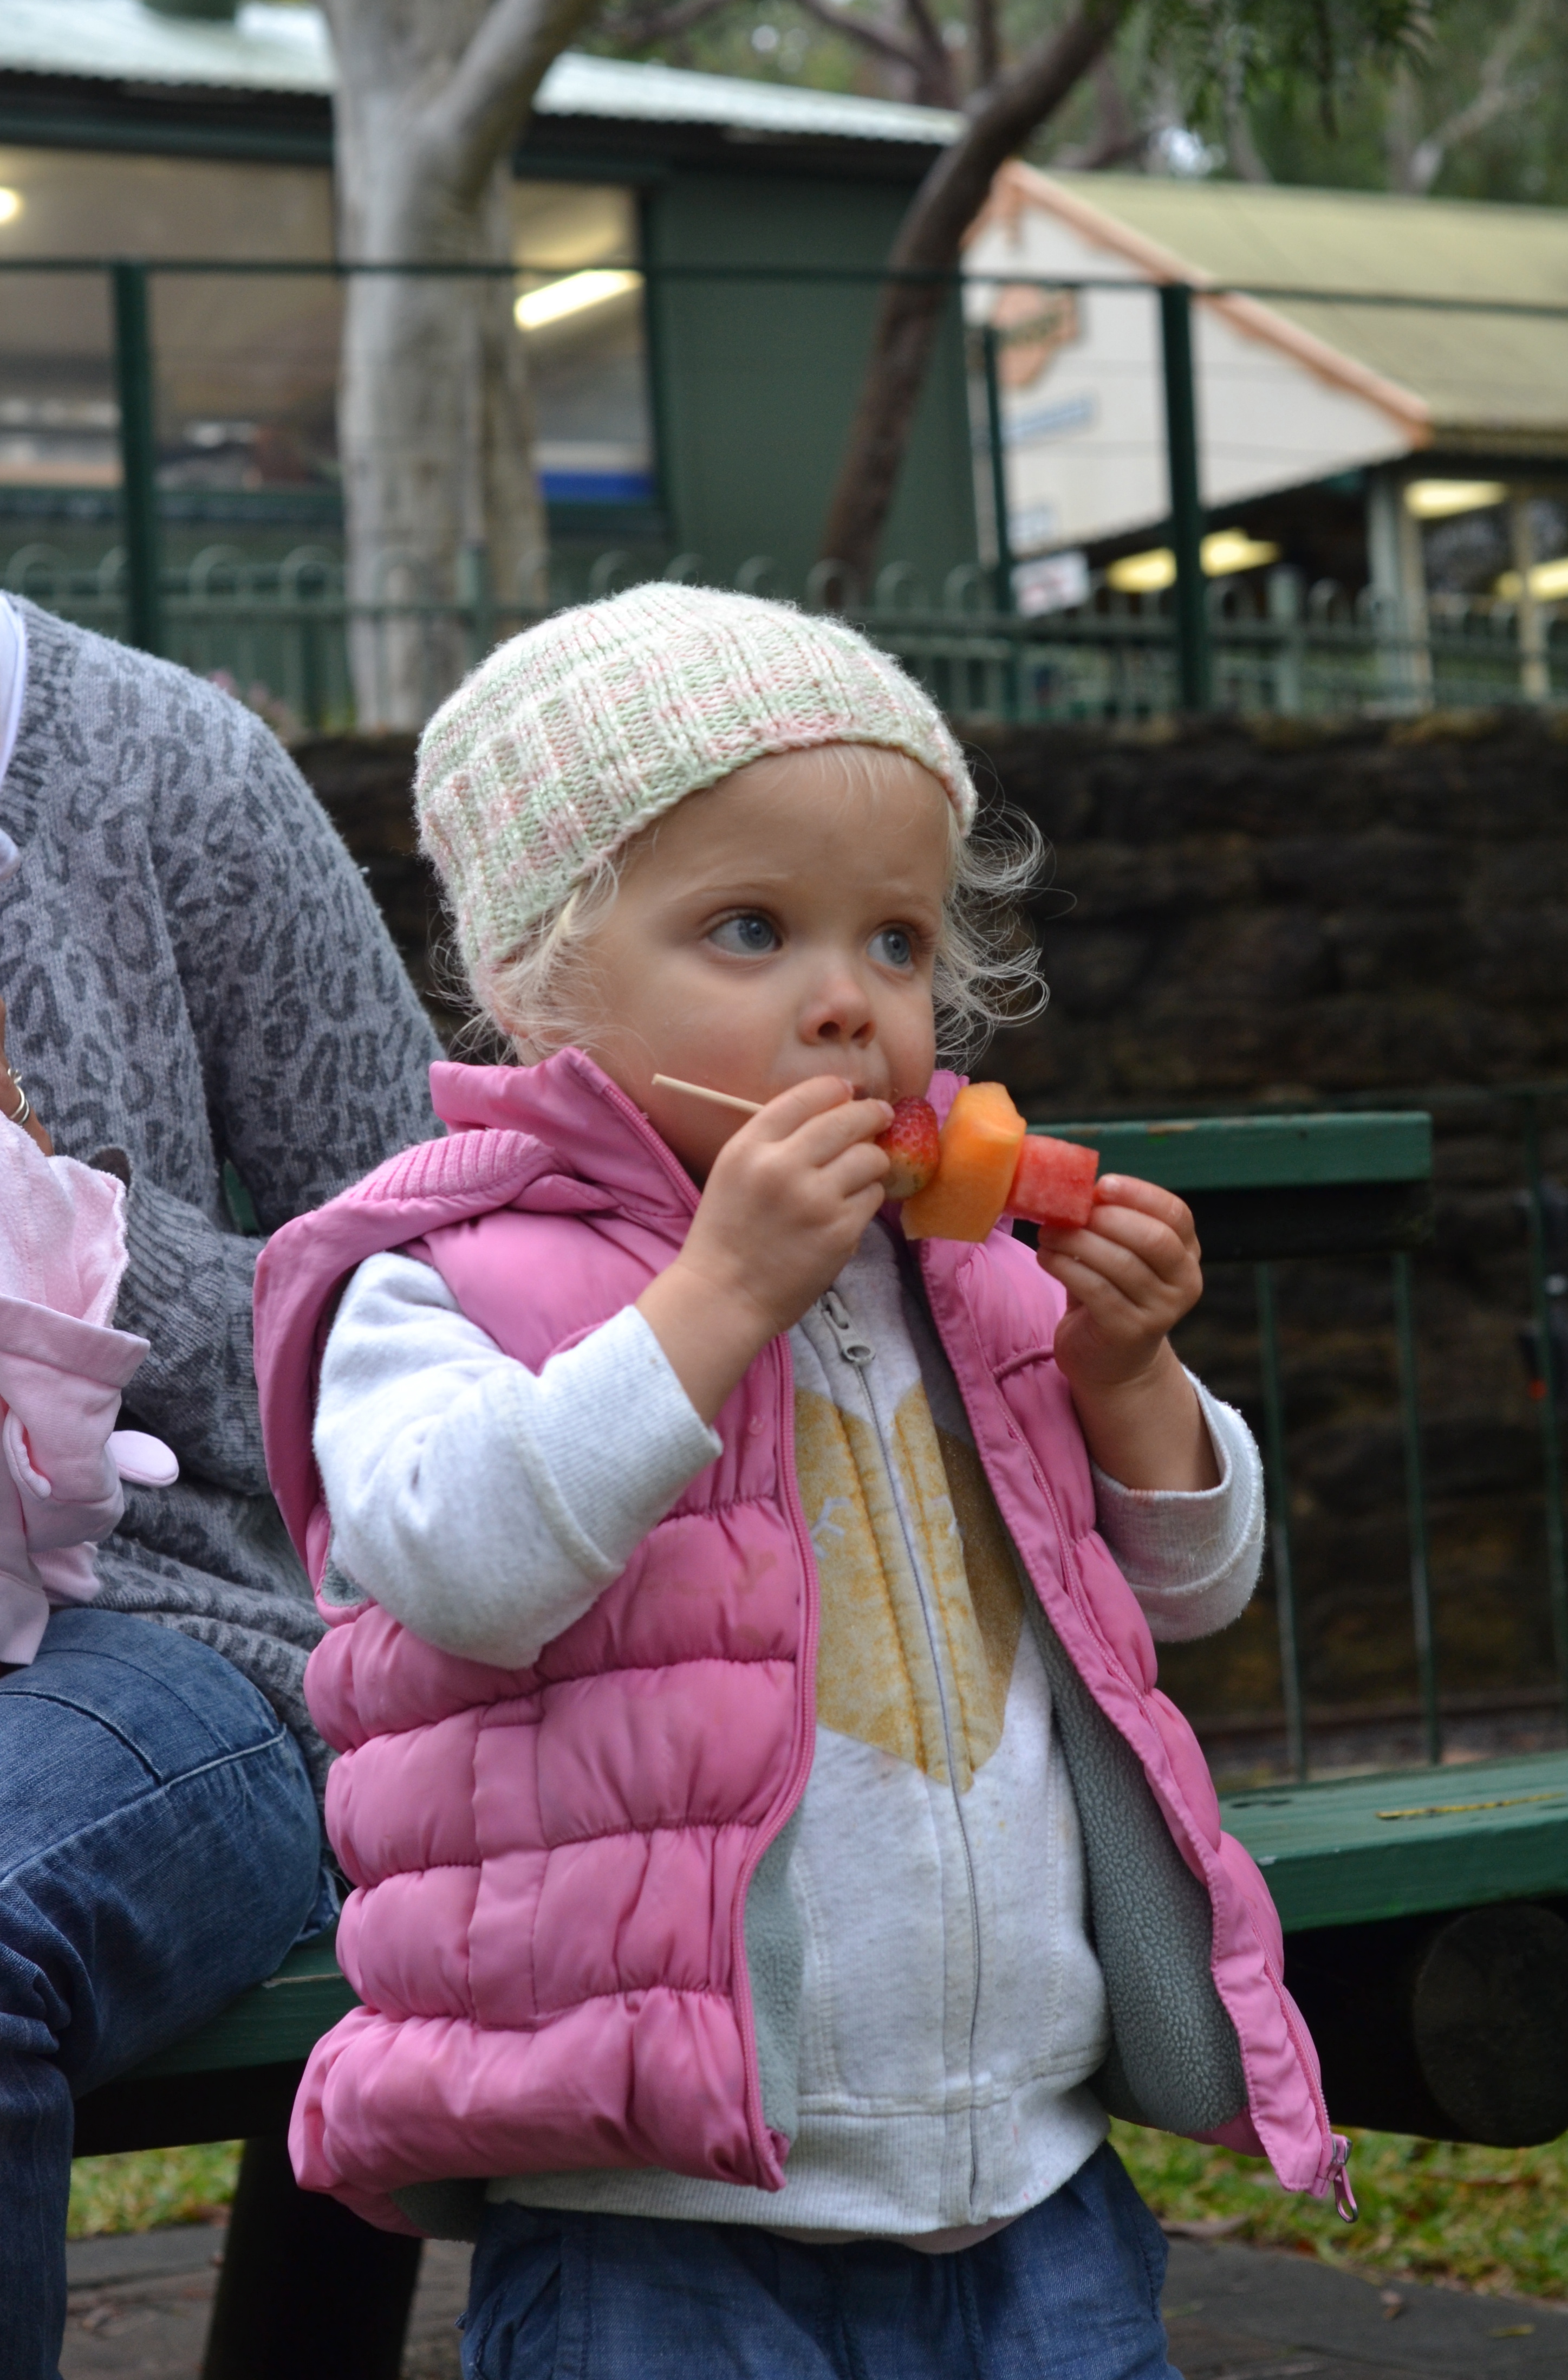
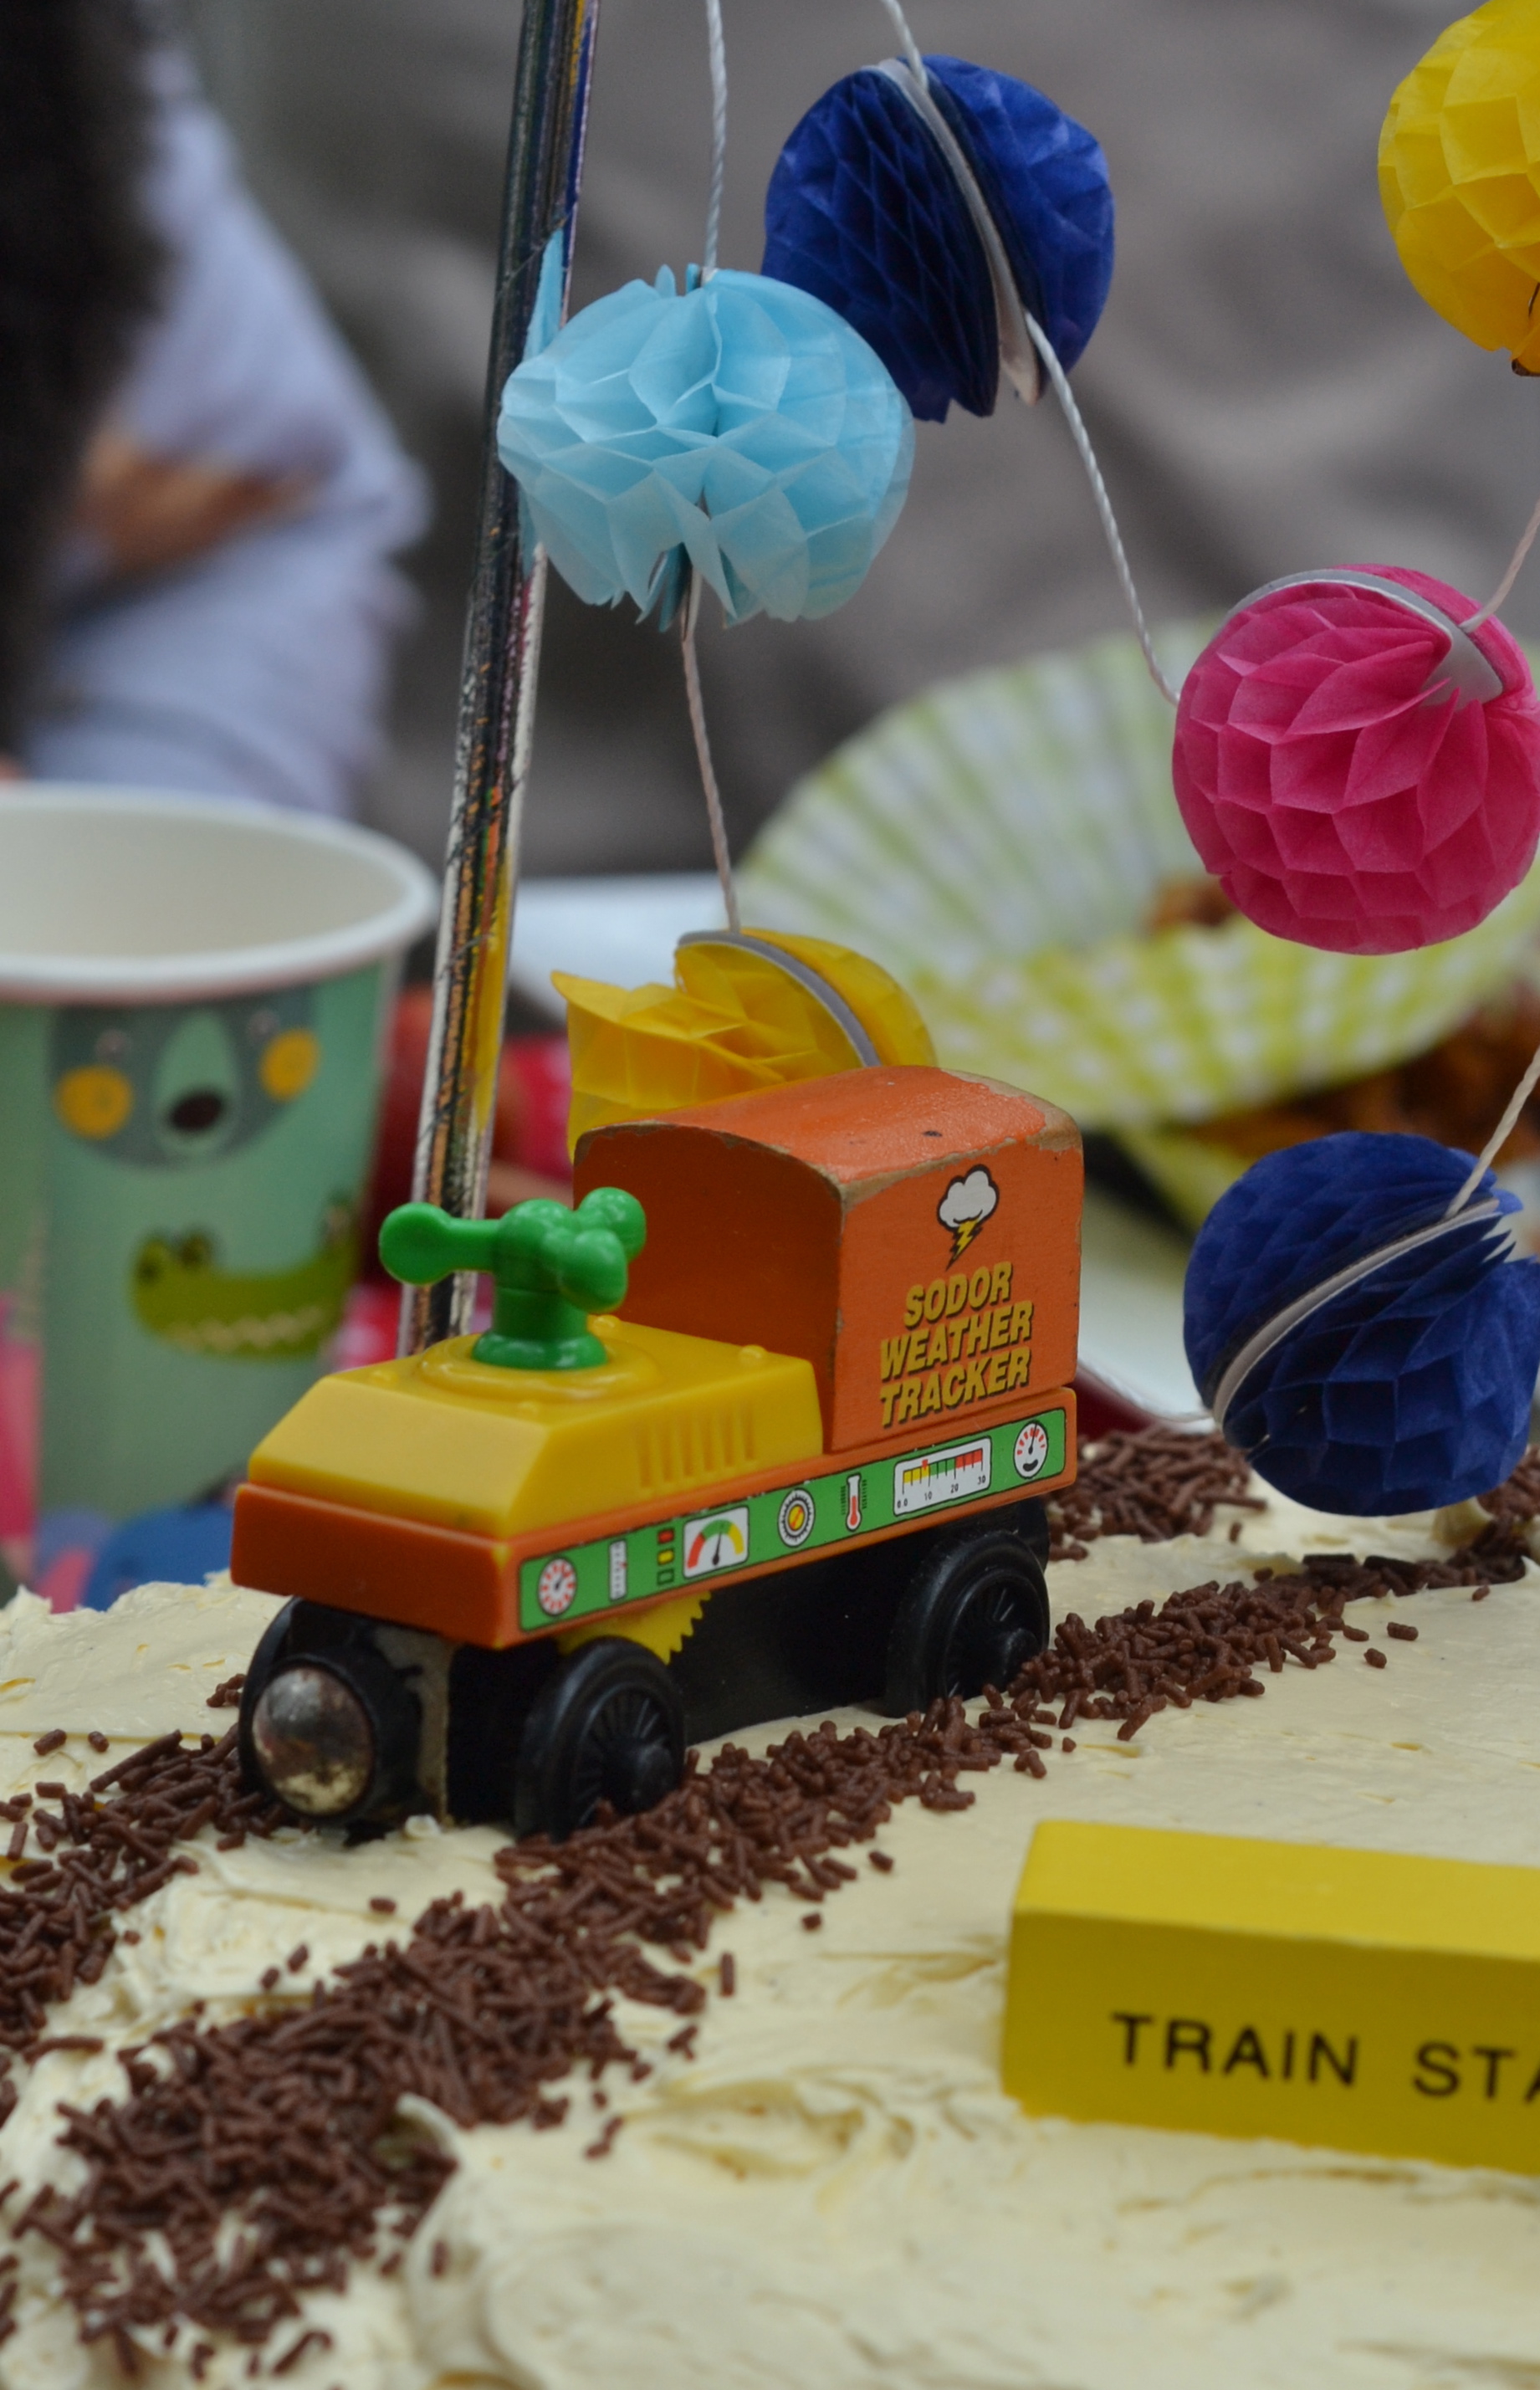
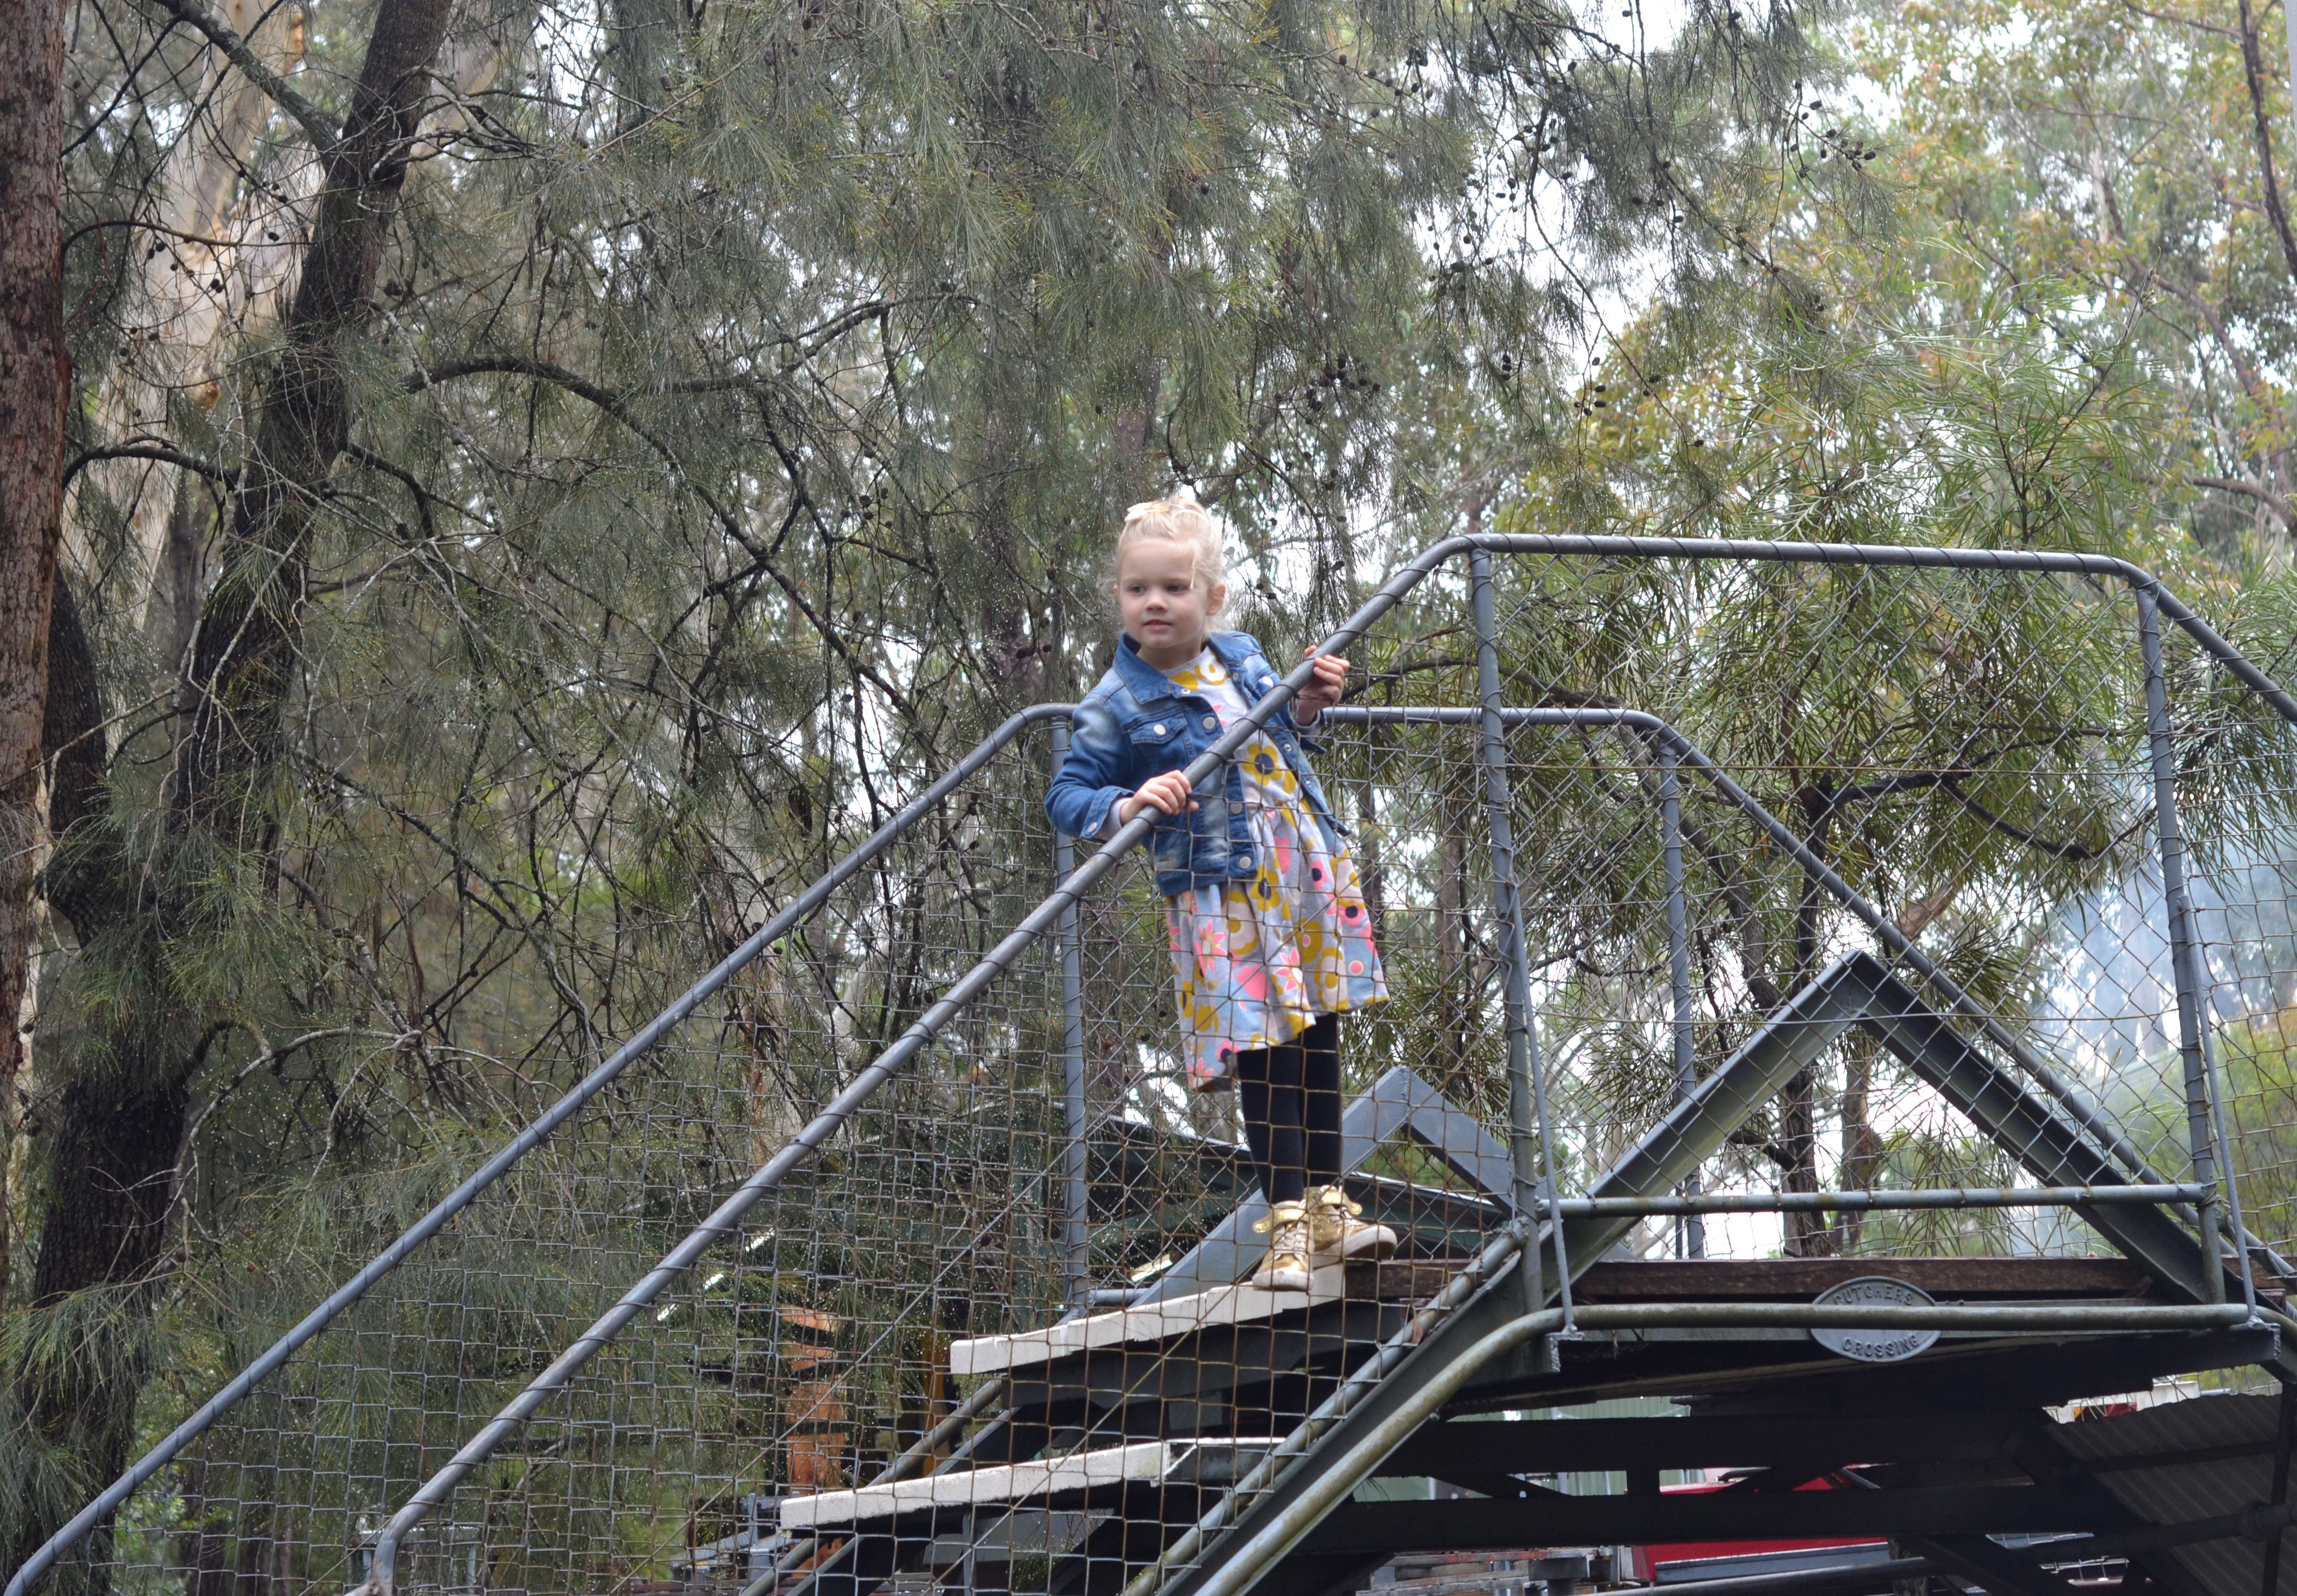
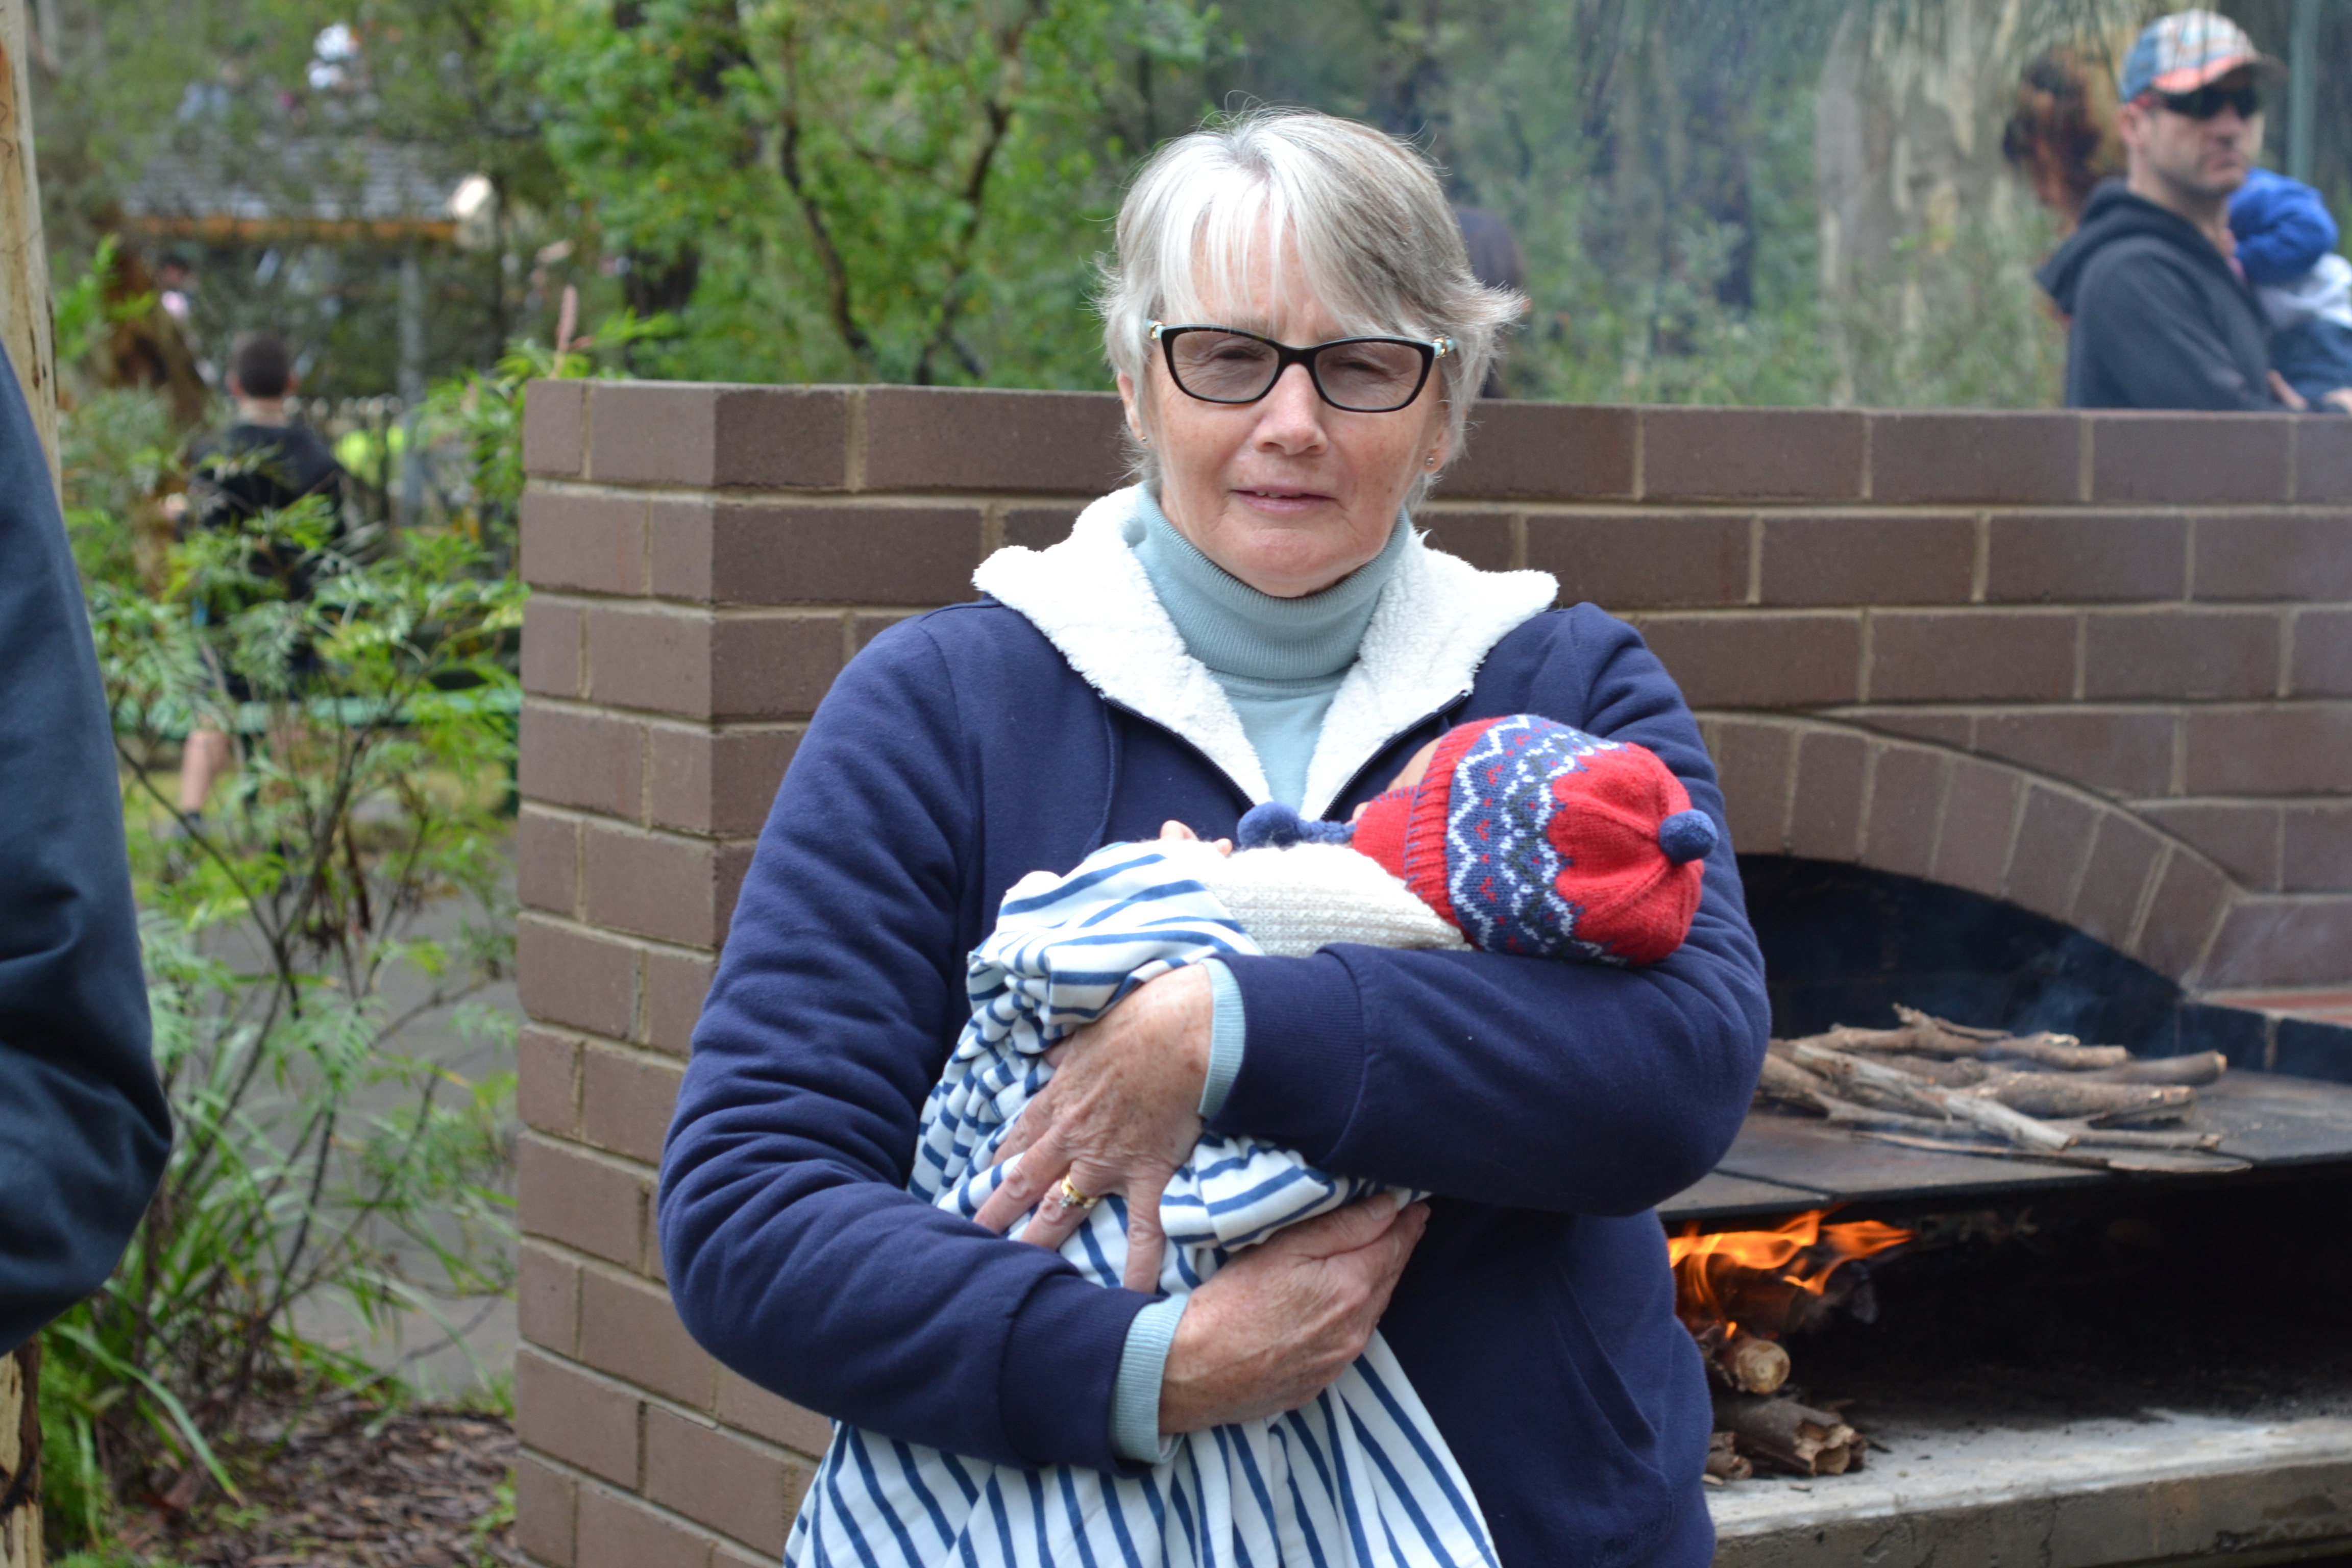
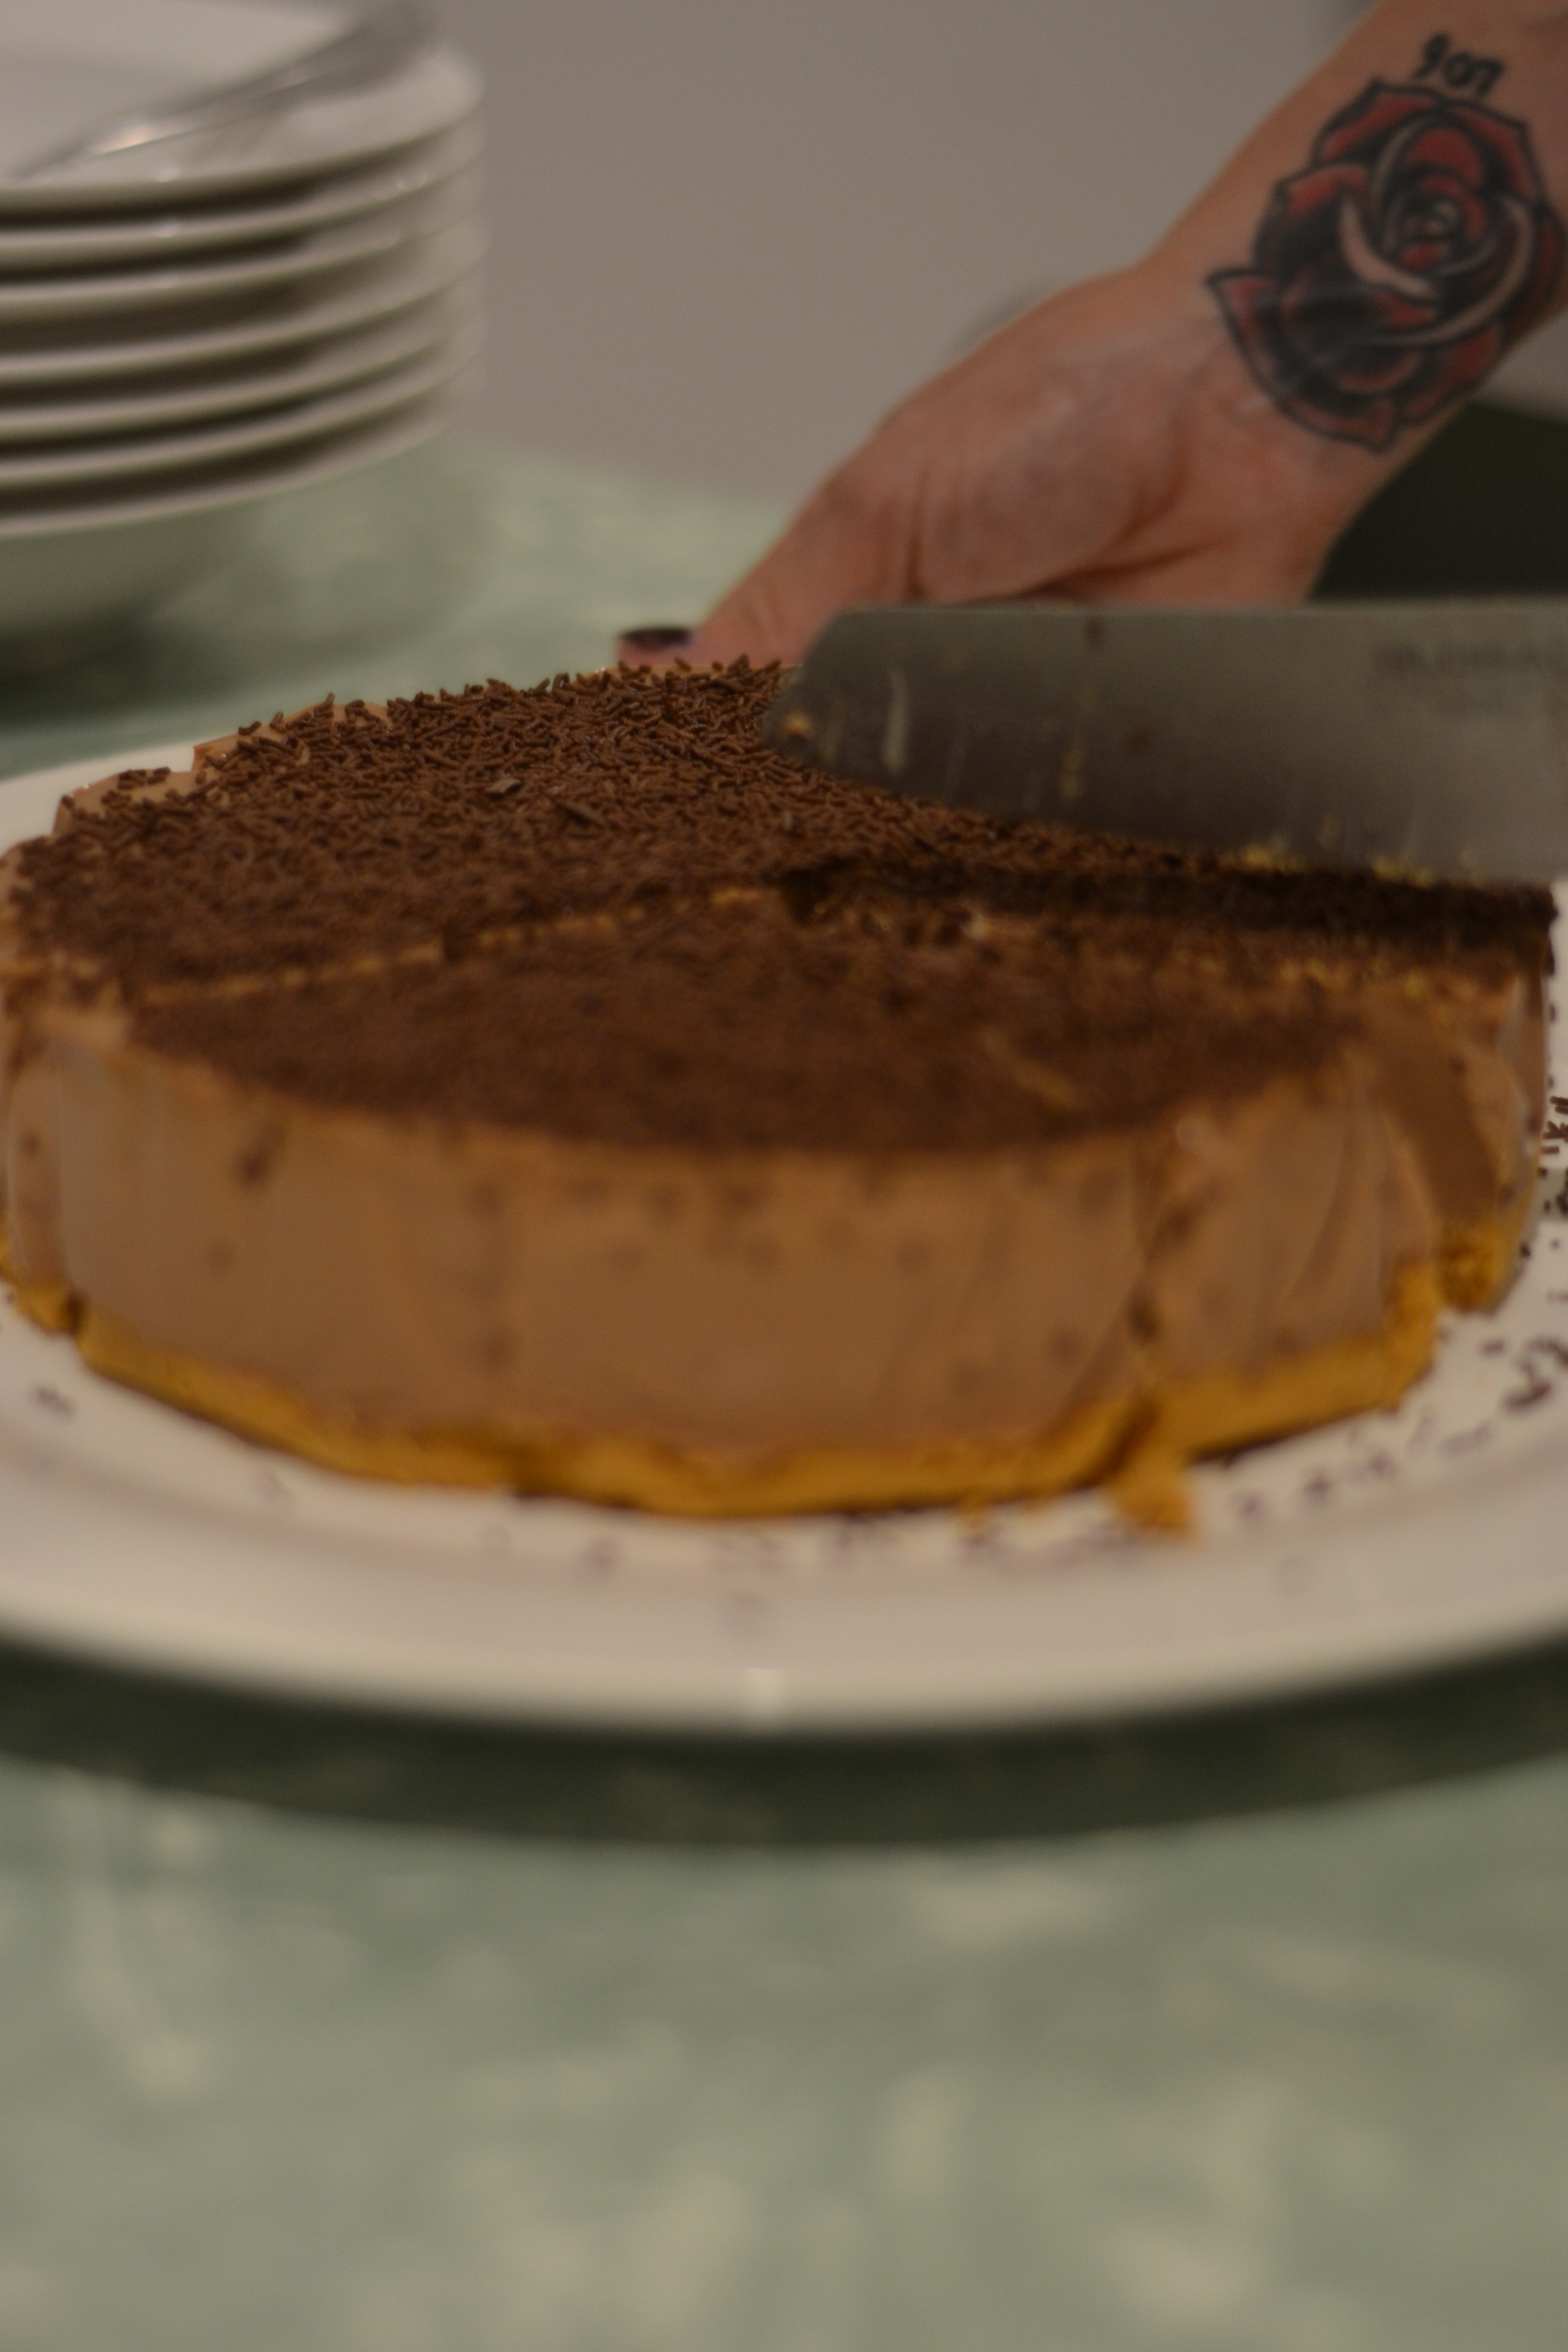
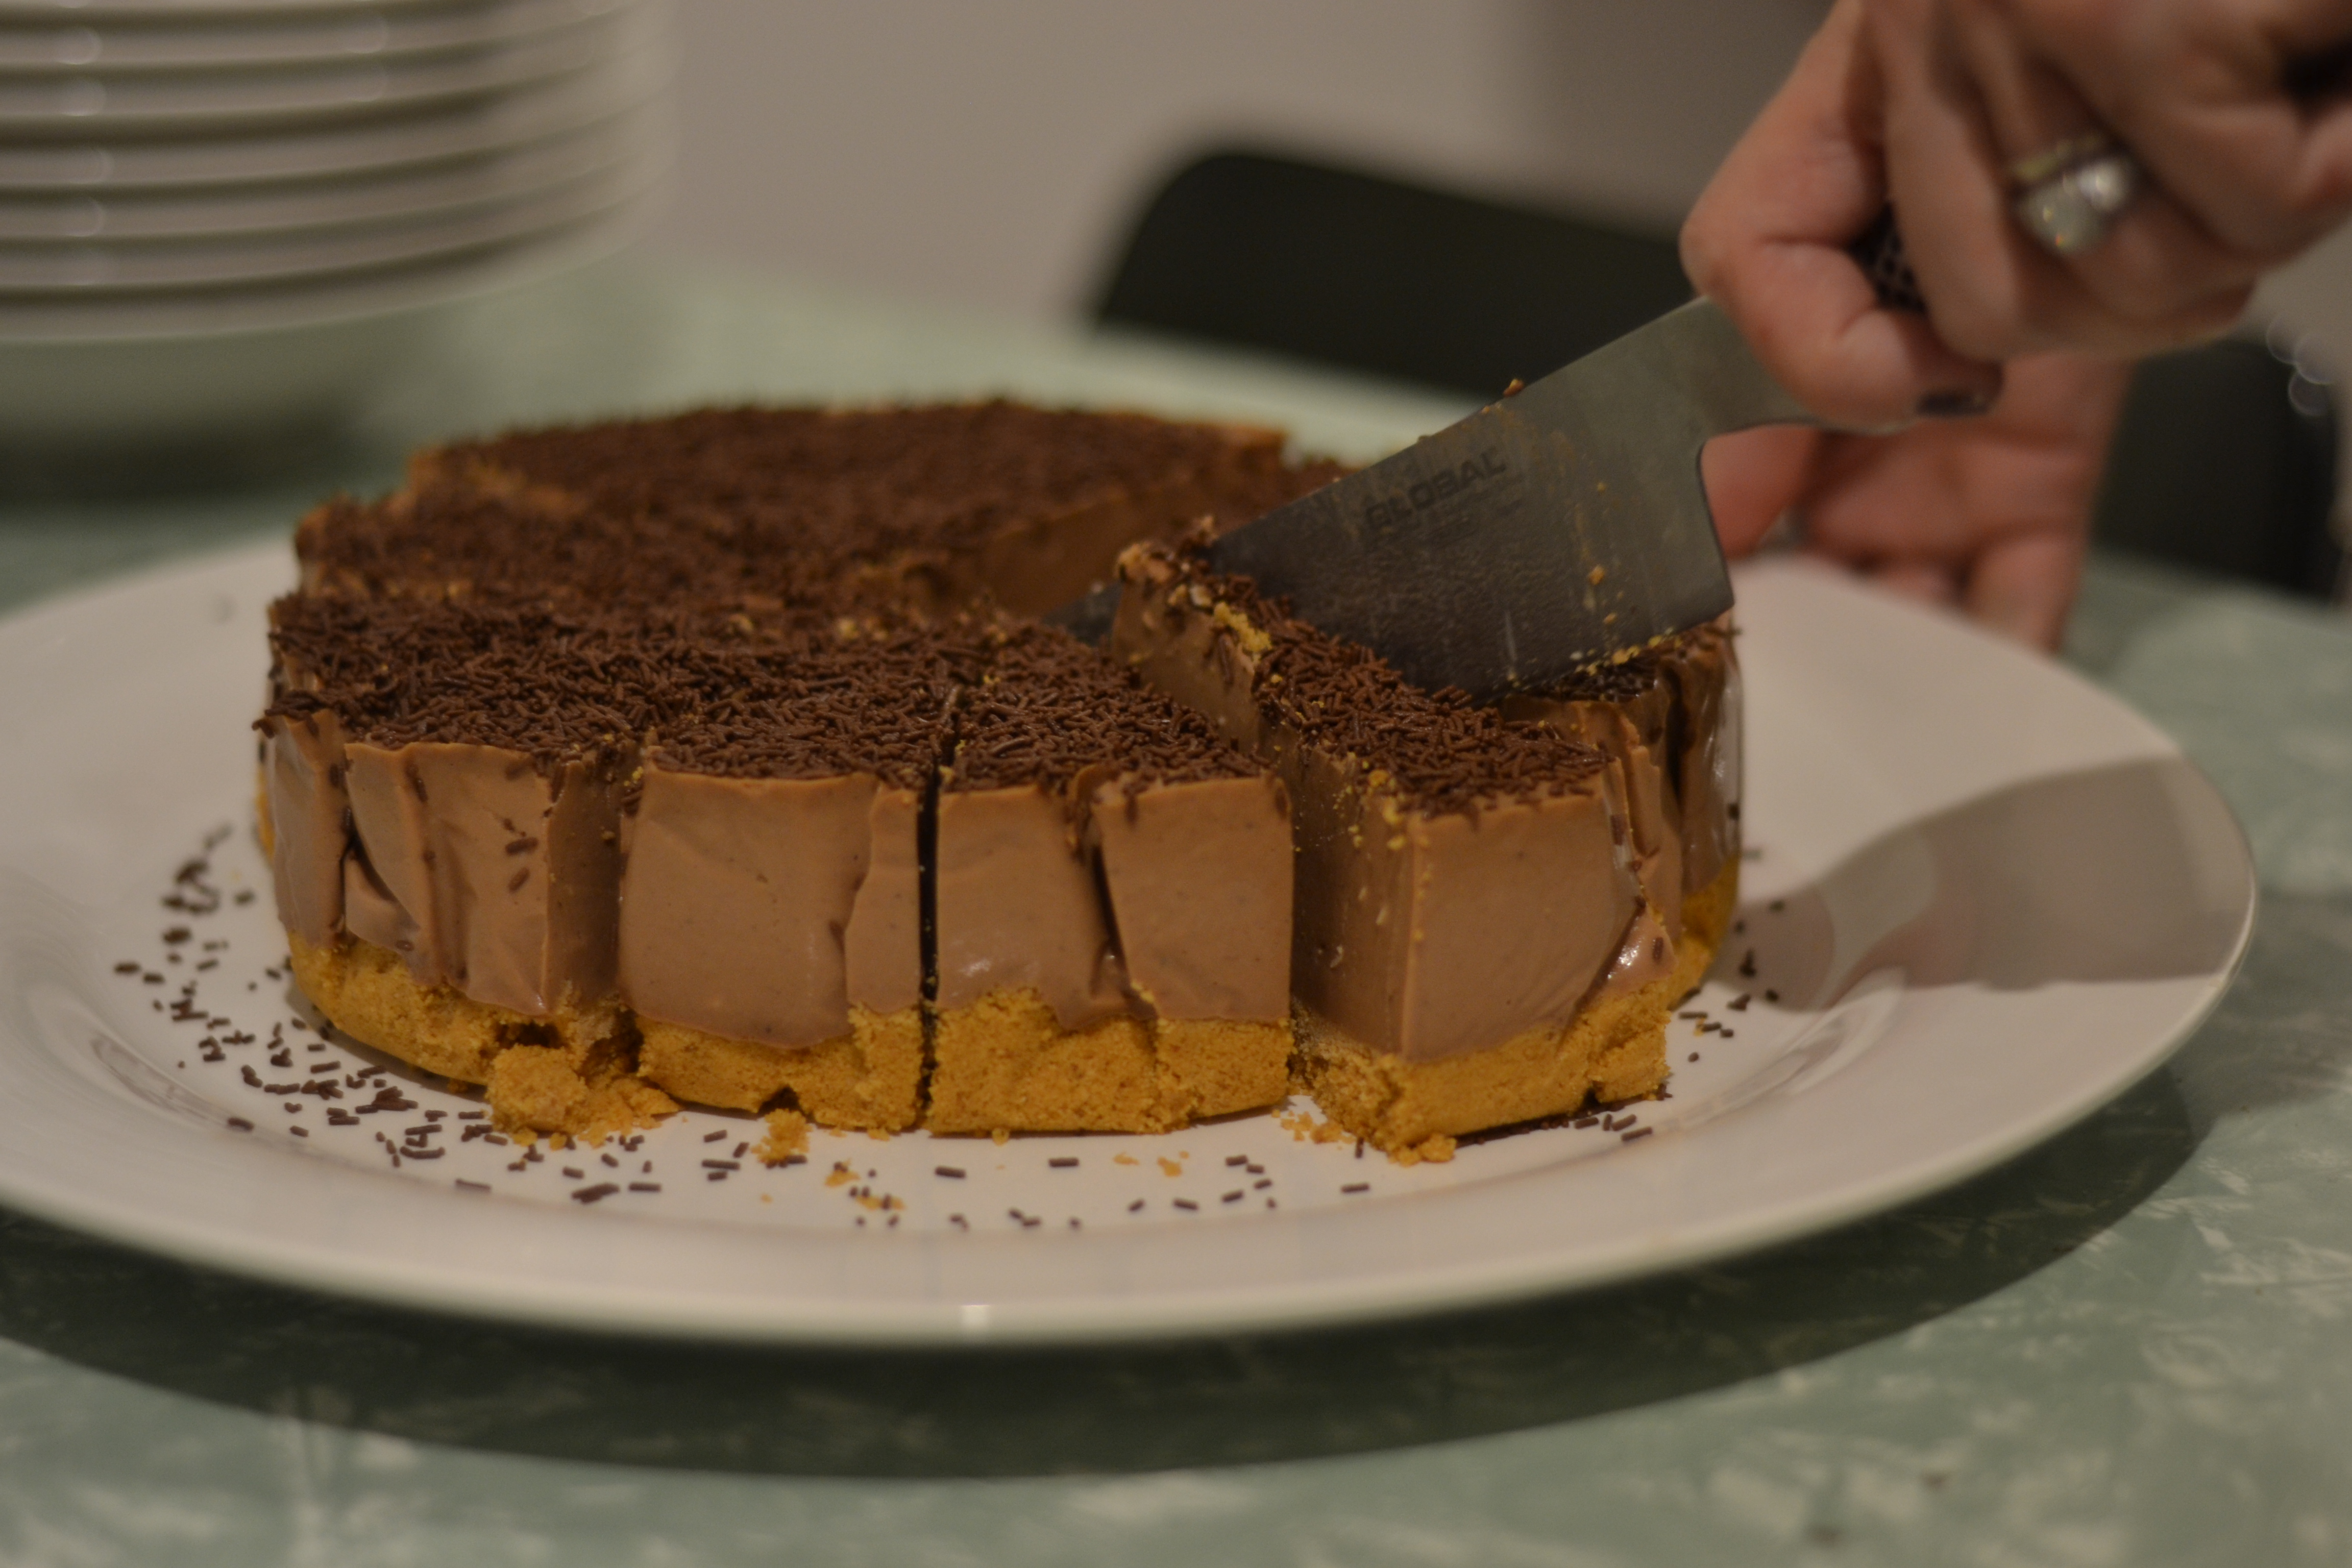
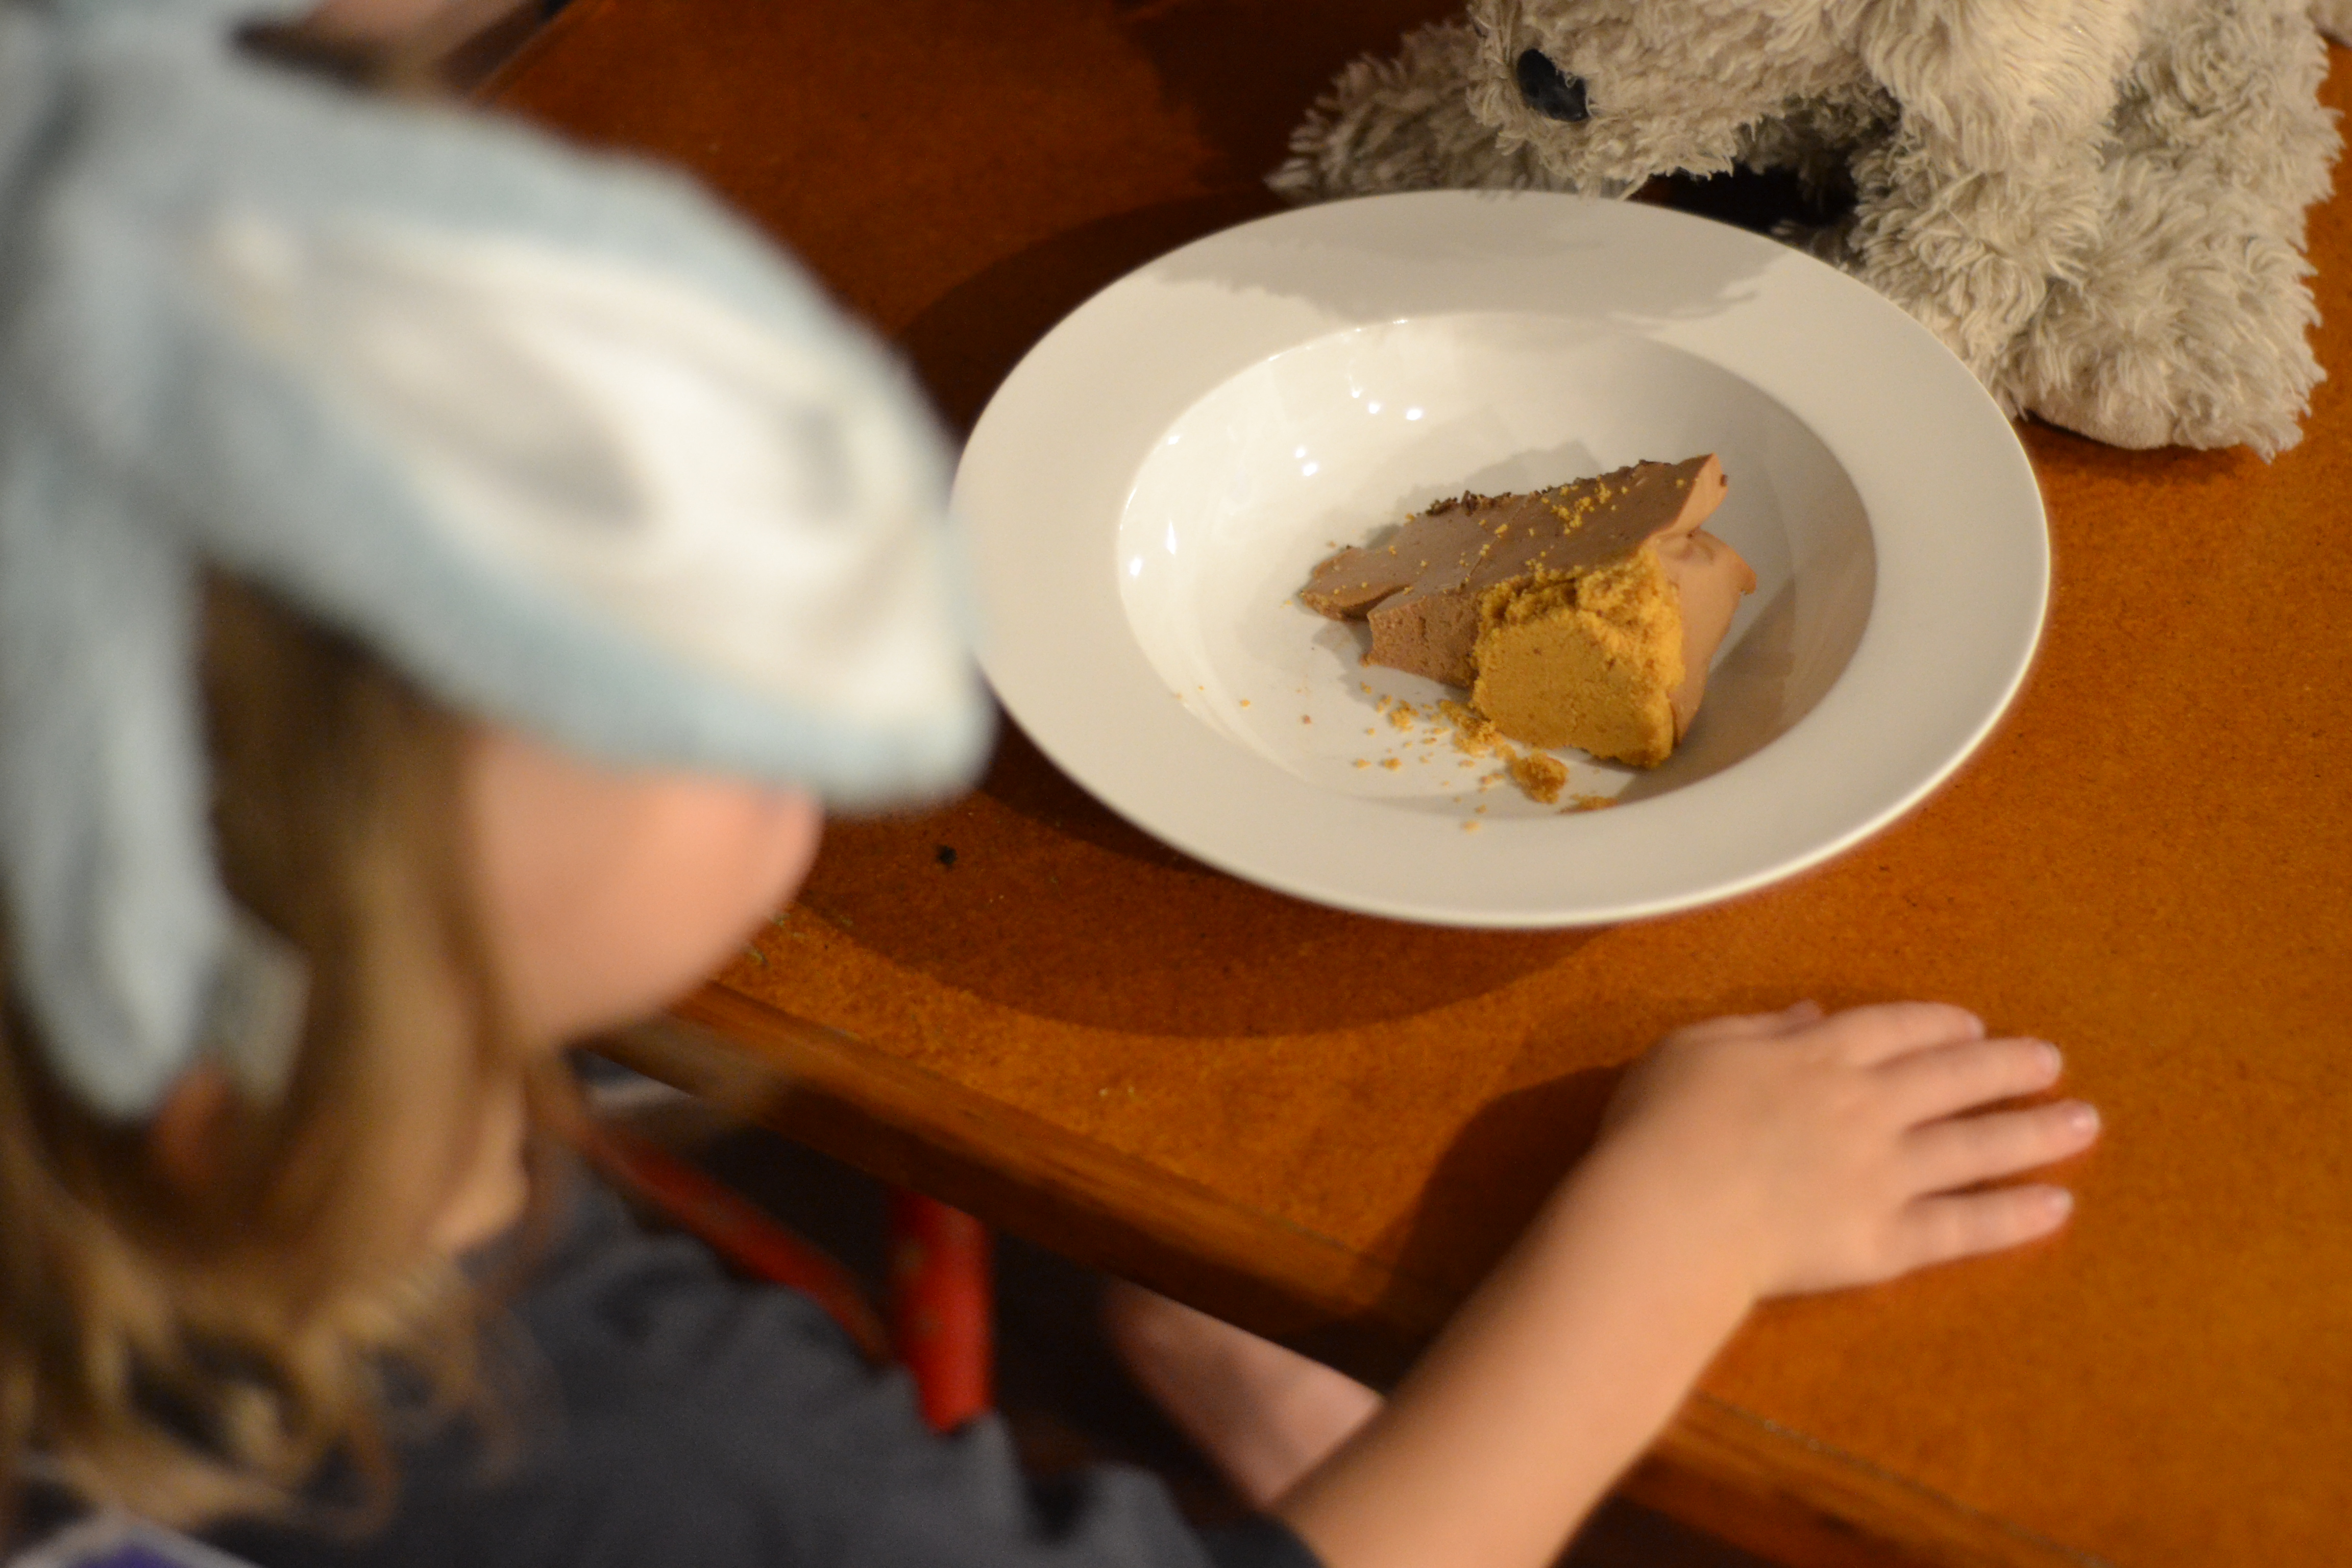
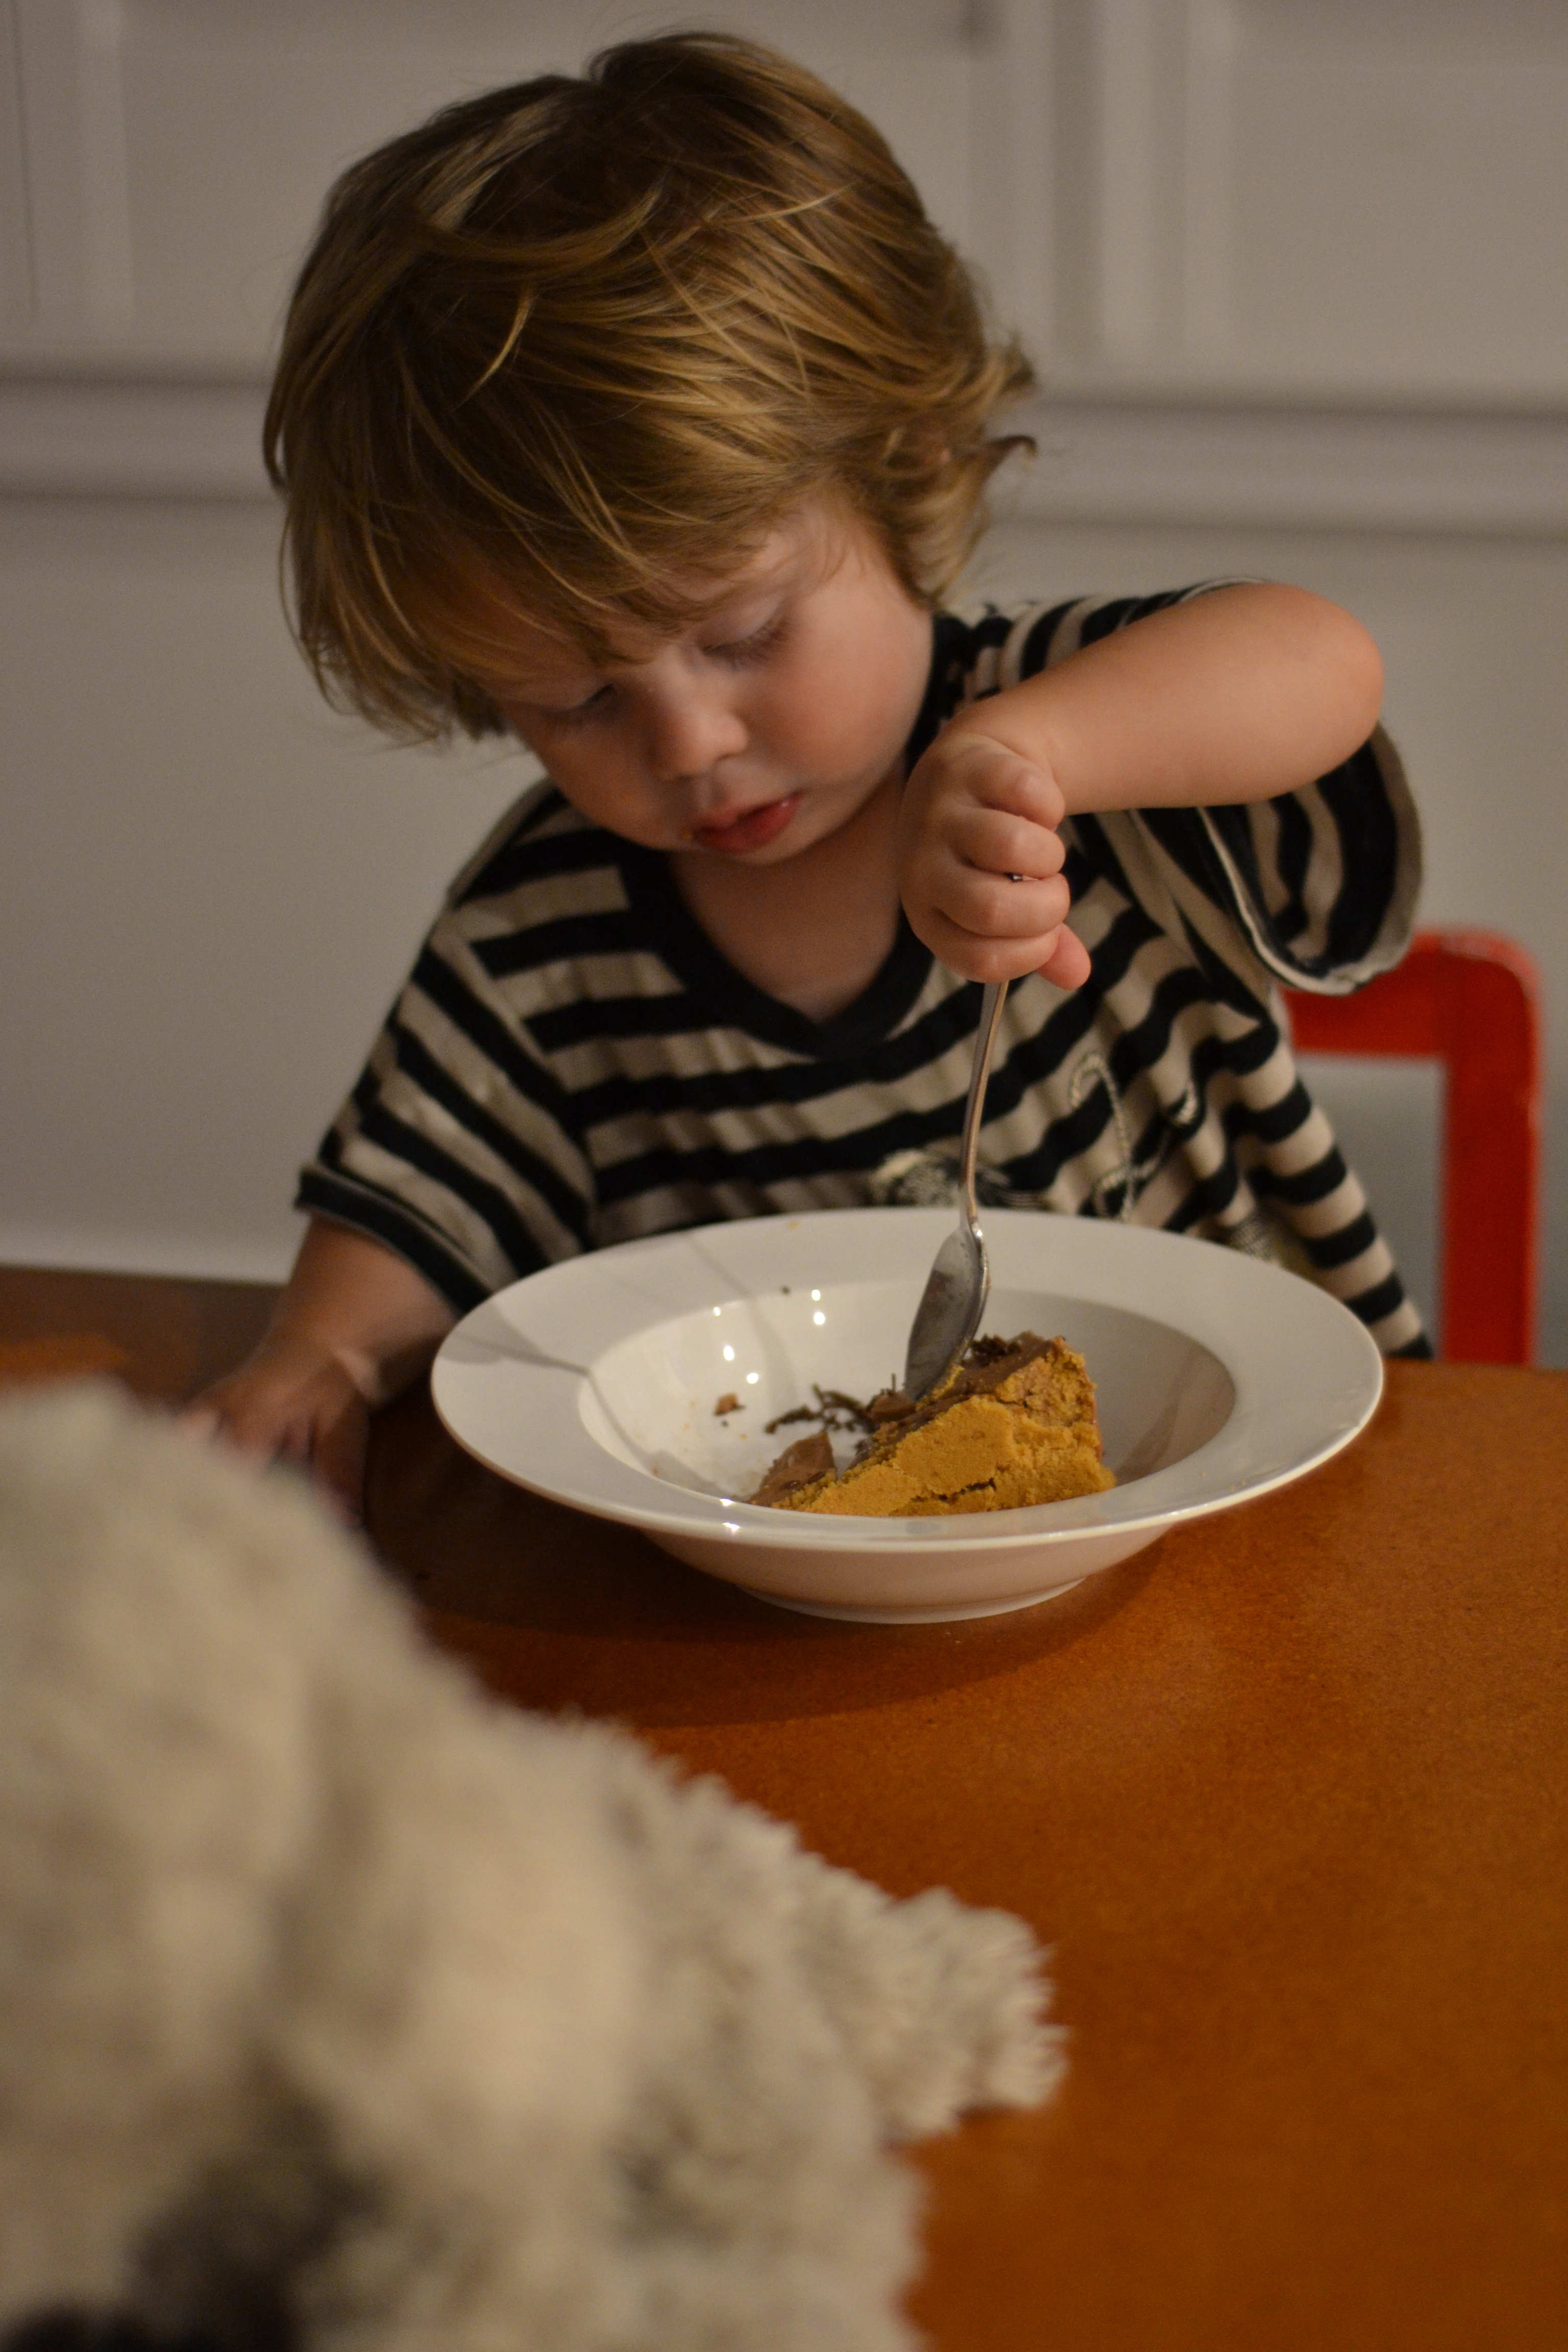
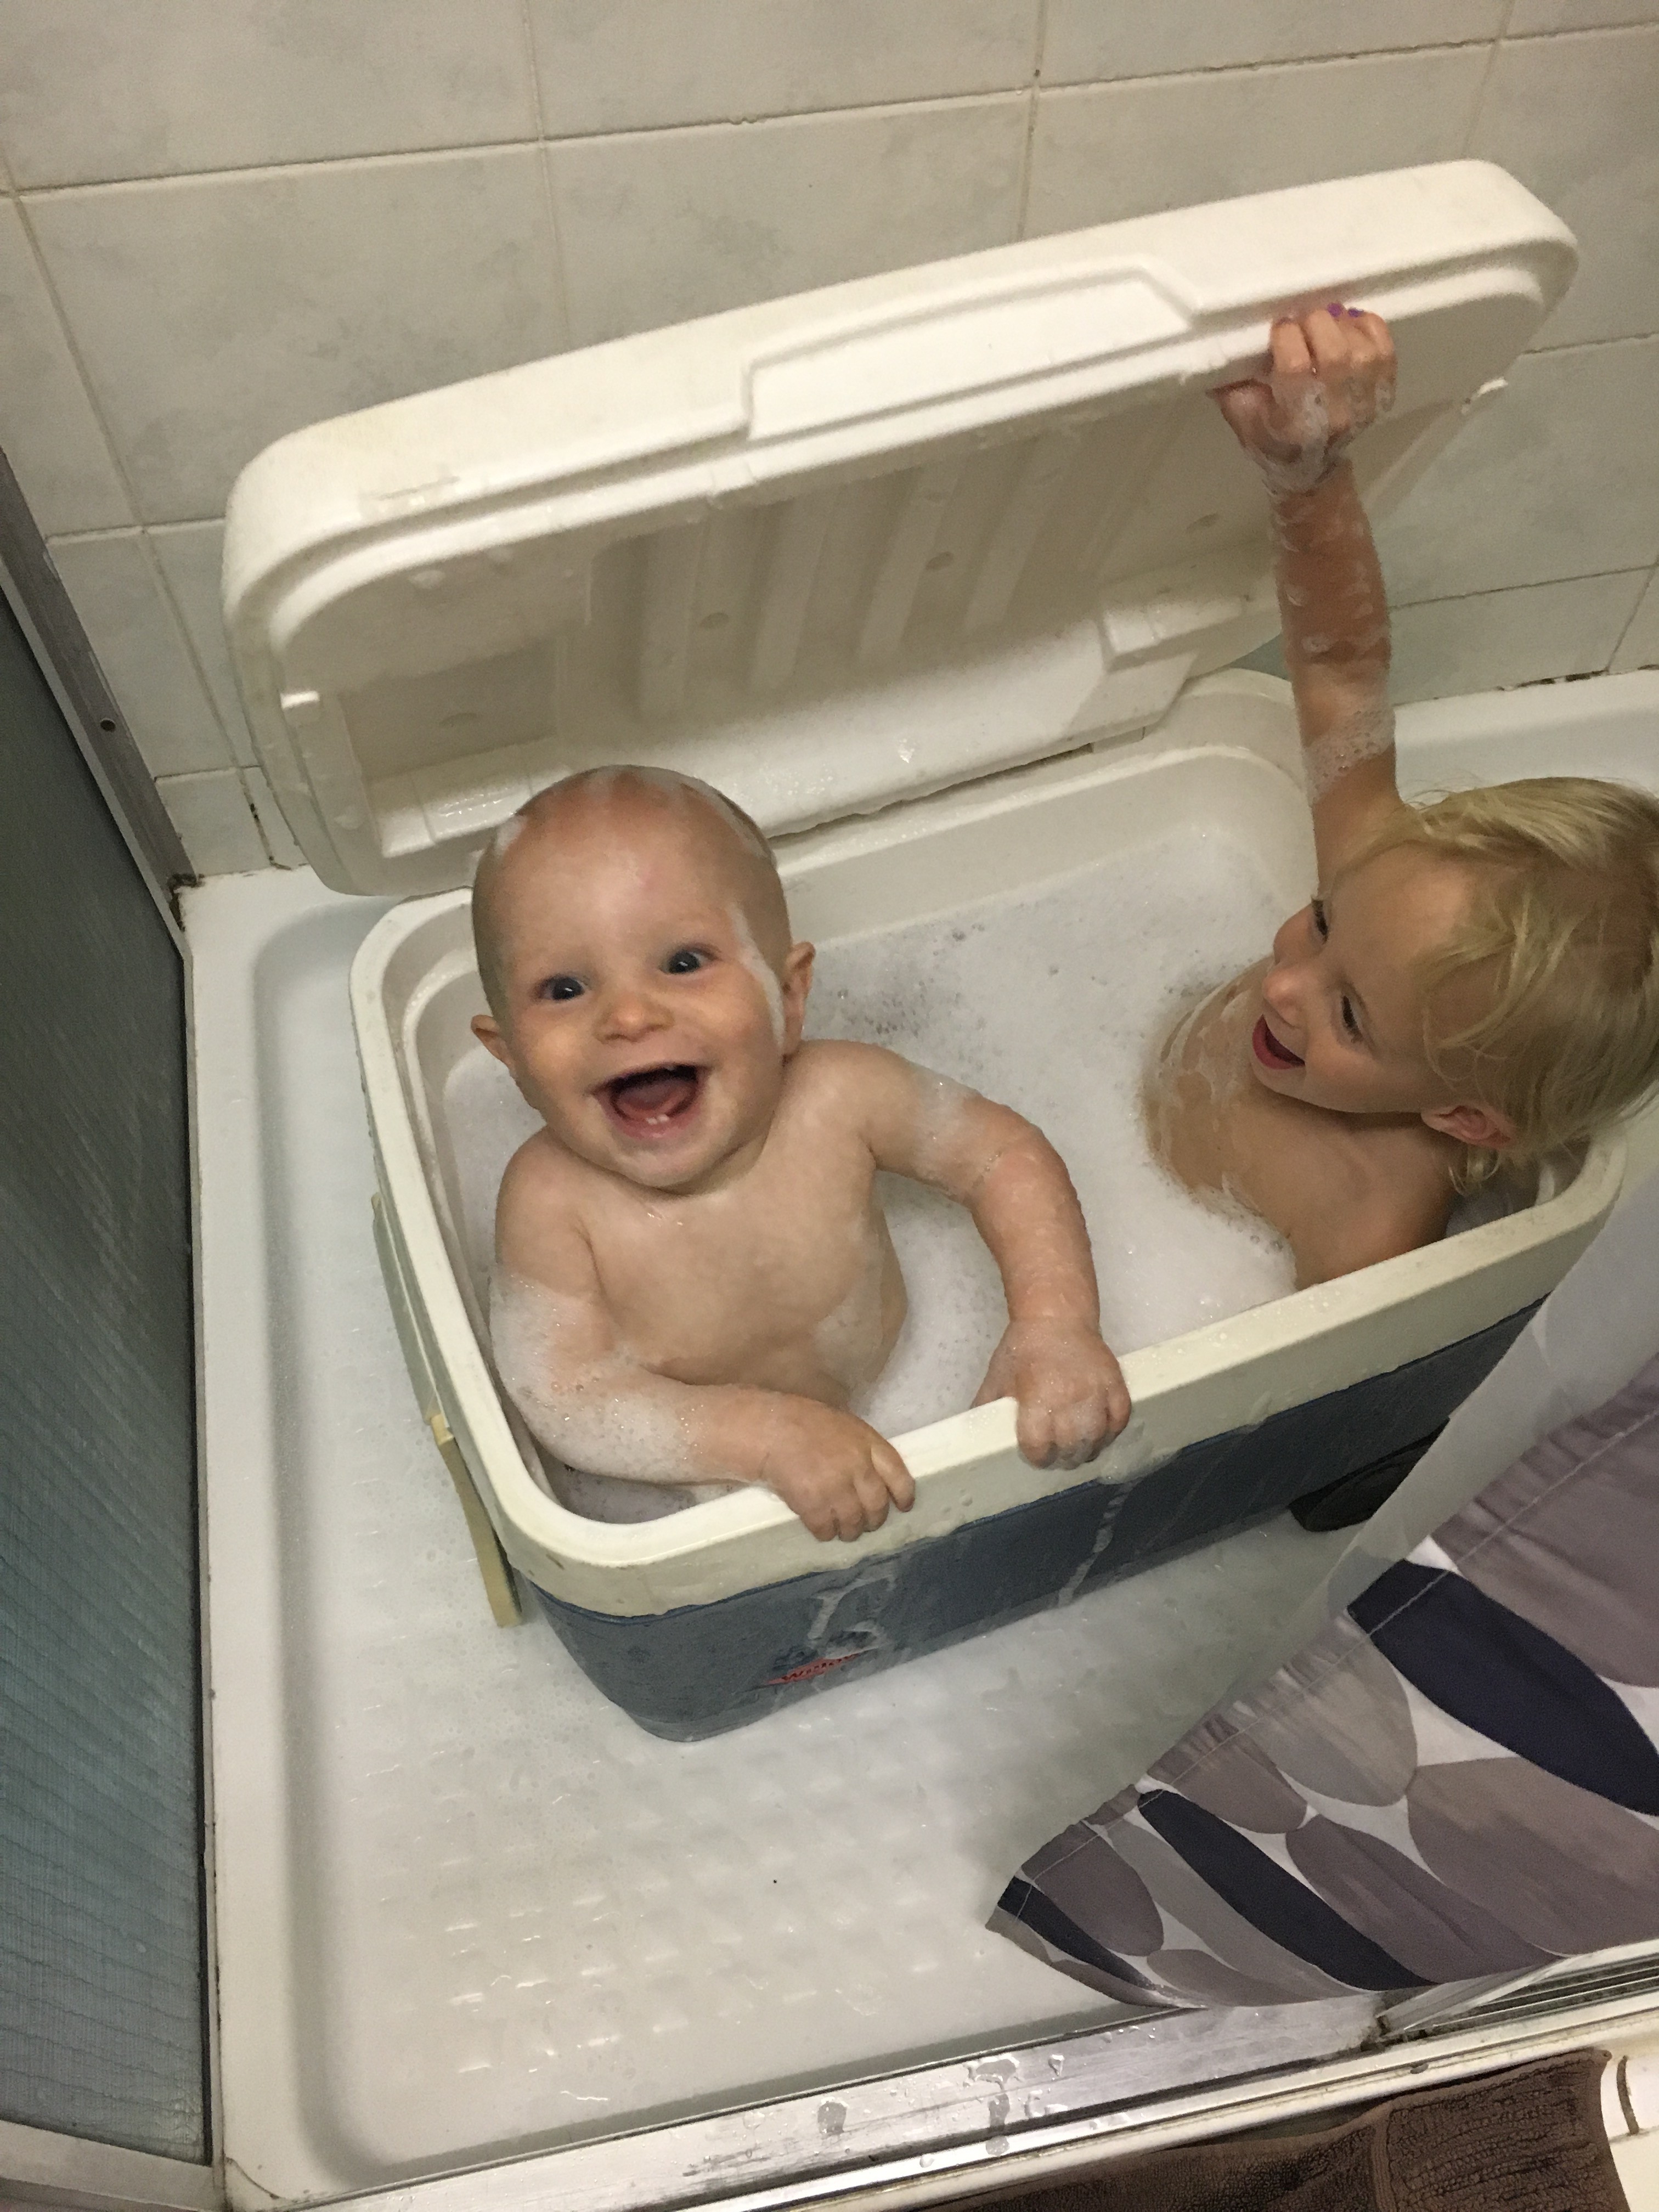
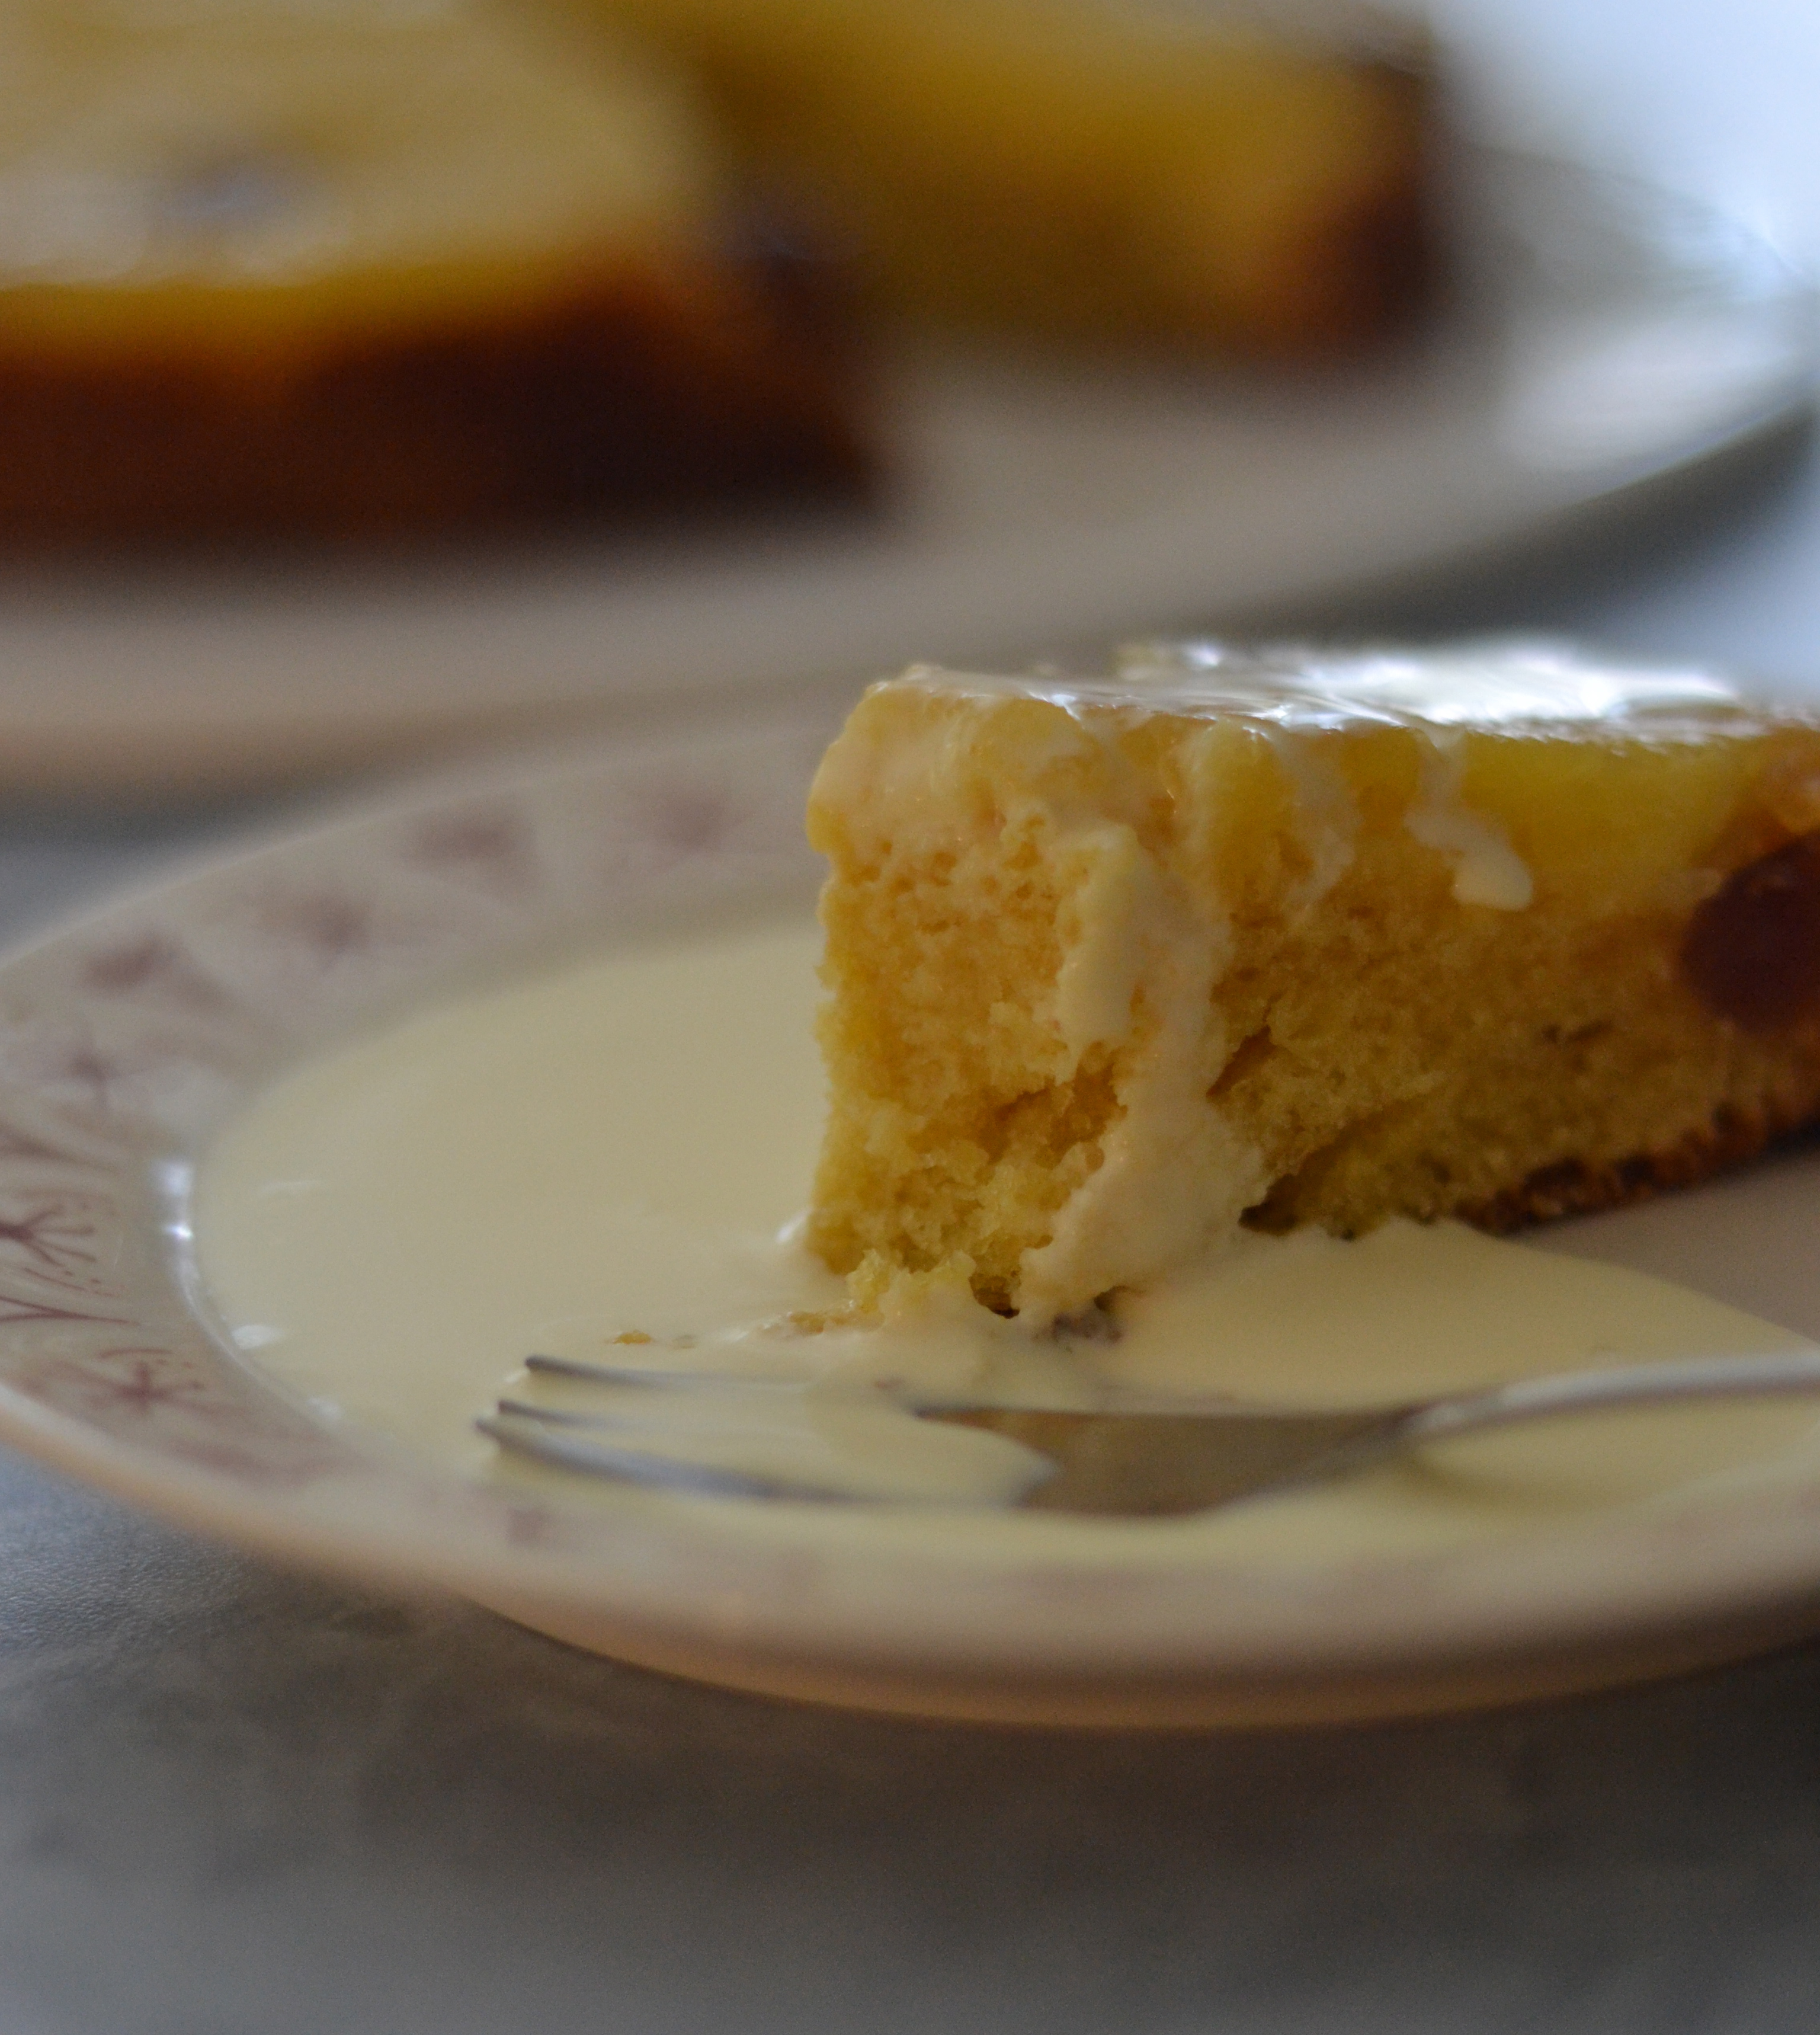
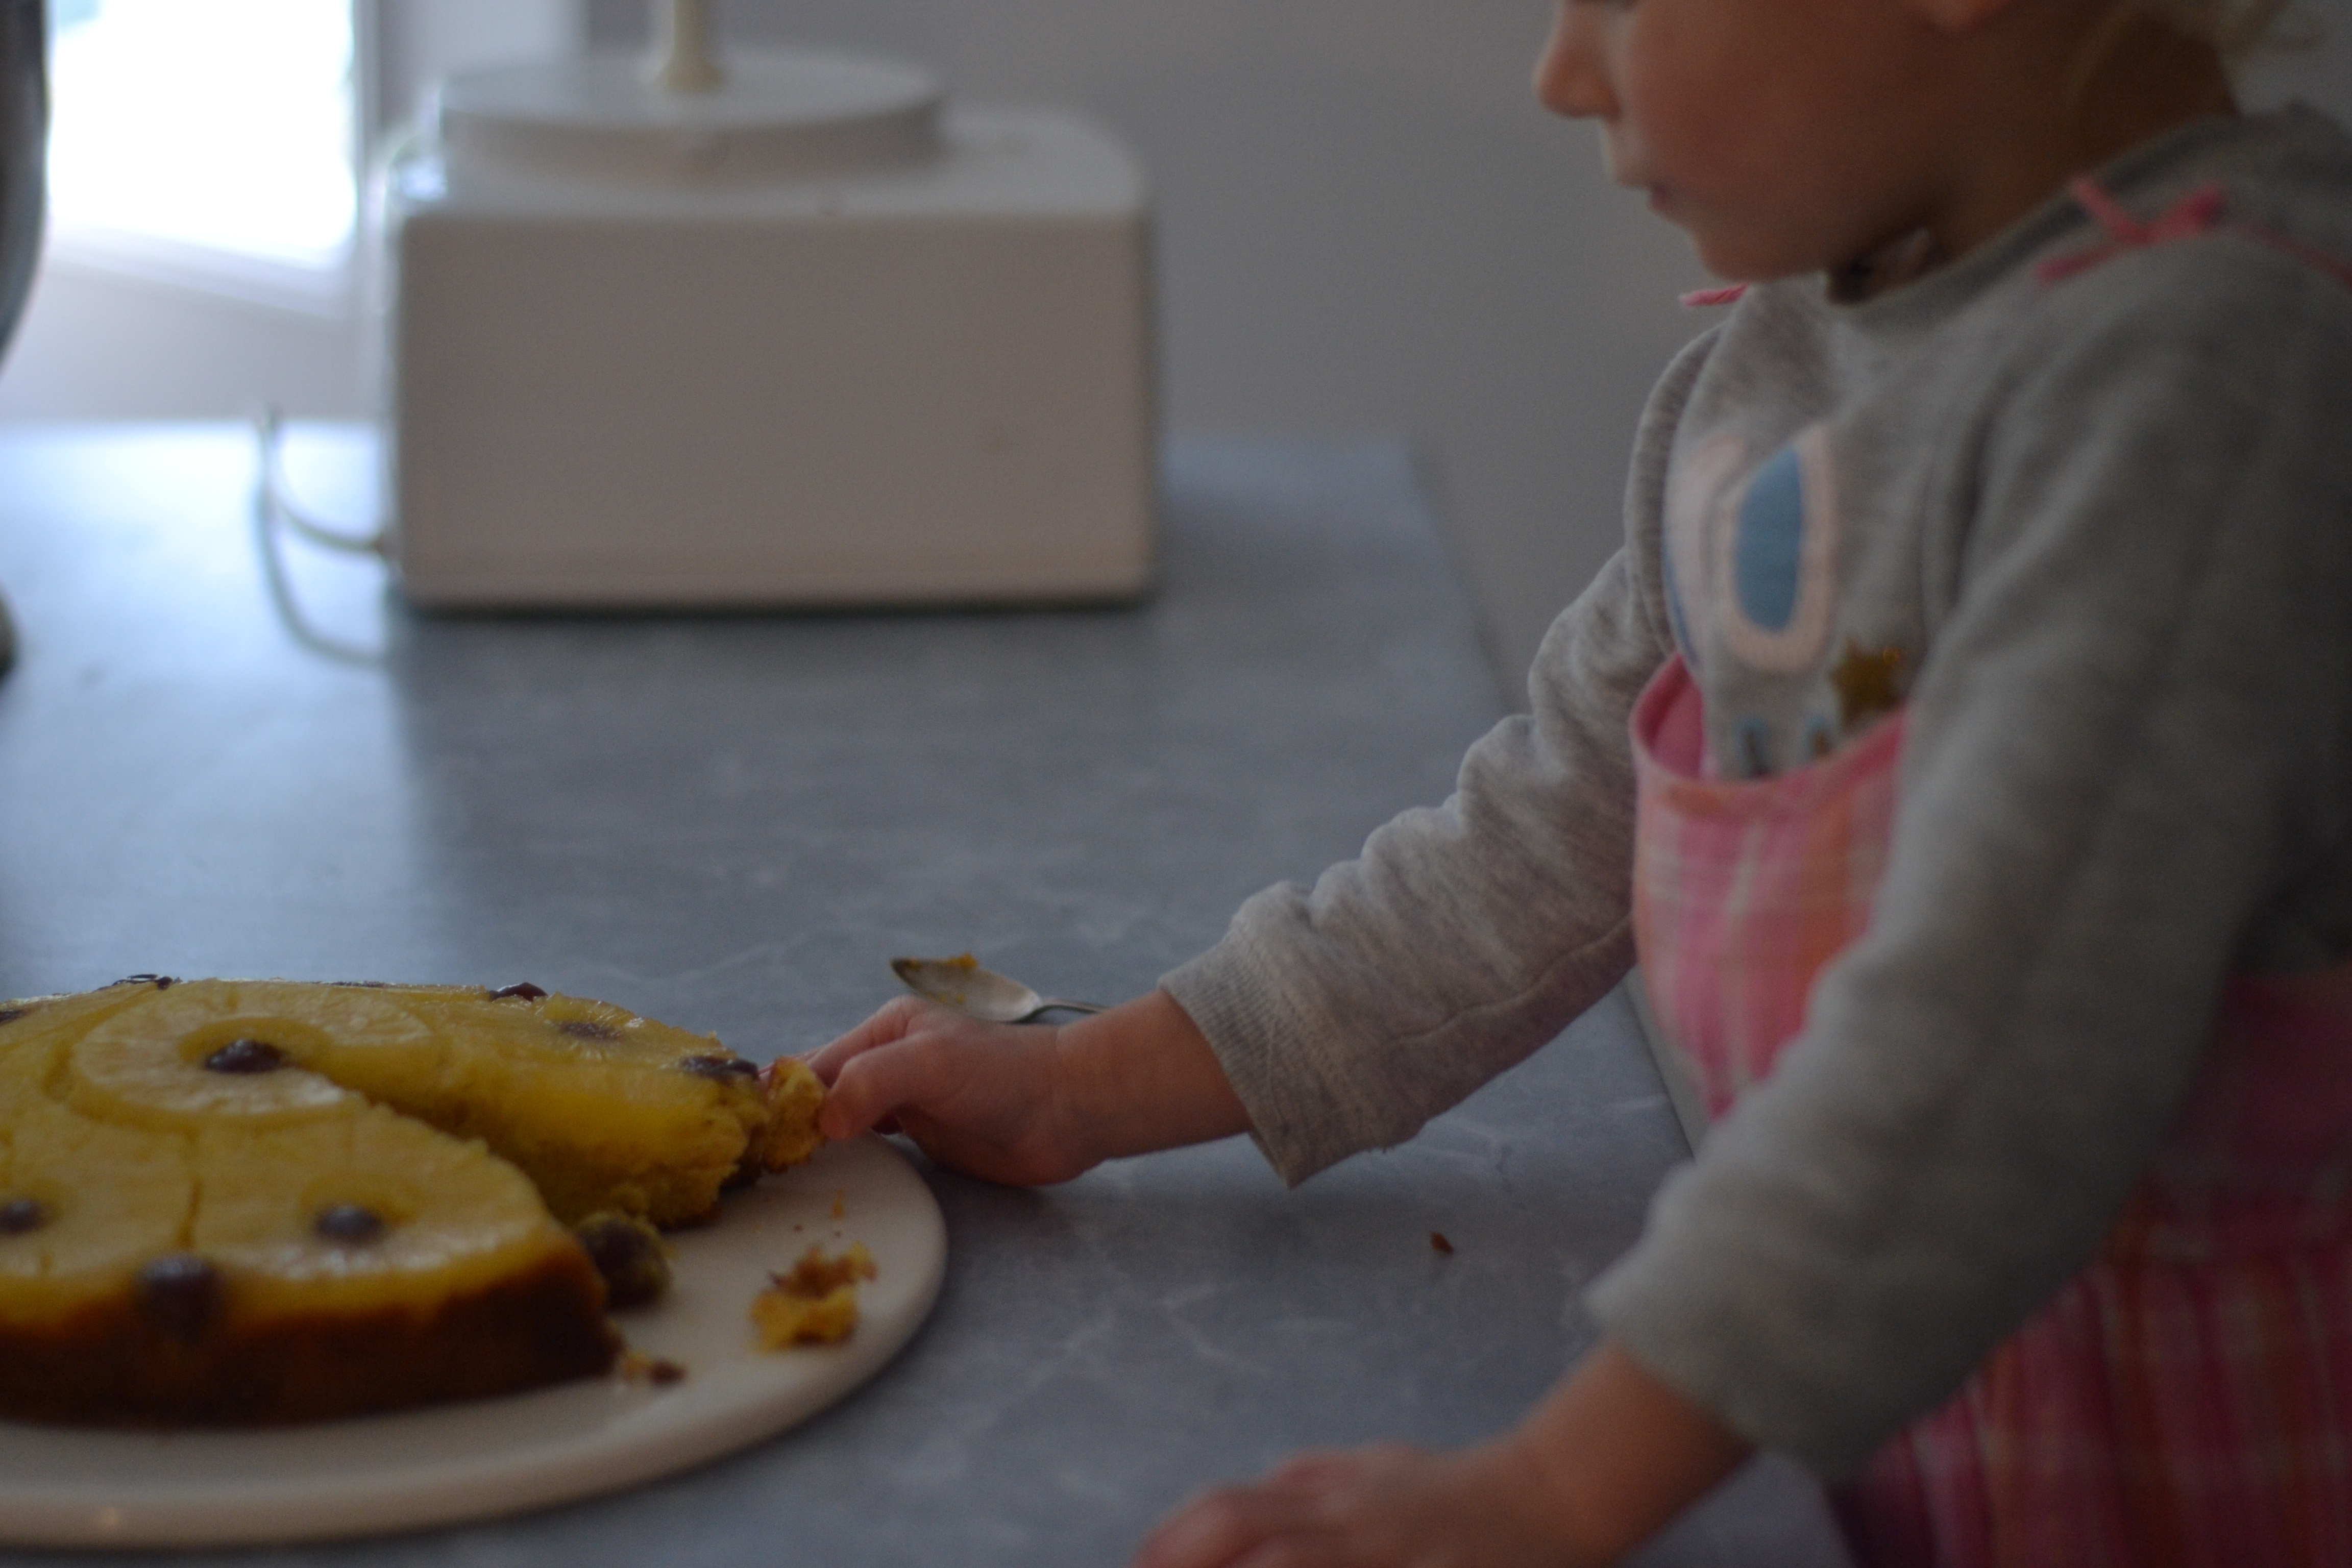
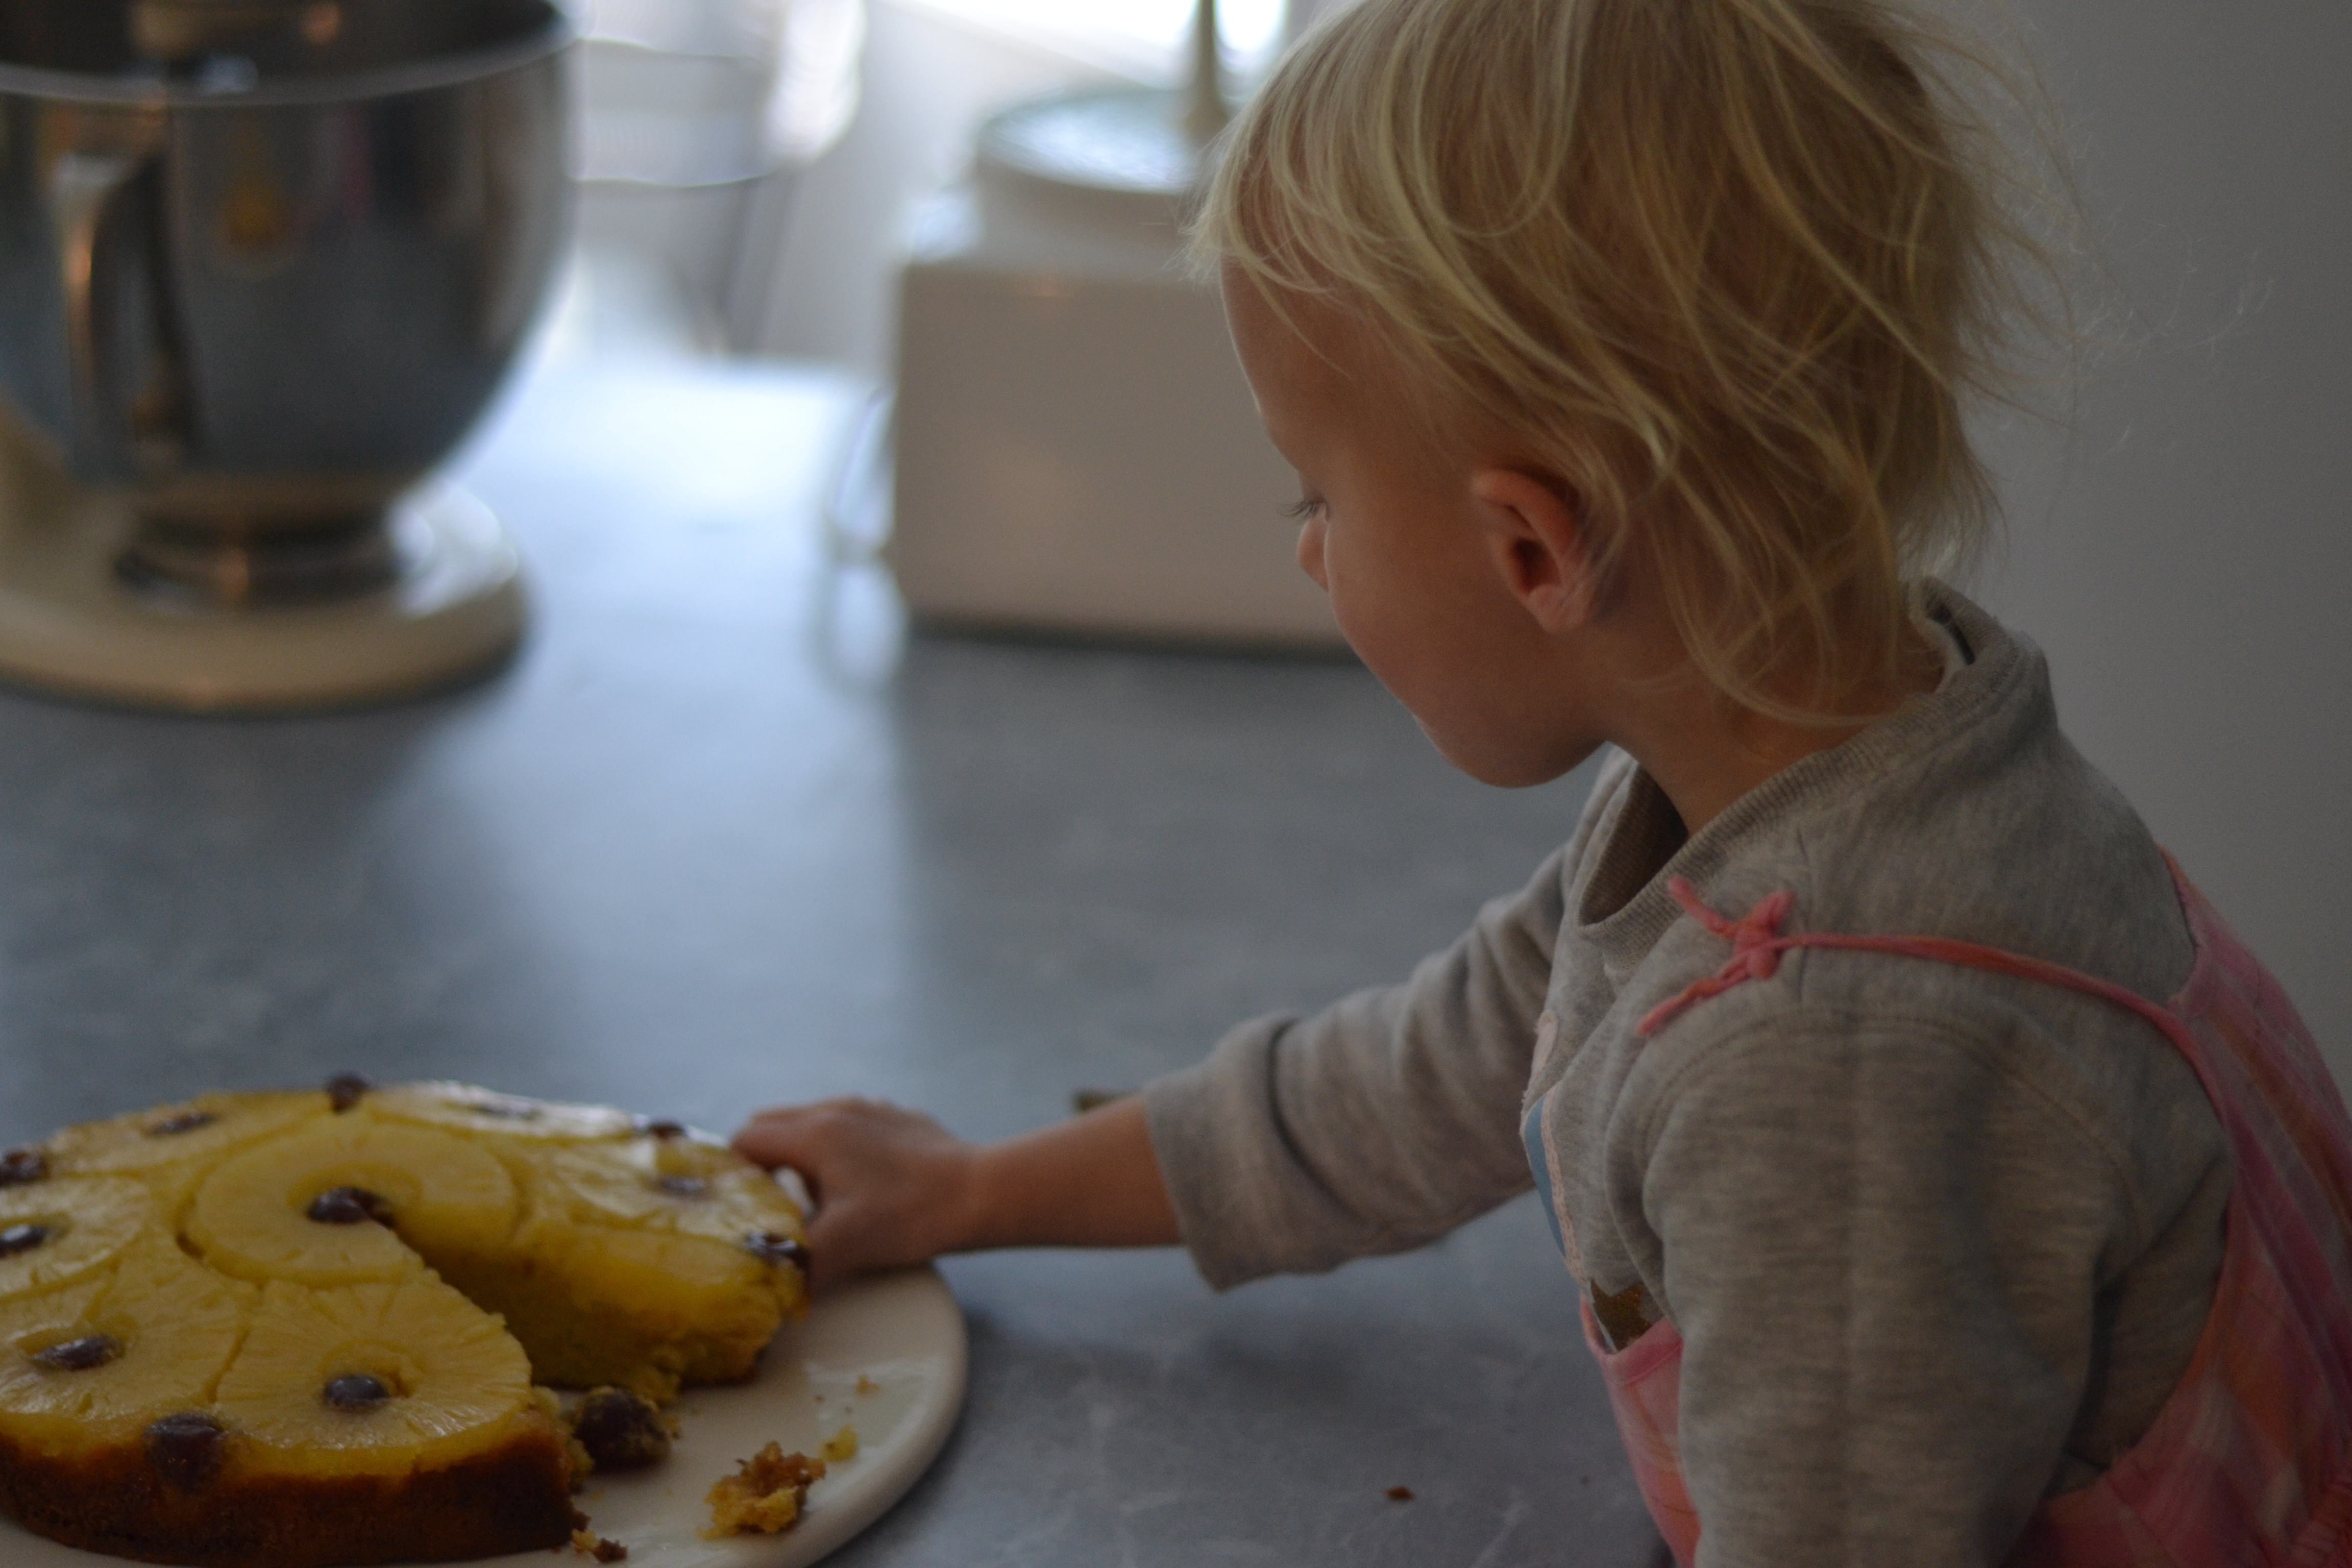
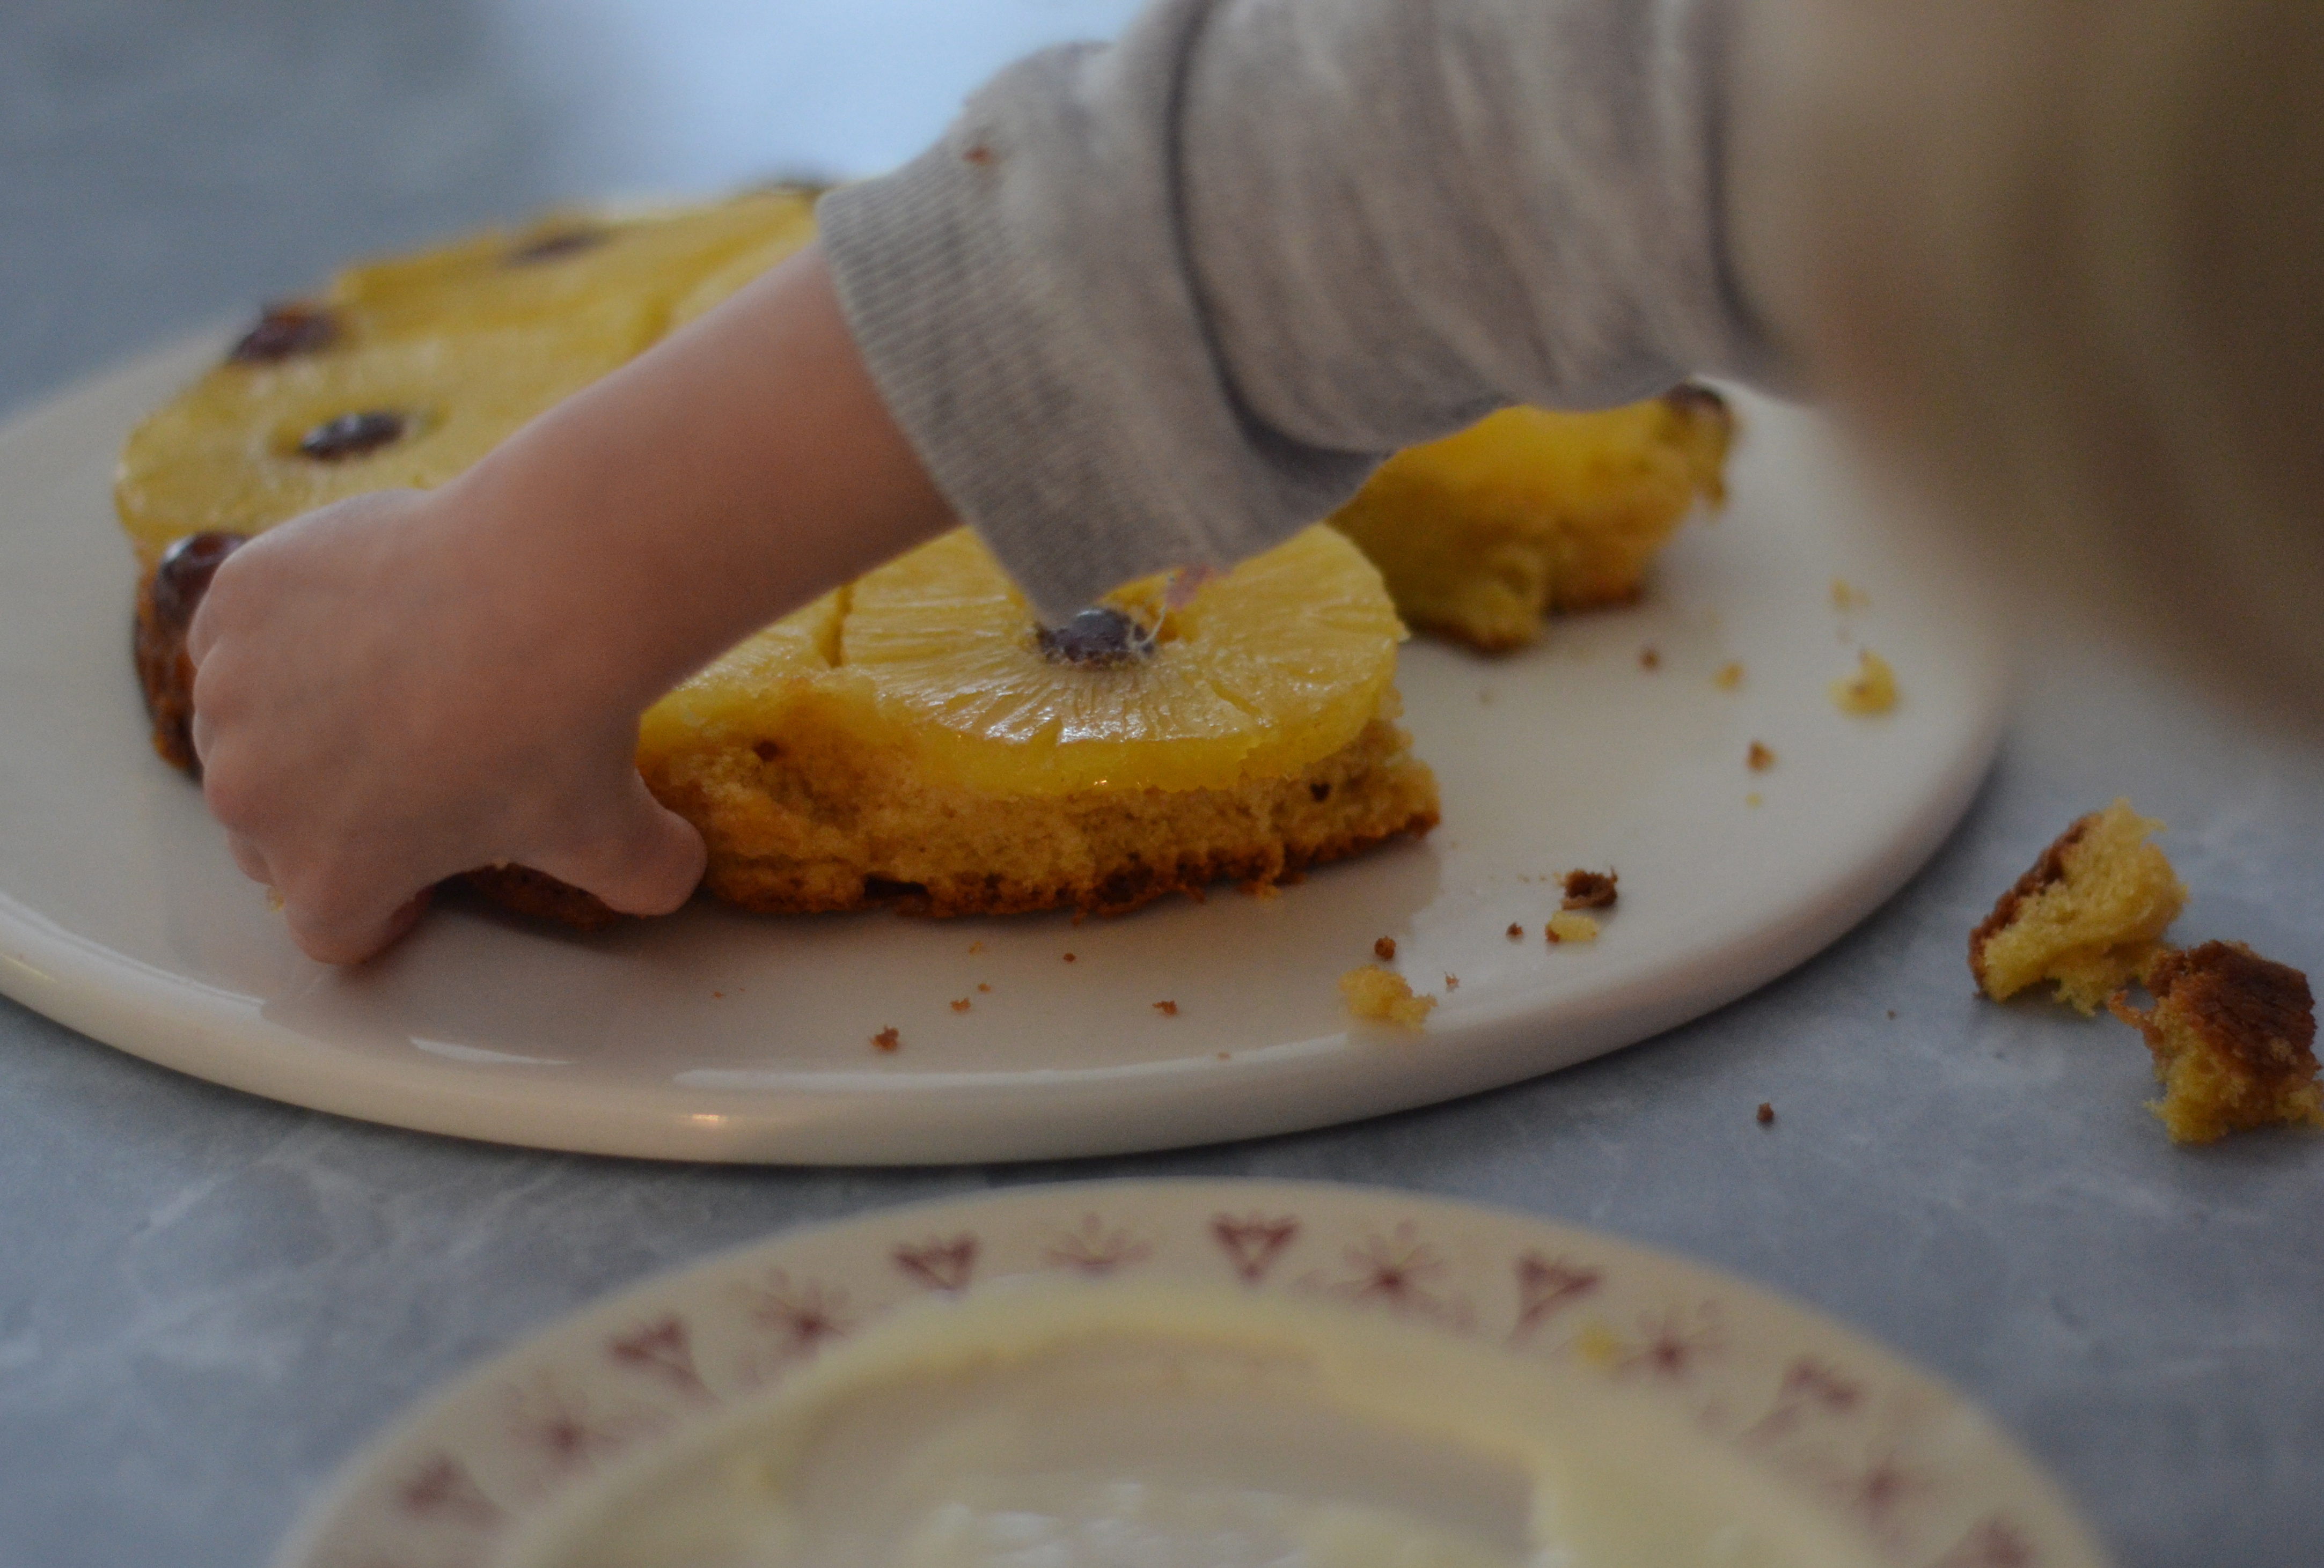
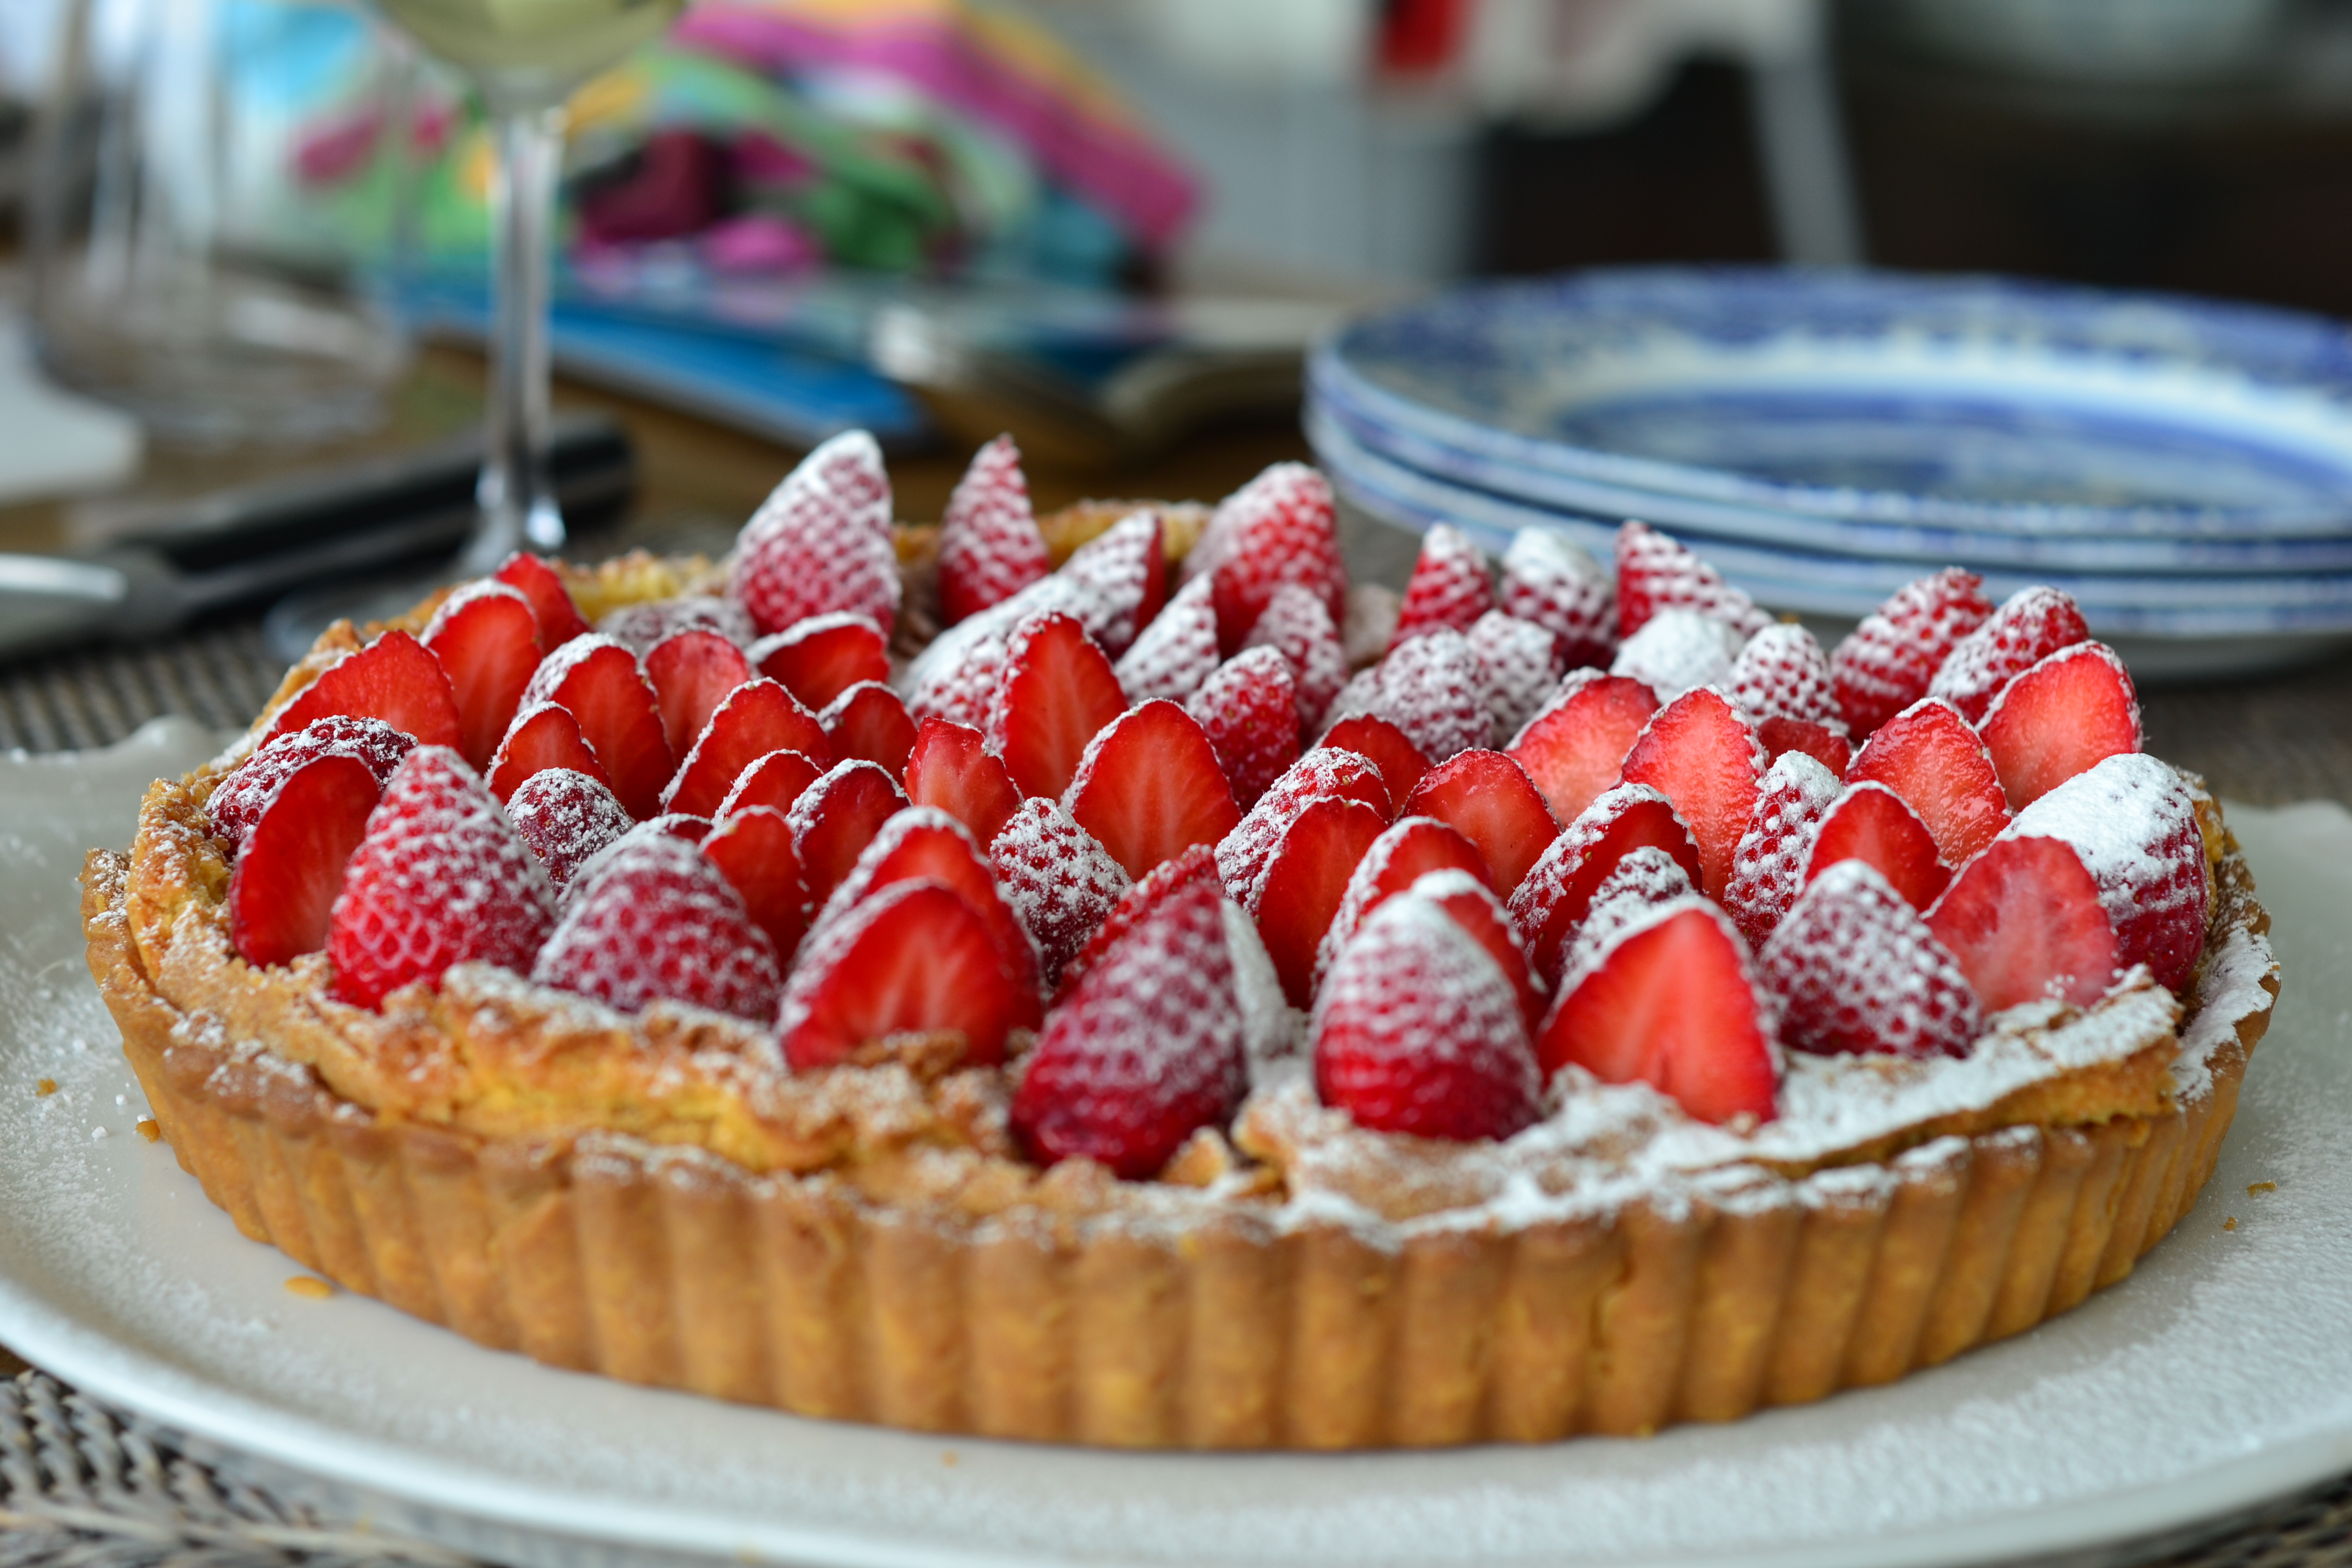
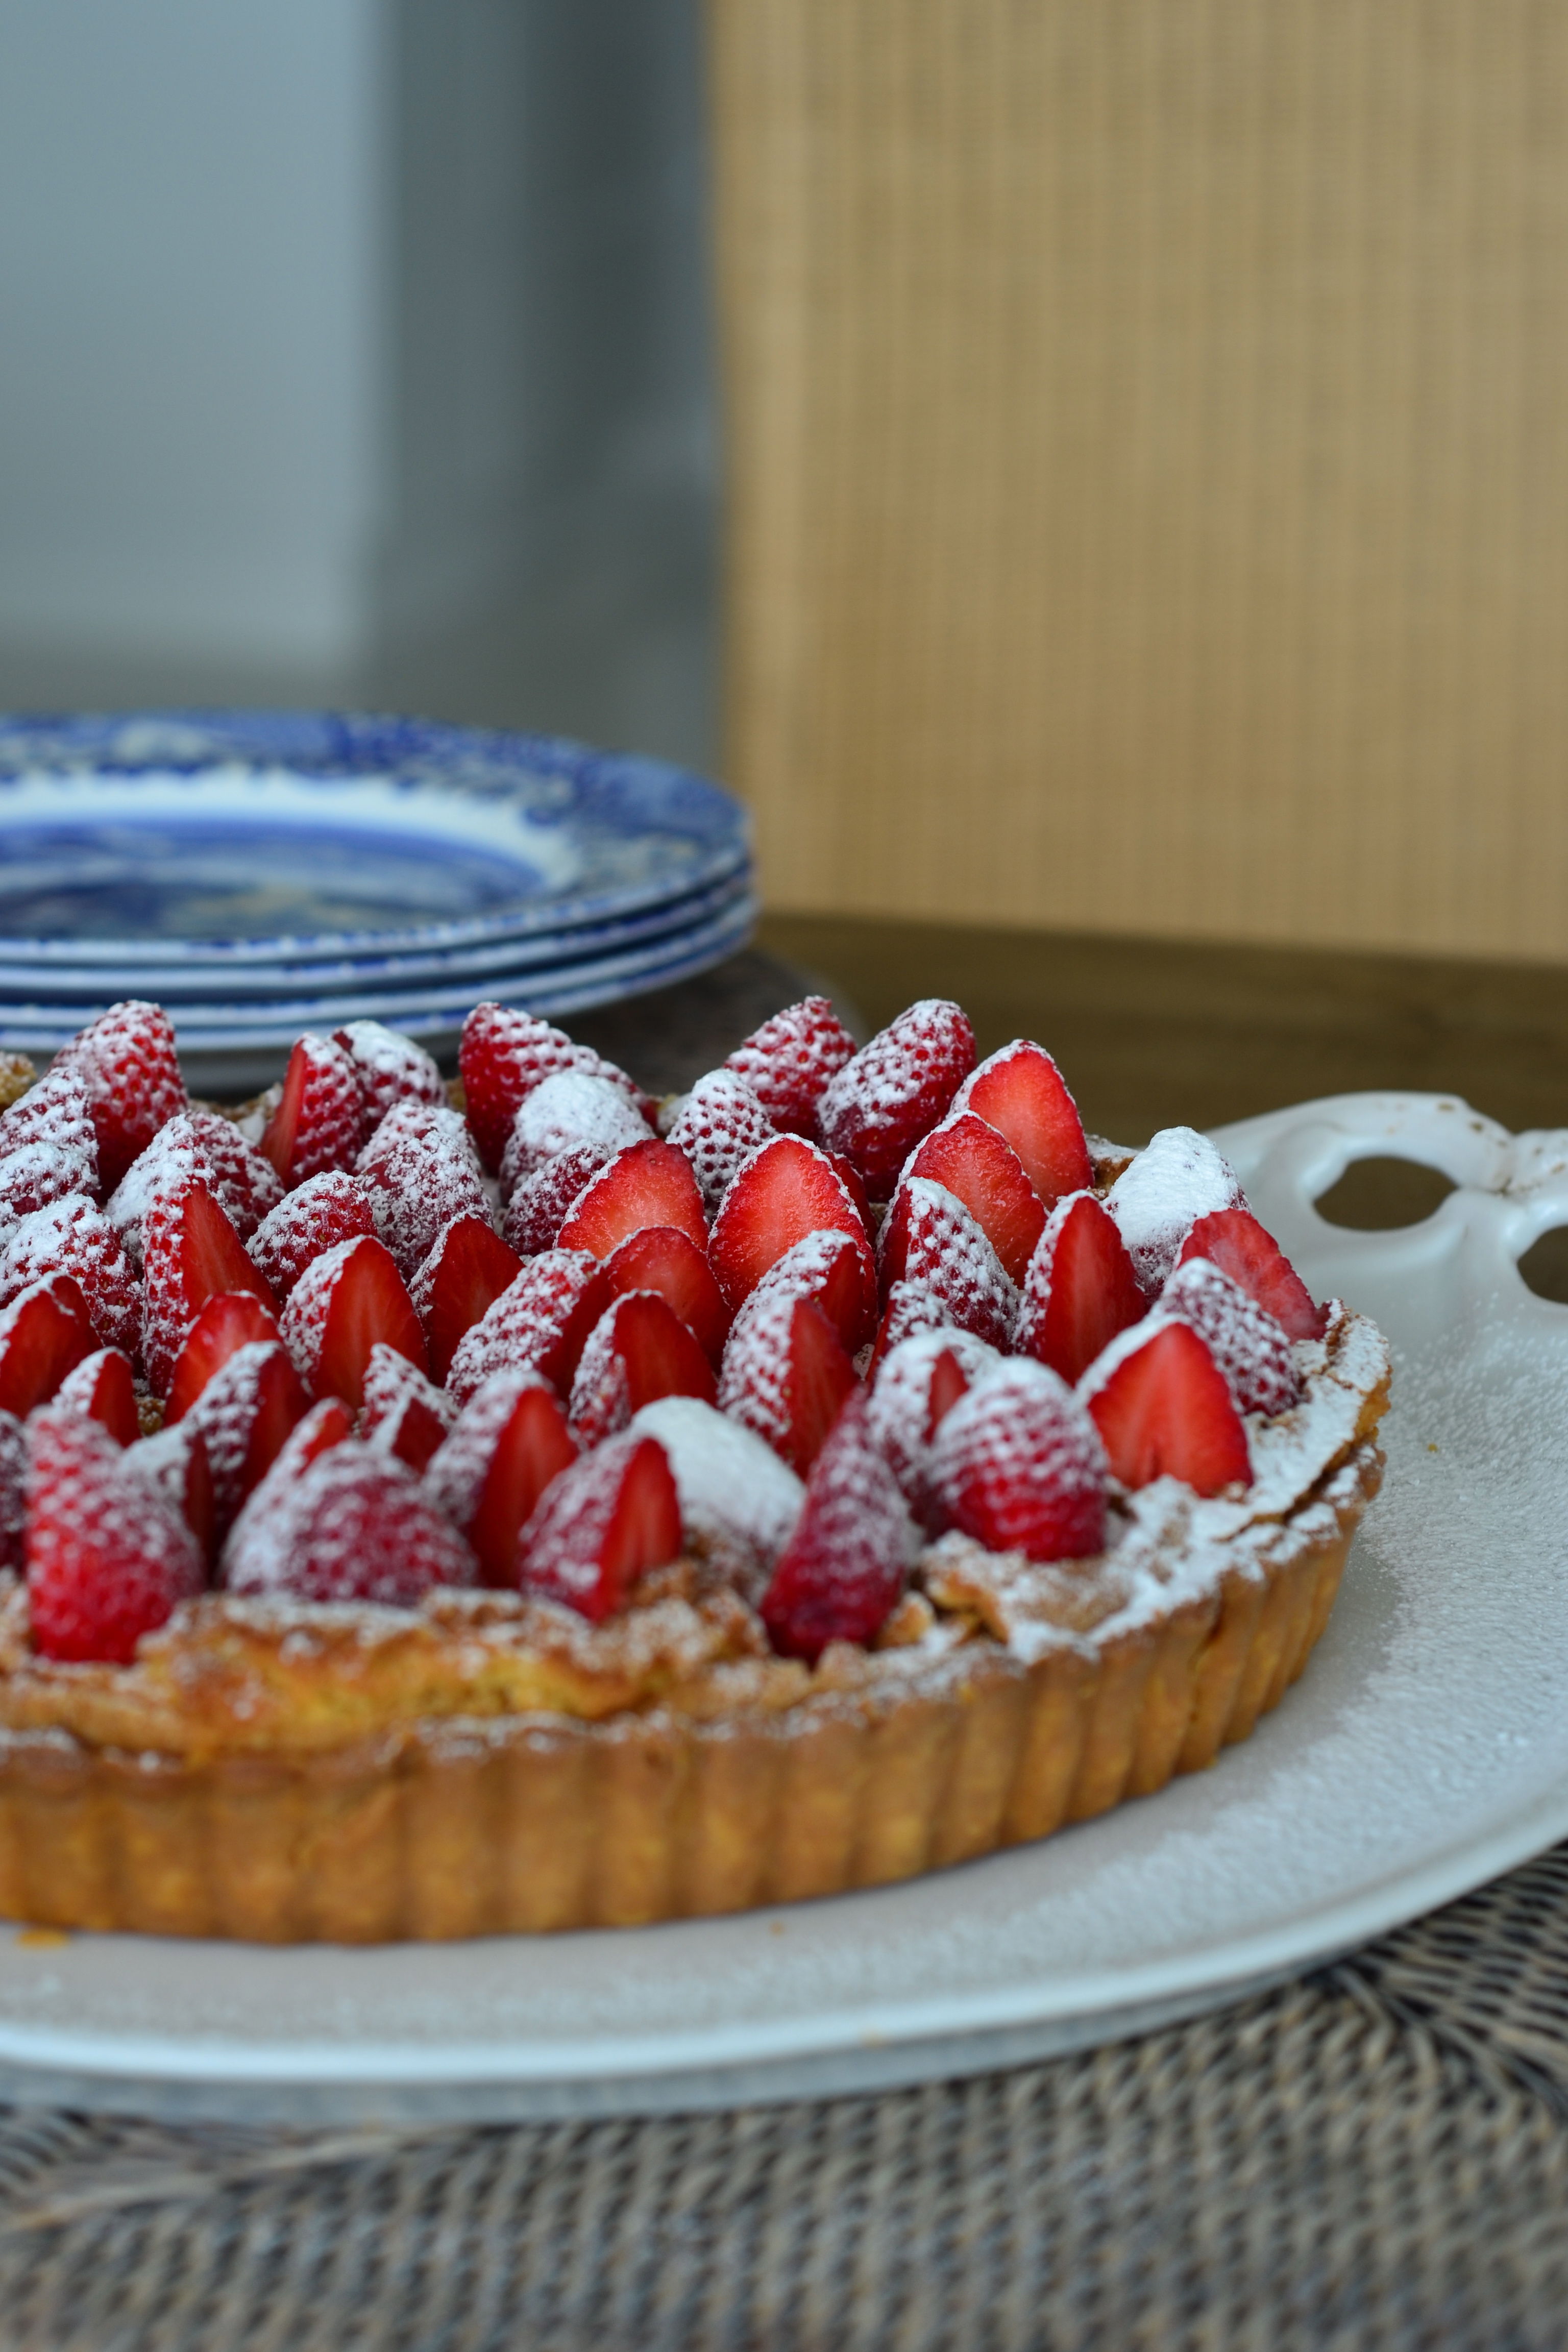
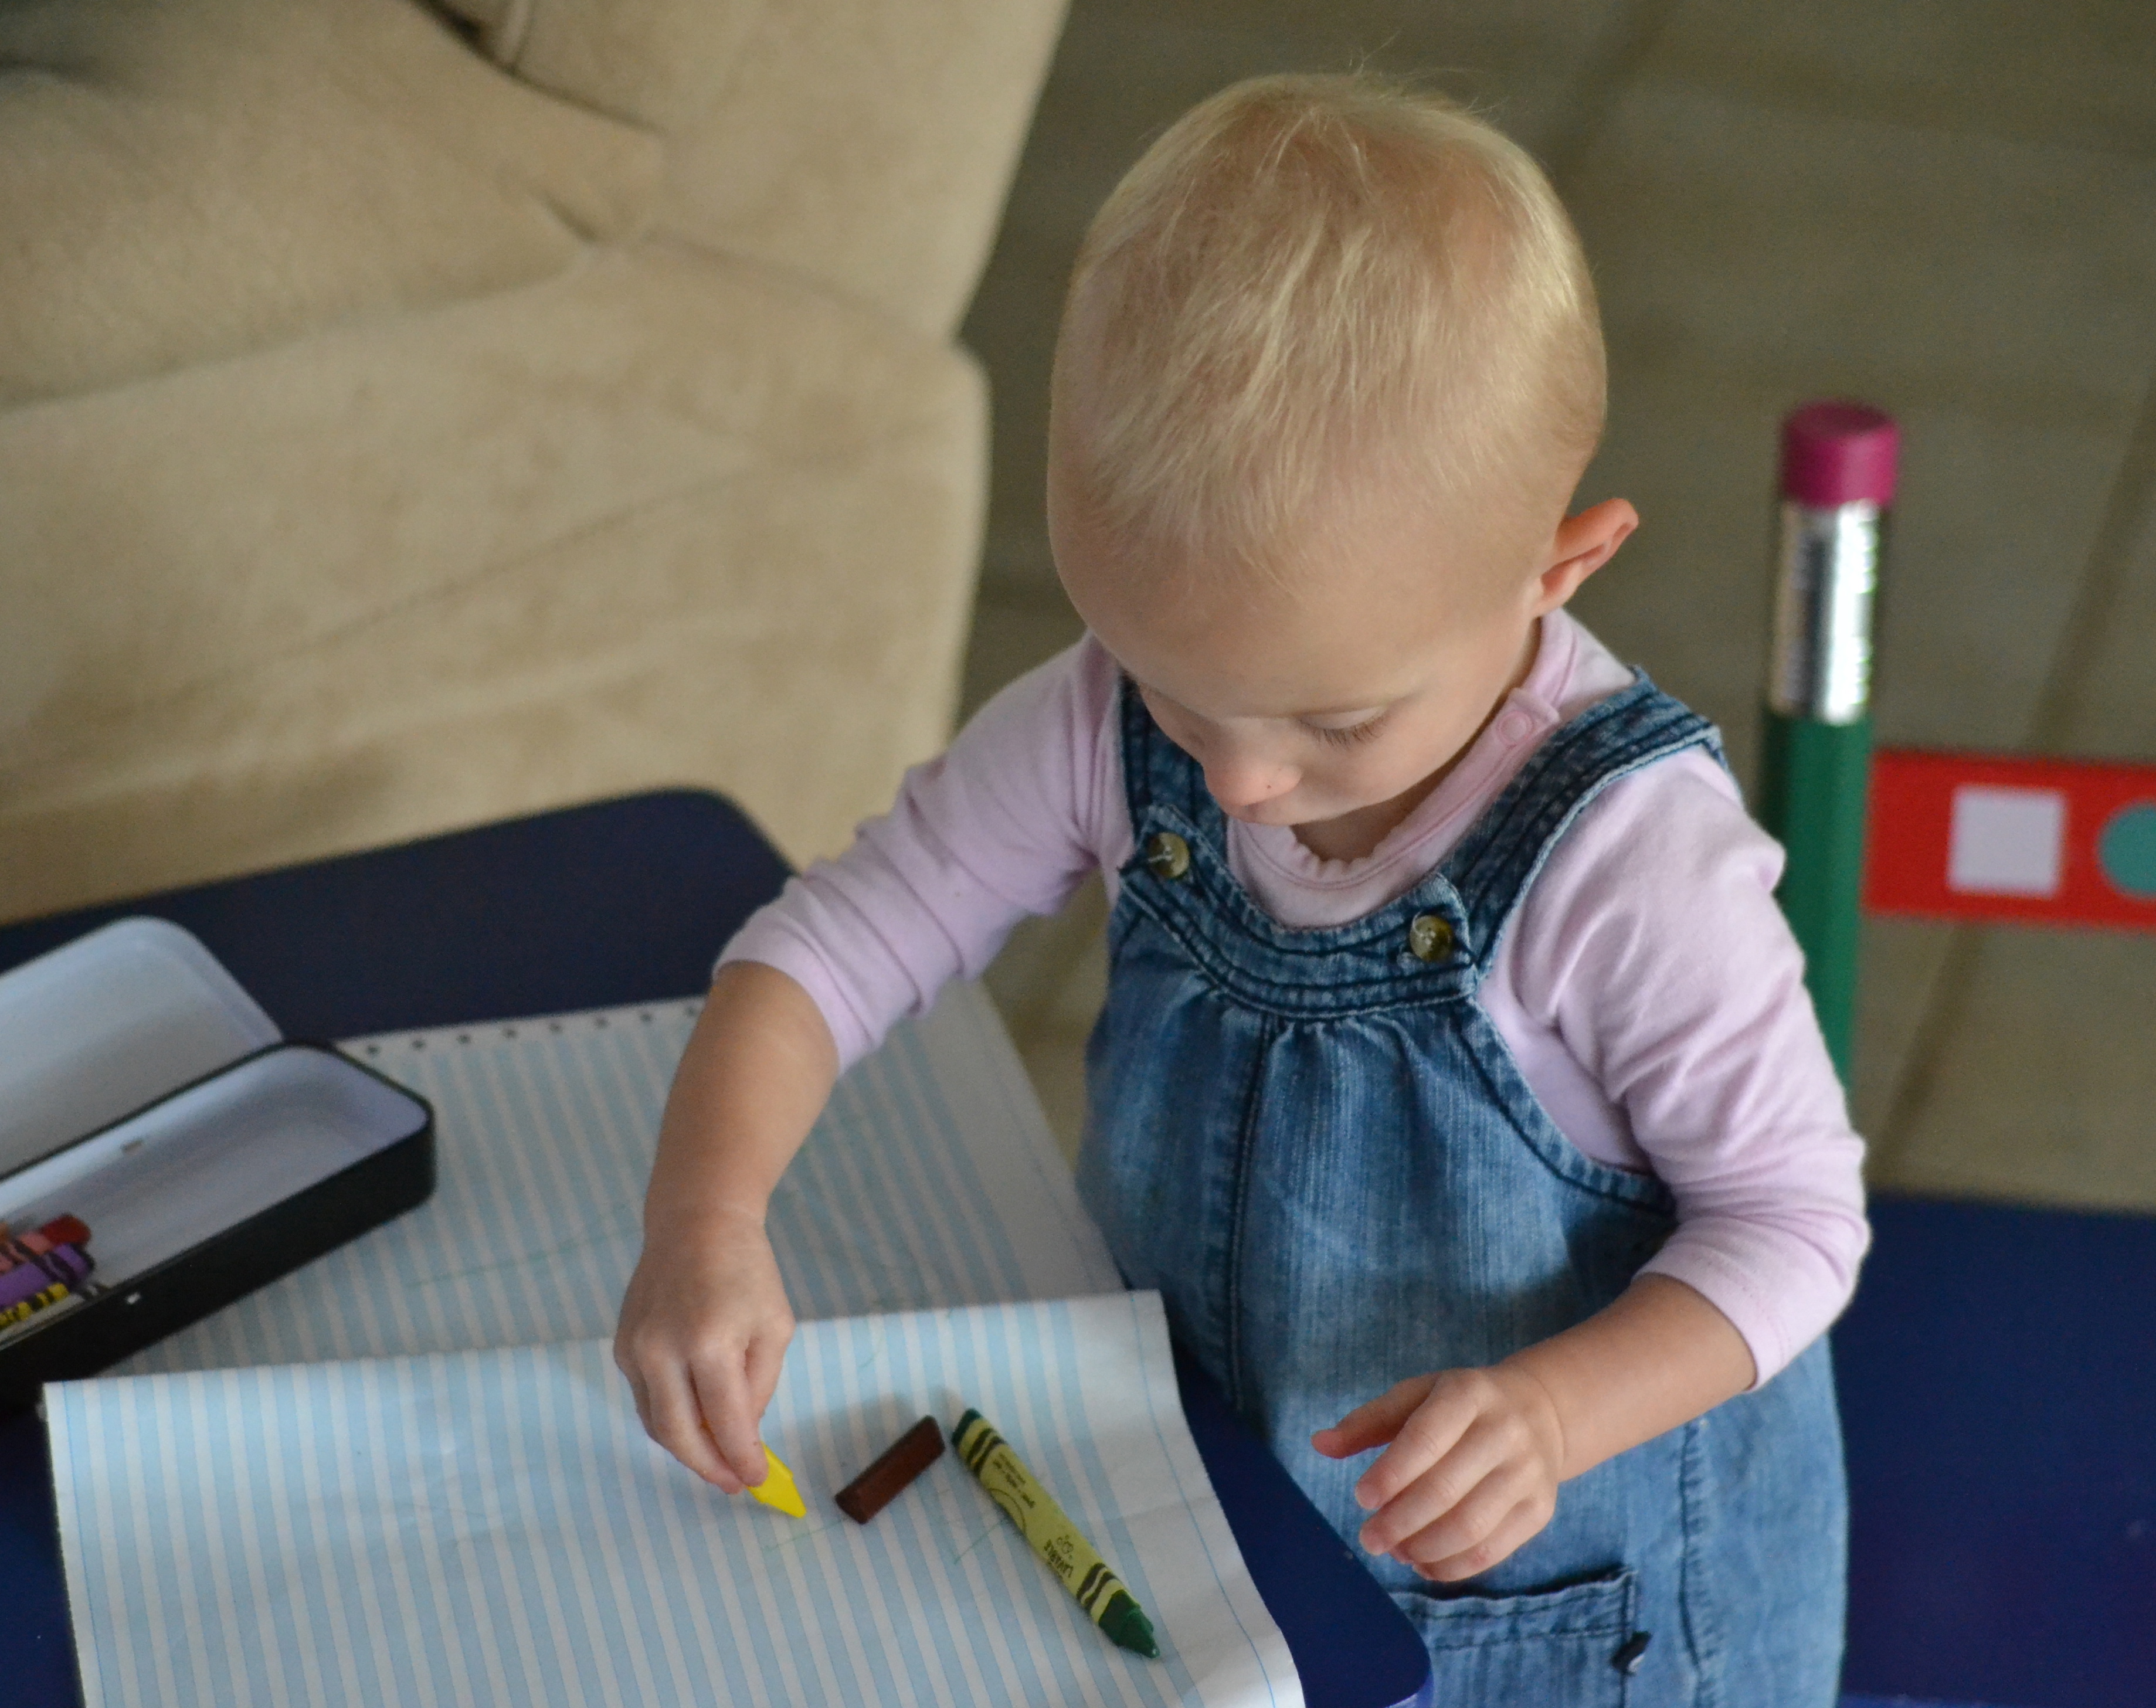
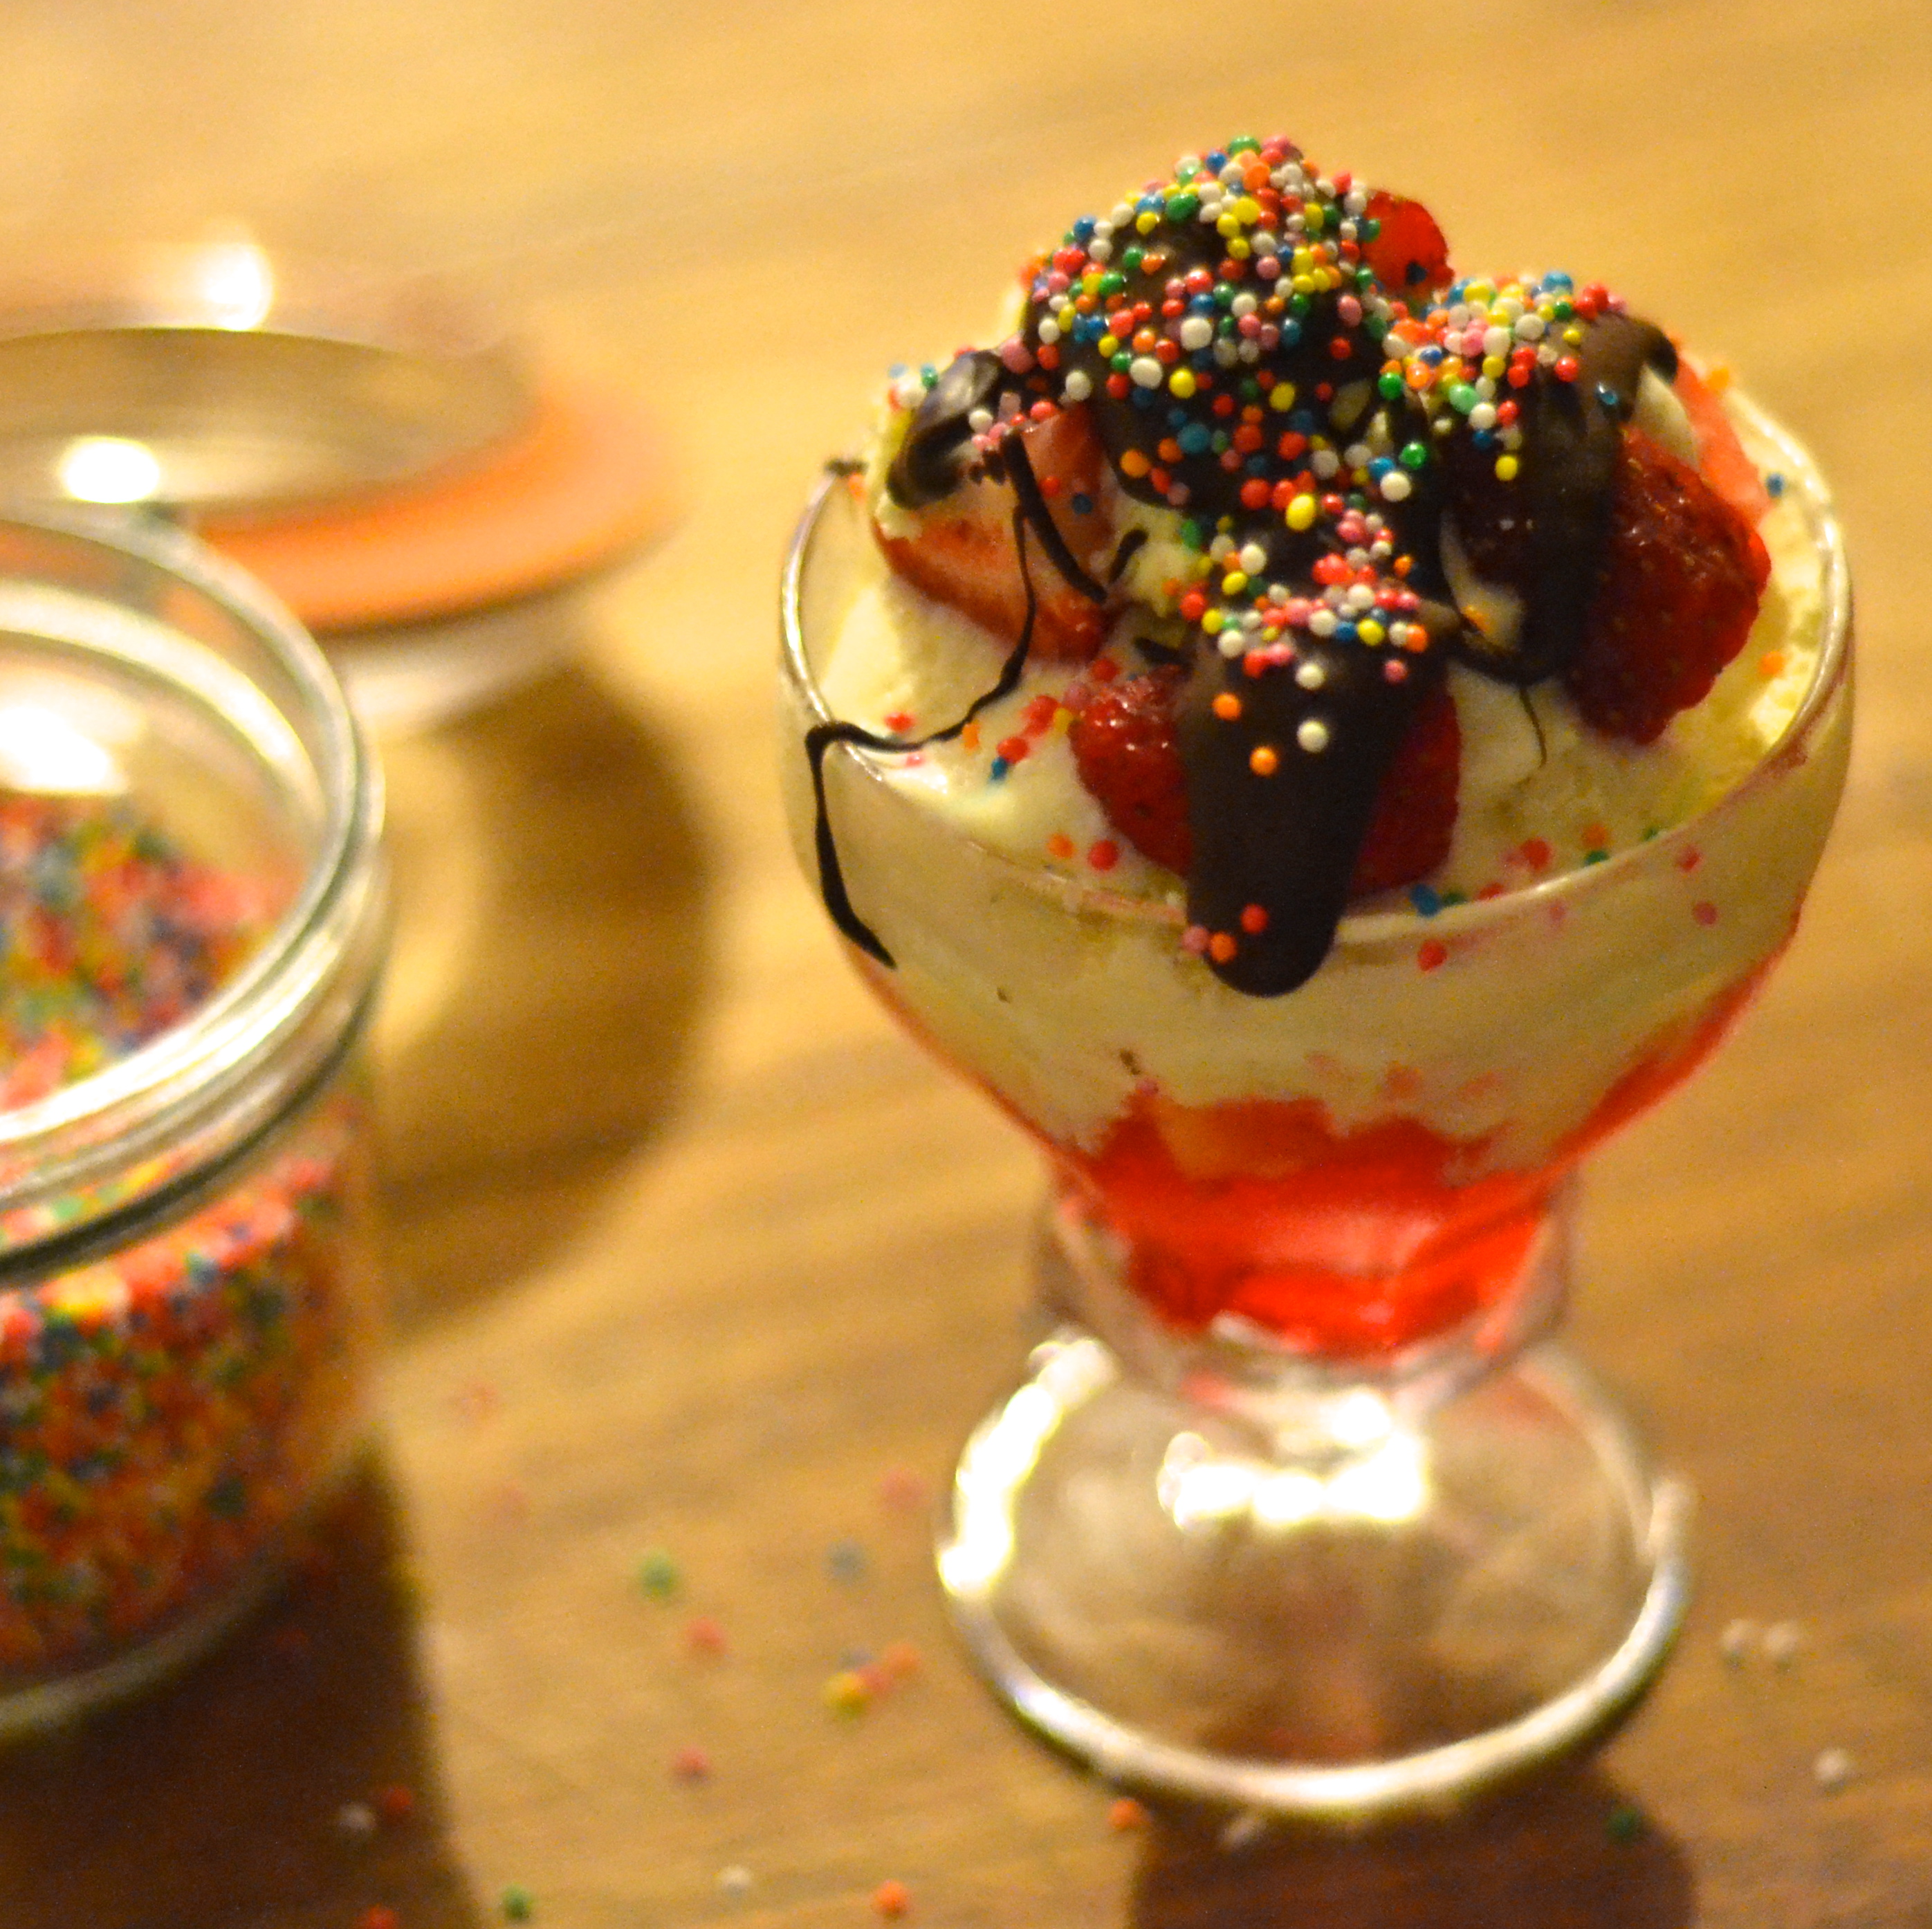
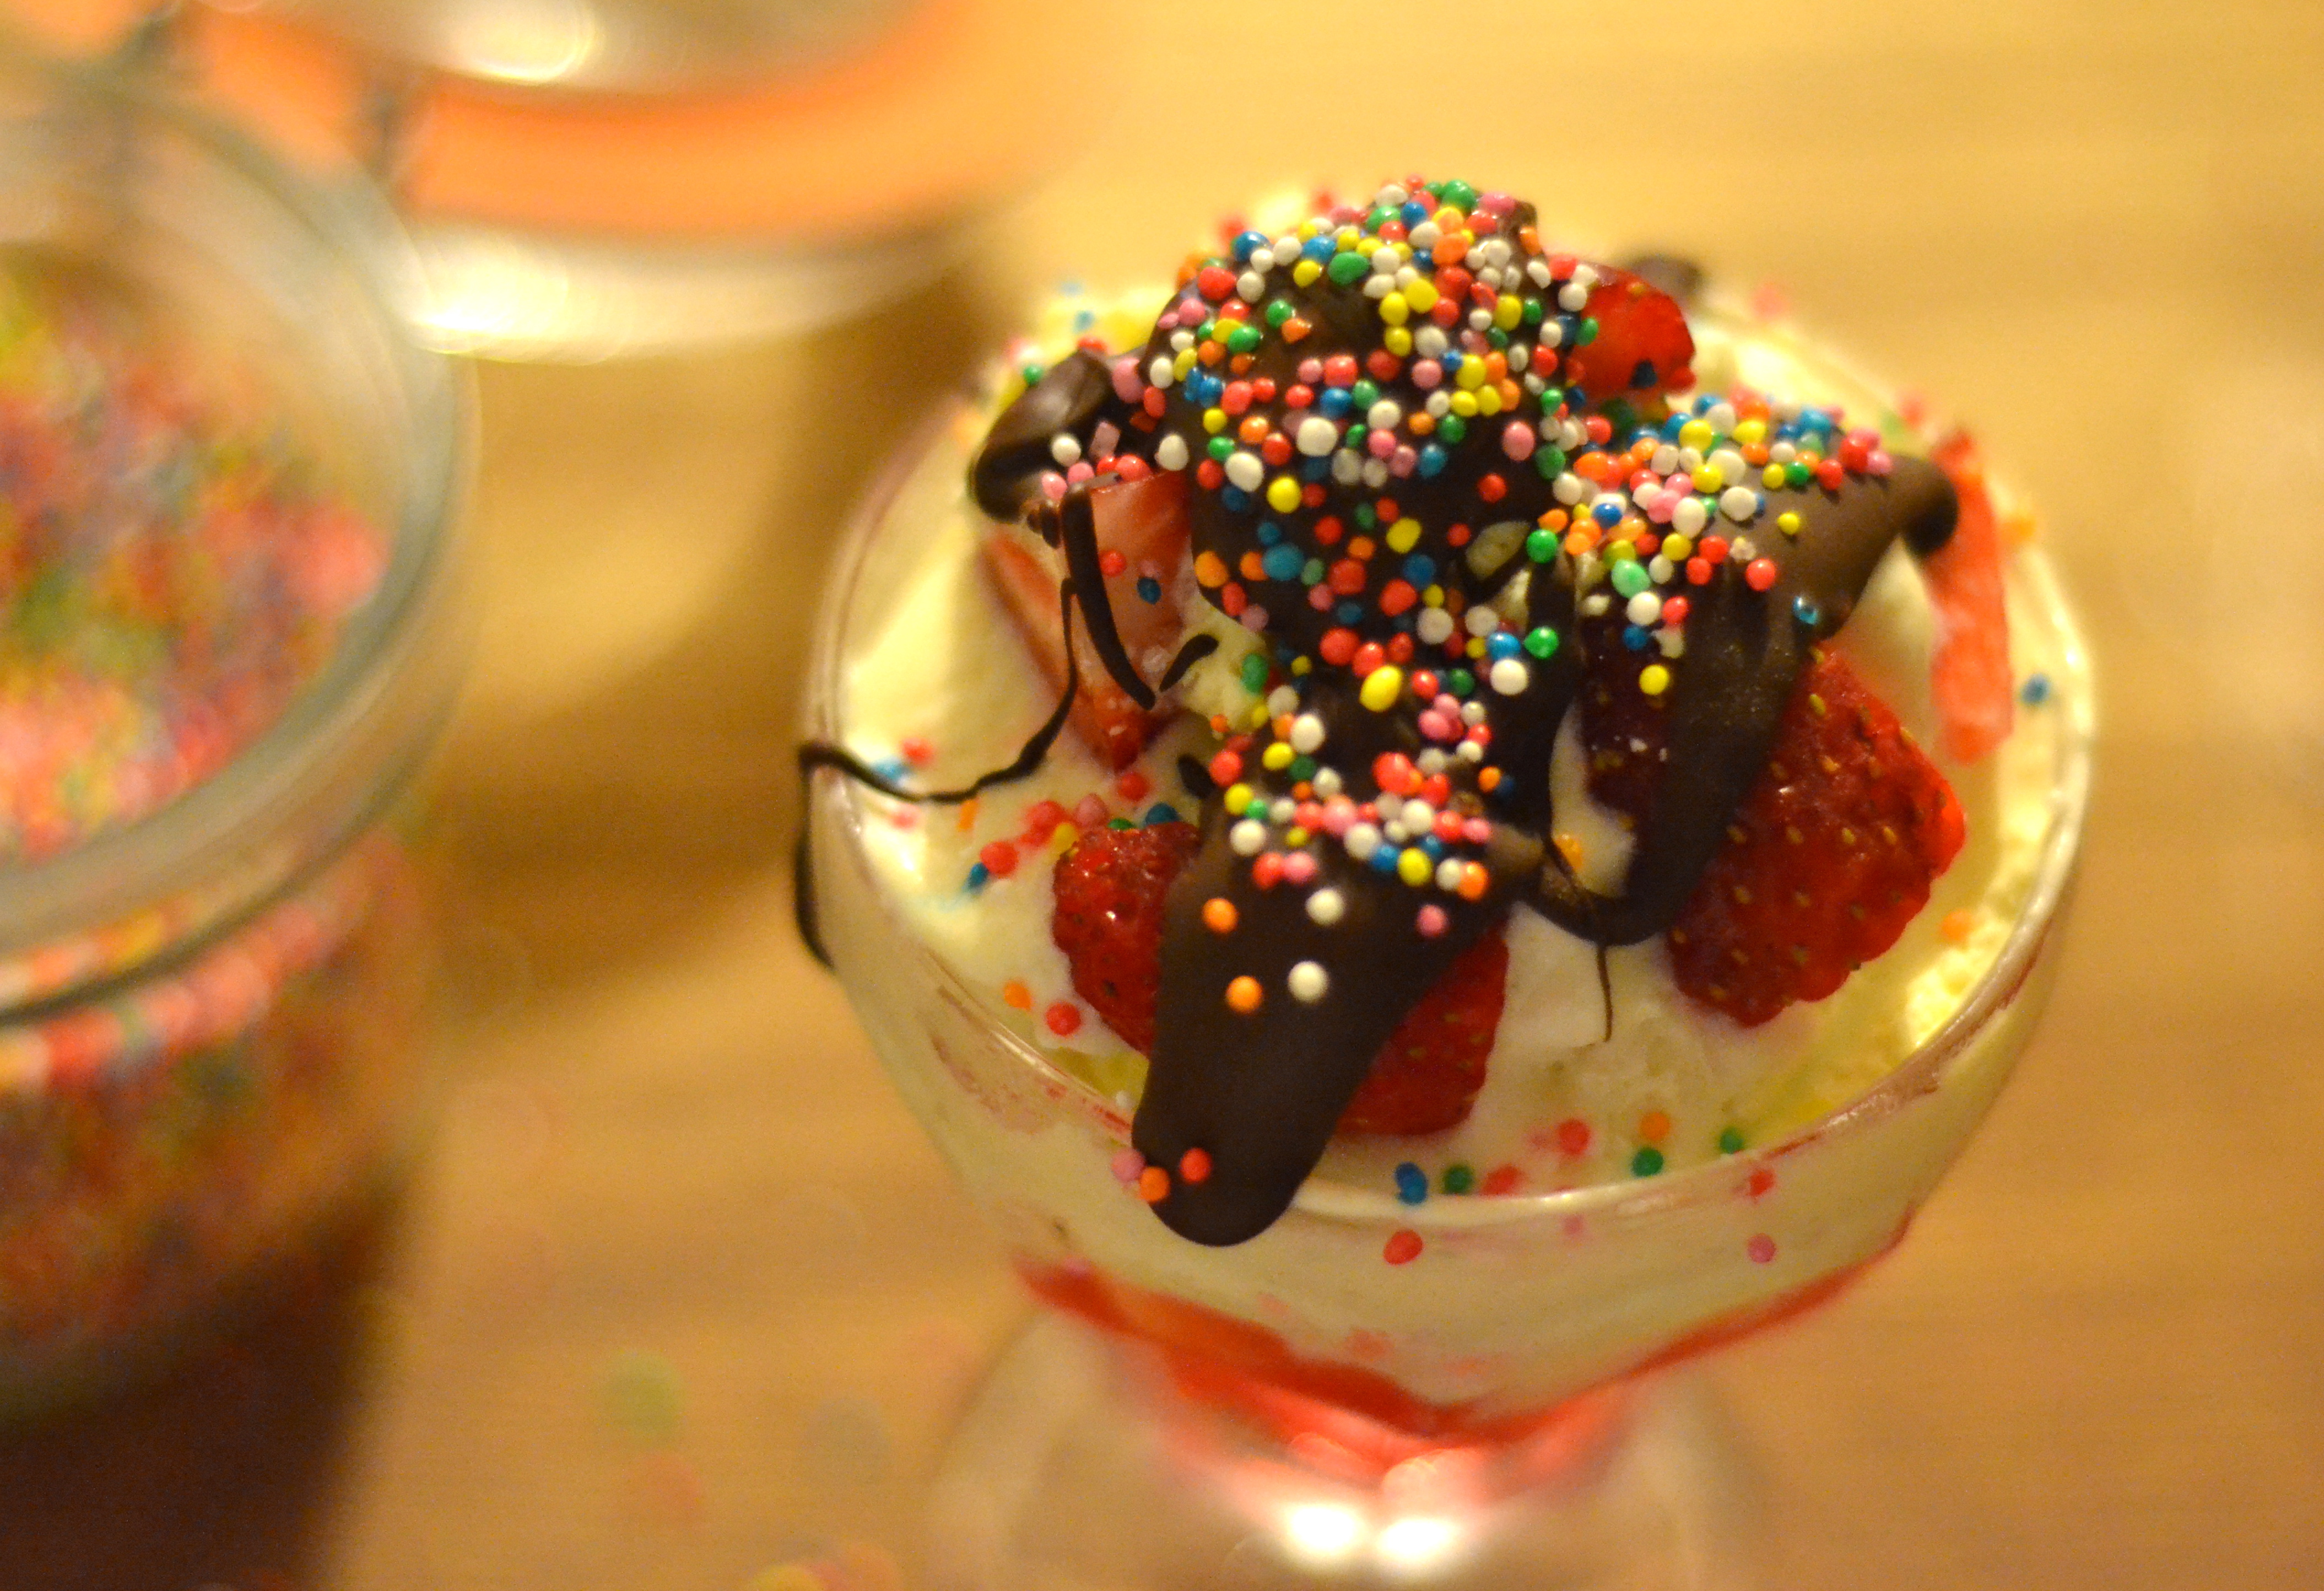
Kids parties are a delight to plan. Any party is fun to plan, but especially children’s ones. They’re bright, colourful, imaginative and creative. They make food fun. And it’s always heartwarming to see small people excitedly putting little fistfuls of food into their mouths. I made sure that the spread wasn’t too sugar heavy and surprisingly the children dived into the fruit skewers while the adults scoffed the chocolate cornflake cakes. Pa cooked sausages on the wood fire barbecue while everyone had rides on the sit on locomotives. The cake cut into just the right amount of  slices, and there were even a few comments about how good the icing tasted. I’m sure everyone wondered what all the fuss was about though, and Pat didn’t even want any. Never mind. I’m so happy I didn’t give up. And the icing for Thea’s cake. You guessed it. A maple buttercream. From now on it’s going to be my signature.

DSC_0221 DSC_0227 How to make Italian buttercream How to make Italian buttercream

How to make Italian buttercream

Maple Italian buttercream

Recipe from rubies and radishes

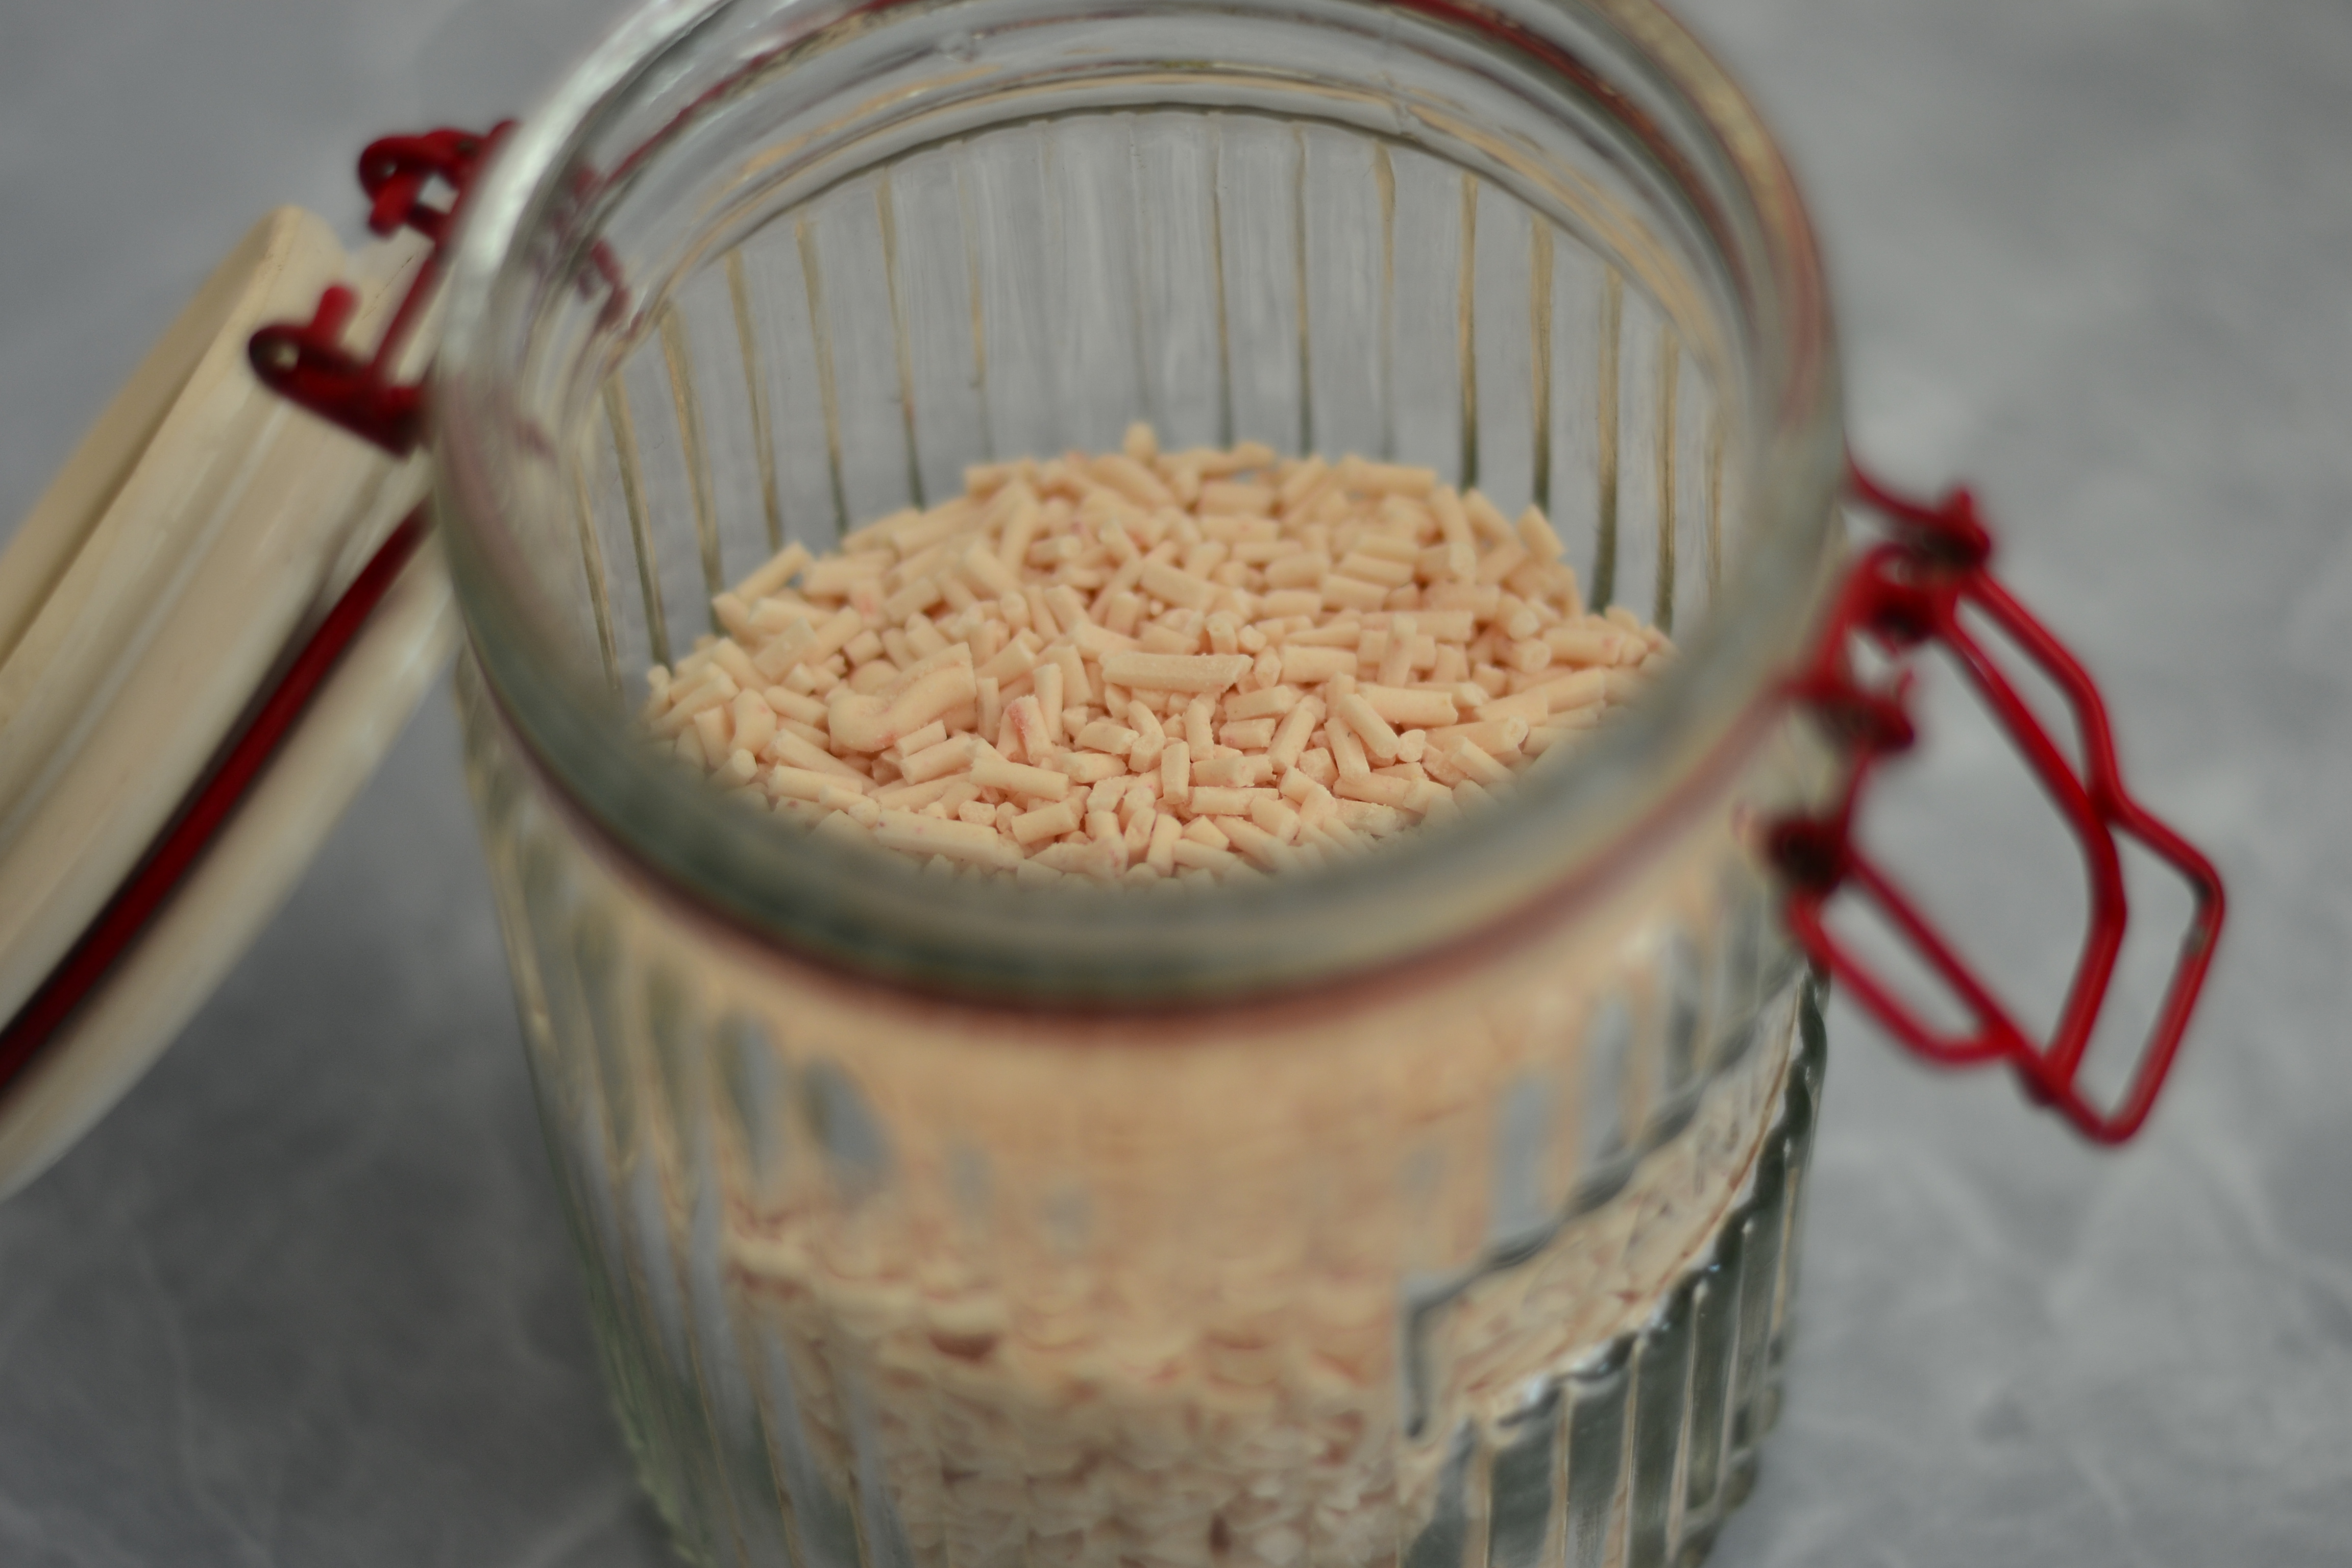
  • 1/2 cup maple syrup or honey
  • 4 eggs
  • 480g soft butter
  • 3/4 cup cream
  • pinch sea salt
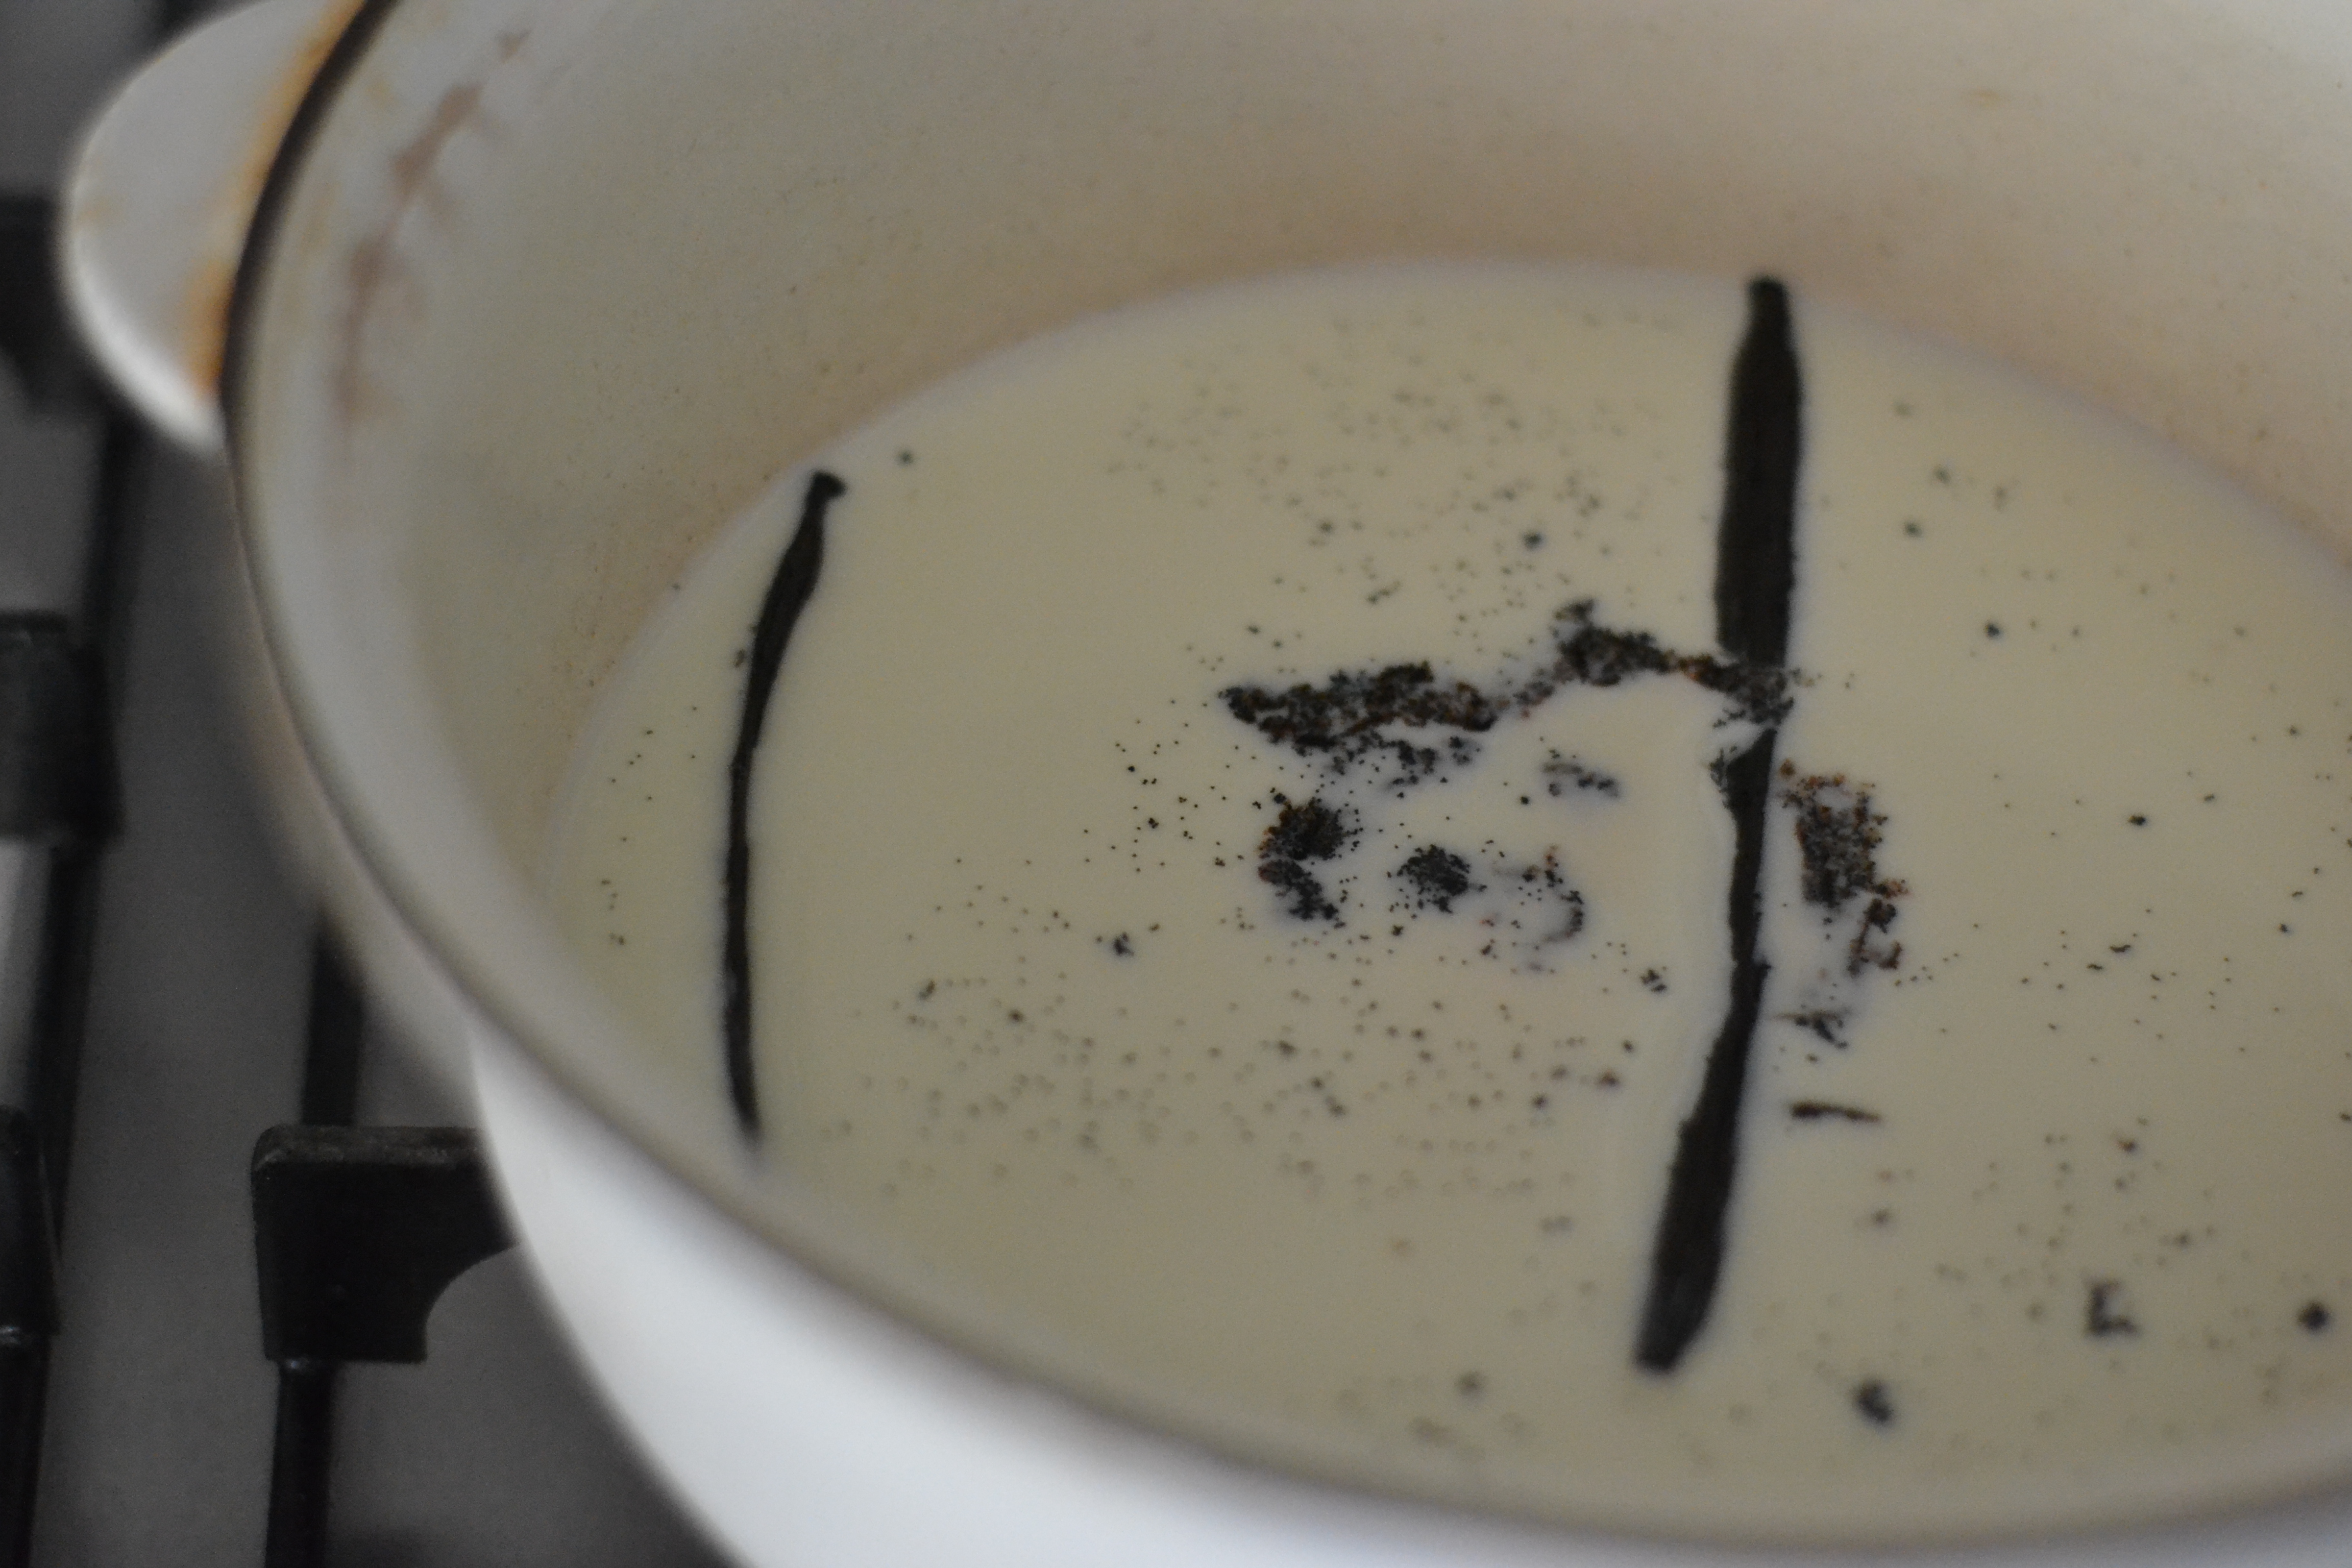
  1. Place the maple syrup in a small saucepan and heat it until it reaches a temperature of 115 degrees C, then immediately remove it from the heat. Use a thermometer to do this. The heating process should take about 5-10 minutes.
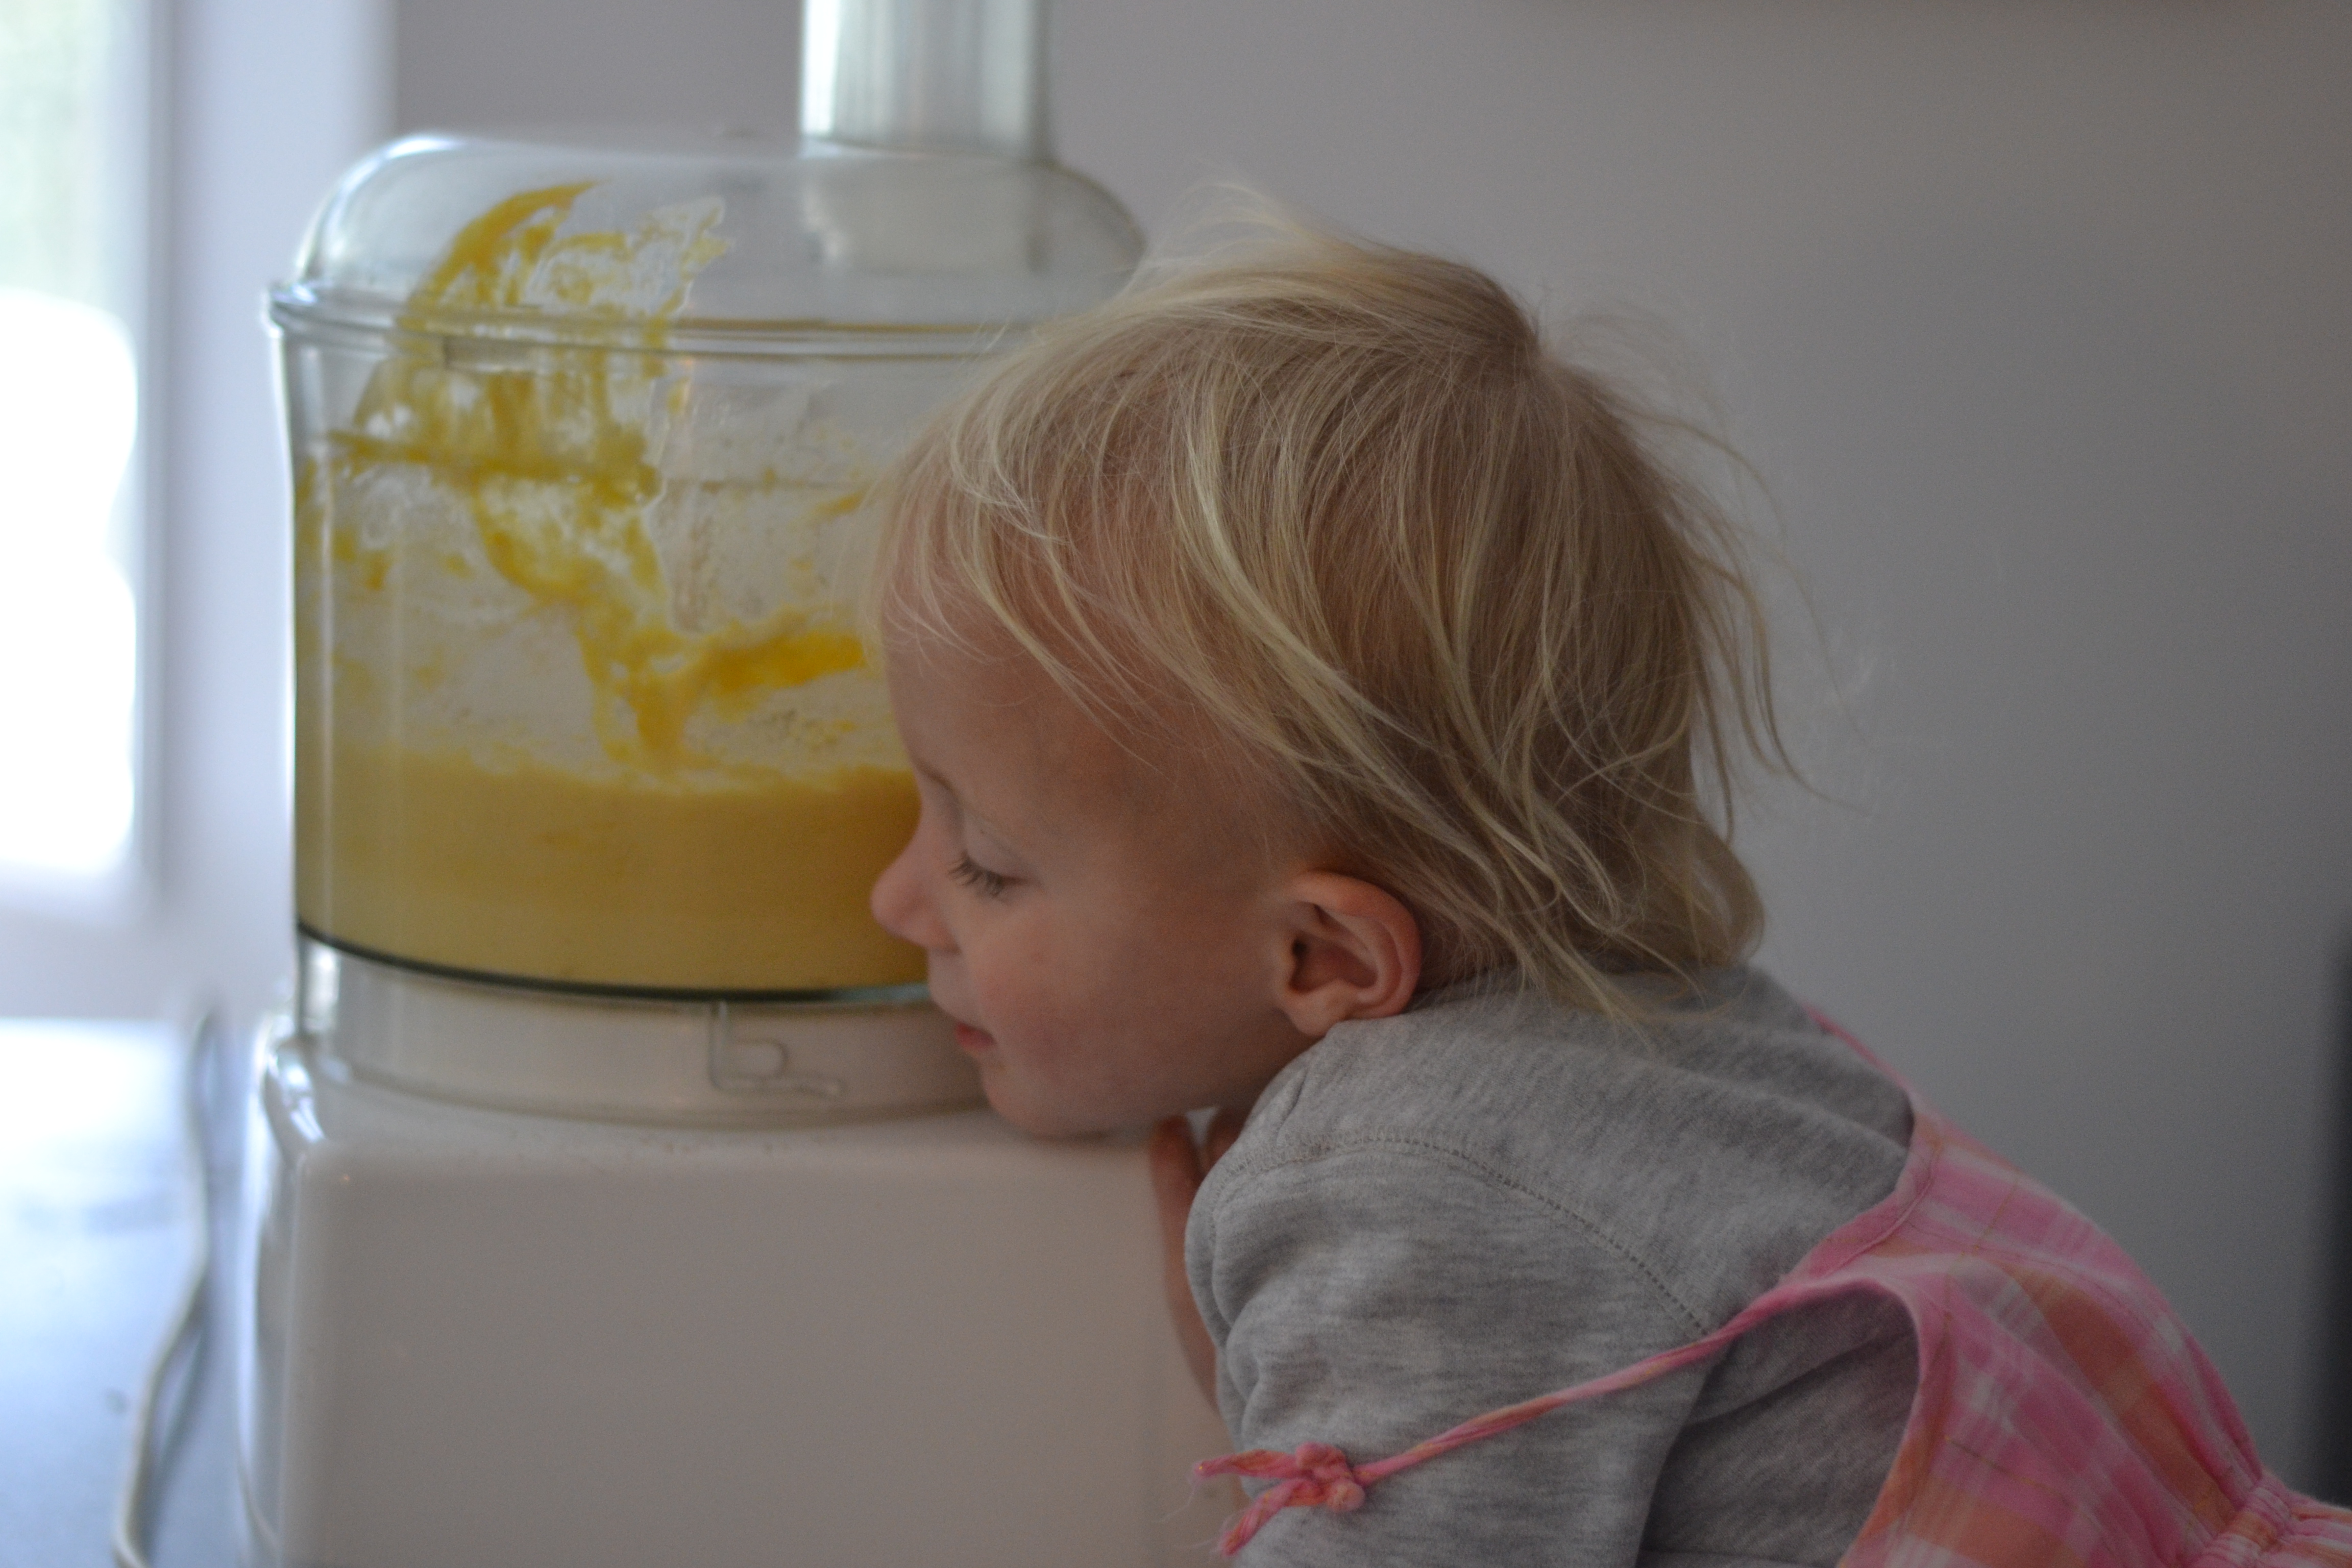
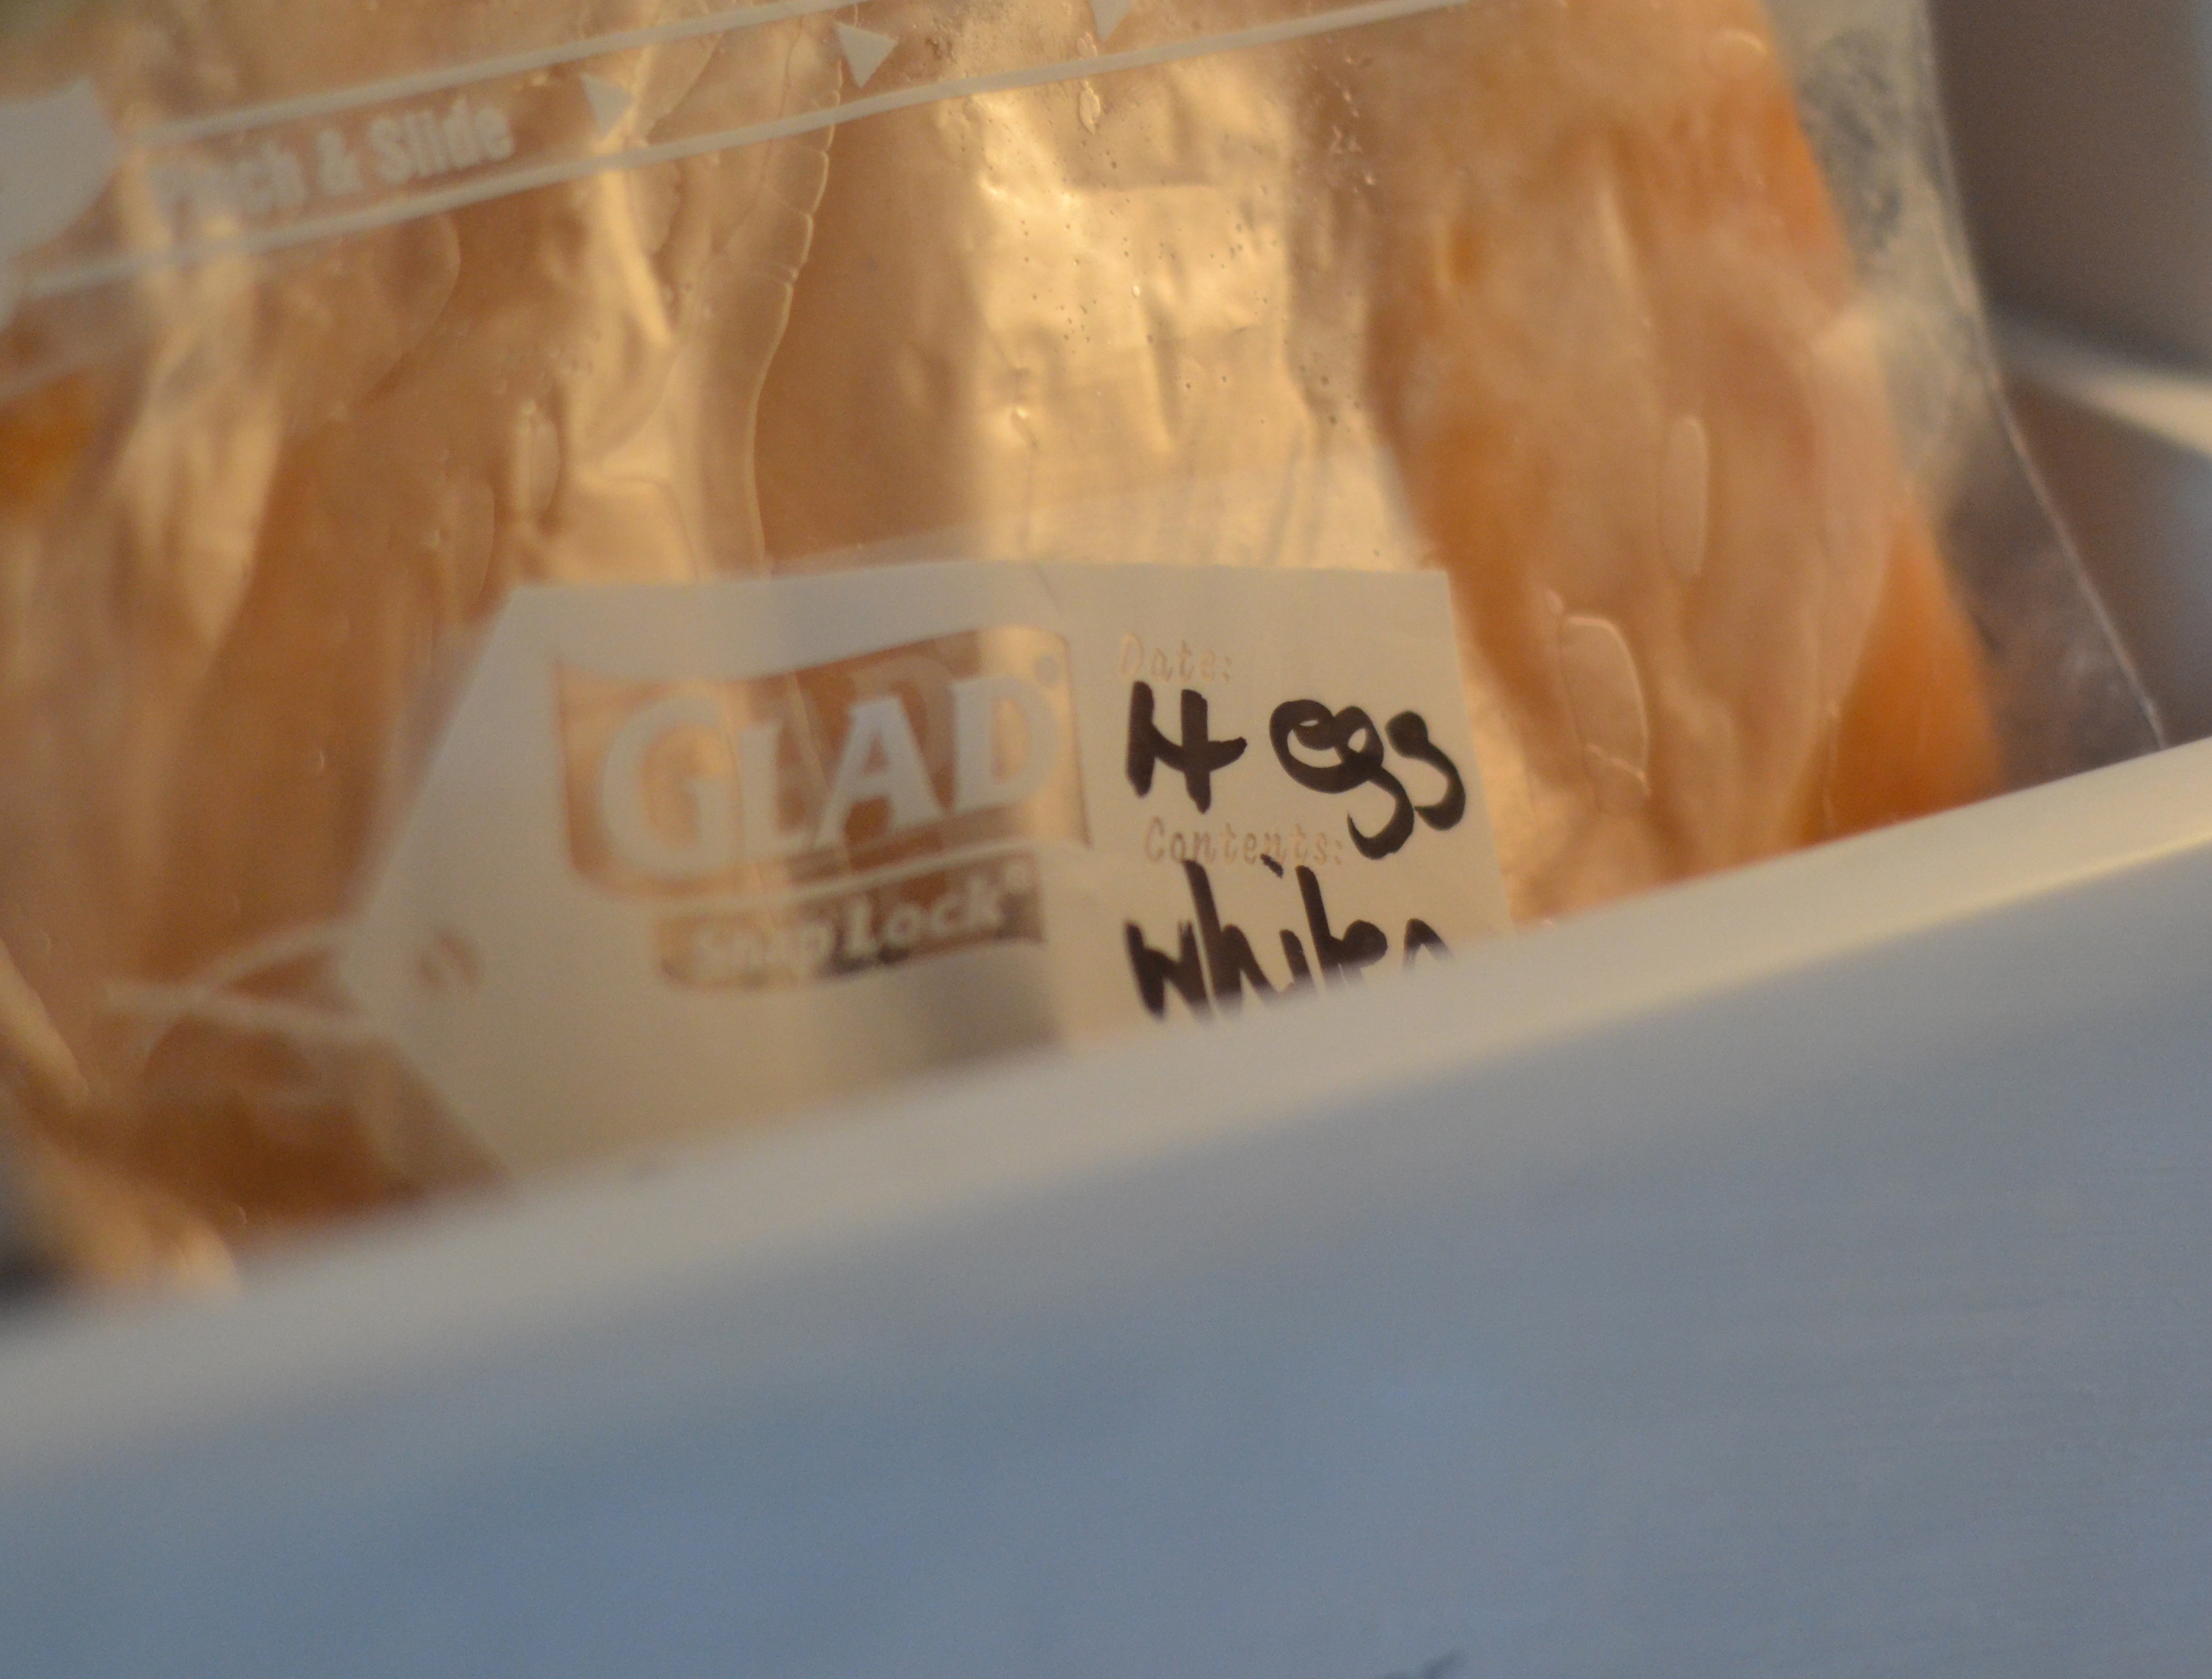
  2. While the syrup is heating, crack the eggs into the bowl of a stand mixer and whisk on high until the eggs have doubled in volume and turned a pale colour. This will take about 5 minutes. Try to time it so that the eggs and maple are ready at the same time. There is the risk of over whisking the eggs.
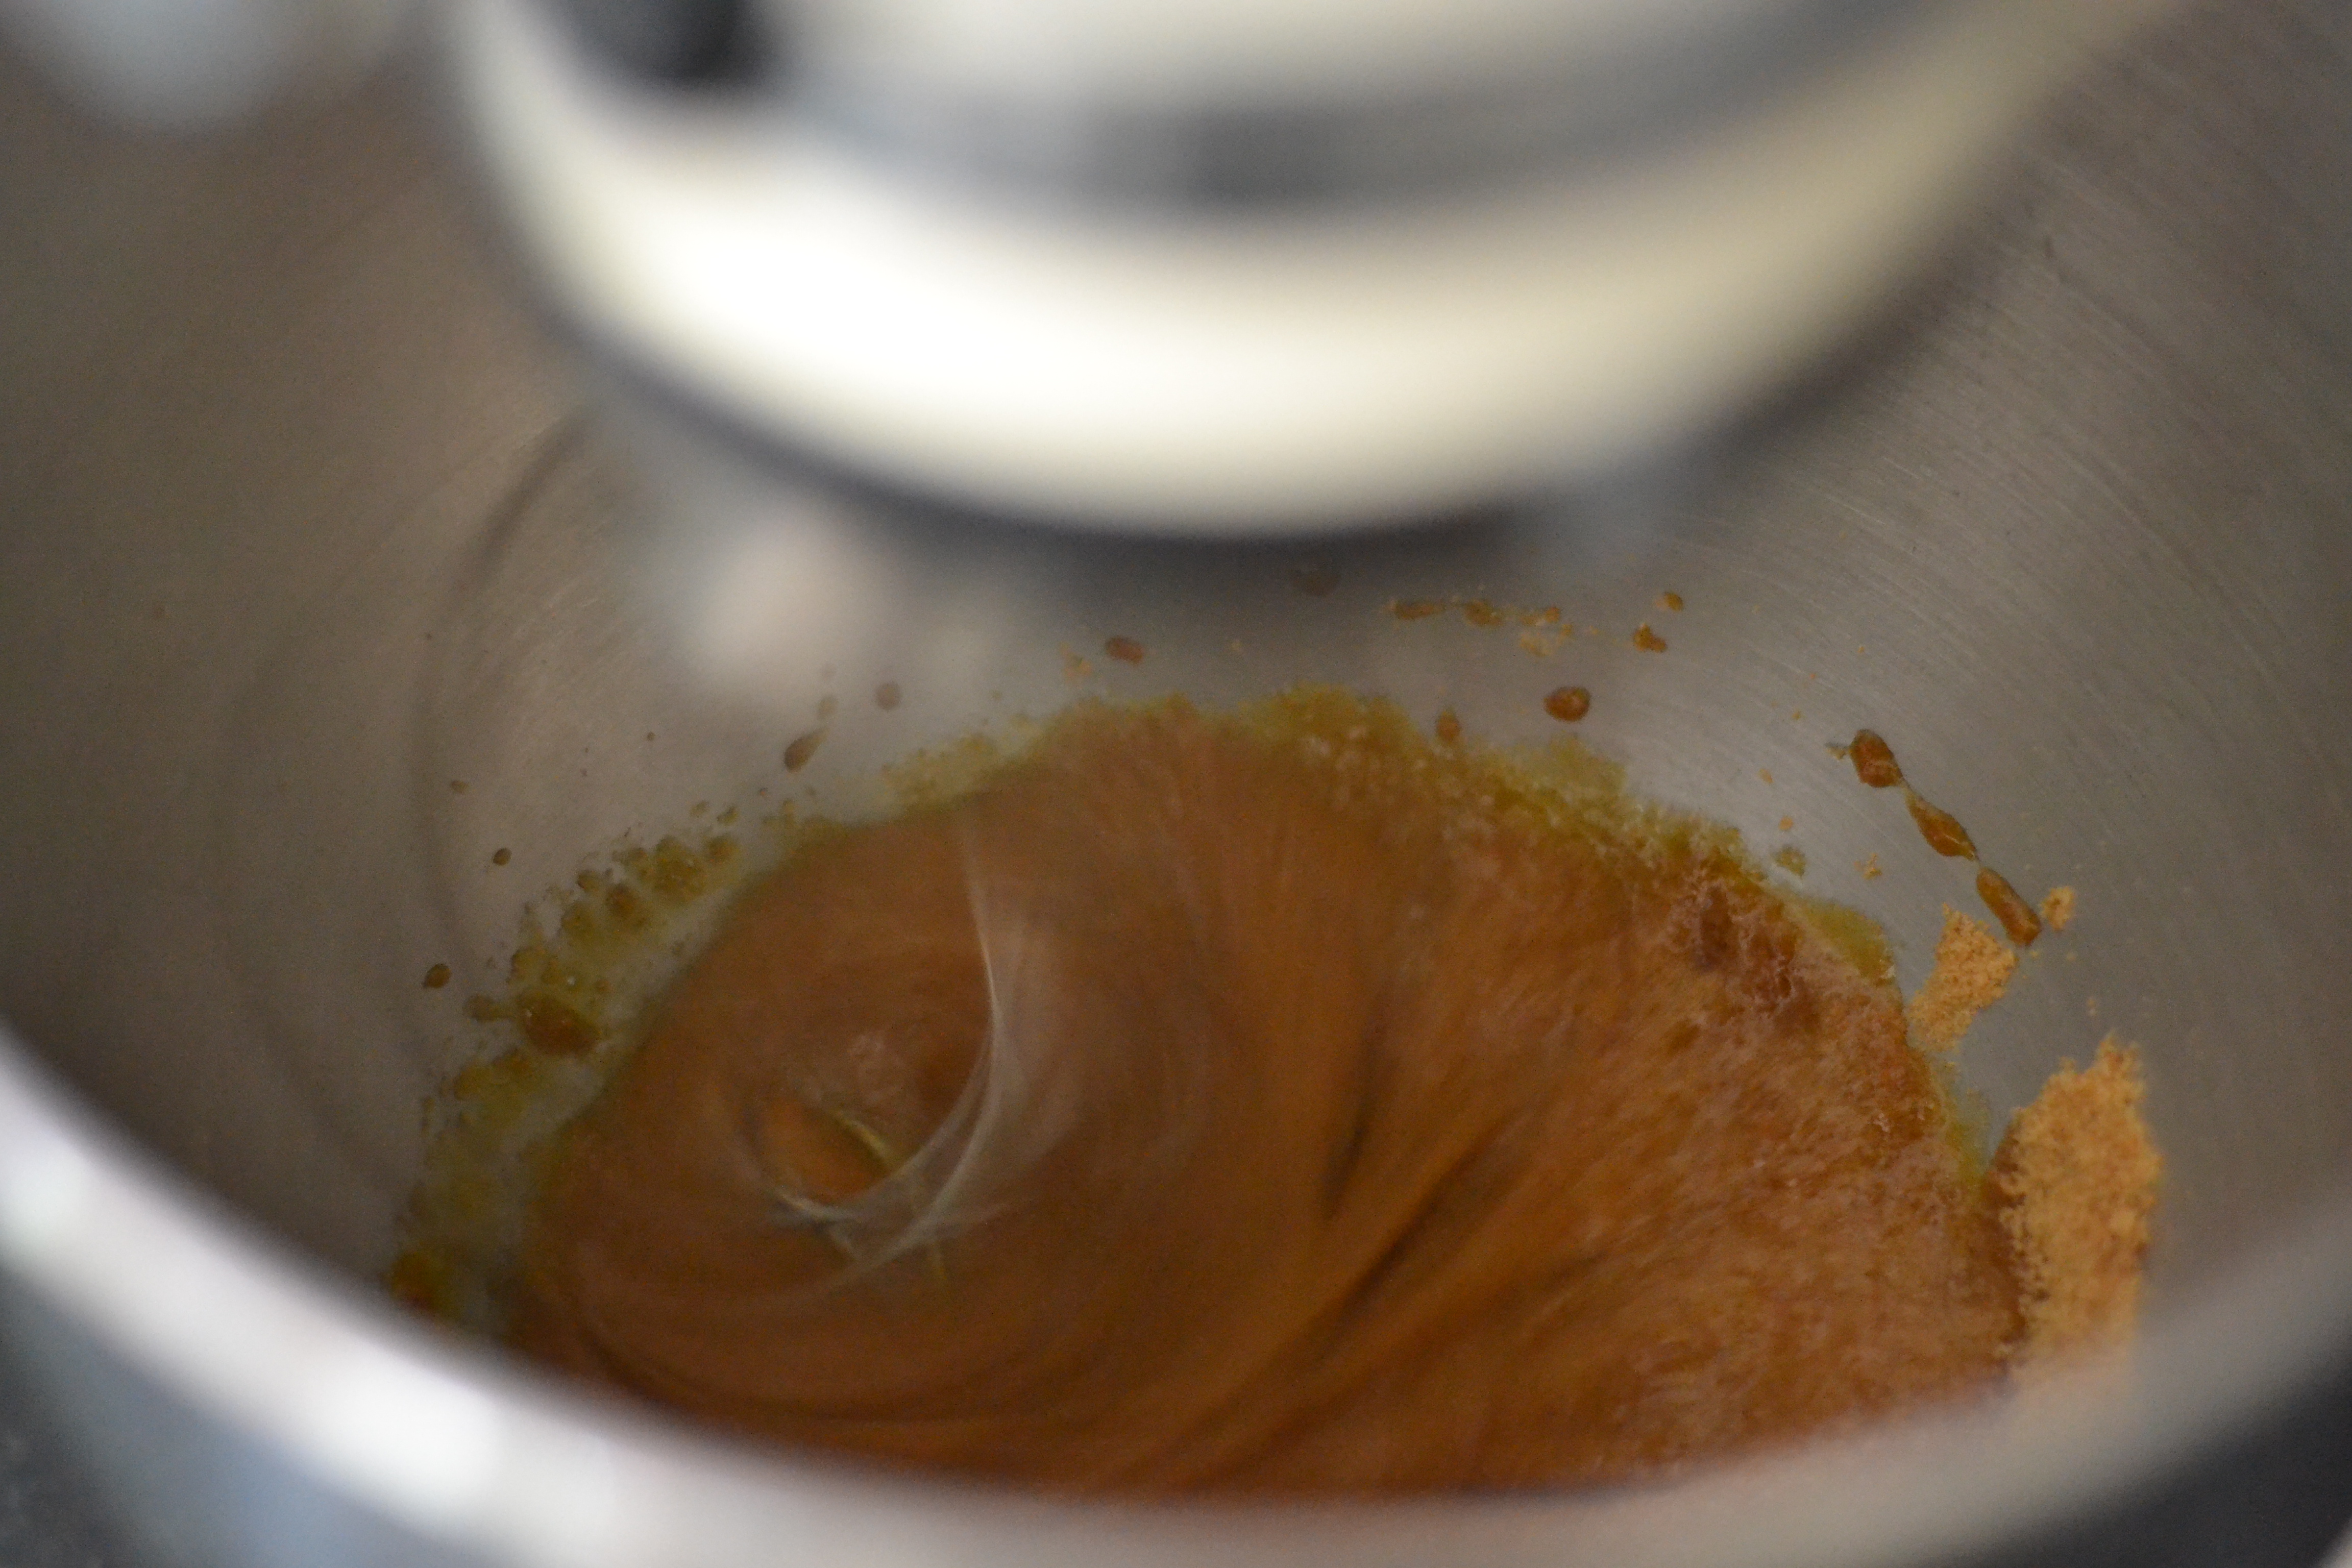
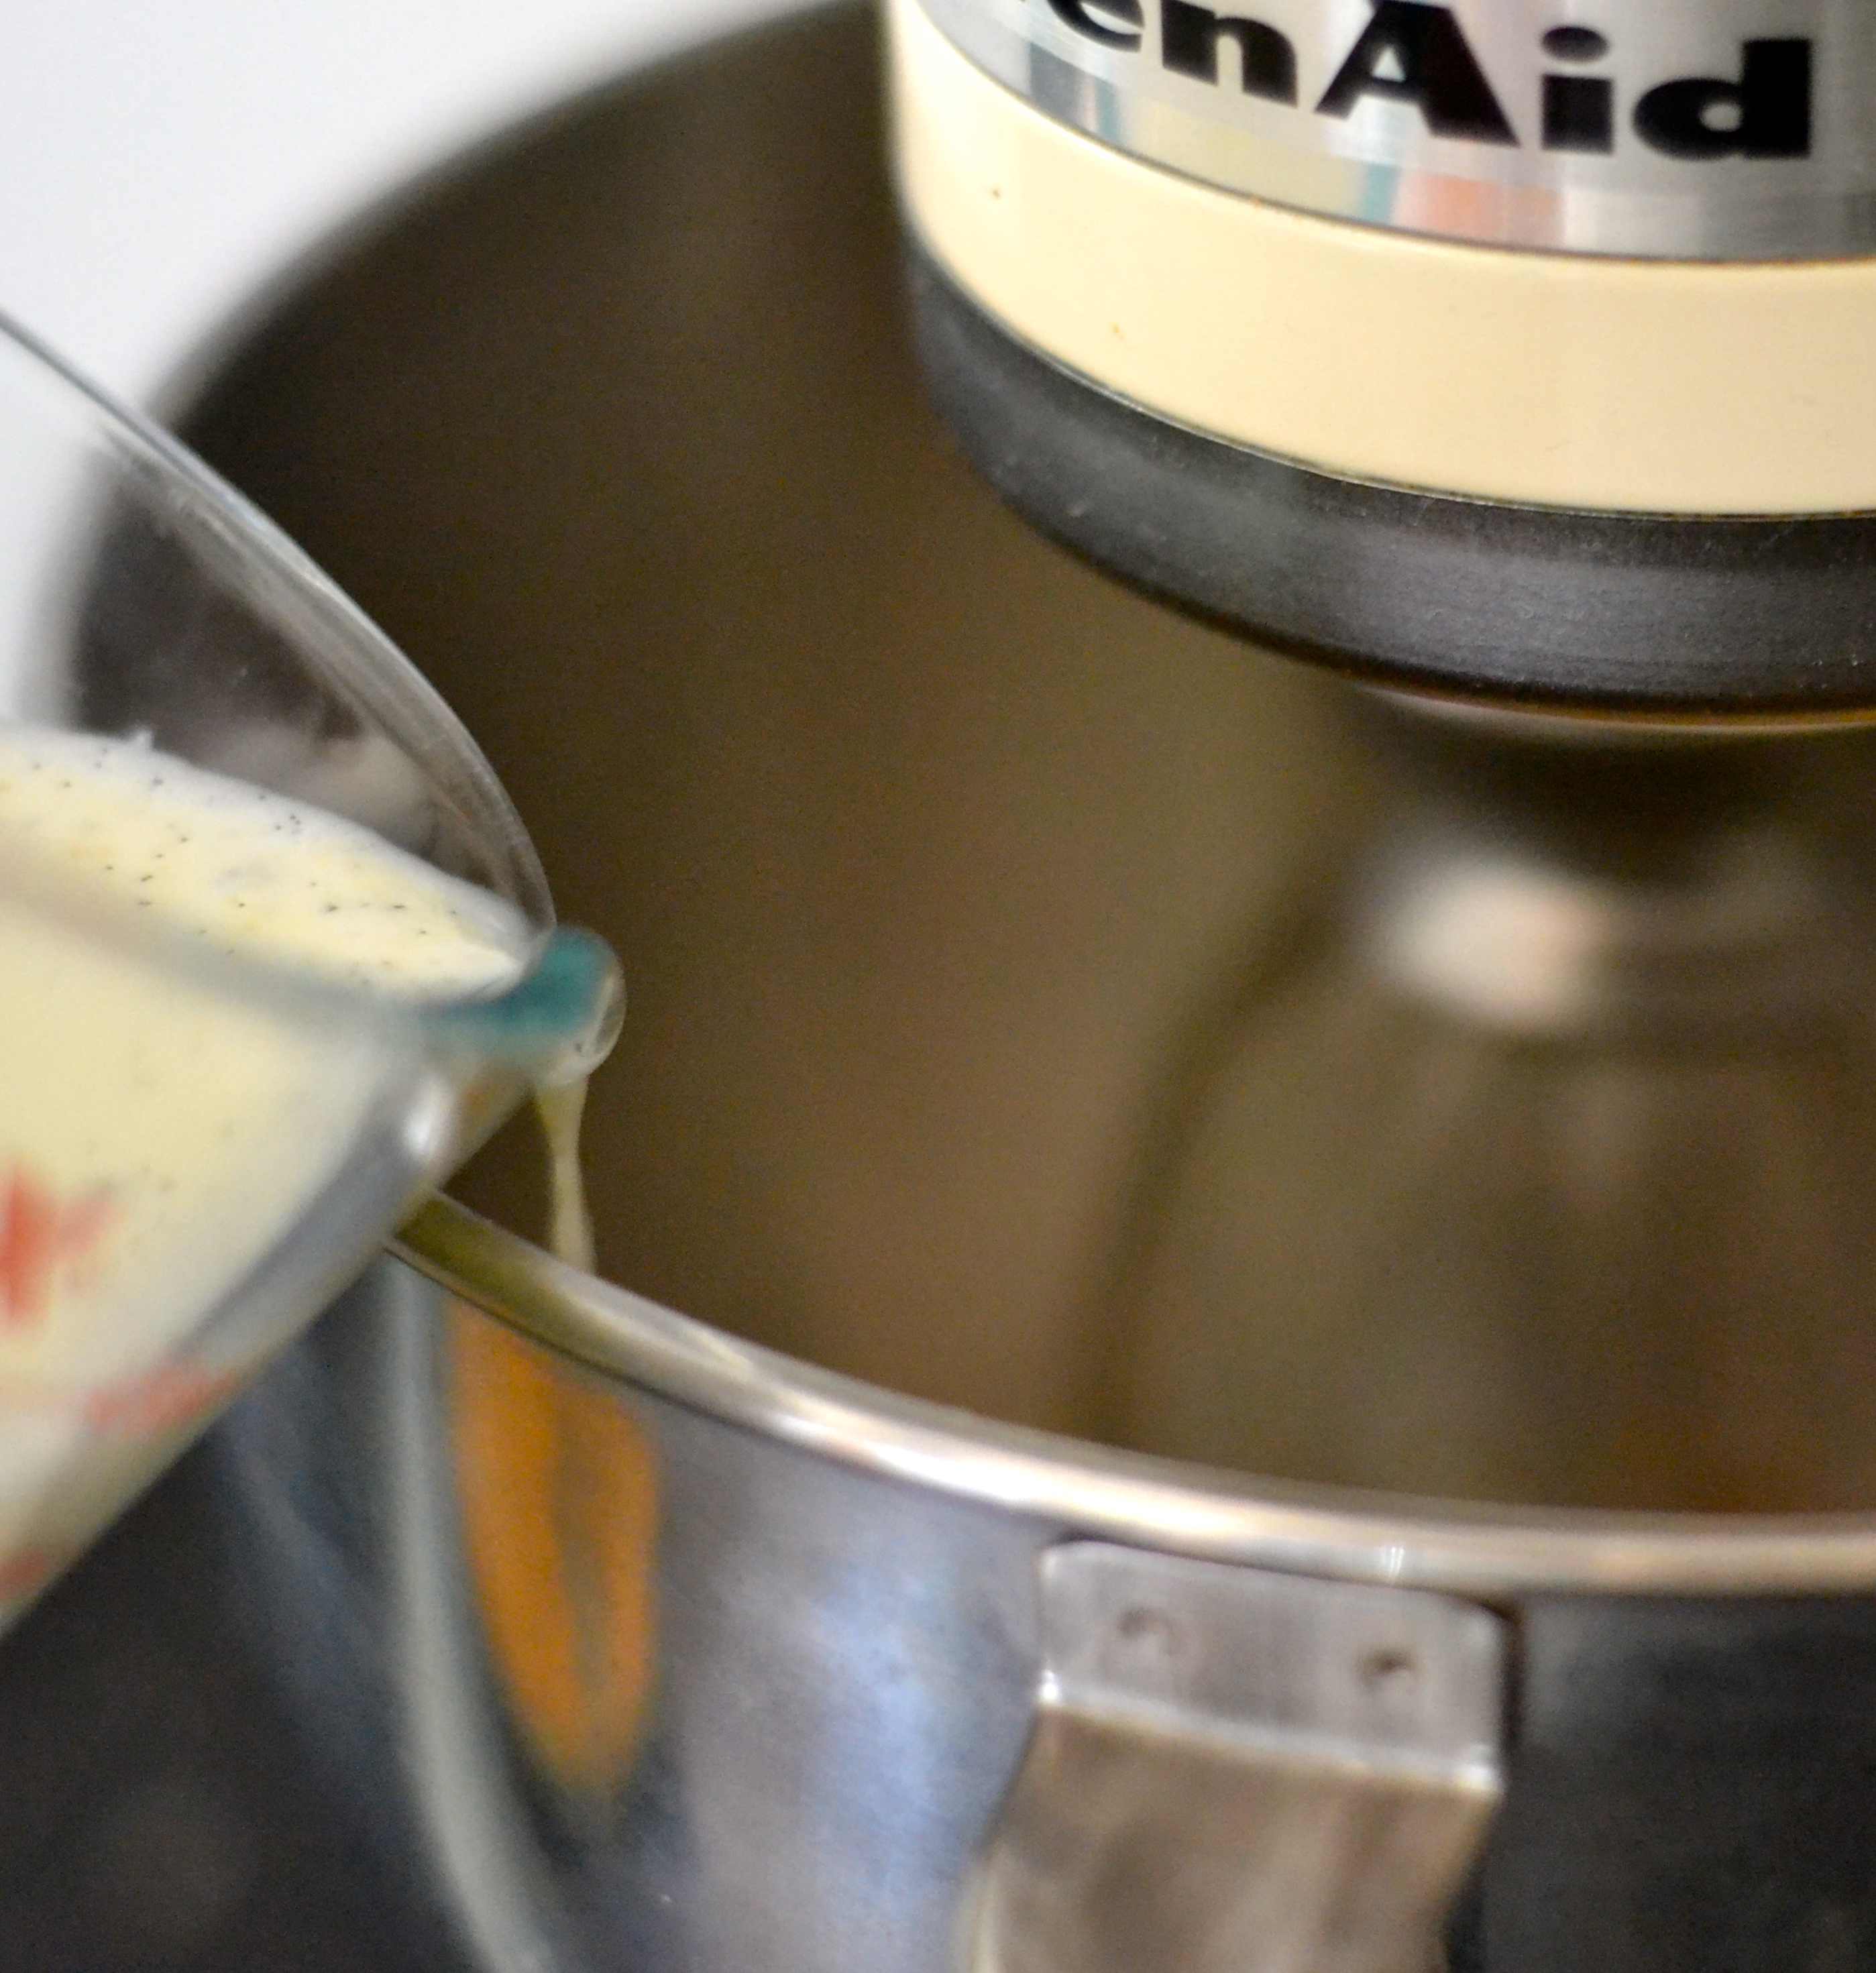
  3. With the mixer still running, in a confident slow stream, rest the saucepan on the side of the bowl if you wish and pour the hot syrup down the side of the bowl. Take about 1 minute to do this.
  4. Continue whisking on high for an additional 15 minutes. This allows the egg/syrup mixture to cool to room temperature before the butter is added.
  5. Now, add the butter, one bit at a time, until it’s thoroughly incorporated.***
  6. Finally, slowly add the cream and whip everything until it’s well combined and fluffy.
  7. Ice the cake!

***This is the point where things may turn to soup. If the egg/syrup mixture is too hot when the butter is added, it may turn to liquid. Stop adding the butter and get an ice pack (or several) from the freezer and hold it against the side of the bowl. This is to try to cool the contents down and bring it back to a fluffy mass.
The opposite thing can also happen if the butter added is too cold. Then the icing will become grainy and appear to separate. In this instance, wet a tea towel with hot water and hold it against the side of the bowl to warm the mixture up and “melt’ the butter slightly.

If you enjoyed this recipe you might like my top tips for making Pavlova

No bake mint chocolate cheesecake

I think it’s been about 10 months since I last visited here. Life with two small people is needless to say, very busy. Jam packed really. From the moment Thea comes into my room and grins her morning bed hair grin at me and Pat cries out to join in the fun, it’s non stop action and a little bit of chaos for the next 12 hours. Add work into the equation. A nutrition course. Building a new house. It makes for a full day. But I wouldn’t have my life right now any other way. Yet this post is not about any of those things. The reason for my sudden impetus to write, apart from the fact that I’m craving to put the jumbled sentences swimming in my head in to a meaningful form, is that my sister-in-law Tash, one very cool lady and among many things, a passionate doula, has asked me to share the story of Pat’s birth. And the timing seems just right with the anniversary of that day fast approaching.

DSC_0058

Pat’s impending arrival was jigsaw puzzle perfect. I found out I was pregnant two weeks after running my first marathon. Immediately I made a vision board full of round tummies and chubby newborns. My second pregnancy was going to be different. This time I was going to grow the little human inside me for the full 40 weeks. I was going to have a peaceful natural birth and I was going to cradle my newborn son in my arms before the cord was even cut. Wrong. For all my positivity, at a 24 week scan, booked so that Pat’s size could be measured to check that everything was on track, it was discovered that I had the same complication that I experienced with Thea. The flow of blood in the umbilical cord was compromised and he wasn’t getting all the nourishment that he needed.

Hearing the news time slowed down. My cheeks flushed, my heart started racing and a tumultuous feeling settled in my stomach. This can’t be happening. Not again. Not two premmie babies. But with Thea on my lap as testimony of a beautiful outcome, I accepted what I had been told and decided to maintain my optimism.

DSC_0080

Fast forward through 12 weeks of ECGs and growth scans, to 36 weeks and five days pregnant and the night before my Caesarian was due to take place. I had been told in answer to my requests to deliver baby later, “No, going over 37 weeks is really not a good idea as the chances of the cord giving up get much higher.” I had also been told no to trying for a natural birth. It was all out of my hands and to be honest knowing that all the monitoring and stress related with having a high risk pregnancy was going to be over was a huge relief. That said, I was sad. Sad for the loss of those final few weeks. Sad for the negativity surrounding my unborn baby which the doctors and nurses insisted on fostering. Sad knowing it just wasn’t my fate to experience a natural birth. I am aware that these things are inconsequential in the grand scheme of things, but let me tell you, becoming a mother is life changing. And how your child is delivered leaves an indelible mark. One moment you are someone, the next you are a completely different person with feelings so big that they are able to bowl you over.

DSC_0085

I spent a sleepless six hours in bed, getting up to go to the loo what seemed like every five minutes. I just couldn’t get comfortable. Couldn’t relax. I wasn’t so much worried about having two children and how logistically it was all going to work, or about how Thea was going to react to having a brother. No. I was anxious in that visiting a hospital three and four times a week to check the progression of your pregnancy because it’s considered high risk really gets into your head. Would baby be ok, healthy, a good size? Or was he going to be tiny and need help? Mark and I finally got up at six o’clock on Thursday June 30th and left the house for the last time as a family of three.

DSC_0092

I knew what to expect. Cold room, bright lights, lots of people, numb legs, screen in front of my face, Mark’s cheek pressed close mine. And the birth of a baby. A joyous occasion. But I did not experience joy. I felt sadness. Despair. Powerlessness. I felt defeated. I had written down a few things that I would like to happen at the birth this time around, like to see Pat coming into the world, but not one of my requests was honoured. It was like with Thea but worse, because this time I thought I might have some control over the situation, but really I didn’t. I was a number on a list and my son’s birth was just part of a routine day.

DSC_0107

But then the moment came. I heard the words that I ached to hear. It took a while and I really didn’t think that it wasn’t going to happen and had been forewarned it might not. Would you like to hold him? I howled. Wailed. A primal explosion of emotion washed over me as my perfect little boy was placed on my bare chest. He squealed, I soothed. I cupped him in my hands. He was breathtaking. A gorgeous 2.4 kilos, 10 tiny fingers, 10 tiny toes and the gentlest dusting of soft brown hair. Oh all the things that we will do together, all the memories we will make, all the possibilities in the world that lie ahead of you. My boy. We did it. You’re here.

DSC_0110

The encounter was far too brief though and we were separated until the next morning. My time in recovery was full of tears and anguish. Mark had gone with Pat to the nursery and I had no way to contact them. My temperature kept dropping and my whole body shivered. Anxiety churned in my stomach. With no idea what was going on, I was beyond stressed. Having experienced Thea’s birth, where I knew that she would be taken away from me, this time round I was full of hope, but equally trepidation. How was my little boy doing.

DSC_0118

The next morning full of gusto, my focus entirely on Pat, I lowered my limbs out of bed, renewed my senses under a hot shower and headed straight for the nursery. I was going to cradle my baby boy, feed him, drink him in. Bring him home. He latched straight away, tears pricked my eyes and my heart soared. By 4pm that afternoon, I was allowed to have him in my room and soon discovered that unlike Thea, he was not going to sleep unless held. And that was fine with me. In the clinical setting of the dimly lit hospital room, the two of us dozed and the bad memories of the day before faded. By 1pm on Saturday, Pat Finch Thompson, in a little red onesie, was securely cocooned in his car seat and we were on our way home.

DSC_0123

Recollecting Pat’s birth still makes me sad. Wether my experience with Thea marred her brother’s arrival, or the weeks of monitoring before he was born, or simply the fact that we were separated. Above all though, his entrance into the world may not have been what I wanted, but he was safe and cared for and there have been a multitude of joyous times since that day. I often think that the challenging events in life, the most uncomfortable of times, can teach the biggest lessons. From both my pregnancies I have learnt to surrender, yet not without optimism, but perhaps more importantly, that having children is not about me at all. It’s about them.

And the mint choc chip? Having Pat come home straight after having him was so different to my experience with Thea. The way my body changed over the first few weeks of his life really did make me feel like I’d had a baby. My capacity to eat chocolate was unending and I craved mint chocolate more than anything else. Mint slices dipped into hot cups of tea, mint chocolate mousses, mint magnums, mint choc chip ice cream, no bake mint chocolate cheesecake… If I had craved family sized portions of lemon dressed salad when I was pregnant, now it was all about sugar. And so I give you this no bake mint chocolate cheesecake. Enjoy.

No bake mint chocolate cheesecake

Makes about 10 servings. I would give credit but the recipe comes from Ma Lyn’s recipe book in the form of a very old clipping.

Crumb crust

Combine the biscuits and butter in the bowl of a food processor and whizz until fine crumbs are achieved. Press the crumbs into the base of a lined 20cm loose bottomed cake tin and chill until firm.

Filling

  • 1 tbsp powdered gelatin (I used Great Lakes gelatin)
  • 1/4 cup cold water
  • 3/4 cup boiling water
  • 250g cream cheese
  • 1 cup caster sugar
  • 1 tsp vanilla (I used Sunshine vanilla powder)
  • 4 drops real peppermint essence (I used Doterra)
  • 90g dark chocolate, melted
  • 375ml evaporated milk, chilled

Soak gelatin in cold water. Add boiling water and stir until dissolved. Cool.

In a large bowl or stand mixer beat the cream cheese until smooth. Add the sugar, vanilla and peppermint essence.

Gradually add the melted chocolate, then the gelatin mixture, then the evaporated milk. Keep mixing/beating at high-speed until the mixture is thick and has doubled in volume. Pour the mixture into prepared tin and chill for at least two hours.

Decorate with chocolate shards or sprinkles and enjoy.

If you liked this recipe then you might like chocolate fork biscuits

IMG_0934 IMG_1016 IMG_1081 IMG_1346 IMG_1506 IMG_2012 IMG_4383 IMG_5076


IMG_6260 IMG_6756 IMG_6928

IMG_7974 IMG_8085 IMG_8395 IMG_8407 IMG_9034

Easy upsidedown pineapple cake

Now that during the day we are three, me, a very little and helpless human and an independent, talkative, whirlwind of a toddler, activities to do with the later, to make her feel included and secure with the new family dynamic are more important than ever. And it’s been a beautiful discovery to find that she enjoys cooking. The weighing and the mixing and sometimes even the eating. We’re still working on the eating and it’s sad for me to admit that as a chef I have an extremely tiny, fussy and plain eater. Anyway, she does still enjoy cooking, and this week we made an easy pineapple upside down pineapple cake.

easy upsidedown pineapple cakeEven before children, I had visions of the kind of activities that I would like to do with them when the time came. Painting, drawing, gluing, sticking and cooking. Of course cooking. Cutting out gingerbread men and decorating them with Smartie buttons, baking fairy cakes and licking all the butter cream icing off first, making chocolate chip cookies and munching them with an ice cold glass of milk. I have very fond memories of routinely preparing rock cakes with one grandma and cupcakes with the other. Spending time together in the kitchen doing a common activity and sharing the pleasure of the final culinary creation.

easy upsidedown pineapple cakeAs a lot of my day is spent holding Pat, feeding him, burping him, carrying him sleeping in a sling (this one’s the bomb), Thea loves it when it’s time for her to have some uninterrupted focus. Don’t get me wrong, she knows what’s what and why I’m investing so much of my time with Pat, but she still craves one on one attention. And cooking seems to be a solution. It’s almost an out of bounds area that she gets to enter into, up on her little stepladder spooning flour into a bowl, haphazardly cracking eggs and pressing buttons on the processor. Yes, it’s messy, especially when there’s cocoa or hundreds and thousands involved, but we both laugh, and surely that counts for more.

easy upsidedown pineapple cakeDSC_1030easy upsidedown pineapple cakeThis easy pineapple upside down cake is a really great recipe to make with a small person. They can be very hands on with its preparation as there are essentially just two simple steps. Plus the finished product is so pretty and colourful. There is no guarantee however that participating in making the cake will mean that beyond nibbling the edges your little helper will want to eat it… But that’s ok. We had fun. And it means more for everyone else!

easy upsidedown pineapple cakeeasy upsidedown pineapple cakeeasy upsidedown pineapple cake

Easy upsidedown pineapple cake

Adapted from a recipe in Nigella Express by Nigella Lawson

  • 2 tbsp caster sugar
  • 6 pineapple rings from a tin (reserve juice to thin cake batter)
  • 11 or so glace cherries depending how many your toddler eats
  • 100g flour
  • 100g soft butter
  • 100g caster sugar
  • 2 eggs
  • 1 tsp baking powder
  • 1/4 tsp bicarbonate soda
  • 1 tsp ground ginger

Pre heat the oven to 200C and butter a 24cm isn cake tin.

(Get your toddler to) sprinkle 2 tbsp of sugar in the bottom of the cake tin and arrange the pineapple slices on top. Fill the gaps with glace cherries.

Add the remaining ingredients to the bowl of a food processor and (get your toddler to) process until a smooth batter is achieved. Thin with a little, maybe 2 tbsp pineapple juice from the tin of pineapple rings.

Pour the batter into the cake tin on top of the pineapple rings and pop the tin into the oven for 30 minutes, or until a skewer inserted into the cake comes out clean.

Remove the cake from the oven and leave to cool in the tin for 5 minutes before sliding a spatula around the outside of the tin. Place a plate on top of the tin and then turn it upsidedown. Easy pineapple upsidedown cake!

Enjoy with cream and a cup of tea. Your toddler may or may not do the same.

Like this easy upside-down pineapple cake recipe? Then you might like almond tart with strawberries

Almond tart with strawberries

I can’t really keep it a secret any longer. If you visit here often you’re going to notice sooner or later anyway, so I’d better come clean. For the last three months I have been living in a house with views that take my breath away daily. With gardens so pretty and scent heavy, I feel like I’m in a fairytale when I walk through them. I’ve fallen asleep to the reassuring sound of breaking waves and woken to magnificent patchwork orange and magenta skies. So this almond tart with strawberries was perfect for a Sunday lunch with friends in such a special place.

DSC_0406

You might recall that back in April a tree fell on our house, and as a result we relocated that same night to Ma and Pa’s. Well a very generous friend offered us their home for the months of August, September and October. And so this is where my photos have been taken lately. In the beautiful kitchen of a Palm Beach house with panoramic views of the ocean. Believe me that I am not exaggerating when I say that sometimes I look up from the dishes to catch a glimpse of a whale breaching. That at night I can see Barrenjoey lighthouse intermittently twinkle in the distance. That I am extremely lucky and grateful for the opportunity to have stayed in such a beautiful location.

strawberry and almond tart

I think that Thea has enjoyed her stay too. We go the beach daily, sometimes twice, making the most of our temporary seaside location. I put her porridge in a little container, grab a coffee and we go, with obligatory bucket and spade in tow, to have our breakfast on the sand. I don’t know if I would do this if it was our full-time home. There is definitely something to be said for being placed in situations that not only force you to realise how fortunate you are, but also to make the most of your time.

strawberry and almond tart

The spotted gum tree that crashed through our roof has also made realise that our house overlooking the sparkling Pittwater, a five-minute walk to Clareville beach, was a great home. I’m not sure that we fully appreciated that. We were so focused on renovating it and making in to the thing that we wanted it to be, that we never stopped to fully acknowledge how good it was: All those evenings spend sharing food with friends and family on the deck, this one and this one, oh and this one, especially stand out, as well as the dinner parties inside by the fire like this one.

DSC_0425

When we do move back to our home (seemingly still light years away as our insurance hasn’t even been settled yet) I’m planning on throwing the biggest dinner party ever. I intend to celebrate where we live. With lots of delicious food. Delicious wine. Flowers. Music. And possibly even bite size versions of this almond tart with strawberries. It really is that good and definitely fitting for a special occasion. Even Thea thinks so.

DSC_0467 DSC_0475

Almond tart with strawberries

Adapted from a recipe in The River Cafe Cookbook 2

For the pastry

  • 225g plain flour
  • 75g self raising flour
  • 55g icing sugar
  • 100g butter, cold, cut into cubes
  • 1 egg yolk
  • 2 tbsp cold water

For the almond tart filling

  • 265g soft butter
  • 265g caster sugar
  • 3 eggs
  • 265g almond meal

To serve

  • 250g strawberries, hulled and halved
  • icing sugar
  • creme fraiche

To make the almond tart pastry, pulse the butter, two flours and icing sugar in a food processor until the mixture resembles fine breadcrumbs. Add the yolk and pulse until mixed in and then with the motor running add the cold water in a steady stream until the pastry comes together. Remove from the processor, wrap in plastic wrap and chill for at least 20 minutes before rolling out (with extra flour) and lining a 28cm diameter, 3.5cm deep loose bottomed fluted tart tin. Pop the lined tin in the fridge for another 20 minutes or so and then bake it in a 180 C oven.

**A note on baking the tart shell. Use baking beans. Seriously. I don’t know why I waited so long to become the owner of these little ceramic balls that have changed the appearance of my pastry shells for the better. I used to bake my tart shells with nothing and the sides would always shrink and the bottom bubble up. Then I got a little less lazy and started using dried kidney beans to keep the base of the tart shell flat. But after a while they began to smell. And just weren’t all that pretty. So one day, when in a kitchen shop looking for some platters, I came across Tala baking beans and my tart shells have been beautifully golden and even specimens ever since.**

For the almond tart filling, using a hand-held or stand mixer, beat the sugar and butter together. When the mixture is pale and fluffy, add the eggs one at a time, followed by the almond meal. Spoon the mix into the baked tart shell and bake for around 40-50 minutes until the filling is set. Don’t be tempted to overfill the shell as the mixture does puff up and will spill over the edge resulting in a messy end result.

Once the almond tart is cooled, decorate with strawberries, lots of icing sugar and enjoy with spoonfuls of creme fraiche.

Like this dessert recipe? Then you might enjoy my two tiered Pavlova


Macadamia chocolate bark

Sometimes after dinner, I want a nibble of something. Not a dessert, nor something to be eaten with a spoon. Just a treat, perhaps containing a little bit of sugar, to punctuate an evening meal. Often this mouthful is in the form of a square of dark chocolate, a duchy ginger biscuit with a slice of cheese or a handful of homemade granola. Having only Callabaut chocolate callets and an array of nuts and seeds in the house, I decided to make macadamia chocolate bark.macadamia chocolate bark

Ok. I confess. This idea wasn’t as spur of the moment as I have just presented it. Back in January, I took Mark to Rockpool Bar and Grill for his birthday. After being faultlessly served a seriously great dinner, we finished the evening with a glass of peaty single malt each and some sweet and salty dark chocolate bark with cashews and sesames. I have been wanting to replicate it ever since.

macadamia chocolate bark

That’s the thing with enjoying something so much at a restaurant that you are inspired to recreate it at home. Sometimes a recipe for exactly what you want to cook isn’t available. I remember having a little bowl sweetcorn soup as part of the build up to the main event in the Barossa Valley a long time ago. It was like velvet in my mouth and the perfect balance of sweet and salt. I attempted to repeat the dish at home, but my version failed miserably in comparison.

macadamia chocolate bark macadamia chocolate bark

I remember that we went to the Barossa because I wanted to go to Maggie Beer’s farm. A bit of a pilgrimage really. Sitting by the lake with our picnic of terrines, pates, fresh bread and fruit pastes purchased from the farm shop, the experience was delightful. I was eating at Maggie’s place. Everything tasted so good. But now if I buy her pates or pastes, the experience isn’t quite the same because I’m not in the moment. I’m not there in Nuriootpa, sitting on the grass by the lake. Sometimes food tastes so good because of the circumstances we eat it in. That said, it’s still fun to try and recreate recipes at home. It brings back fond memories of past tastes and occasions. And sometimes brings about new ones.

macadamia chocolate bark

Macadamia chocolate bark


  • 90g macadamias
  • 45g pumpkin seeds
  • 200g dark chocolate
  • pinch sea salt

Toast the nuts and seeds on separate trays in the oven for about 7 minutes at 180C. Leave to cool. Roughly chop the macadamias and then mix the two together.

Melt the chocolate in a bowl over a pan of simmering water. Do not let the temperature go above 70C.

Mix half the seeds and nuts with the melted chocolate and then pour it on to a piece of greaseproof paper. Sprinkle the remaining seeds and nuts on top and cool in the fridge for about half an hour.

Break the chocolate into an assortment of sizes and serve as an after dinner nibble.


Strawberry homemade sprinkles

homemade sprinklesThea is almost two. Two. The days and weeks went by slowly when she was first born, as we got to know each other and I became accustomed to my new routine as a mama. Then something happened without me noticing. Time sped up and I find myself here today, one month away from her second birthday. I don’t feel like a mum. Somedays I am amazed that the world let me become a mother as I struggle through the everyday, utterly confused as to what my daughter, happy one minute, loudly uncheerful the next, wants. One night she sleeps peacefully for 12 hours straight. The next she wakes at two o’clock, ready to start the day. On Tuesday she loves homemade chicken nuggets. By Thursday, she won’t touch them and wants porridge. For breakfast, lunch and dinner. One thing I hope she really likes though, is the birthday cake that I’m going to make for her. With homemade sprinkles.DSC_1572

I’m not much of a baker. I suppose that’s because I’m not much of a cake eater either. I prefer pate and cheese and dark chocolate. But when I do bake, I usually go all out. Chocolate dipped honeycomb, presented in little handmade boxes and given to people as gifts. A dozen little Christmas puddings, made in September, and lovingly tied in cheesecloth and hung in a wardrobe ready for December (when I lived in England and it’s chilly during those months). A gigantic seven layer black forrest cake constructed for ma’s birthday, that lent slightly to one side. And now I’m attempting to make strawberry flavoured homemade sprinkles for a second birthday cake, staunchly ignoring comments that I could simply buy them from a supermarket for a couple of dollars.homemade sprinkles

Cooking being about showing love and all that, I want to make Thea a cake from scratch. A creative cake that takes time and effort. A cake that I have to think about and plan in advance. A cake that I can be proud of and say, I made that. I realise that she won’t be aware of my efforts. But I will. And that’s what counts. Because despite on occasion being confused as to how to do the right thing by my daughter, I love her. Unconditionally. Even when she refuses my chicken nuggets, will only eat porridge or wants to get up at two in the morning. Her little face is the best thing in this world.

homemade sprinkles

I don’t know about you, but I love sprinkles. As a kid, my favourite ice lolly was a Fab. A strawberry ice block with a white, milk flavoured cap that was covered in multicoloured sprinkles. To tell you the truth, once I’d nibbles all the sprinkles off, I didn’t much care for the strawberry flavoured ice underneath. Another thing I loved growing up was banana splits. A banana cut in half lengthways and positioned in a glass dish with scoops of ice cream between the two lengths, anointed with whipped cream, wafers and you guessed it. Sprinkles. I will also admit to garnishing. No. Garnish is too polite. Drenching whipped cream sitting a top a hot chocolate with sprinkles, ahem, when I was pregnant. So two years ago. With these stories in mind, it seems only fair that my daughter will enjoy sprinkles too. Pretty, pale pink, strawberry, homemade sprinkles.

homemade sprinkles

Strawberry homemade sprinkles

From a recipe by Stefani Pollack

Begin by grinding the freeze dried strawberries to a fine powder. I did this in a small spice/coffee grinder.

Next simply mix all the ingredients together. This could be done by hand or with the help of a free standing mixer. I chose the later option.

Now transfer the icing sugar mixture into a piping bag. I used a disposable piping bag, which I cut a very small hole in the end of. If using a piping bag with a nozzle, the nozzle should be about 4mm.

Pipe lines of the mixture onto baking paper. They do not have to be perfect lines, but the closer together that you can get them the better. It will make the chopping process easier and mean that you have to use less pieces of baking paper.

Now wait. 24 hours. This will allow the iced lines to completely dry. After the time period has elapsed, take a long knife and cut the lines into little sprinkle size strands.

And that’s it. Homemade sprinkles, that really do taste like strawberries.

Enjoy this. Then why not try your hand at some homemade vanilla ice cream to go with them?

Making vanilla ice cream

This post is both thoroughly practical and deeply personal. It’s about making vanilla ice cream from scratch and reminiscing about my childhood. For most people, memories of their younger years and ice cream are closely intertwined. For me this is especially true. I can recall cones of ice cream after a day at the beach building sandcastles, jelly and ice cream in little plastic bowls eaten on the grass at friend’s birthday parties and nibbling the crunchy chocolate off choc ices that I was allowed to stow in the freezer during school holidays. The ice cream I remember the most though towered high above me in an elongated, scalloped edge, sundae glass. I needed to kneel on my chair and use the long handled spoon to delve into the layers of strawberry and vanilla ice cream, raspberry jelly, fruit and whipped cream that was topped with chopped nuts, hundreds and thousands, sticky, sweet bright red strawberry sauce, wafers and a cherry. A Knickerbocker Glory. A favourite treat on a family outing that I always savoured with complete delight. But to understand why I’m telling you about childhood memories of ice cream, I must first start with my new year’s resolutions for 2015.

DSC_0537 DSC_0520

At the start of this year, feeling like an entirely different person with nearly a month’s worth of sleeping through the night, thanks to Thea’s new and improved sleeping pattern, I decided that it was time to focus on some goals. Really make 2015 a great year and accomplish some long aspired to ambitions. So I went to the dentist. Saw an optician. Set up a new filing system. Started squad swimming. Joined surfing mums. Embarked on a training plan for the Sydney marathon. And, I went to see a kinesiologist. As well as sorting things on a physical level, I wanted to make sure that emotionally, everything was in alignment and that no negative subconscious thoughts were holding me back from being my best self. One thing that transpired during my session was that at the age of 12 something had affected the little girl that I was and she had ‘left’. I was told to do something nice for that 12 year old child to welcome her into my life again. Thinking back to those times, I can remember some painful events and whether you believe in spiritual healing or not, to me doing something for my younger self seemed like rather a lovely idea. It’s so easy to get lost in the world of adulthood and responsibility and ignore our more immature inclinations. So when I got home, I decided to make myself a Knickerbocker Glory, the treat that I remember so fondly from my childhood.

DSC_0527 DSC_0555

But if I was recreating the sundae of my childhood, I was going to do it properly and that meant making the vanilla ice cream. This is an easy task. I promise. And there are two pieces of equipment that make it really easy. A stand mixer and a digital thermometer. The stand mixer allows you to get on with other tasks while it does the job of doubling the yolks and sugar in size. Like chasing after your toddler as she empties the contents of the kitchen cupboards. Hand held beaters work equally as well, but don’t let you multitask and mixing the yolks and sugar takes about 10 minutes. The digital thermometer I find vital in securing a smooth as silk vanilla ice cream. Without one I have overcooked the eggs in the custard many times, which results in a slightly grainy ice cream. Another thing I have found that is really important when making ice cream is to cool the custard completely before you churn it. Otherwise, it’s a straightforward task with stunning results.

DSC_0562 DSC_0564 DSC_0567 DSC_0568

making vanilla ice creamFilling my little sundae glass with jelly, strawberries and homemade vanilla ice cream made me feel like a little kid. My husband laughed at me as I got hundreds and thousands all over the kitchen bench and I had to laugh at myself too. But what fun. I couldn’t wipe the smile off my face as I melted chocolate to shamelessly drizzle over my strawberries. Oh and did I mention the layer of pineapple in between the jelly and ice cream and the whipped cream I piped on top. I revelled in every mouthful of my sundae with juevenile delight, even going back for more hundreds and thousands, just because I could. Eating the ice cream brought back memories of plastic buckets with castle like turrets, spades with strong wooden handles so that I could dig really deep holes, multicoloured foil windmills whirring in the breeze, determined dam building in the sand, donkeys with their soft as velvet ears and the joy of being a child at the beach. Whether or not my recreation of a Knickerbocker Glory pleased my 12 year old self of not I’ll never know, it sure as hell delighted the 36 year old me.

DSC_0417DSC_0415DSC_0422


Vanilla ice cream

Adapted from Ice creams, Sorbets and Gelati

  • 300ml milk
  • 1 vanilla bean
  • 90g panella (or any unrefined sugar, I just think panela gives the ice cream wonderful depth of flavour)
  • 5 egg yolks (you can freeze the whites for meringue)
  • 250 ml cream

First of all, fill your sink with some cold water. Just a few inches.

Now, start by pouring the milk into a pot. Split the vanilla bean lengthways in half and scrape the seeds into the milk. I also add the seed pods once I have scraped them to extract every last bit of flavour. Set the milk over a low heat and slowly bring to the boil. When the milk boils, turn the heat off.

While the milk is infusing, whisk the sugar and yolks until thick, pale in colour and doubled in size.

Now remove the vanilla seed pod from the milk. You can wash it and leave it to dry and then keep it with your sugar to give it a gorgeous aroma. Bring the milk back to the boil and then transfer to a jug so that you can pour it in a steady steam into the yolk mixture. Do this whilst whisking at the same time.

Pour the resulting custard back into the pot and place over a gentle heat. With one hand hold a digital thermometer in the custard and with the other constantly stir your ice cream base. When the temperature reaches 85C, remove the pot from the heat and plunge the base into the cold water in the sink. This will stop the custard cooking and is very useful if you do accidentally over heat your custard.

Pour the cooked custard into a jug and put in the fridge to chill. When the custard has completely cooled you can add the cream and churn. The most wonderful part of making your own ice cream is that as soon as it’s frozen, you can dip a spoon into the chilled vanilla mixture and enjoy. The best.