
 Sometimes before the sun has risen and Thea wakes, I get out of bed early, take my laptop and a cup of tea out on to the deck and read my favourite blogs. It’s still dark and usually a few cars pass by, headlights on. The birds aren’t singing their chorus yet, as the promise of a new day looms. I cross my legs in my chair, take a sip of tea and start reading. One humid morning this week I had got out of a very comfortable bed to do just this. Aware of the breeze stirring the leaves, I read a lovely post about apricot jam. Completely smitten with the simplicity and romanticism of the recipe, later that day I went and bought some apricots to make some for myself.


Preserving seems like such a time honoured kitchen task. It makes me think of large country kitchens of a bygone era, with herb gardens, orchards, cast iron ranges and copper pots all lined up on the wall in a row. One of the pots is a preserving pan dedicated to the task of transforming fresh fruit at its peak from one month into jam for another. Indeed, there is nothing better on a cold winter’s morning, than hot buttered toast smothered with berry or stone fruit jam, to evoke the warmth of summer. And so with this notion in my head I set about making apricot jam.


I surprised myself with the results of my spur of the moment preserving efforts. Three glass jars filled with rusty orange, beautifully sweet but slightly sharp, apricot jam sat on my bench. I felt like an accomplished jam maker and had a kid in a sweet shop excited feeling for weekend when I could open a jar and scoop out a spoonful to spread on toast. Saturdays and Sundays are about leisurely breakfasts, coffee, the paper and sourdough bread from the local bakery. Thea loves going there as she has realised it’s the place where almond croissants come from, and leaving the shop without a brown paper bag containing one makes for a very unhappy little girl. Hopefully a breakfast with my sticky, sweet, apricot jam will pacify her.

Apricot jam.
Modified from a post by Sweet Amandine
Makes about 3 jars.
- 1300g pitted apricots
- 550g sugar
- 35 ml lemon juice
- 6 peach stones
The day before you cook your jam, mix the pitted apricots with the sugar and lemon juice and mix well. Cover the fruit with a piece of baking paper. Smooth the paper over the top of the fruit so that it is in contact with the apricots to help prevent discolouration. Leave to macerate in the fridge overnight.
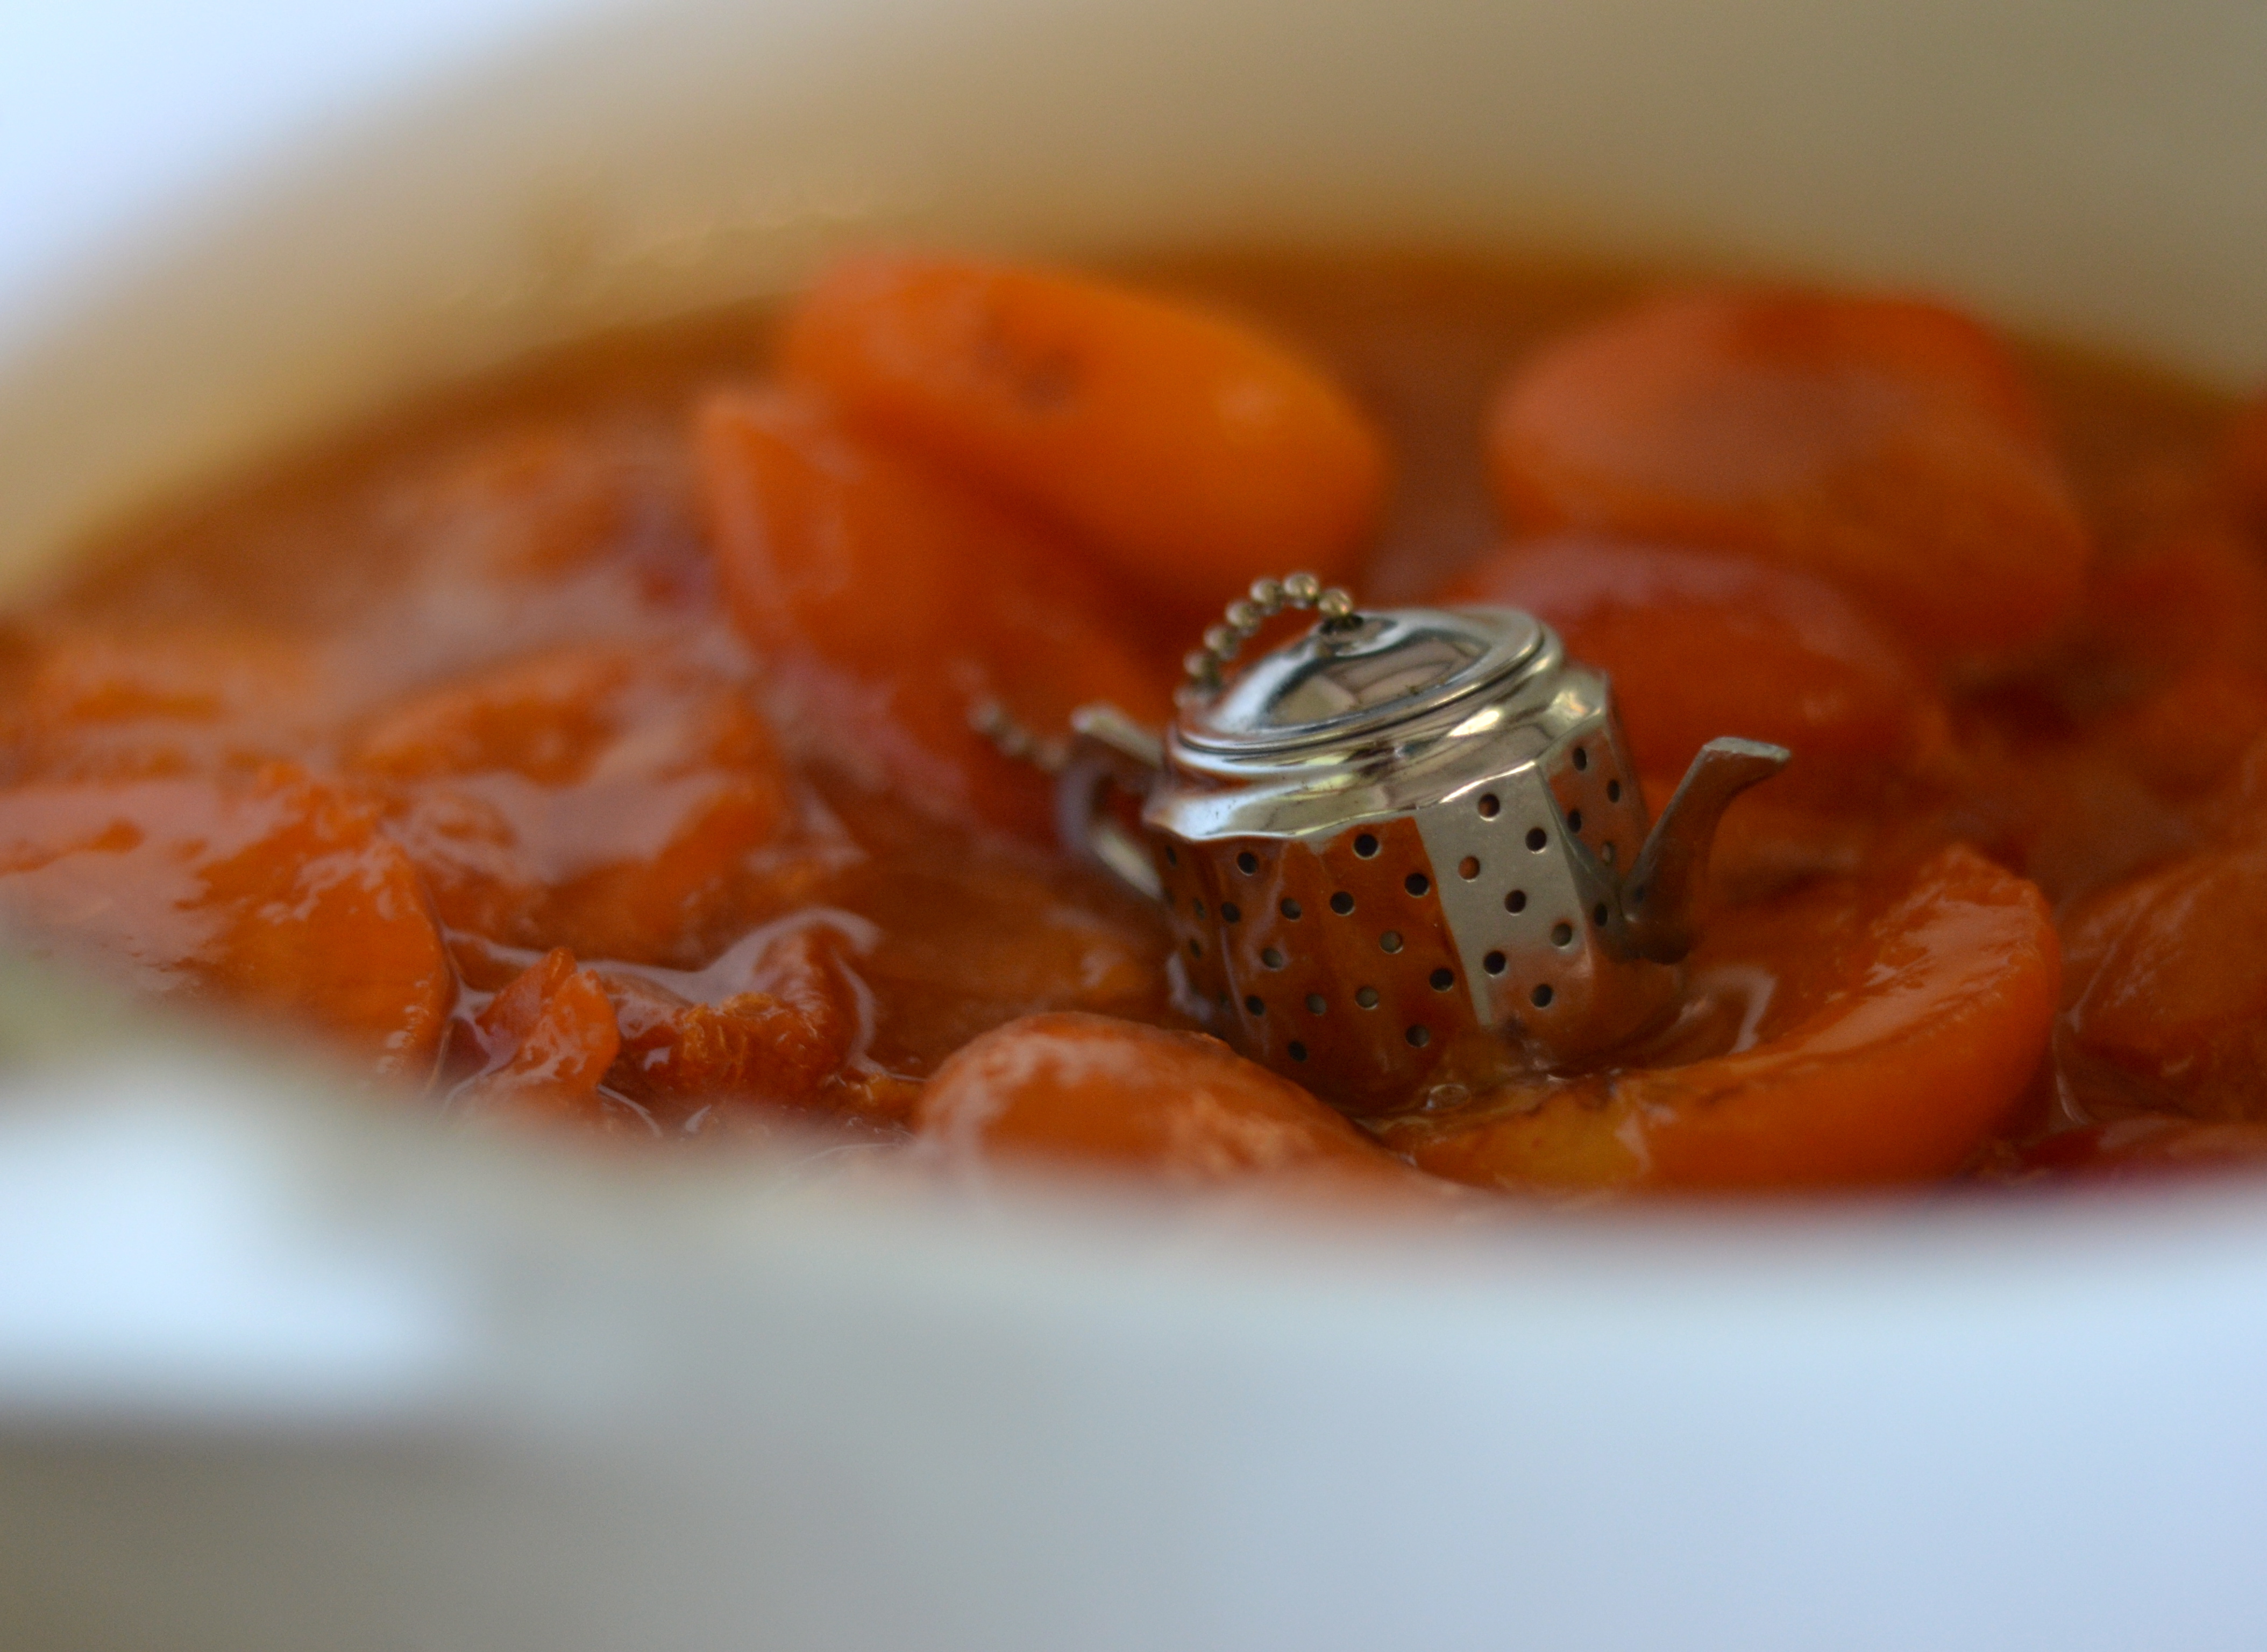
And I bet you are wondering about the peach stones. What you do with them is take a tea towel and something like a meat mallet or rolling in, cover the stone and tap it until it splits. Inside the stone you will find an almond like kernel. Repeat this step with all six stones, then chop all the kernels up. Put them inside a little tea strainer and place the tea strainer in with the apricots. This will give your jam an almondy aroma.
The next morning, and this is a great tip, put five teaspoons in the freezer. This step is really useful for when you are testing your jam’s doneness.
Now transfer the apricots (remember the tea strainer) to a suitable pot to cook them in and place on the stove. Bring the mixture to a boil and boil for about 4 minutes, string frequently. I mean this. Don’t walk away and hang out the washing. Loiter in the kitchen and stir the boiling mixture frequently. The best tool to do this with is a silicone spatula so that you can really scrape the bottom. After 4 minutes, turn the heat down and skim any foam that has appeared from the top of the fruit. Continue to cook the apricot mix over a low heat for a further 30 to 40 minutes until the jam has thickened.
Now it’s testing time. Get one of the teaspoons from the freezer, dribble a blob of the jam onto it and put the spoon back in the freezer for 3 minutes. When you take it out again, the underside should be neither hot or cold to the touch (indicator one) and when you tip the spoon, the jam should be thick and stick to the spoon, running off slowly (indicator two). If it runs off quickly and is thin, it is not yet done. Repeat the process in a few more minutes.
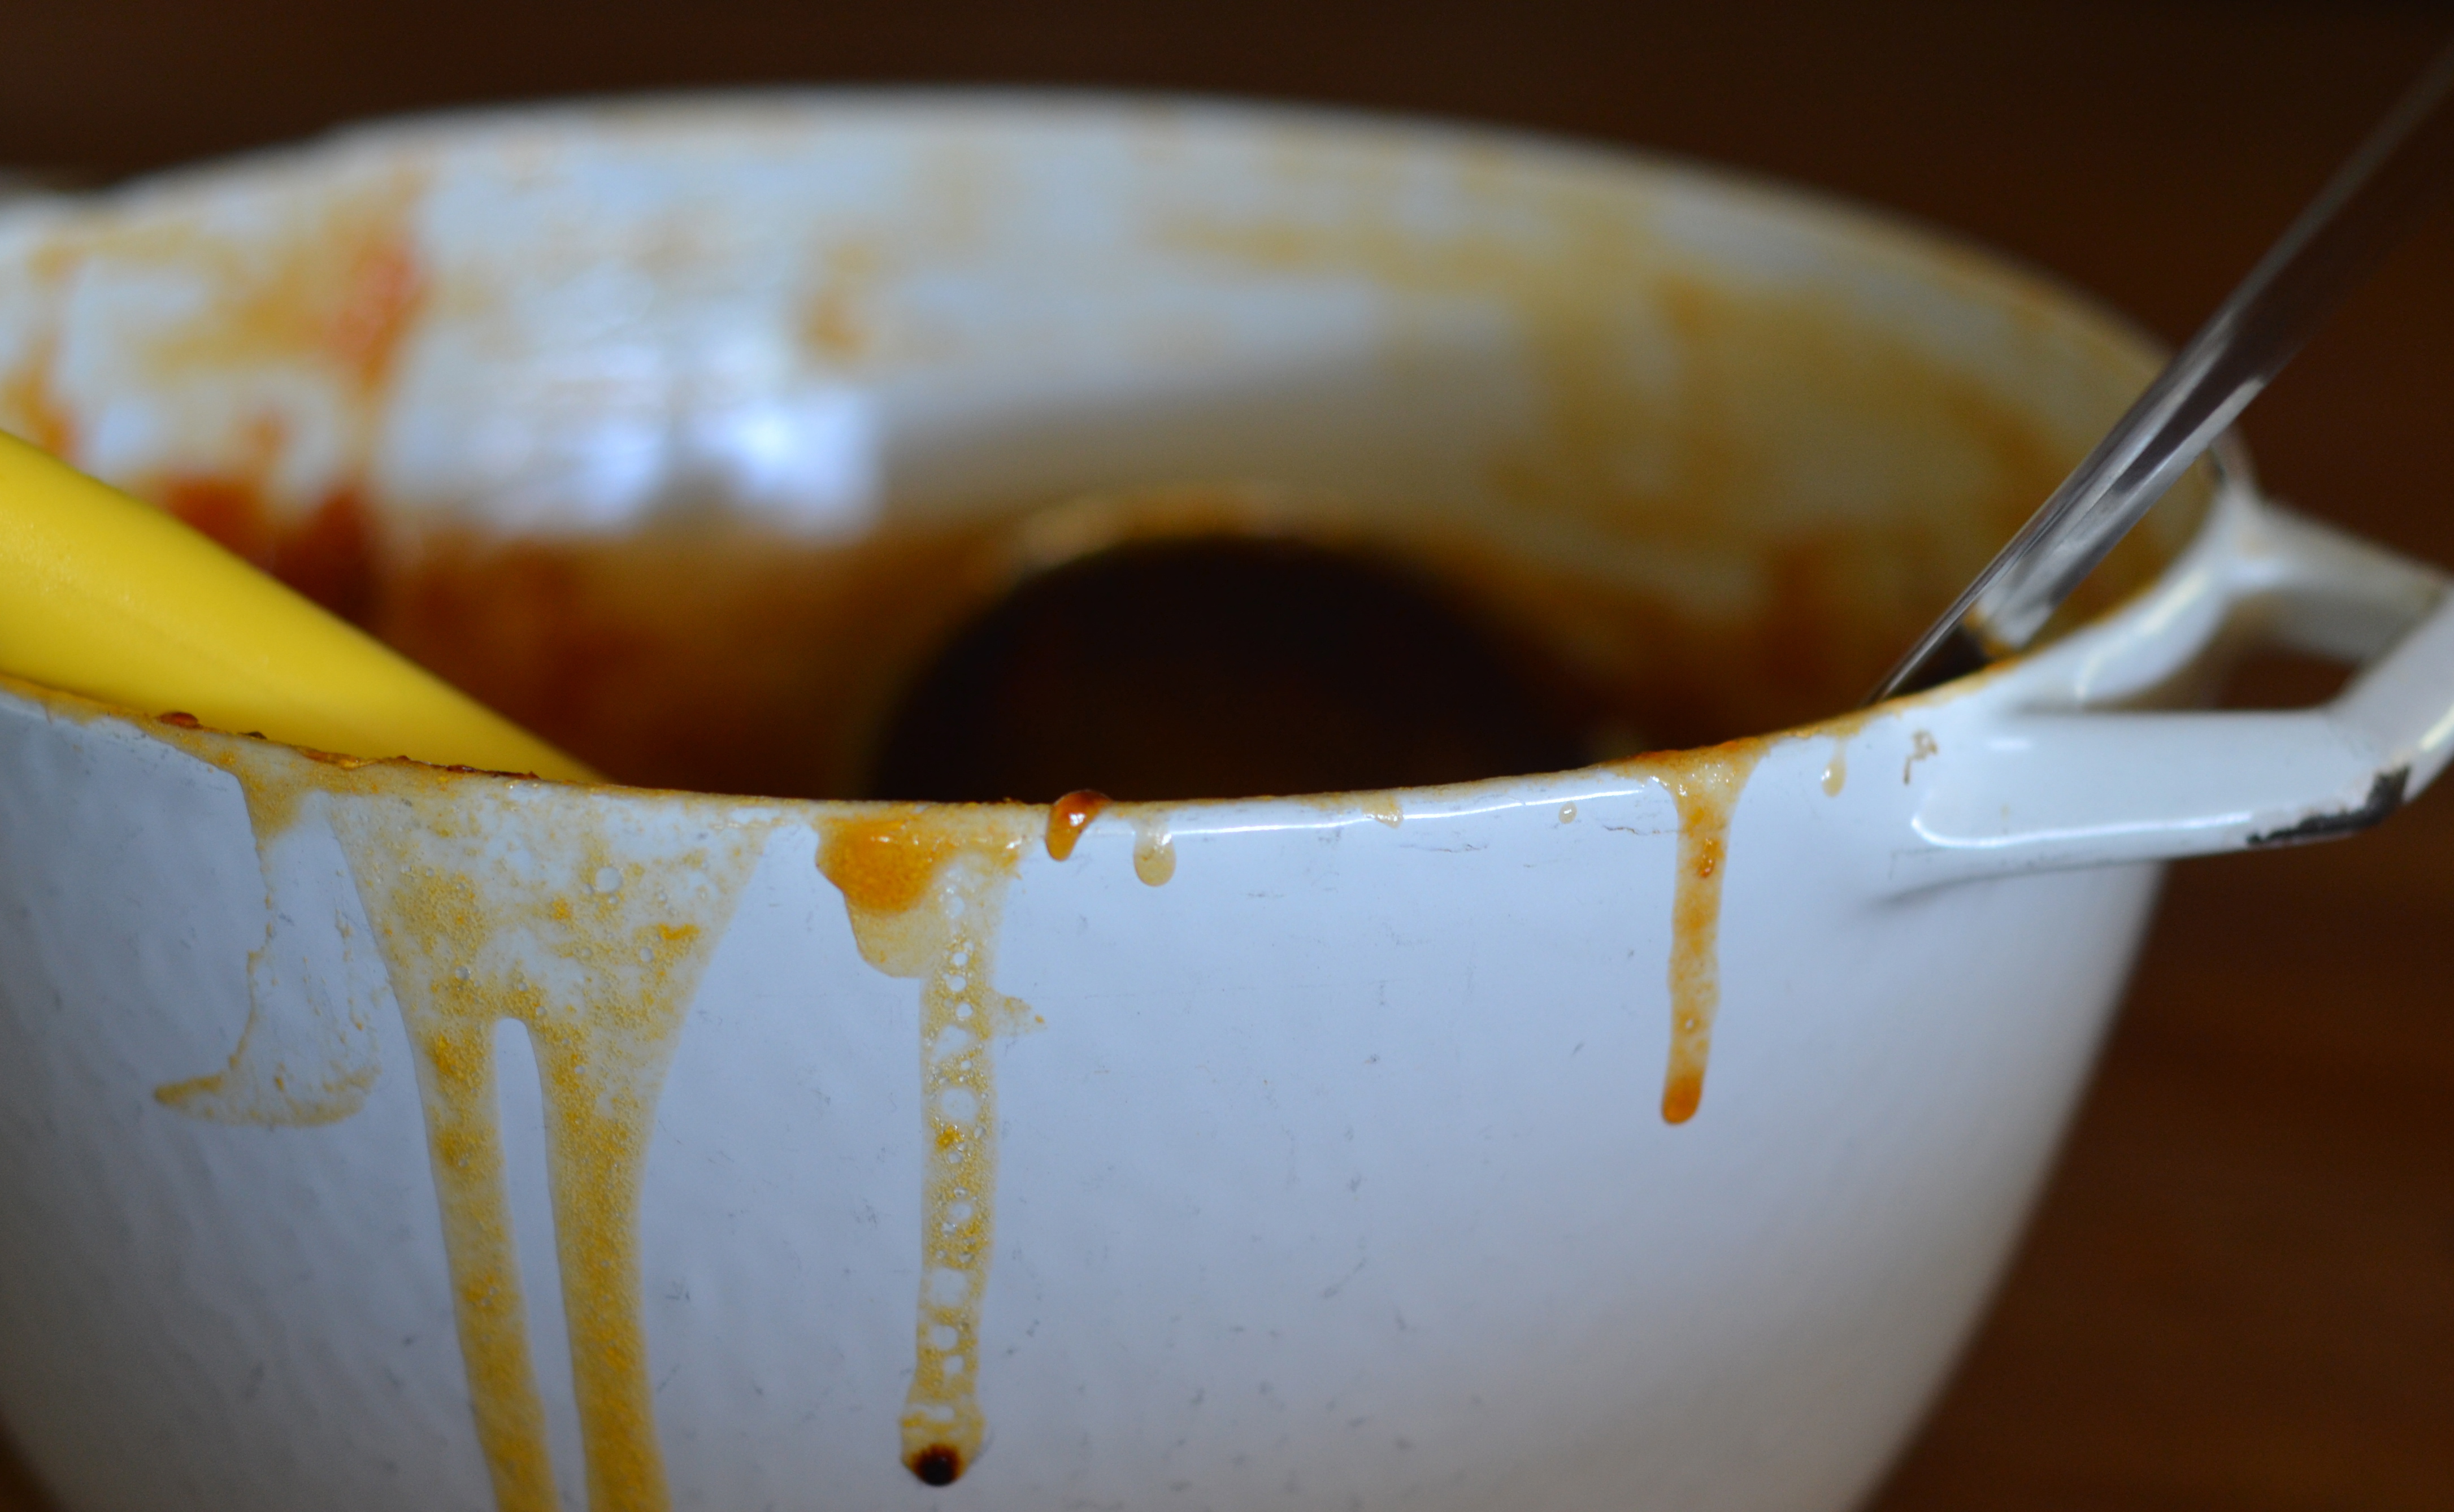
Pour the hot jam into sterilised jars, screw the lids on and invert the jars while they cool. This helps to form a seal. Enjoy x
NB. Sweet amandine gives a great account of how she sterilises her jars in preparation for jam making and once they are filled with jam. Here as I only made three jars, I will simply keep them in the fridge and use them within about one month.