Category Archives: week night dinner

Indonesian chicken curry

My niece is turning 13. Officially becoming a teenager. And I have volunteered to cook her birthday meal. She’s vegetarian though and the challenge is to make food that she and her sometimes fussy siblings, five and seven, will enjoy, as well as the rest of the family. With the flavours of ginger, lemongrass and turmeric still lingering on my palate from a recent holiday to Bali, I felt inspired to make an Indonesian chicken curry. Ahem. Chicken in the form of skewers to be cooked on the barbecue. A medley of vegetables in the sauce. It’s a recipe that I’ve made many times before and I was sure that that the slightly sweet and creamy dish would appeal to everyone.Indonesian chicken curry Indonesian chicken curry
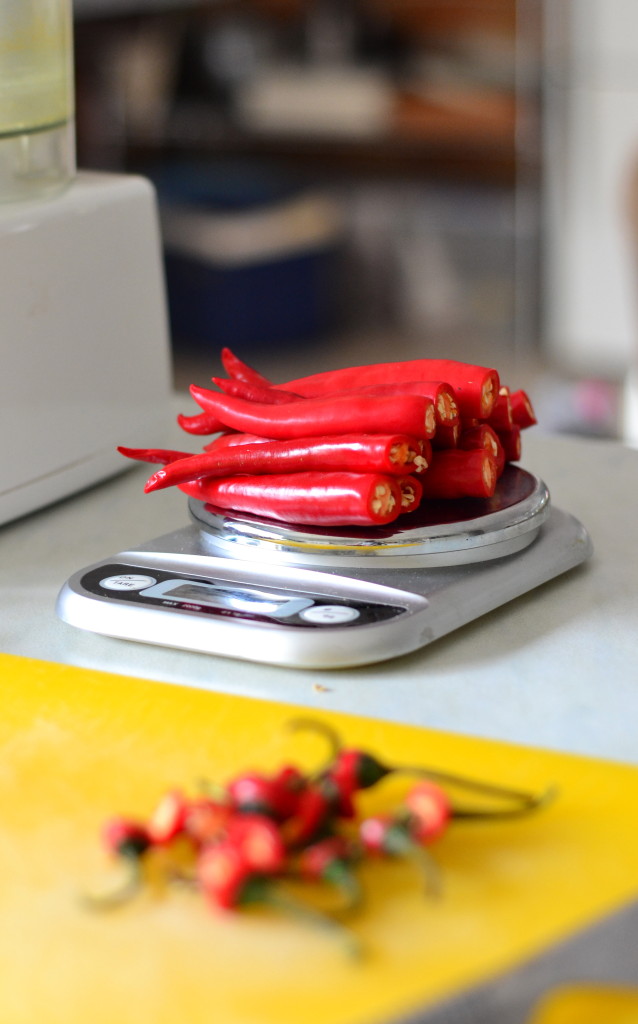
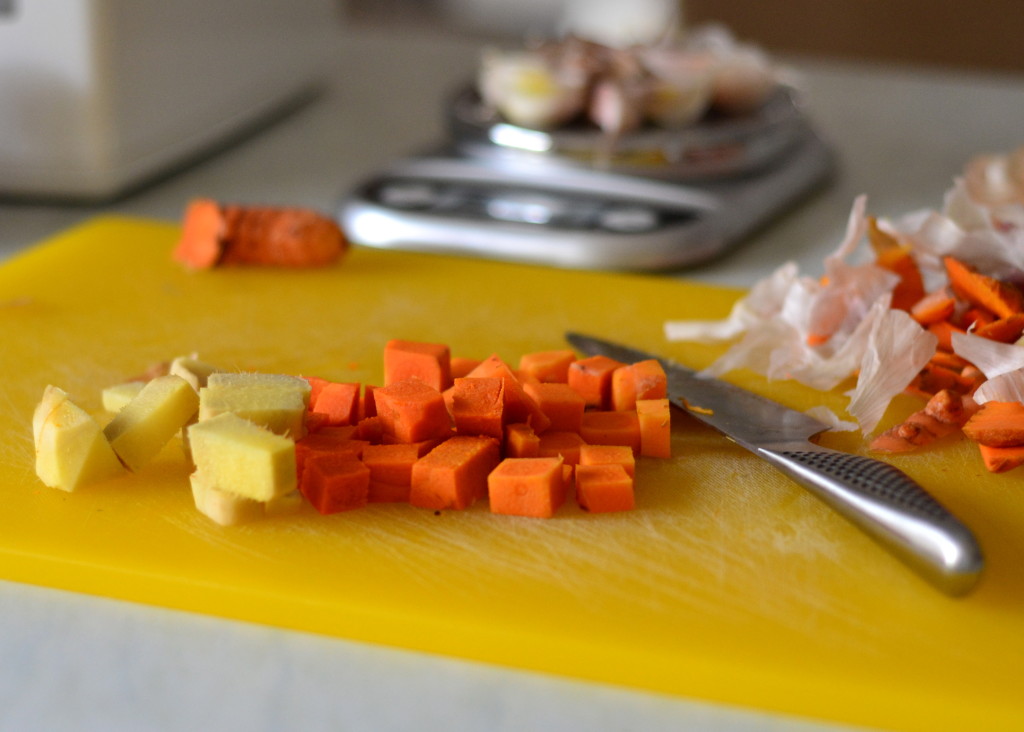
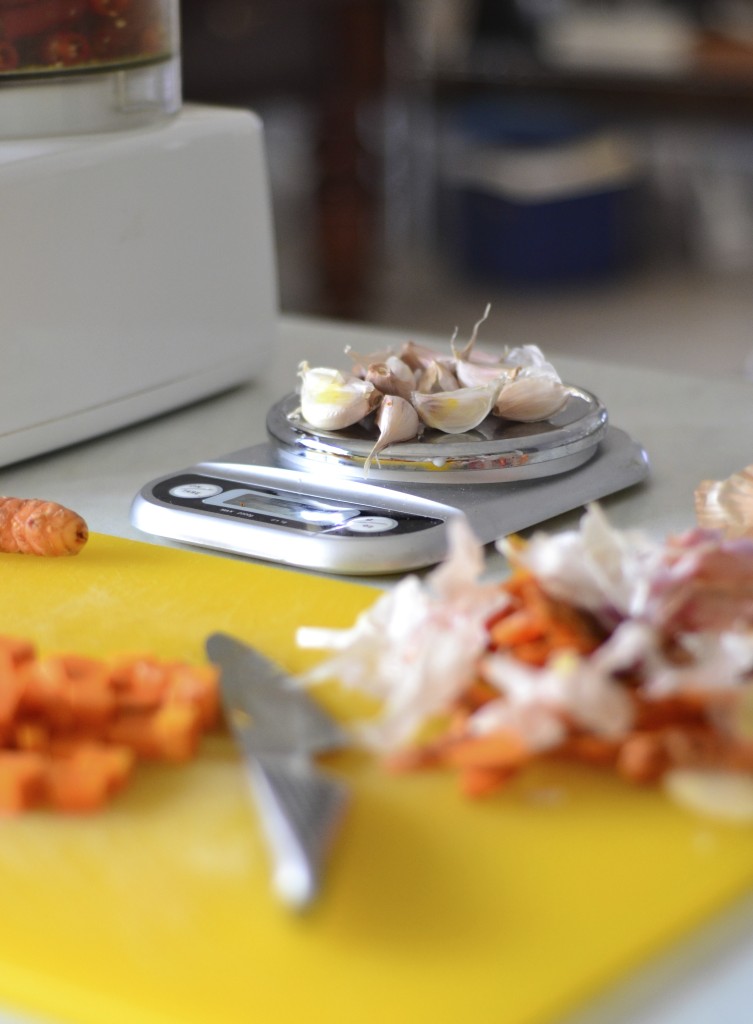
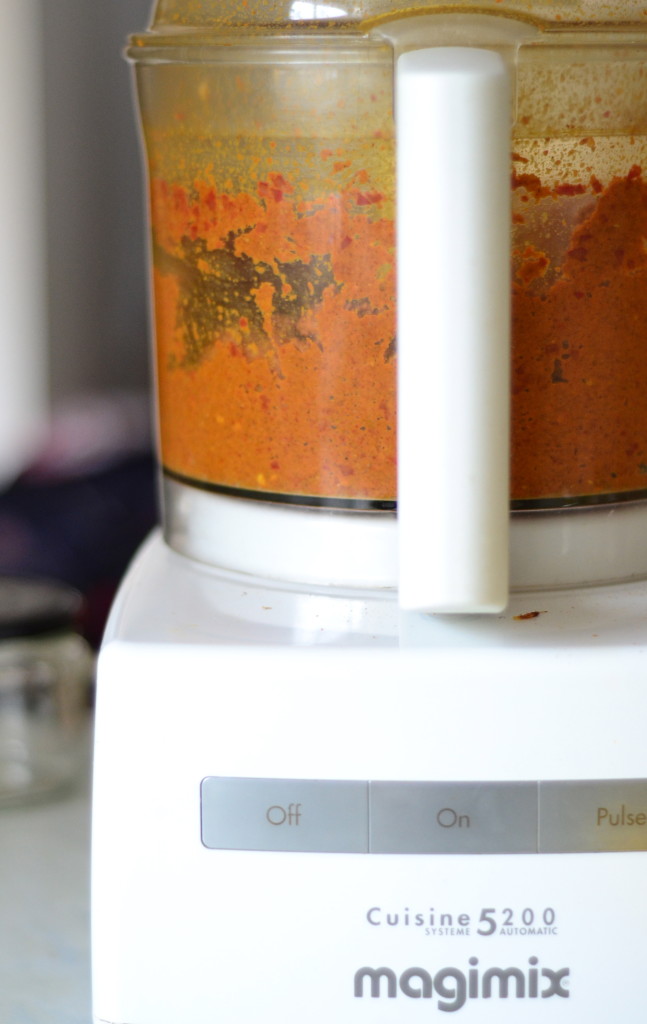
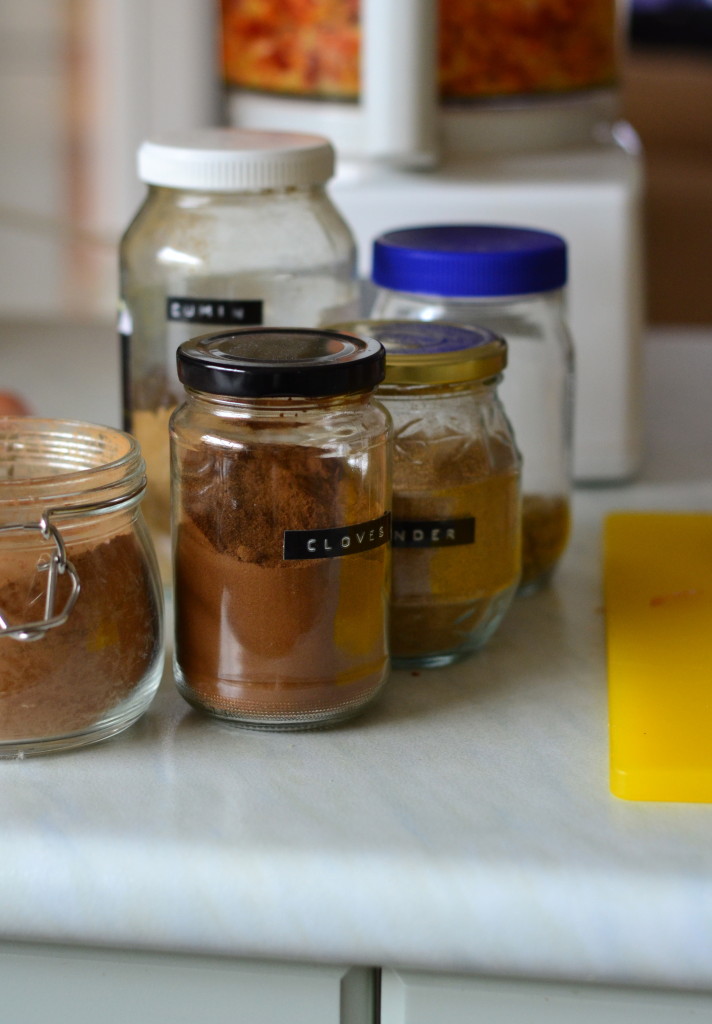
Making curry paste from scratch is a rewarding activity. It’s also fun, akin to being in an apothecary shop, collecting an array of less commonplace spice jars form the kitchen cupboards and transforming them into a flavoursome base for a dish. Some might be put off by the long list of ingredients needed for a spice paste, but there’s no reason. Only one (usually) process needs to be applied to them all, pounding with a pestal and mortar or the less strenuous method of blitzing in a food processor. For large batches of pastes, utilising a motor is very handy, but for small quantities, bashing ingredients together by hand can be extremely satisfying. Even therapeutic.

Indonesian chicken curry

It’s worth mentioning that the turmeric in this recipe, which is vital for the colour and flavour of the dish, will stain. Your hands. Food processor. Kitchen bench. Chopping board. Even sink. Don’t be alarmed though. Simply clean as you go and no permanent damage will be done. Besides, the health benefits of turmeric far outweigh any yellow spots that might sit on the kitchen bench for a few days.

Indonesian chicken curry

It turned out that everyone loved the bright yellow curry, especially the birthday girl, who asked for seconds. Even Miss. five and Miss. seven enjoyed it and both my sister in laws wanted to know the recipe, something that’s always taken as a huge compliment. And always shared. As far as curry pastes go, this one is pretty easy. And if my family is anything to go by, it’s universally liked. So go on, get those spice jars from the back of the cupboard and have a go.

DSC_1534

Indonesian chicken curry

Adapted from a recipe by Alina Lucas

For the curry paste

  • 100g medium–hot red chillies, seeded 
  • 100 g (French) shallots, roughly chopped 
  • 25 g garlic cloves 
  • 5 macadamia nuts 
  • 40 g fresh turmeric, chopped 
  • 15 g ginger, chopped
  • 2 lemongrass stalks, tough outer stem removed and sliced 
  • 25 g galangal, chopped 
  • 2 tsp ground cumin
    2 tsp ground coriander 
  • 1 tsp fennel seeds, toasted and ground
    2 tsp ground cinnamon 
  • 1 tsp grated nutmeg 
  • 1/4 tsp ground cloves
  • 2-4 tbs melted coconut oil  

Simply combine all ingredients in a food processor and run the motor until a coarse paste is formed. Loosen with melted coconut oil.

For the curry

  • 1 litre coconut milk
  • 1 tbs fish sauce
  • 1 tbsp salt 
  • 75 g sugar
  • 1 kg chicken thigh fillets, cut into walnut-sized pieces 
  • 1 kg mixture of pumpkin, sweet potato, carrots, broccoli and snow peas

Fry the curry paste over a moderate heat until it is fragrant, about five minutes. There should have been enough coconut oil added to the paste for there to be no need for any more, but if it starts to stick to the pan, you can add a little non-flavoured oil.

Now add the coconut milk, fish sauce, salt, sugar and bring the brilliant yellow sauce to a simmer.

Add the chicken and root vegetables and simmer until all are just cooked through, about 20 minutes. Now add the green veggies, simmer for a further 5 or so minutes. Check the sauce for seasoning and add more fish sauce, salt or sugar as necessary. The curry should be slightly sweet, rich and creamy.

Enjoy with steamed white rice, or simply in a big bowl with a spoon.

If you liked this recipe, you might also like this beef in red wine stew

Chicken in milk

I have been absent. From my computer and camera though. Not the kitchen. I’ve still been busy in there, creating some comforting and filling week night dinners in preparation for a half marathon that I’ve been training for. Pork belly with roast parsnips and leeks coated in a white sauce, Karen Martini’s baked polpette with brussels sprouts and washed rind cheese and Jamie Oliver’s chicken in milk. Winter food to warm, fuel and nourish.

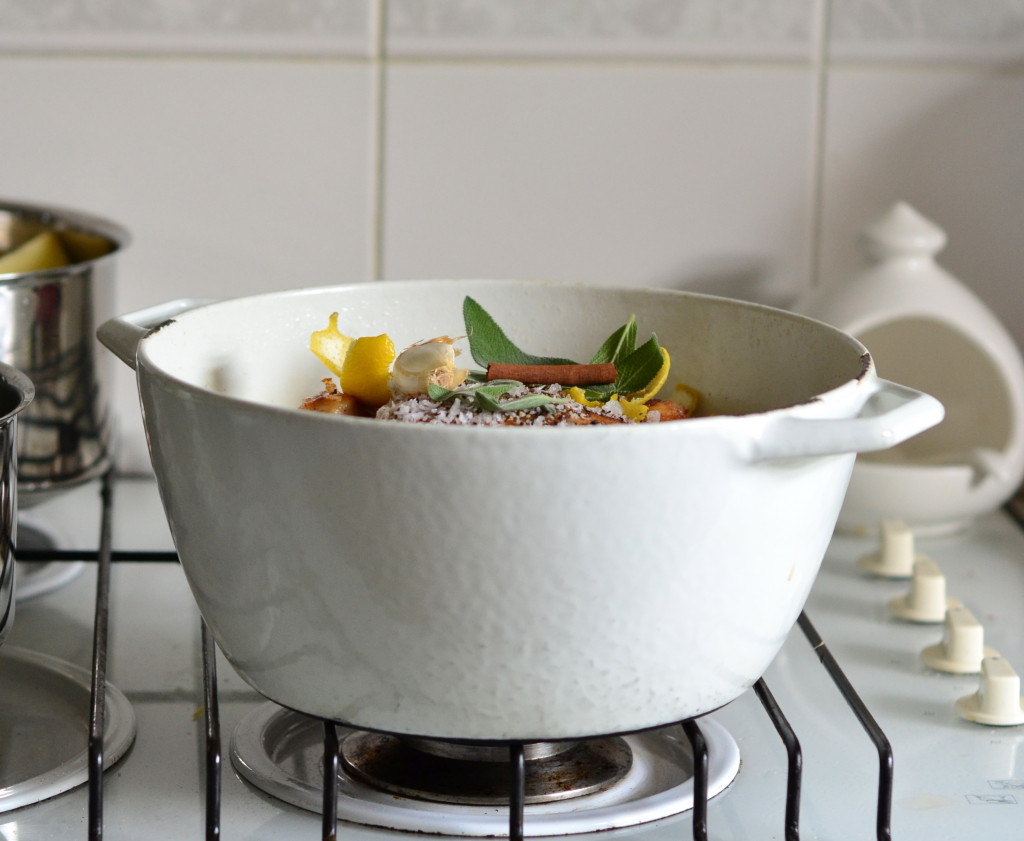
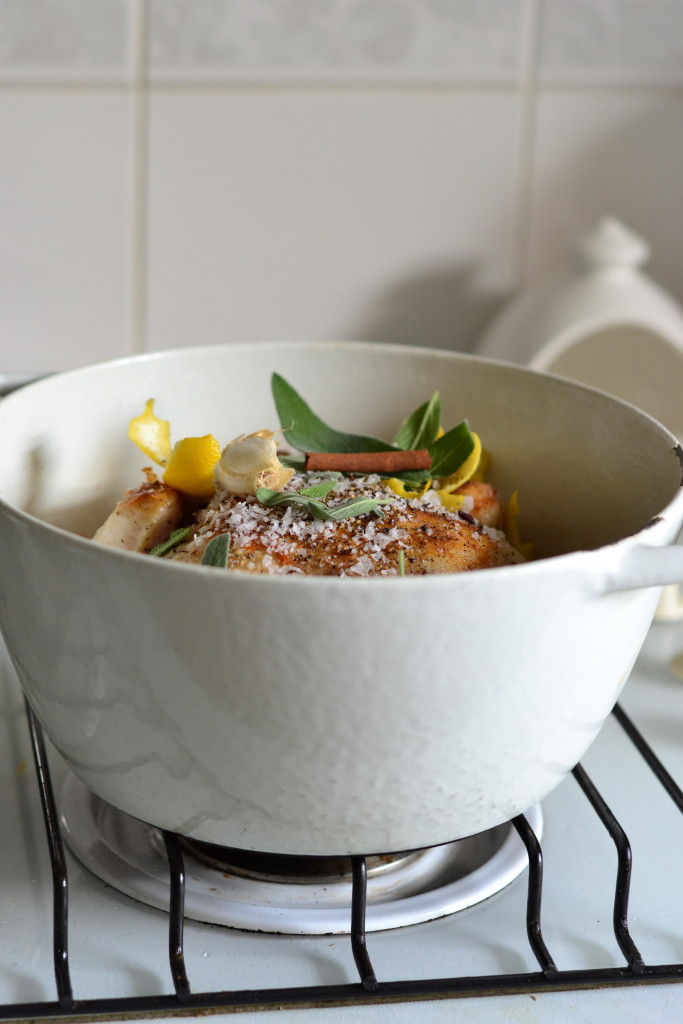
chicken in milk

I am proud to report that I completed the 22 kilometre race course at the weekend in two hours and four minutes, much faster than I had anticipated. There’s a lot to be said for a little competition. To challenge yourself with your inner dialogue to overtake the lady in the grey top, and then the man in the blue t shirt. To maintain the faster pace because you tell yourself that you have trained well, that the scenery is beautiful and it’s a wonderful feeling to be up and exercising early on a Sunday morning. And then there’s the marshals cheering you on, uplifting your spirits and making you smile. It seems I run faster with a smile.chicken in milk

So now the question is, do I continue training for the full marathon in September. Currently with a cold and sore muscles, I’m not sure. But the possible achievement of completing the 42 kilometre run around Sydney, including running across the Harbour Bridge, does seem like a worthwhile feat. It’s also something that I’m curious to know if I can do. Watch this space.

chicken in milk

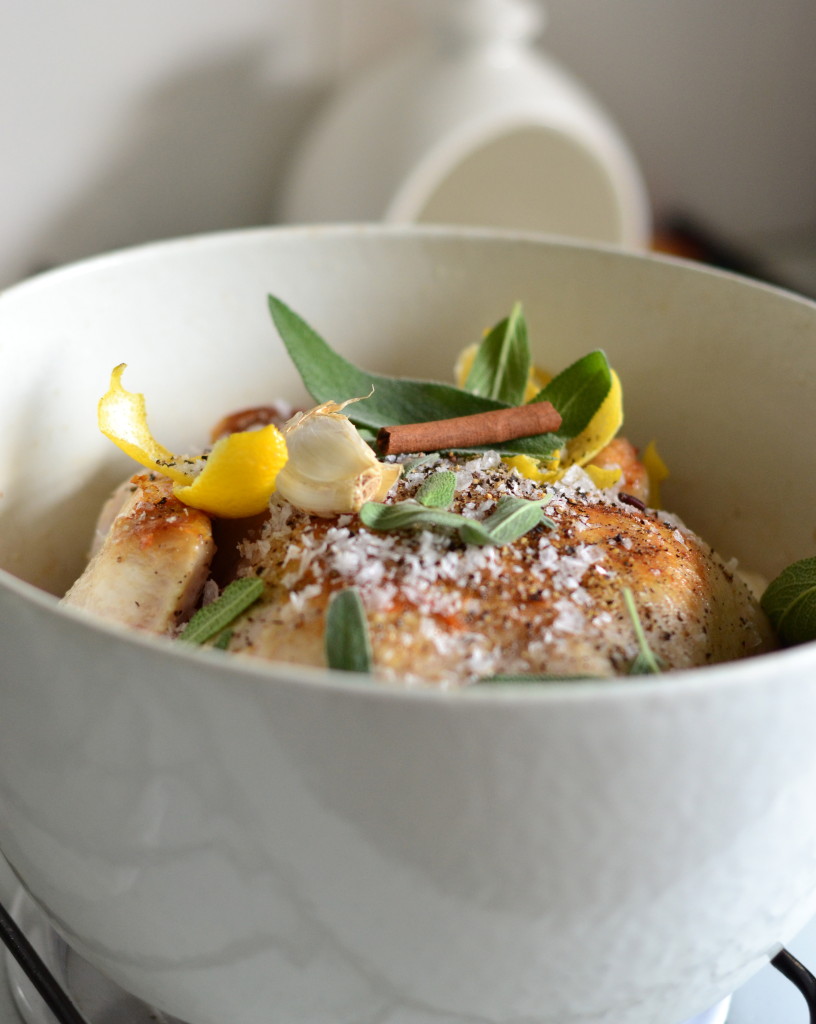
But back to the chicken in milk. Cooking meat in milk is something that has been on my kitchen to do list for longer than I can remember, yet I have been scared of doing so for fear that it would be a complicated task. I can assure you now, it’s not. In fact this recipe yields stunning results for the small amount of effort that you have to put in. I adapted Jamie’s original recipe slightly to incorporate the flavours of bread sauce, a classic British sauce that traditionally accompanies roast chicken. It’s a sauce that I am an absolute fan of. Enjoy.

Chicken in milk

Adapted from a recipe by Jamie Oliver from his book Happy days with the naked chef

  • 1 whole chicken
  • 2 lemons, zest removed with a vegetable peeler
  • bunch of sage, leaves picked
  • 4 cloves
  • 1 cinnamon stick
  • 1 onion, peeled and quartered
  • 10 cloves garlic, unpeeled
  • sea salt
  • black pepper
  • 500ml milk

Begin by browning the chicken on both sides in a little oil. Use a sturdy bottomed pan to do this, preferably that one that you are going to cook the chicken in the oven in. Heat the pan over a low heat, place the chicken inside and simply let it sit on one side until it is golden brown, which will take about 5 minutes, before turing it over (with thongs) and repeating the process.

If there is excess oil at this pout, drain it form the pan.

Now add the the remaining ingredients and place the pan in an oven preheated to 180 C.

Cook the chicken for about 1 hour 30 minutes, basting with the milk regularly.

Serve with green vegetables and mashed potato to soak up all the beautiful sauce. I used some of the milky sauce in the mashed potato. Delicious.

Enjoy this recipe. You might also like classic meatballs and spaghetti.

Salmon tacos with cabbage slaw

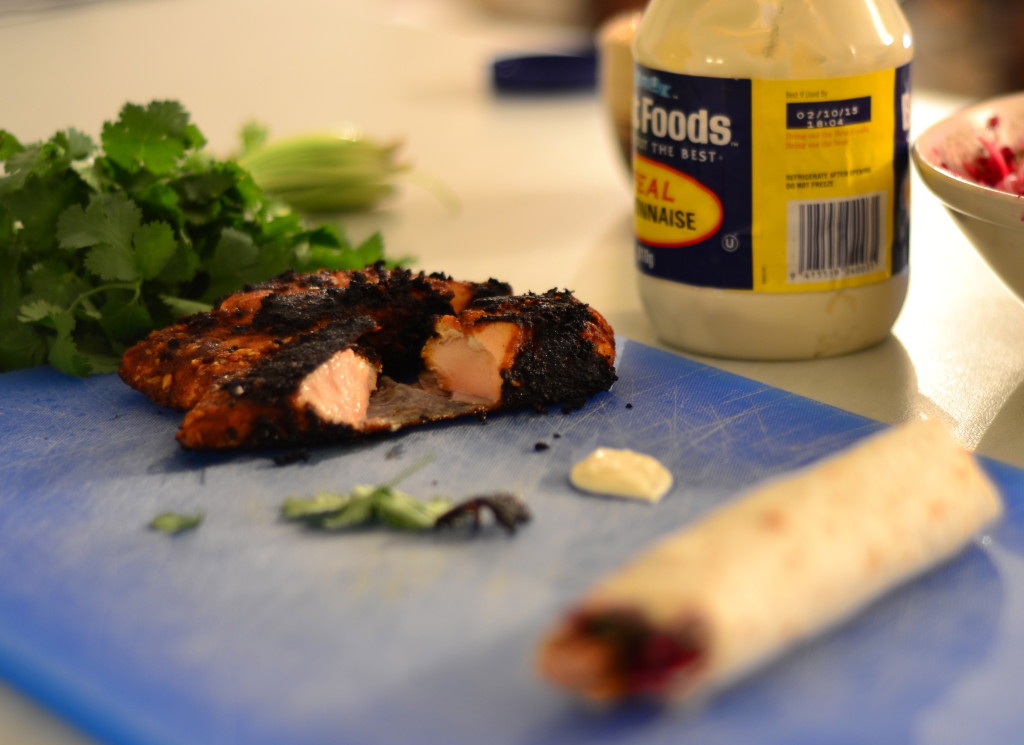
At the start of the year, buzzing with good intentions and goals for 2015, I set up several reminders on my phone. Eat breakfast. Yes, I need a cue for this extremely important daily task, to nag me, otherwise the window closes and I’m left hungry. Cod liver oil. To prompt me to take this age old supplement that I wholeheartedly believe in. Salmon. A memo to encourage me to eat oily fish more often. Most of the time these words that flash across the screen of my phone are hastily dismissed. Yet a subliminal message must trickle through to my consciousness, because today I had the urge to make salmon tacos with cabbage slaw.

salmon tacos with cabbage slaw

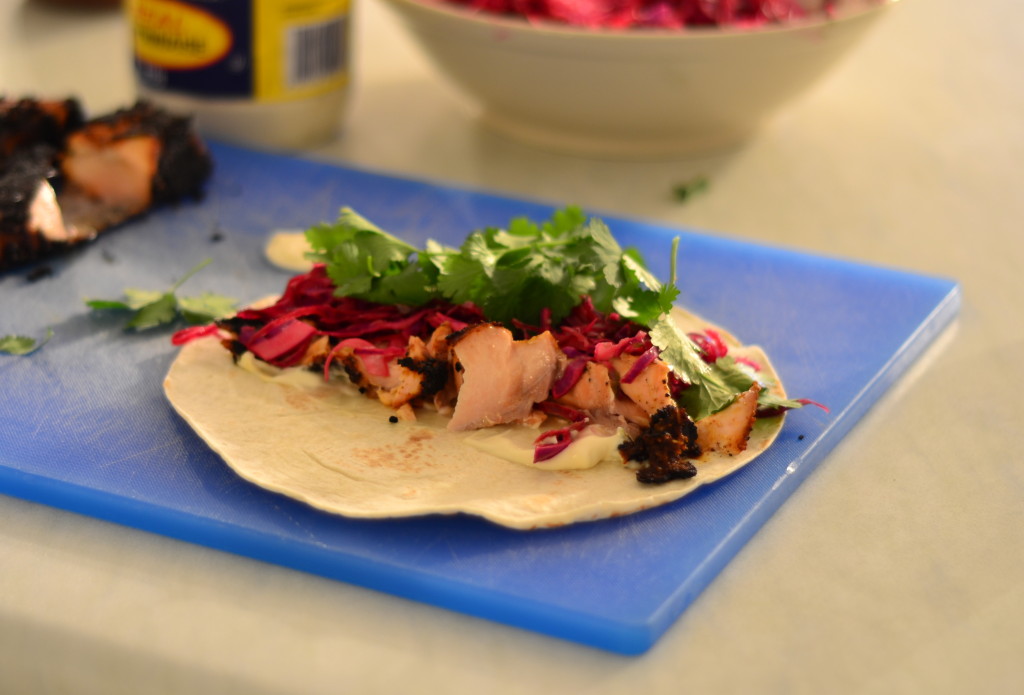
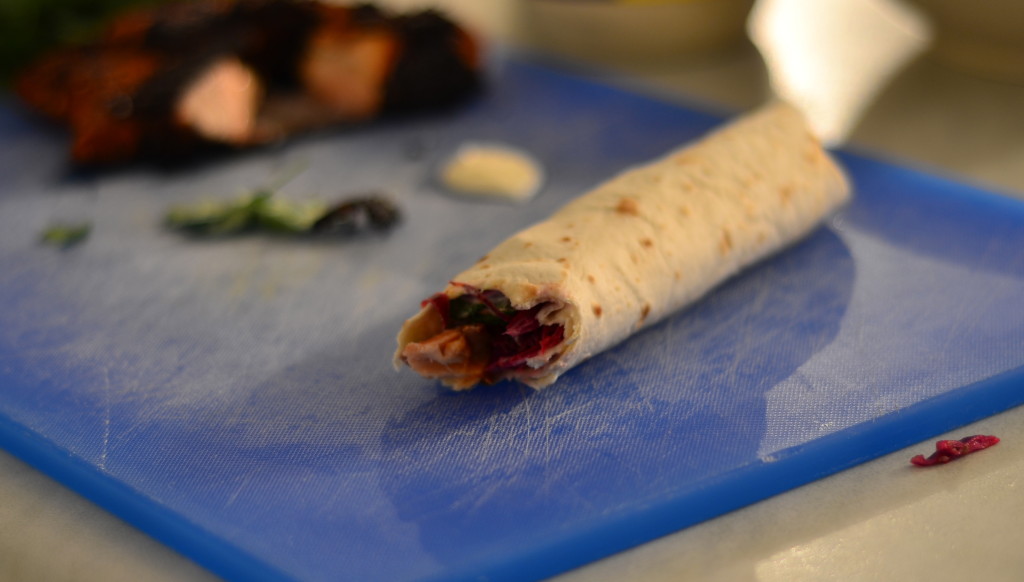
Fish tacos are the best. Light. Fresh. Tasty. Colourful. Zingy. Zesty. Crunchy. Soft. Fun. This list of adjectives alone makes me want to prepare and scoff some right now. Plus they make great informal finger food and create a little bit of theatre when they are presented on a long plank, all neatly standing in a row, strands of pink cabbage and leafy coriander rustically on show, protruding from the sides.

salmon tacos with cabbage slaw

salmon tacos with cabbage slaw salmon tacos with cabbage slaw salmon tacos with cabbage slawsalmon tacos with cabbage slawsalmon tacos with cabbage slaw

Salmon tacos with cabbage slaw

For two.

For the salmon

  • 2 fillets of salmon
  • 2 tsp smoked paprika
  • 1 tsp chilli powder
  • 1 tsp garlic powder
  • sea salt
  • black pepper

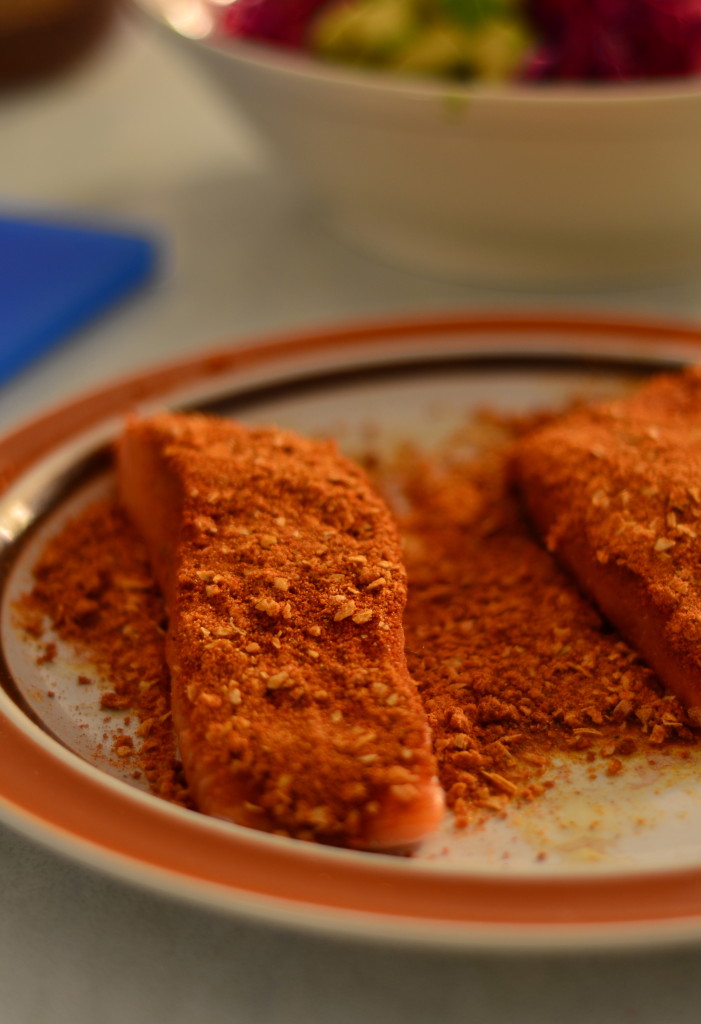
Mix the spices on a plate and then coat the salmon in them by pressing the fish onto the plate.

Cook the salmon on all sides in a fairly hot pan or on the barbecue, only turning when each side has a lovely crust.

For the cabbage slaw

  • red cabbage
  • juice of a lime
  • pinch of sea salt

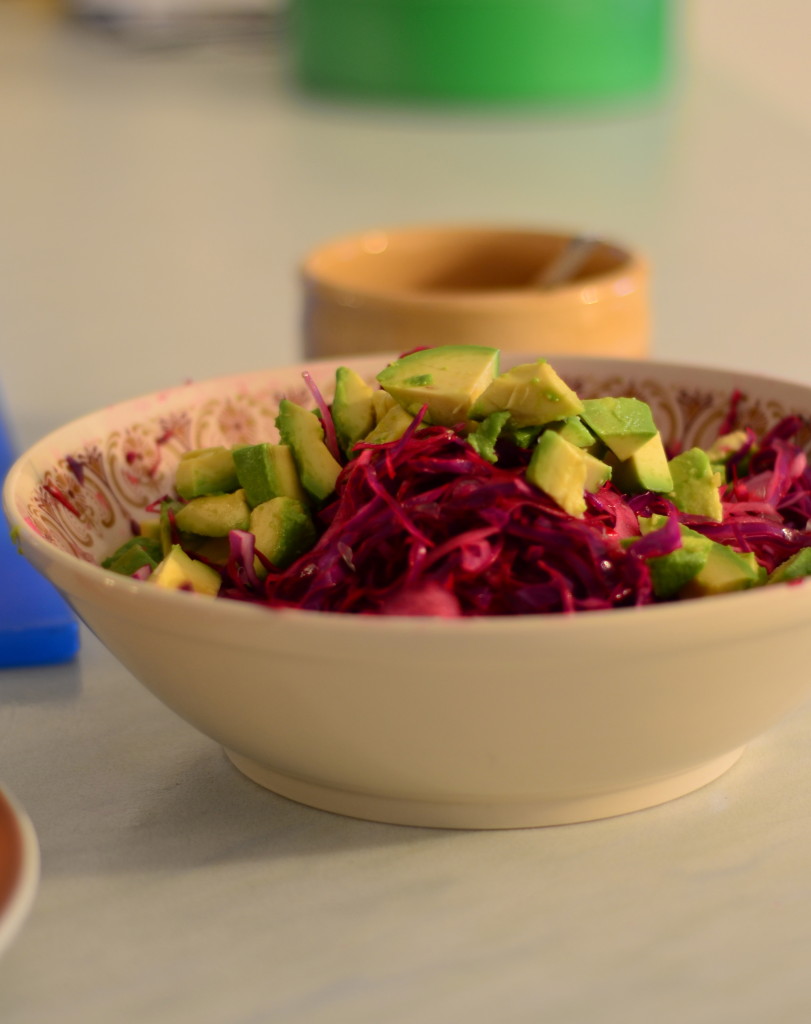
Slice the cabbage as finely as you can, pour over the lime juice and add the pinch of salt then massage the slaw with you hands. This step will soften the cabbage slightly and make it juicy and flavoursome. Add some chopped avocado to the mix if you wish.

To serve

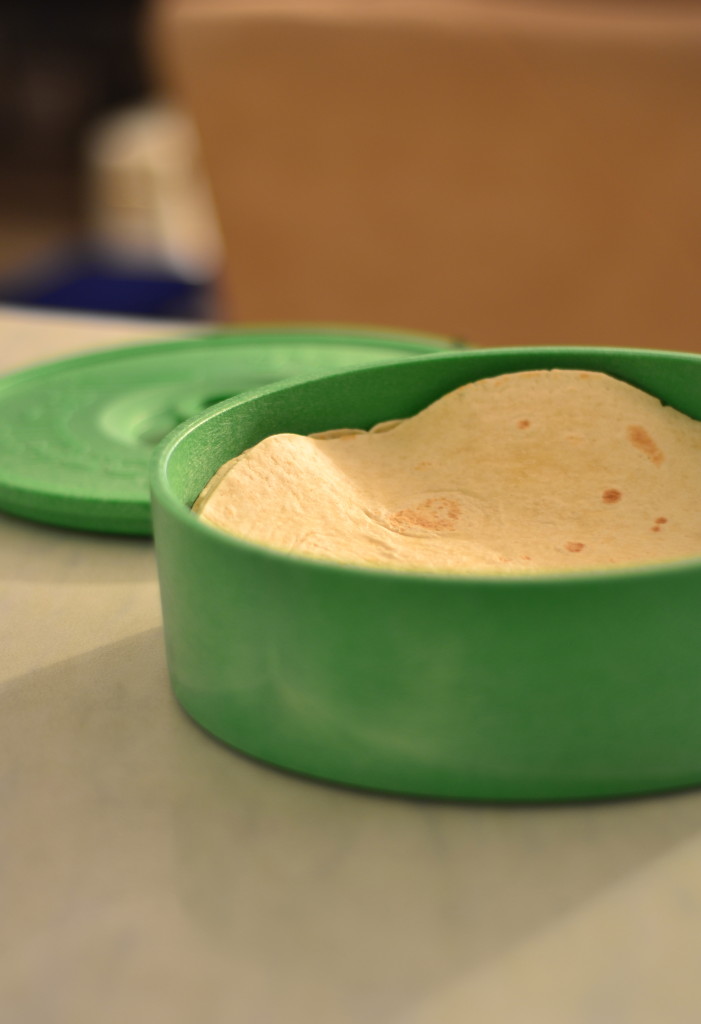
  • warm soft flour tortillas
  • mayonaise
  • coriander, washed and coarsely chopped
  • lime wedges

To assemble

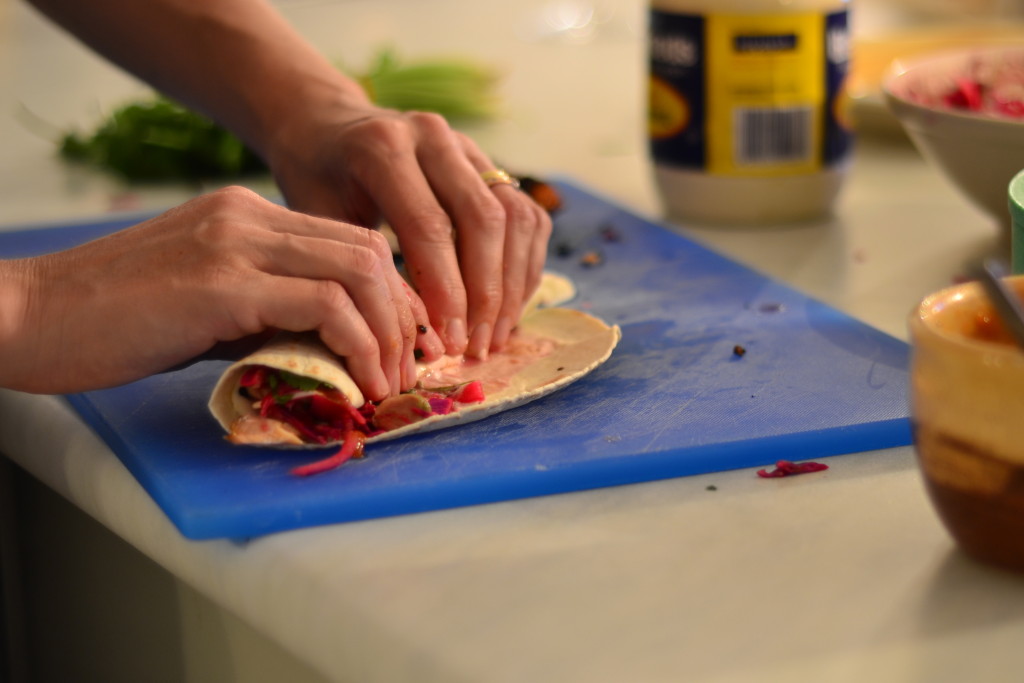
Take a warm tortilla and spread a dessert spoon of mayonnaise across the middle section. Flake some salmon and place it on top of the mayo. Top the fish with some slaw, a few sprigs of coriander, a squeeze of lime. Now simply roll up and enjoy.

Enjoy this recipe? Then you might like this quick Cajun salmon recipe

Classic spaghetti and meatballs

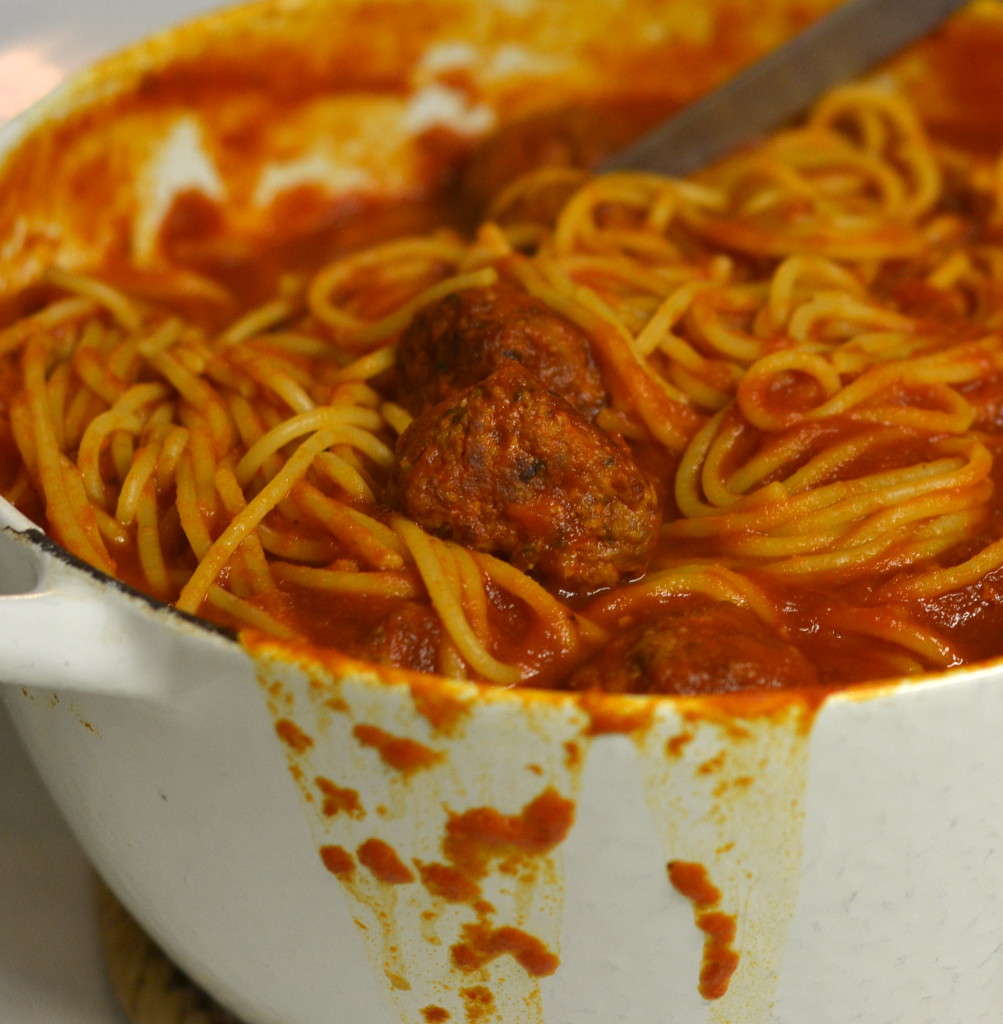
Do you ever get that impulse, that you just have to make a certain dish. I do. And last week it was for classic spaghetti and meatballs. From out of nowhere came the absolute burning desire to make flavoursome Italian meatballs with a caramelised crust, in a rich, slow cooked, tomato sauce, with my favourite of all the pastas, spaghetti. A dinner to be served in a wide, shallow rimmed bowl, with garlic bread on the side to mop up all the delicious juices. Not a sophisticated meal, but complete comfort food, to be enjoyed with friends around a table with a bottle of red wine.

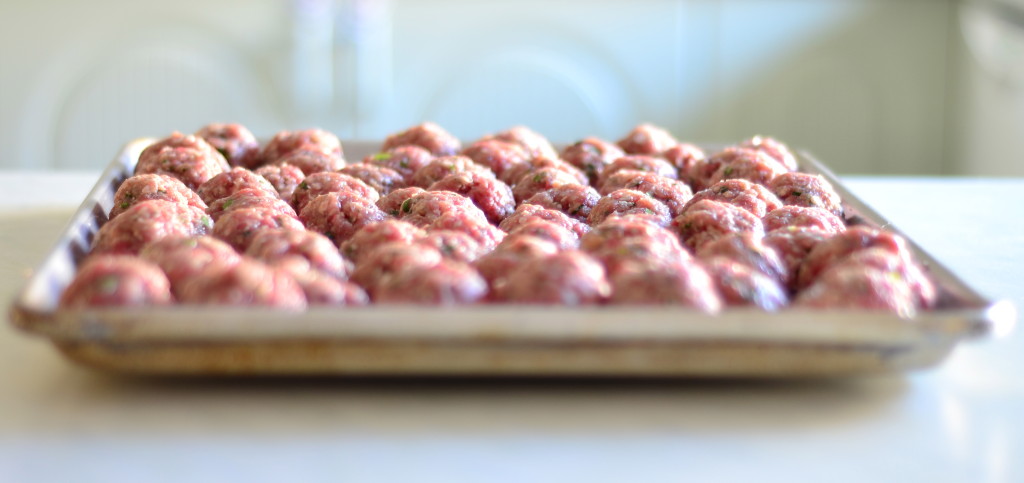
classic spaghetti and meatballsIt just so happened that we would be dining with friends on Saturday night. During the day we would be removing all of our furniture from our house in order to store it in Ma and Pa’s garage. Knowing that Thea would need to be looked after for such a task, her Auntie and Uncle had stepped in to take care of her for the day and as way of thanks, I would cook them a delicious dinner. One that could be pre prepared a few days in advance, needing a few finishing touches on the night just before we all sat down to eat. My impulse to make classic spaghetti and meatballs and our weekend arrangements seemed perfectly aligned, so I headed to my new favourite butcher to buy the ingredients.
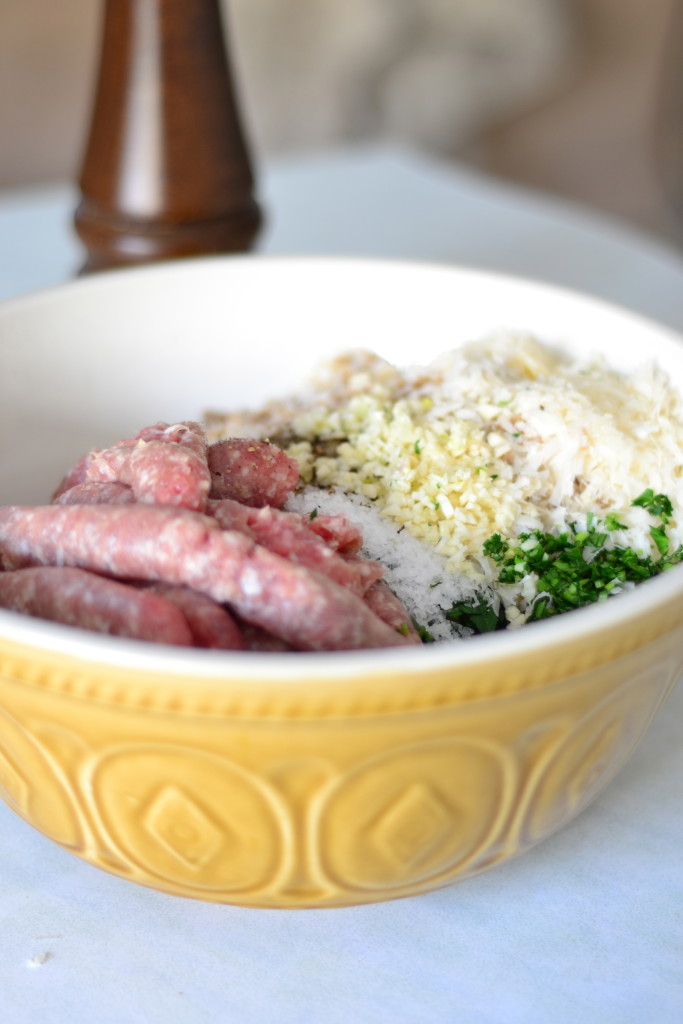
classic spaghetti and meatballs

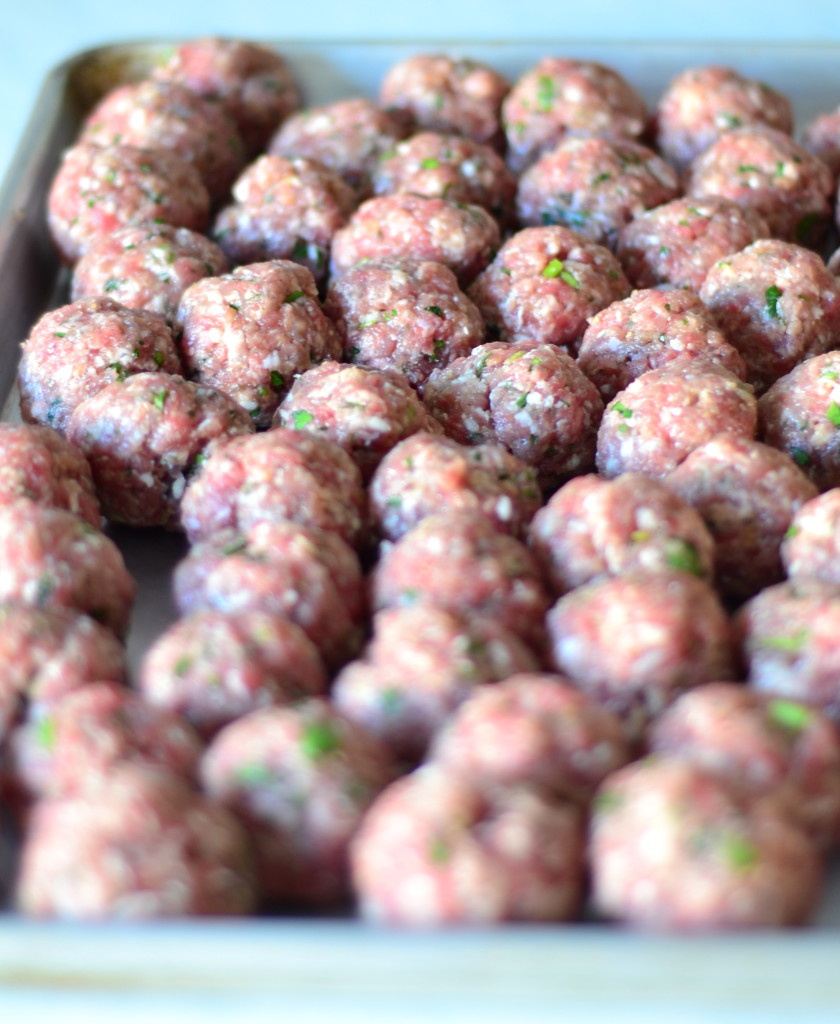
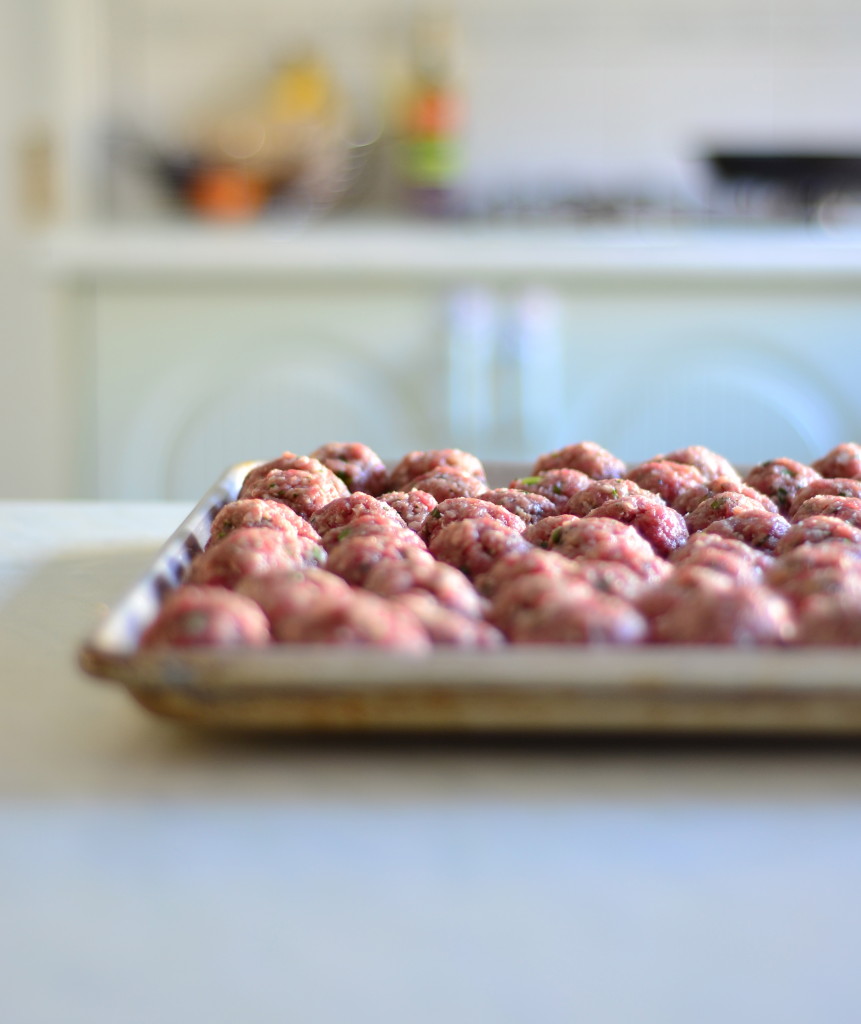
Making the meatball mixture is a straightforward job. One that you can stop and start, which is useful when there is a small person at your feet who is far more interested in gaining your attention than in patiently waiting while you make dinner. Portioning the balls however is a task that requires your toddler to be well occupied. Once your hands, and using your hands is the best way to do such a wholesome task as this, are immersed in meatball mixture, there’s no easy or fast way of turning back. So with snacks provided, books and toys all over the floor, Thea seemed happy and I set about rolling portions of parsley flecked meat between the palms of my hands.

classic spaghetti and meatballs classic spaghetti and meatballs

For my meatballs I use half Italian sausage meat and half beef mince. The combination seems to make for really tasty, as well as, juicy meatballs. Ones that make you want to come back for seconds and thirds. When the mood strikes to prepare something like meatballs, it’s worth making a large quantity. The raw portioned mixture will freeze extremely well and serve as a quick and hearty week night dinner. I managed to roll out all two kilos of the mixture before Thea emptied the last of the contents of cupboard under the sink onto the floor. Something that I’m rather proud of. It is possible that since having an active baby, I am now faster in the kitchen than I was during my time working in restaurants. The thought of the chaos that she could cause while I’m busy with a task, is far more frightening than the wrath of any head chef!
classic spaghetti and meatballs

With my impulse for classic spaghetti and meatballs satiated, a meal for Saturday prepared as well as a dinner for another night, I felt a cheerful sense of achievement. I sat on the kitchen floor with Thea and we restocked the kitchen cupboard. It seems to me that children always act on impulse, doing whatever is is that makes them feel good. Perhaps it’s something that we adults should all do more often, act on a whim, because it’s nice to feel happy.

classic spaghetti and meatballs

Classic spaghetti and meatballs

For the meatballs. Makes 60-70.

  • 1kg beef mince
  • 1kg Italian sausage mince
  • 1 cup breadcrumbs
  • bunch of chopped parsley
  • 1 cup loosely packed grated parmesan
  • 2 cloves chopped garlic
  • 1 egg
  • 1 teaspoon sea salt
  • generous grinding of black pepper

Combine all the ingredients in a large bowl and mix well with your hands. Portion the mixture into walnut sized balls.

For the sauce.

Plenty for 20-30 meatballs, assuming that the remainder have been set aside to be frozen.

  • 2 onions, chopped
  • 2 carrots, chopped
  • 3 sticks celery, chopped
  • 2 cloves garlic, chopped
  • 3 x 400g tins tomatoes
  • 3 tbsp tomato paste
  • 500ml beef stock
  • sea salt and black pepper to taste
  • a splash of balsamic vinegar to taste

Over a low heat, sweat the onion, carrot and celery with a little oil in a large pot. By sweat, I mean cover the pot with a lid and leave the vegetables to cook slowly for about 10 minutes until they are very soft.

Next add the garlic and cook until it’s fragrant, then add the tinned tomatoes, tomato paste and stock.

Bring the tomato sauce to the boil, then reduce the heat and simmer for 30 minutes to an hour until it has slightly reduced.

Using a stick blender, blend the sauce until it’s smooth and then season with salt, pepper and vinegar to your taste. It should be slightly sweet and piquant. Keep the sauce warm over a gentle heat. Perhaps put a lid over the pot at this stage incase the sauce bubbles and splatters.

Now to assemble dinner.

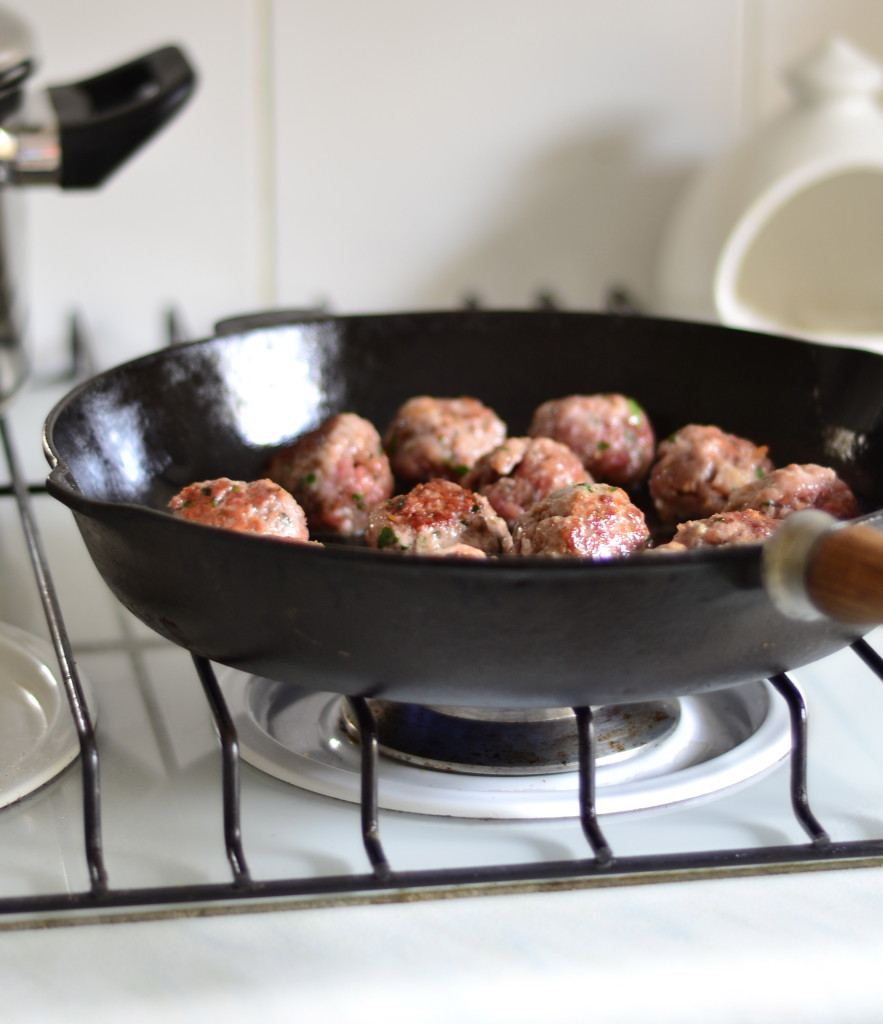
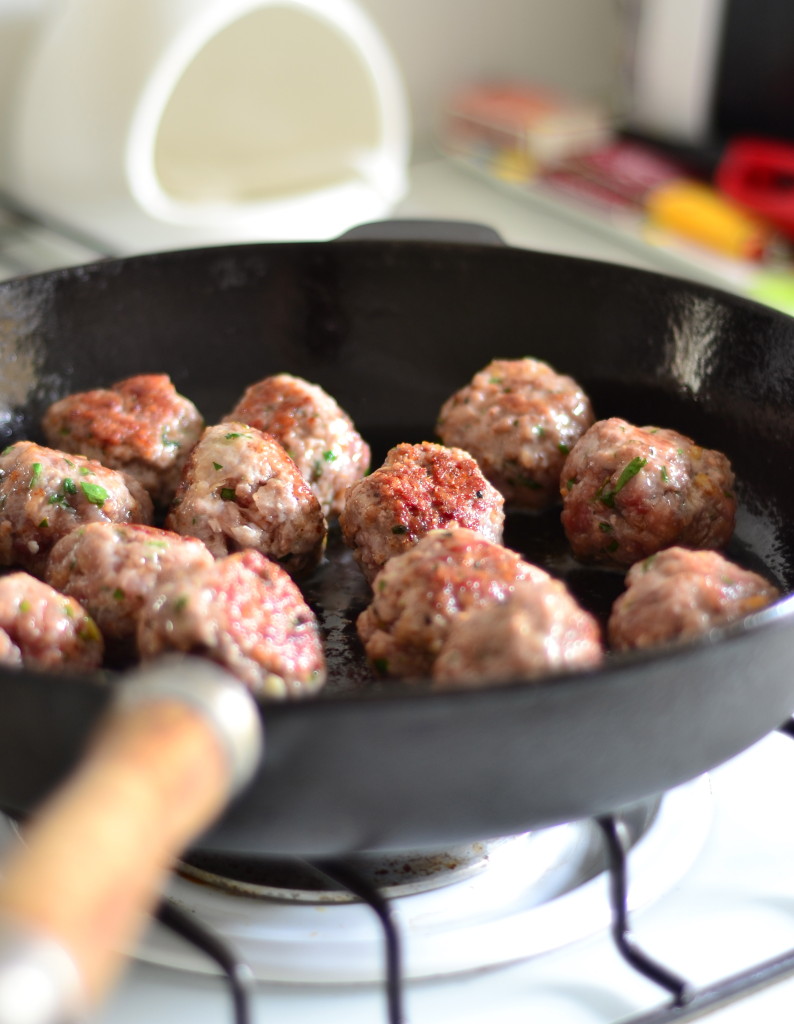
Cook the meatballs (5-7 per person) in a little oil in batches a frying pan. Make sure that there is enough space in between each ball so that they don’t sweat, but instead caramelise and brown. Make sure that they are well coloured before you turn them. Doing this will impart depth of flavour into the finished meal. Now add the cooked meatballs to the tomato sauce so that that flavours can mingle.

With the sauce and meatballs ready, cook the spaghetti and drain it. Tip it back into its cooking pot and add a few ladlefuls of the tomato sauce. Now set the pot over a moderate heat and stir to combine the two. This method will ensure that all the strands of pasta are not only coated with rich tomato sauce, but that it clings to it too.

Combine the spaghetti, meatballs and rest of the sauce together, stir once again, transfer to a big serving platter for people to help themselves to (or even just take the cooking pot to the table) and enjoy with grated parmesan, garlic bread and a glass of red wine.

If you enjoyed this recipe, you might also like A versatile beef and red wine stew
classic spaghetti and meatballs

My spaghetti carbonara

A tree falling on your house will do that. Get you out of your daily groove. Throw your life into disarray as you are one minute you are cozily reclined on the sofa sleepy and content after dinner, and quite literally the next, without a home at all. The past two weeks since the dramatic and scary event have tumbled past in a blur, of packing and unpacking, redirecting mail and all those other logistical adjustments that come with having a change in your fixed address. There has been little in the way of culinary adventures. Dinners have been quick and easy, tried and tested recipes. Fuel to punctuate the day. The spaghetti carbonara last night is worthy of a mention though. A dish I’ve made many times that for some reason came together deliciously well.

spaghetti carbonara

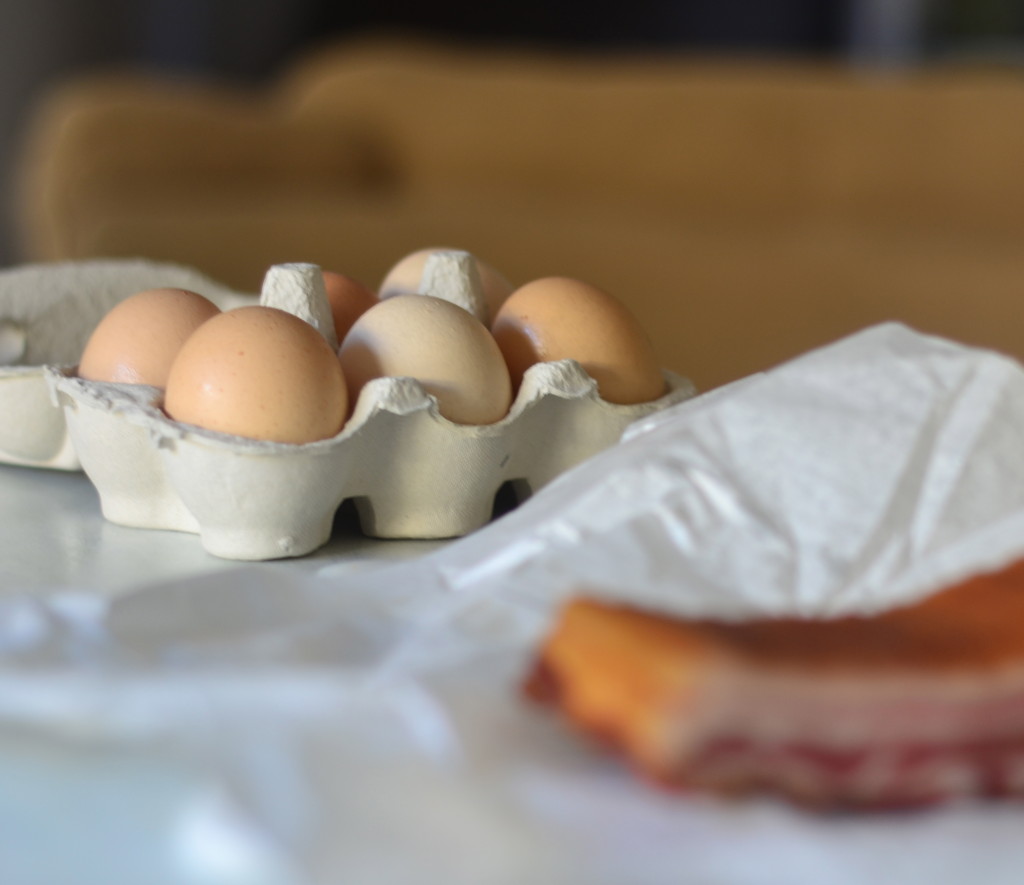
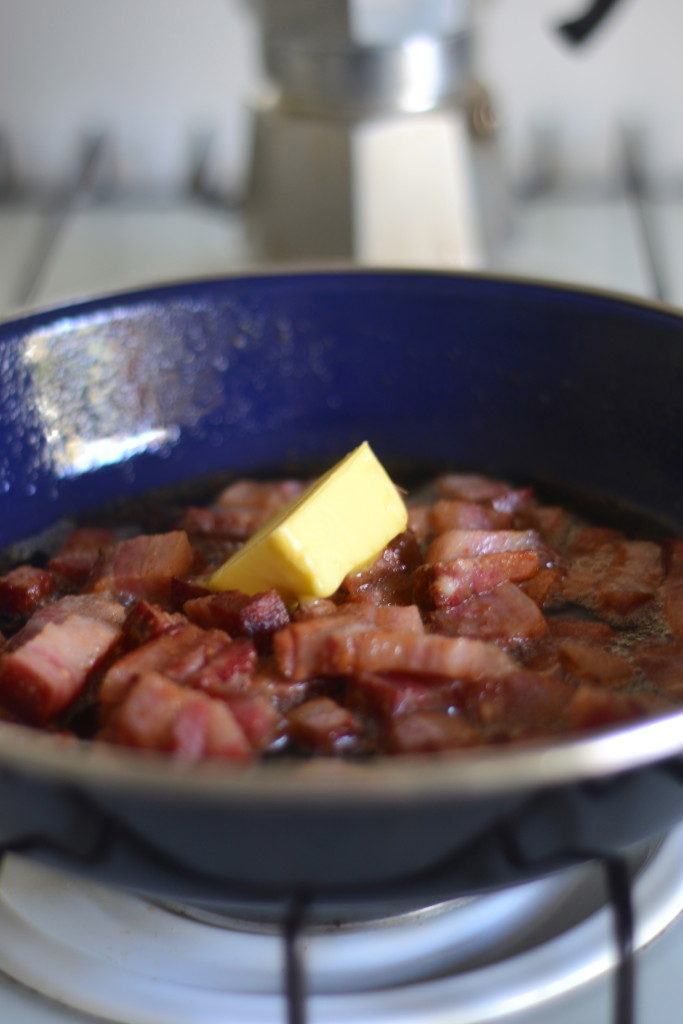
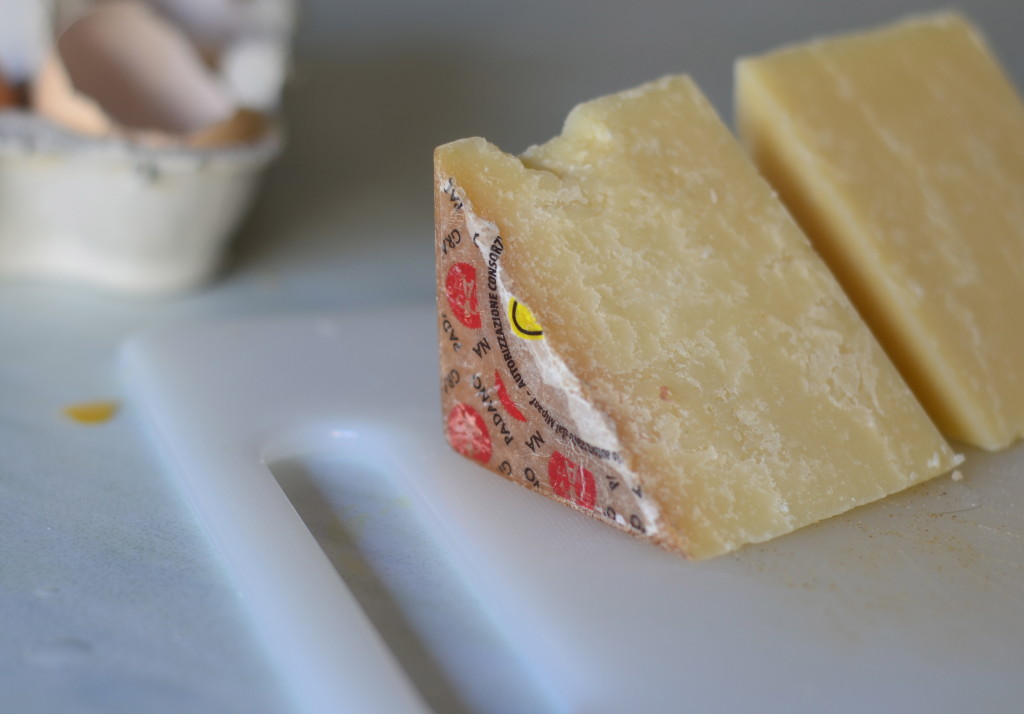
Inspiration for the comforting bacon and egg pasta dish came from half a dozen assorted pieces of smoked speck hanging in a row above the glass display fridge, of a now local deli. Seeing the cured meat suspended in a line made me want to make carbonara. To cut up the pork into little cubes and fry them in a blob of butter and a glug of olive oil until the fat starts to render and they caramelise and brown. I asked for enough speck to feed four people for dinner and with it neatly wrapped in waxed paper, knowing that I had all the other ingredients that I would need on hand, headed home inspired to make dinner.

spaghetti carbonara

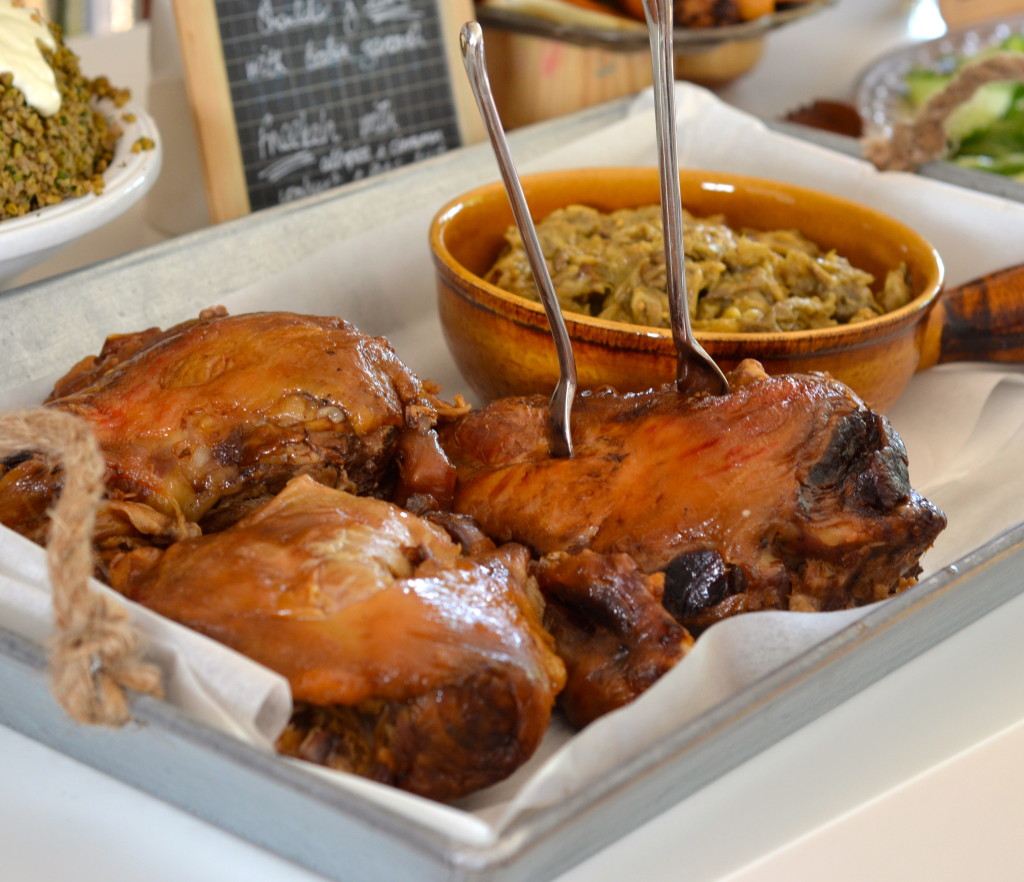
Living with Ma and Pa, as we will be until our home is repaired, means a wonderful assortment of new food sellers to explore, brimming with inspiration of things to try out in the kitchen. The same deli I bought the speck from stocked whole pickled cabbages. The imagined taste of the sharp, punchy leaves sparked the desire to make a wintry dish of slow roasted pork knuckles. Individual portions of moist, sweet meat encased in their own armour of salty, crunchy crackling. Perfect with some silky mashed potato spiked with white pepper.
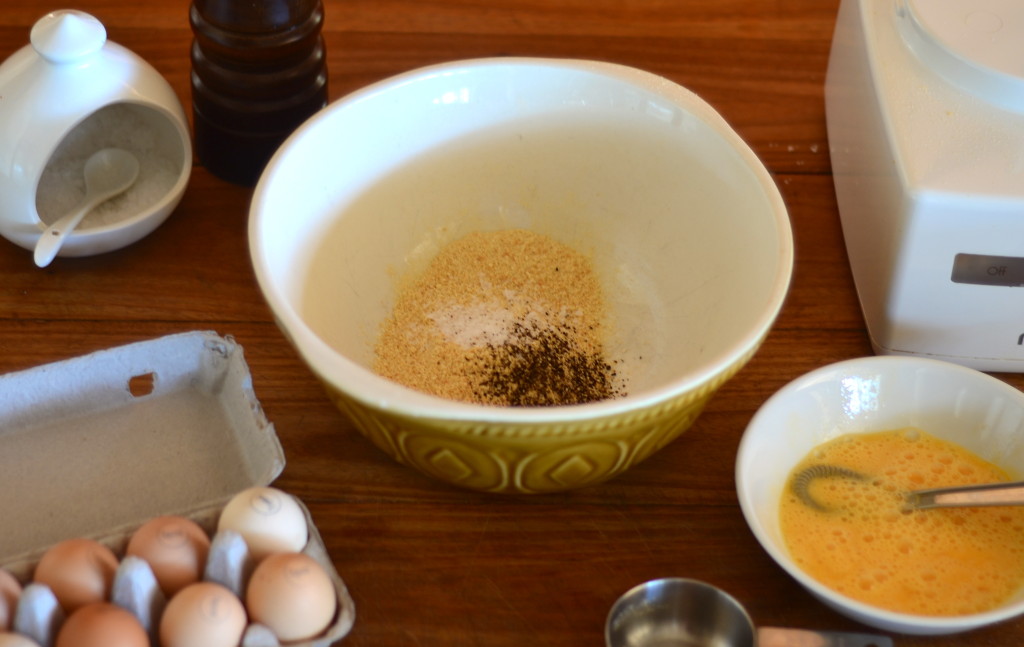
spaghetti carbonara

There’s also a twice weekly farmer’s market I’m hanging to get to know. Hopefully there will be some stall holders selling robust root veg. Celeriac, carrots, parsnips, wonderful to bake, roast and puree, to warm the soul during the cooler months. Perhaps like this with lemon, garlic and some coriander seeds. There’s also a covered weekend market, several vendors offering a landscape of neat little mounds of pungent yellow, orange and red spices, sticks of cinnamon, shards of cassia, ideal for perking up long simmered stews. I am genuinely excited to be able to share the results of my exploration when the proverbial and actual dust has settled. For now though. Spaghetti carbonara.

spaghetti carbonara spaghetti carbonara spaghetti carbonara spaghetti carbonara

spaghetti carbonaraSpaghetti carbonara

  • 400g pancetta, speck or bacon, essentially cured pork (belly), preferably in a piece so that you can cut it up yourself
  • 1 tbsp each of butter and olive oil
  • 2 cloves garlic, chopped
  • 4 egg yolks
  • 2 tbs milk
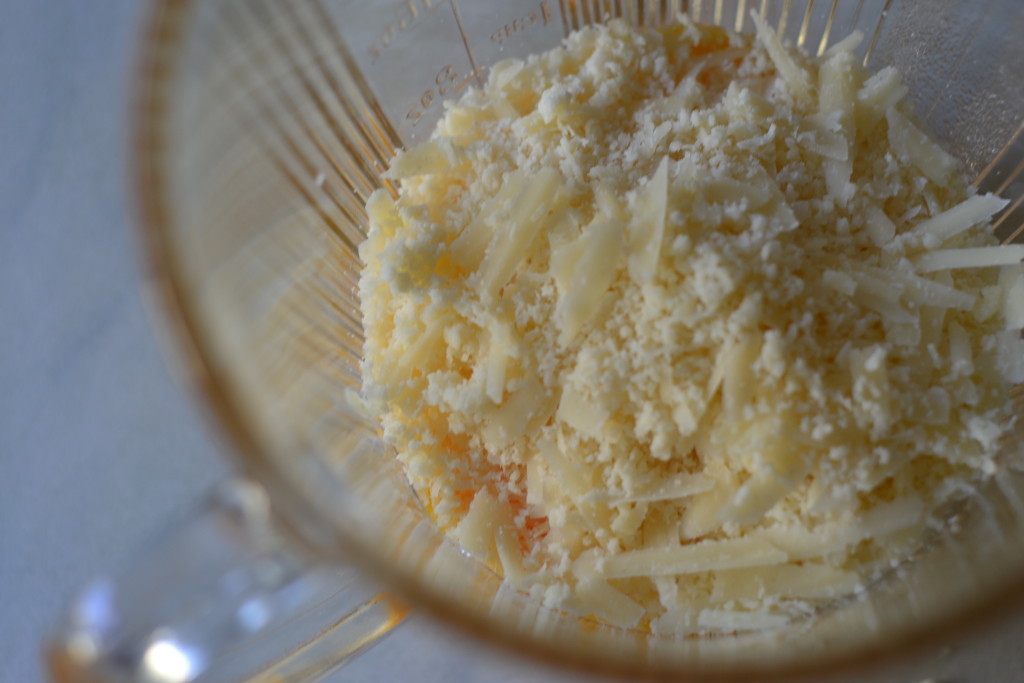
  • 1 cup grated parmesan
  • 3/4 packet dried spaghetti
  • a few tablespoons of pasta cooking water
  • lots of black pepper
  • grating of nutmeg

Carbonara is a very quick dish to make and one that requires a little bit of haste towards the end, so being organised and following the steps below will help make the perfect pasta dish.

First, bring a large (5 litre) pot of salted water to the boil.

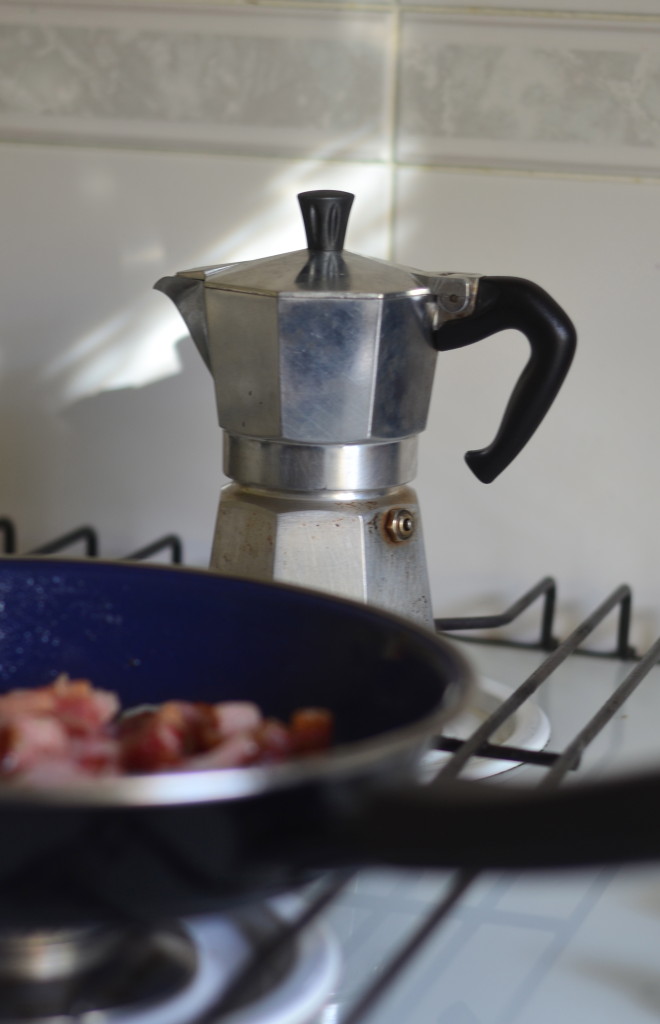
Now cut up the pancetta into bite size cubes and slowly fry them in the butter and oil (the oil will prevent the butter from burning). The pancetta will happily caramelise over a low flame while you get on with the rest of the dish.

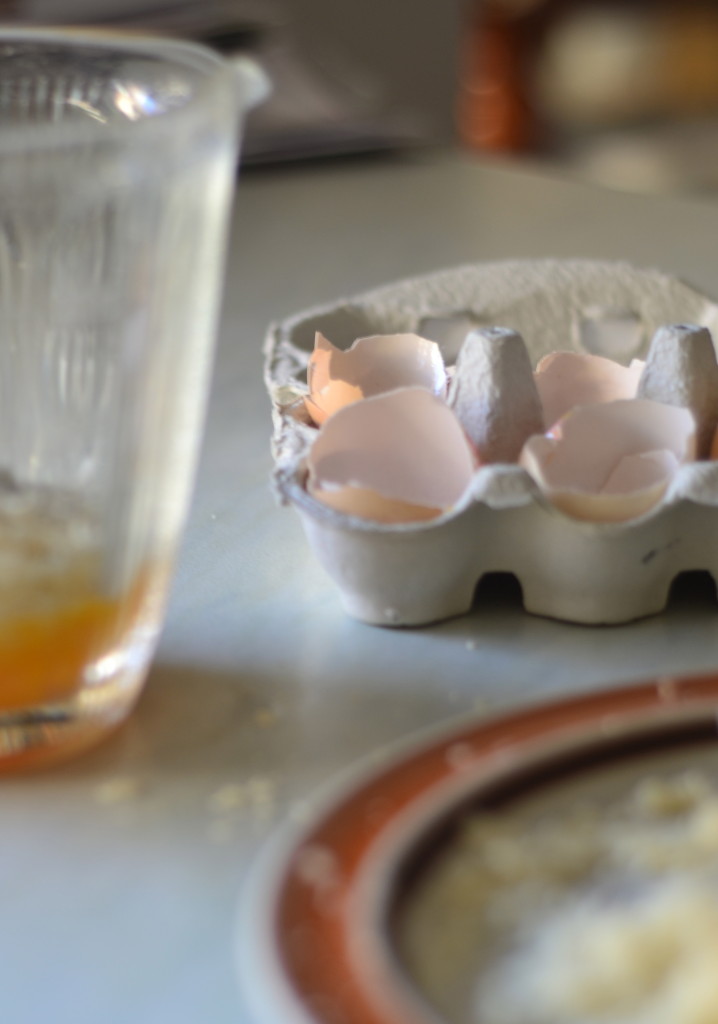
Next separate the eggs so that you have 4 yolks. Freeze the whites for meringue or macaroon making. Add the milk, parmesan, black pepper and nutmeg to the yolks and gently combine.

With the pancetta gently browning and the egg mixture ready, cook the spaghetti until el dente, about 10 minutes. While the pasta is bubbling away, chop up the garlic and add to the pancetta.

Ok. Time to assemble the dish.

You have the pasta cooking, the pancetta and garlic sautéing  and the egg mix ready. Place a strainer in the sink and when the pasta is ready, drain it. Don’t drain it completely though. Leave some cooking water in the bottom of the pot, perhaps 2-4 tablespoons.

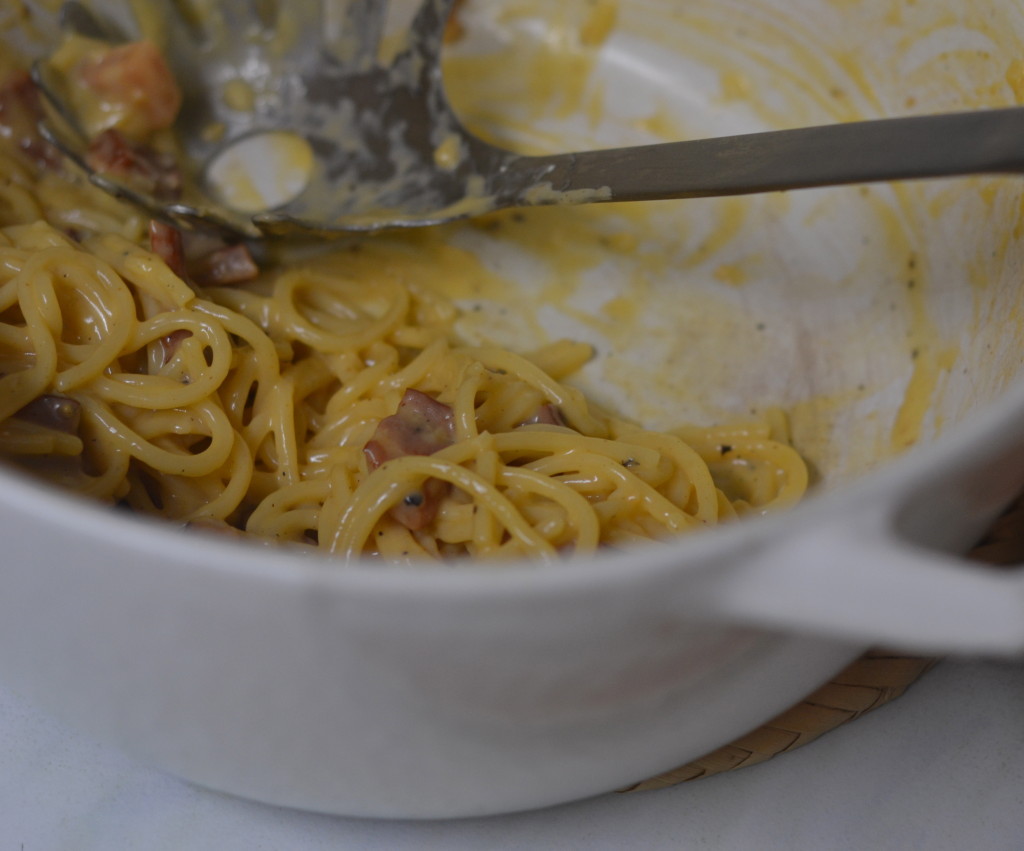
Now, tip the pasta back into the pot along with the pancetta and egg mix and stir everything thoroughly to combine. The residual heat from the just cooked pasta and warm pancetta will cook the yolks, but because there is no direct heat, they won’t be scrambled. The little bit of pasta water and milk will help to make a beautifully silky sauce to coat the spaghetti.

Due to the salt in the pasta cooking water, the garlic and the smokiness of the pancetta, salt shouldn’t be necessary, but just check before you sit down and enjoy.

Enjoy this recipe? Then you might like classic spaghetti and meatballs

Marinated hanger steak

DSC_0841

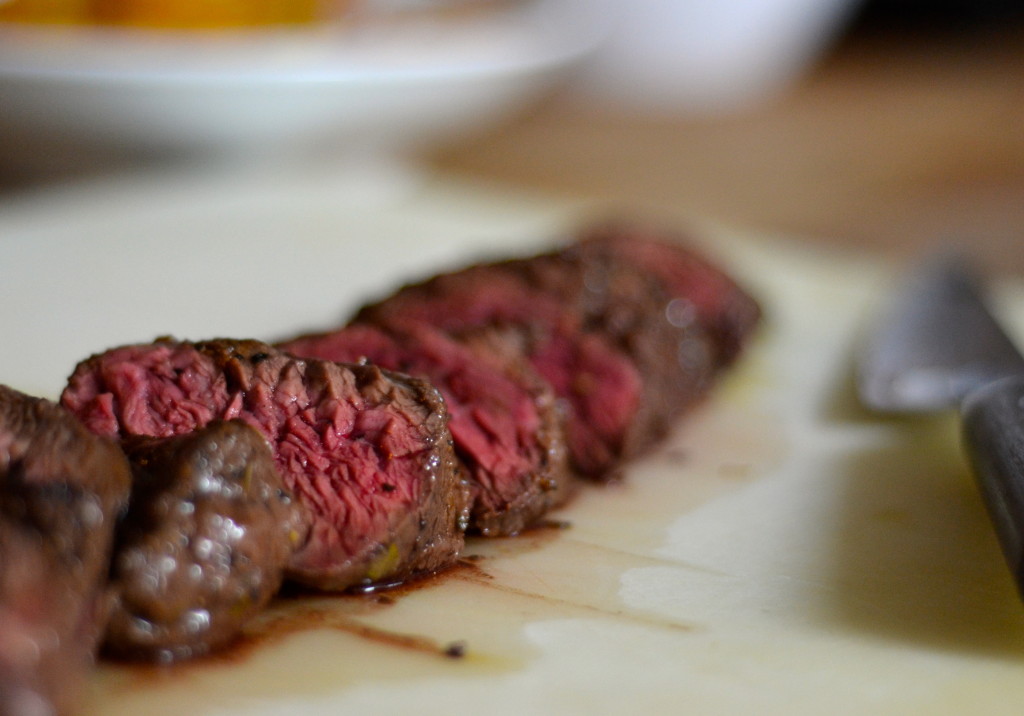
We were lucky enough to spend the weekend in the city. In a hotel. Crisp, white sheets, a king bed, blackout blinds and the ultimate lie in. No Thea to serve as our early morning alarm clock. Thanks to Ma and Pa she was very well taken care of, trike riding under blue skies, feeding ducks by the lake, exploring cubbies with her cousin and apparently sleeping through the night for them. We on the other hand were indulging in good food, delicious wine and some parental freedom. Inspired by the savoury morsels sampled throughout the day and into the night on Saturday, on Sunday morning after a beautiful breakfast at Kitchen by Mike (I’m a huge fan), we headed to Victor Churchill to continue the feasting at home. The impromptu visit turned into a memorable dinner of marinated hanger steak. A first, but not a last.

marinated hanger steak DSC_0853

Victor Churchill is a pretty darn amazing butcher. The origin of the animal and what it’s been fed are clearly labeled by the way of white handwritten signs studded into the various cuts of meat, which are displayed behind tall glass fridge doors that line one side of the shop. Passionate staff who weave among the customers skillfully assist with purchases, while butchers, behind more glass that lines the opposite side of the store, prepare meat on glorious, oversized, wooden chopping blocks. One such member of staff was on hand to help with our enquiry as to whether there was any hanger steak. We were in luck. There was.

DSC_0887

We came to know hanger steak long before Thea. Back in the days when we could drive, on impulse, to a restaurant that I had a hankering to go to. One of those spur of the moment, let’s go out and have dinner journeys, led us to Bird Cow Fish, an amazing restaurant then run by Alex Herbert. We both ordered the hanger steak. I’m not sure why because normally we order different things so that we can try the maximum amount of things on the menu between the two of us. But this night we ordered the same. And I’m glad we did. The standout steak, which was followed by a ridiculously good chocolate tart with light as air pastry and an unctuously rich filling, kept company with a little pot of thick cream, has stuck fast in our minds ever since. So we seized the opportunity to buy hanger steak to see if we could make it taste as good as we remembered.

DSC_0922

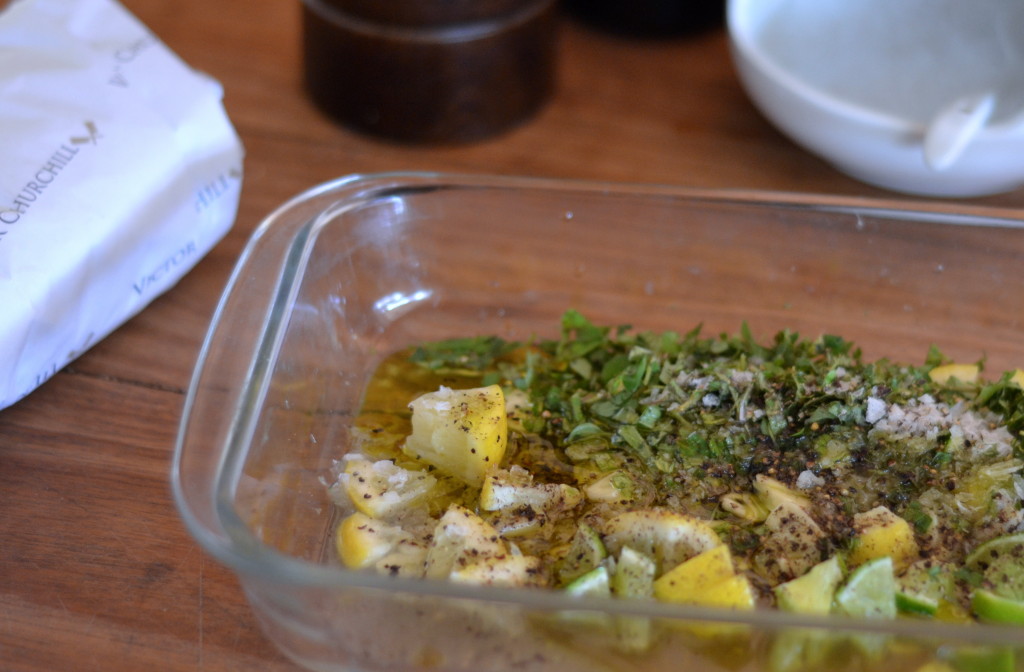
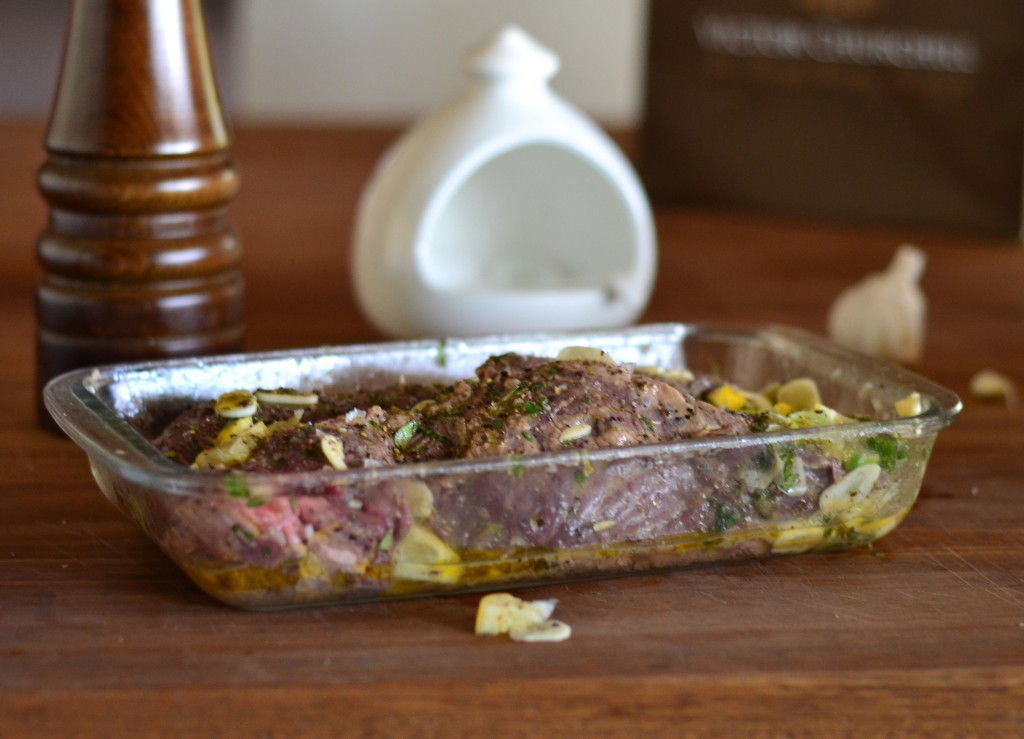
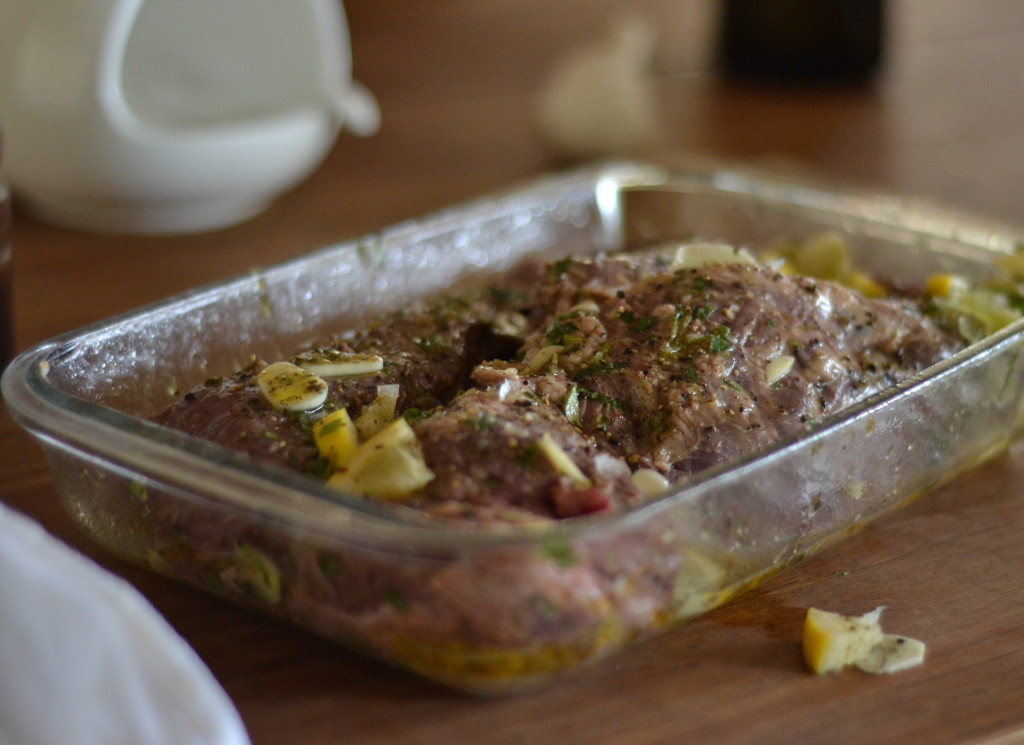
With strict instructions from the butcher that this was a cut of beef that we really had to cook right and not to undercook the steak or it would be bloody and chewy and not to overcook it, or it would be tough and tasteless, I decided a digital thermometer would result in the best outcome we could hope for. Google, in the car back from the city, told me that the magic number that I should look for was between 51-54 C. I also found out that hanger steak takes well to bathing in some citrus before cooking. With this knowledge, when we got home I laid the steak in a marinade of lemon and lime juice, garlic, oregano and olive oil. It luxuriated there while we caught up with Ma and Pa on Thea’s adventures and shared our own from the previous night.

marinated hanger steak

Our mission for our night in the city had been to have no plan. To simply find a few  bars, have a drink and a plate of food in each before moving on to the next. Among our ramble through Sydney, we found 10 William Street, a seriously cool little wine bar. Loud and dimly lit, with bentwood chairs, round, little marble tables and informative staff, a great selection of drops by the glass and some moorish nibbles to go with them. We stayed in the bustling narrow establishment for two glasses, Iggy’s bread (you have to try it to understand how good this sourdough bread really is), simple but excellent calamari, home made biltong and olives. We also found ourselves back at The Baxter Inn, perched on bar stools, sipping single malt from old fashioned brandy glasses, listening to the likes of Bobby Darin. The whisk(e)ys, it’s predominantly a whisky bar, on offer at Baxters is staggering and with there being so many, I always falter when making my selection, wanting to get the perfect drink. In my mind that’s a smoky, smooth, slightly sweet wee dram.

DSC_0935

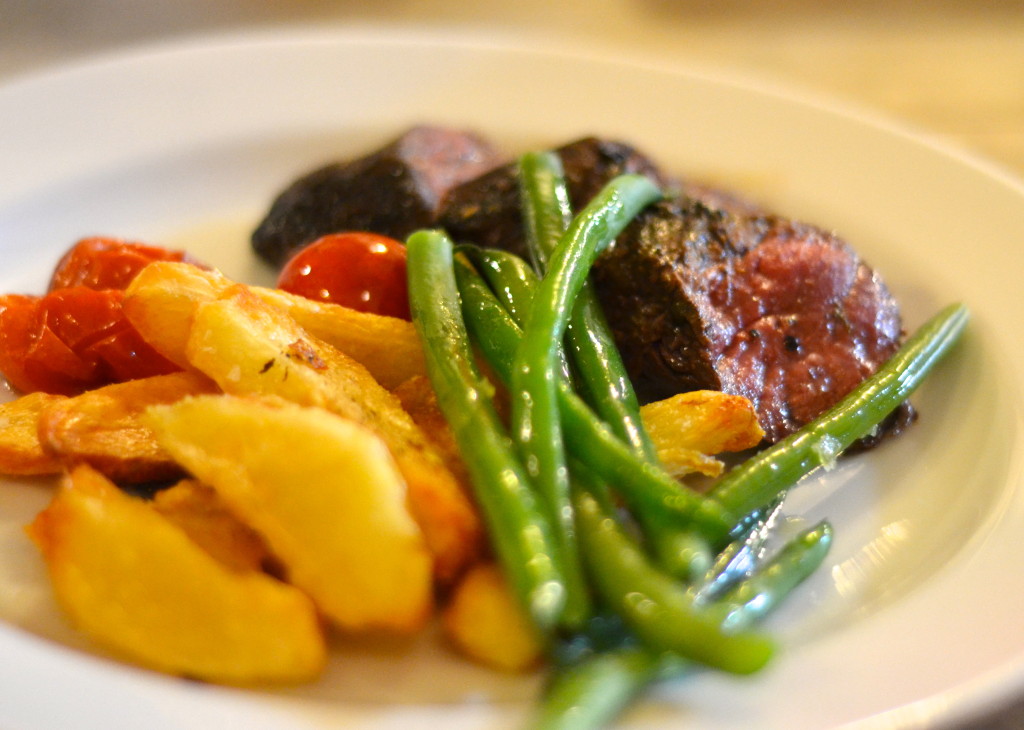
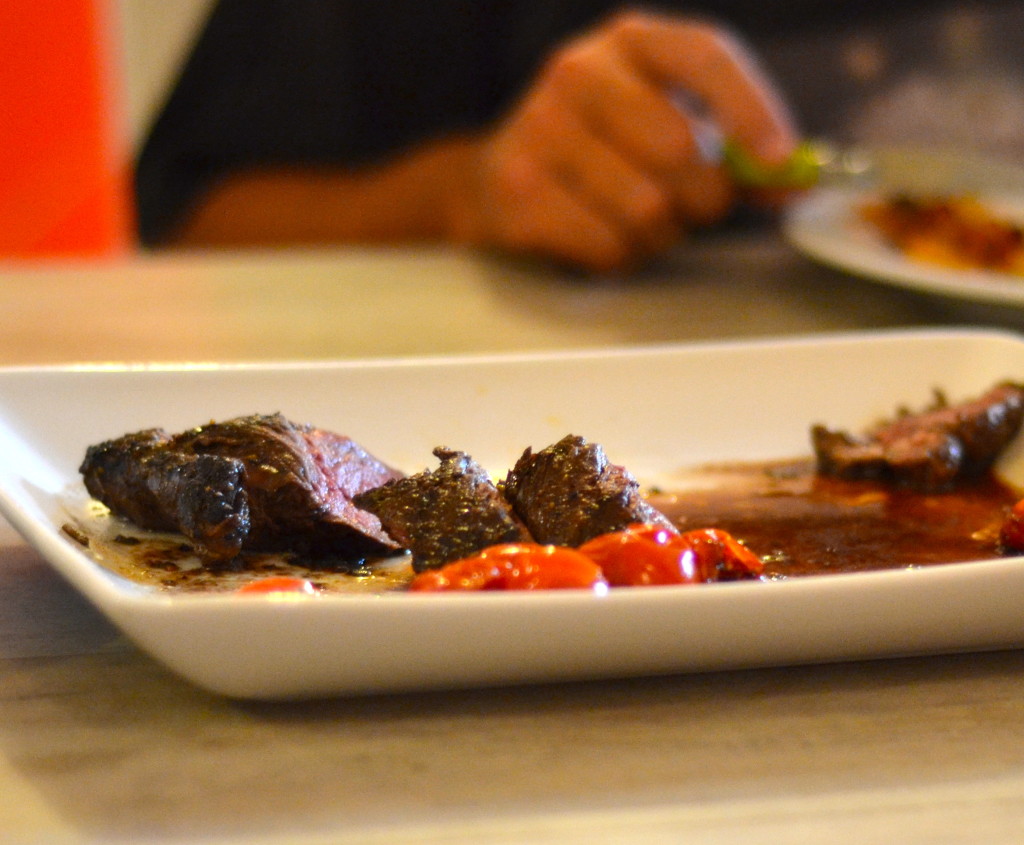
Weekend stories exchanged, the hanger steak went onto the barbecue. All eyes were on the thermometer, watching the digits steadily rise, as garlic smoked trailed into the night. At 53C, the steaks came off the heat and sat on the kitchen bench while the beans were cooked and the duck fat ‘chips’ (roast potatoes cut into batons, boiled until soft and then roasted in the oven with duck fat) finished crisping. When all the elements were ready for the table, the steak was sliced on the diagonal and heaped onto a communal platter. It’s interior was a surprisingly dark, ruby red colour. It sliced easily and once in the mouth was tender, with a small amount of chew and a deep, zingy flavour. The butcher who served us would be proud.

DSC_0942

Marinated hanger steak

Serves 4

Approximately 1kg trimmed hanger steak

For the marinade

  • 1 lemon, juice and zest
  • 1 lime, juice and zest
  • 4 garlic cloves, thickly sliced
  • handful oregano
  • olive oil
  • sea salt and black pepper

Simply mix all the marinade ingredients together and then bathe the meat in the mixture for about two hours.

Heat a pan or the barbecue, whatever your preference, until really hot and then cook the steak until it reaches between 51-54C. Ok. That’s the simple version.

With meat, it doesn’t need to be constantly agitated. Once you put it on the heat, leave it. Leave it until a nice crust forms. A beautiful, brown caramelised outside that will impart texture and flavour into the meat. When you feel that the piece of meat that you are cooking has formed said crust on one side, turn it. And once again leave it. If there is another side that still hasn’t seen the heat, if you are cooking a round piece of meat like a fillet for example, turn it once again to sear the final side.

Searing meat is really important and it’s actually really easy. The biggest factor is patience. And a scorchingly hot pan to start with. Anothter pointer. Oil the meat, not the pan. I sometimes use melted butter to add another flavour dimension and because it forms such a beautiful crust. But good old oil will do just fine. Next salt and pepper the meat. By salt, and always when I refer to salt here, I mean sea salt. Large, transluscent flakes, which can be liberally sprinkled all over the cut about to be cooked. Salt is another factor that helps form a crust and again, imparts flavour. I add pepper too. Some say that it’s not necessary at this stage. I disagree. I grind the hell out of my pepper grinder until  my steak is covered in little black flecks of peppery heat.

So. The hanger steak has reached 53C. Whisk it from the heat, place it on a deep plate so that the juices can be contained and leave it to rest. To relax. To metaphorically sit back in a comfortable chair, yawn, stretch and unwind. It will feel so much better in your mouth if this rule is adhered to, the resting rule of thumb being, rest meat for at least half the time it took to  cook. As I’ve written before about roast lamb, meat stays hot. Don’t fret about it getting cold, and if you are worried that is will happen, simply cover the patter with foil and some tea towels.

So, to recap. Patience to sear. Patience to rest. And now time to enjoy. Open a bottle of red. Pour a glass. Slice the hanger steak on the diagonal, which is much more visually pleasing. And eat.


Making matzo ball soup

matzo ball soup

Easter came and went in a bit of a blur this year. There were late nights and early mornings, and not too much sleep in-between due to a small someone getting two new teeth. The whole house was a constant hive of activity. There was me in the kitchen preparing food for clients, as well as the family. Ma was the most amazing helper, taking on the responsibility of chief washer-uper. Mark and Pa worked in the back yard, excitingly undertaking preparations for a swimming pool, completion date Summer 2015. There were also cousins running excitedly around, searching for eggs, Thea hot on their tails, not quite yet knowing what all the commotion was about. Thank goodness! So this recipe for matzo ball soup is rather timely, not only for its nourishing and restorative properties after a hectic few days, indeed it is dubbed ‘Jewish penicillin by many, but also because it is a traditional dish consumed during passover (the last day of which, as I write, is today).

matzo ball soup

A number of years ago I can recall lying on my bed, atop clean, pale grey sheets, the curtains to my right dancing in the breeze, reading Ruth Reichl‘s ‘Garlic and Sapphires’. The scene is still so vivid. The light was bright and the air slightly cool. It was my day off and all alone in the house I was doing one of my favourite things. Reading a book. A simple but escapist activity. As I turned the pages, I absorbed Reichl’s rendition of matzo ball soup and the dish has been firmly imprinted on my mind ever since. It’s something that I have always wanted to make, intrigued to know what it would taste like, but haven’t for fear that it would be too complicated. Fast forward to a week ago when Alice in frames posted a picture on Instagram for Matzo ball soup. I was once again reminded of the day just described, reading about the peculiar Jewish chicken soup. Now though, I was determined to make it, spurred on by the fact there was a big tub of home made chicken stock lurking in the depths of the chest freezer for just this kind of moment.

matzo ball soup

After figuring out what Matzo crackers are and the substitute, being in Australia, that I could use in their place to make Matzo balls, all additional ingredients are pantry staples; eggs, salt, black pepper and sparkling water. The only other tricky ingredient that is traditionally used to make them is schmaltz or chicken fat. It’s entirely possible to skim the top of chicken stock to gain some, or collect it from the bottom of a tray that a chicken has been roasted in. Being impatient though and determined to make the soup the next day after seeing Alice’s post, I decided to go with her mum’s version and use duck fat. Duck fat is always in the fridge and is great to have on hand. It withstands being used at high heat and imparts something special into the things that it’s cooked with. Roast potatoes are more glamorous, both in name and flavour, seared, plump scallops are made a little bit more wonderful and egg fried rice, extra tasty.

matzo ball soup

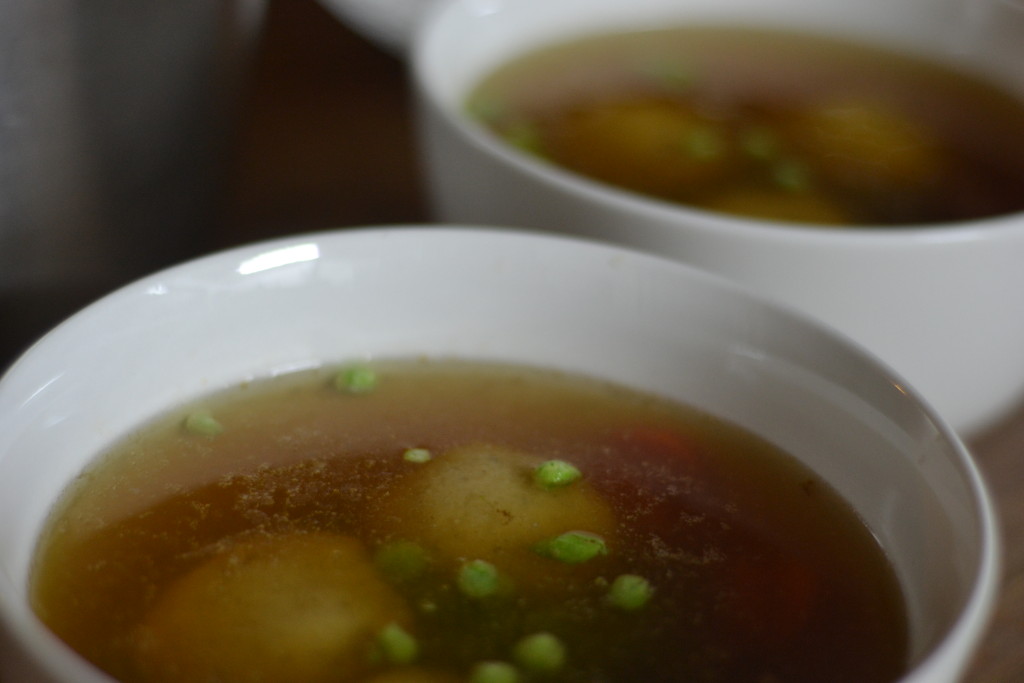
At this point I feel it’s worthwhile mentioning the chicken stock hibernating in the freezer, which makes up the rejuvenating element of the dish. Whenever roast chicken is eaten for dinner, the carcass is never thrown away. Instead it goes into a pot along with cold water and some lemon juice, which helps to extract all the lovely minerals from the bones, and simmers on the stove for most of the next day. And that’s chicken stock, at its most basic at least. Sometimes peppercorns, bay leaves, celery, carrots and onions are added. Even chicken’s feet for their gelatinous qualities. Sometimes not. Making this practice part of a kitchen routine will result in beautiful, nutritious, home cooking. Use the resulting stock to make risotto, cook quinoa, braise vegetables, create delicious gravies, master velouté sauces and add to smoothies, yes REALLY-it’s fantastic for gut and joint health and along with a banana, no-one would ever know. Thea and I pinkie promise x

matzo ball soup matzo ball soup

matzo ball soup


Matzo ball soup

Adapted from a recipe by Smitten Kitchen

For the Matzo Balls

  • 1/2 cup Salada crumbs
  • 2 eggs, beaten
  • 2 tbsp duck fat
  • 1 tsp salt
  • 1/4 tsp black pepper
  • 2 tbsp sparkling water (renowned to make the balls extra light)

For the soup

  • 2 litres chicken stock, preferably home made, but a a good quality store bought one would be fine
  • 1 carrot, peeled and finely sliced
  • a few chopped herbs like parsley or dill, or a handful of frozen peas, or all of the above

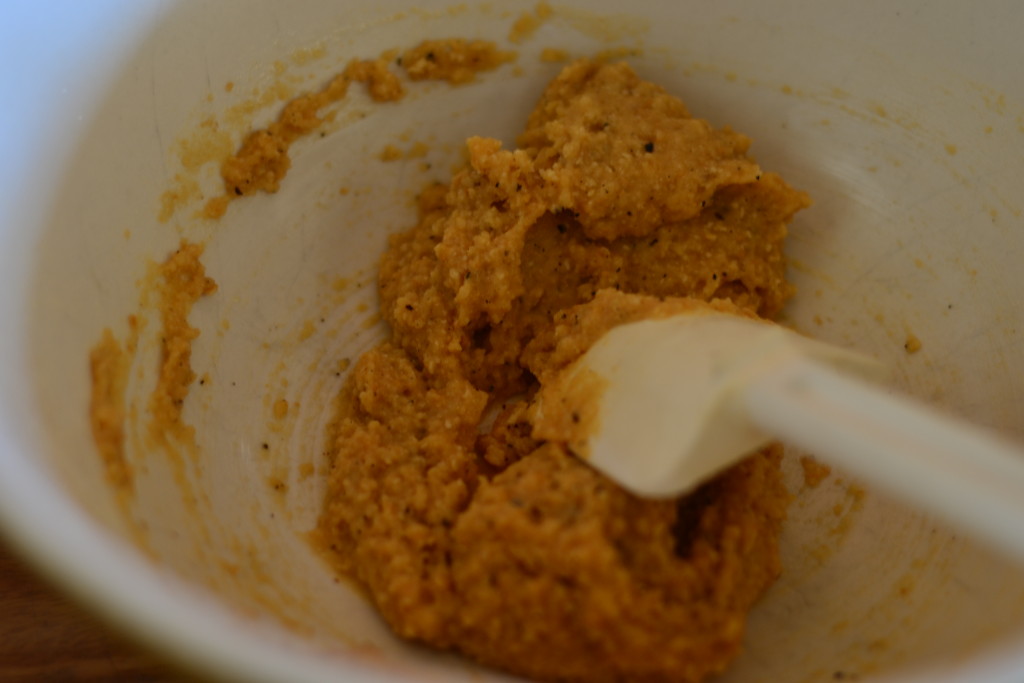
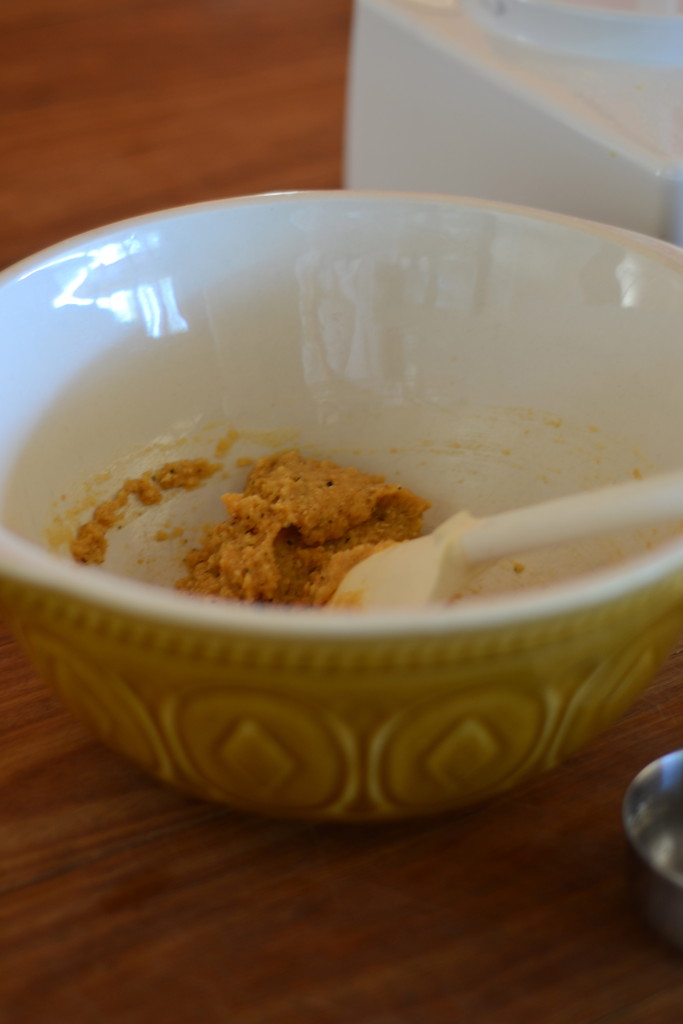
To make Salada crumbs, simply whizz the crackers in a food processor until they resemble sand, then mix them with all the other matzo ball ingredients. Cover the mixture and place in the refrigerator for at least 30 minutes. From this point on, the matzo balls will be referred to as simply balls, owing to the fact that in this recipe they contain no Matzo crackers.

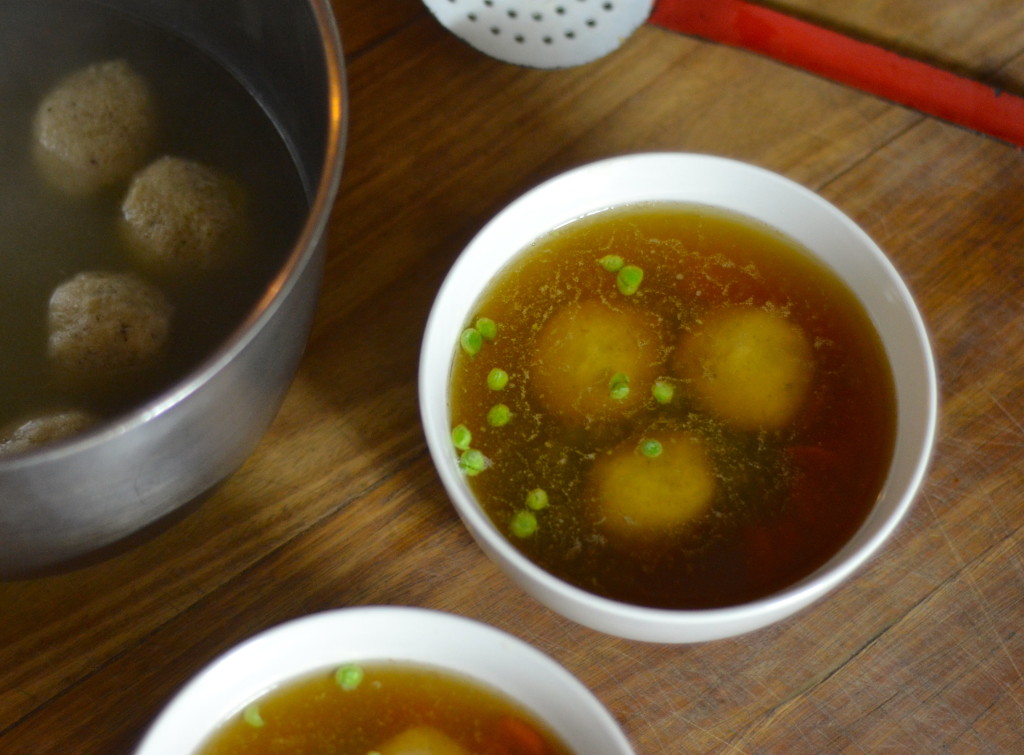
When you are ready to make the soup, bring 1.5 litres of well-salted water to a rolling boil in a medium sized pot. Reduce the heat so that the water is just simmering. With wet hands, form ping pong size balls from the Salada mixture and one by drop them into the simmering water. Cover the pot and leave the balls to cook for 30 to 40 minutes.

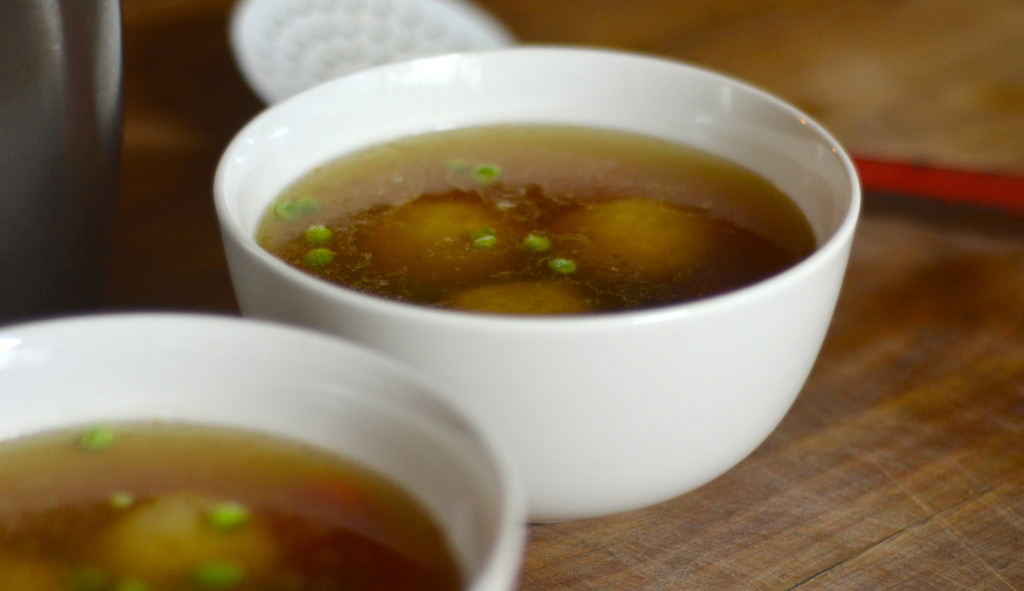
!0 minutes before the balls are ready, bring the chicken stock, with the discs of sliced carrot, to simmering point. When both the stock is hot and the balls are ready, if they are floating this is a good indication that they are, ladle a few spoonfuls of the stock into a bowl and add two, three or four balls depending on your appetite. Sprinkle with a few herbs and enjoy x

Overcooked quinoa 2 ways.

overcooked quinoa

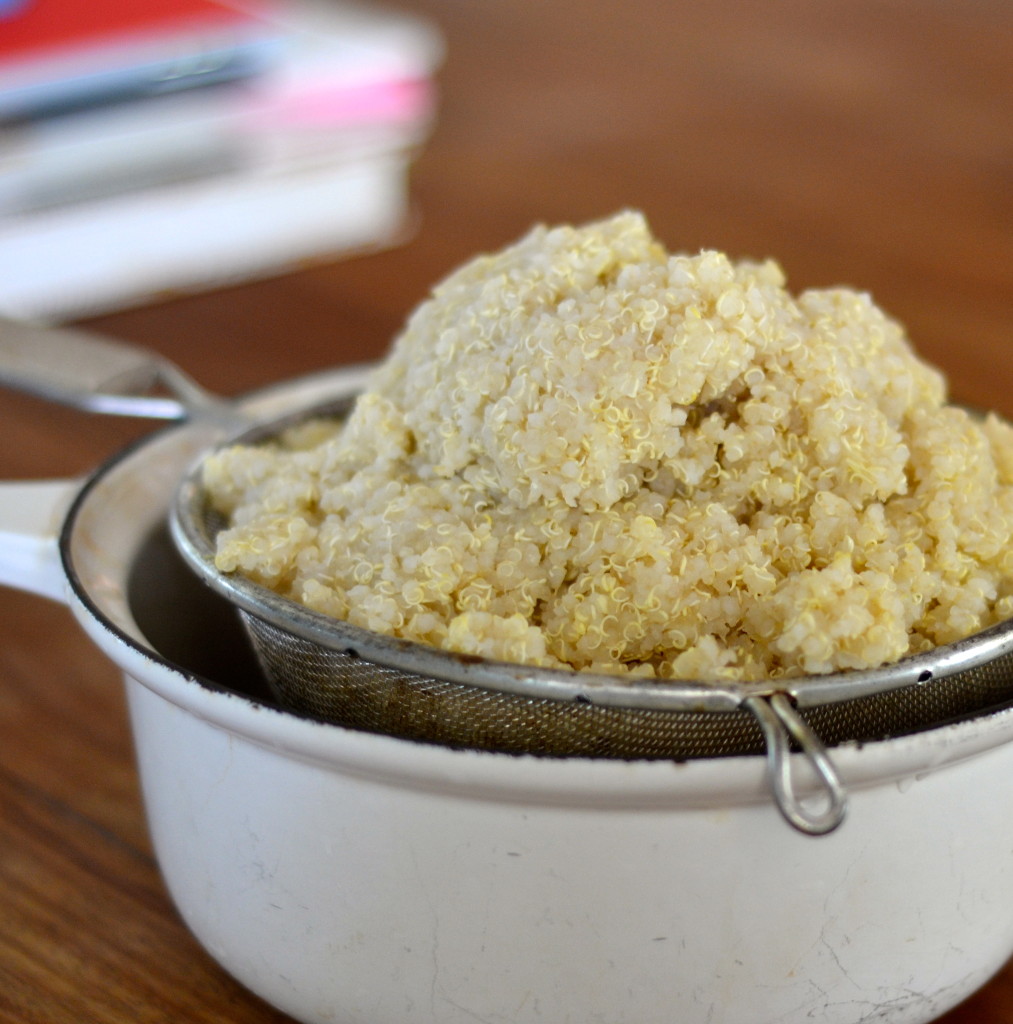
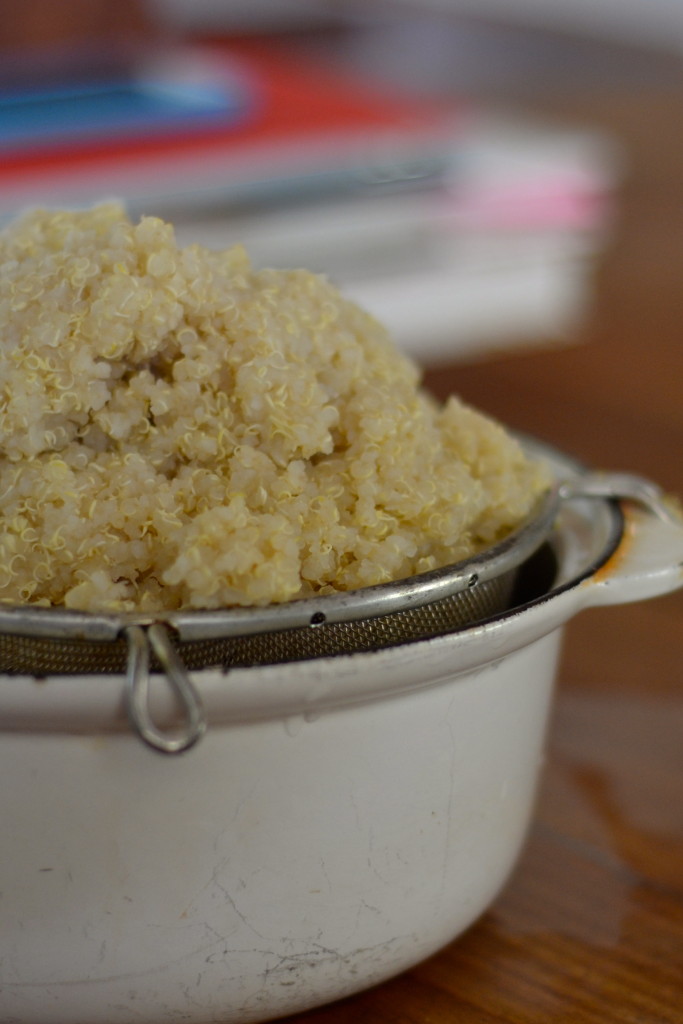
I’m not quite sure what I was thinking, but I added double the recommended amount of water to cook some quinoa the other day. Having spied some preserved lemons at the back of the fridge, I was intending to make a Morroccan inspired salad to go with some lamb cutlets. Then besides dinner, I got stuck in to other household chores, rushing to get them done before Thea woke up and totally forgot about the simmering pot on the stove. After a sharp intake of breath when I remembered the intended base for the salad, which now resembled a mass of tiny, sludgy, beige pearls, I composed myself and set about thinking what the hell was I going to do with a mound of overcooked quinoa.

overcooked quinoa

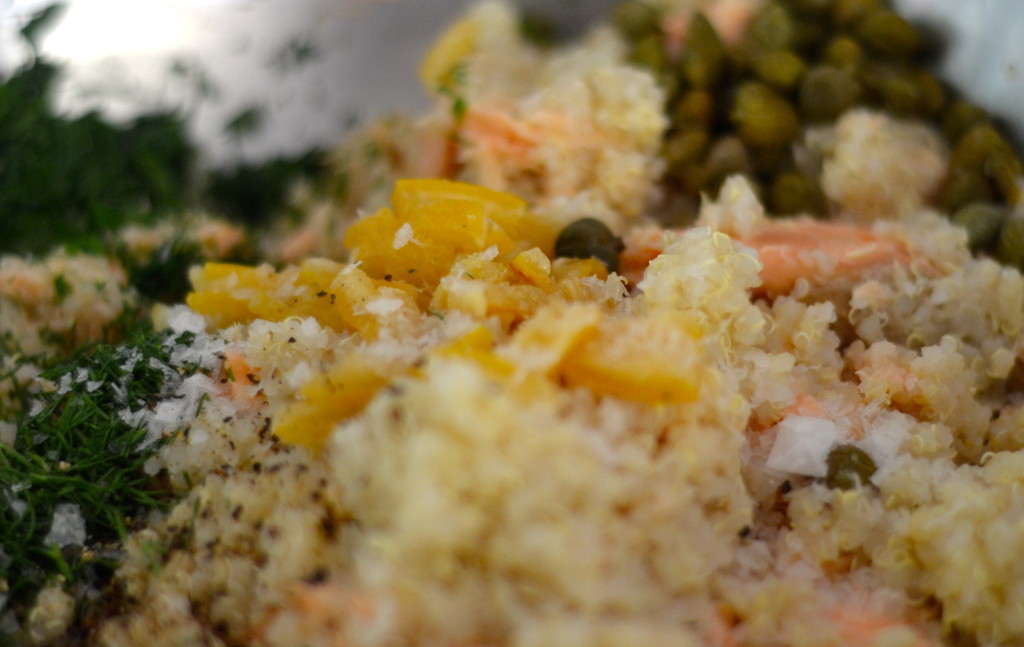
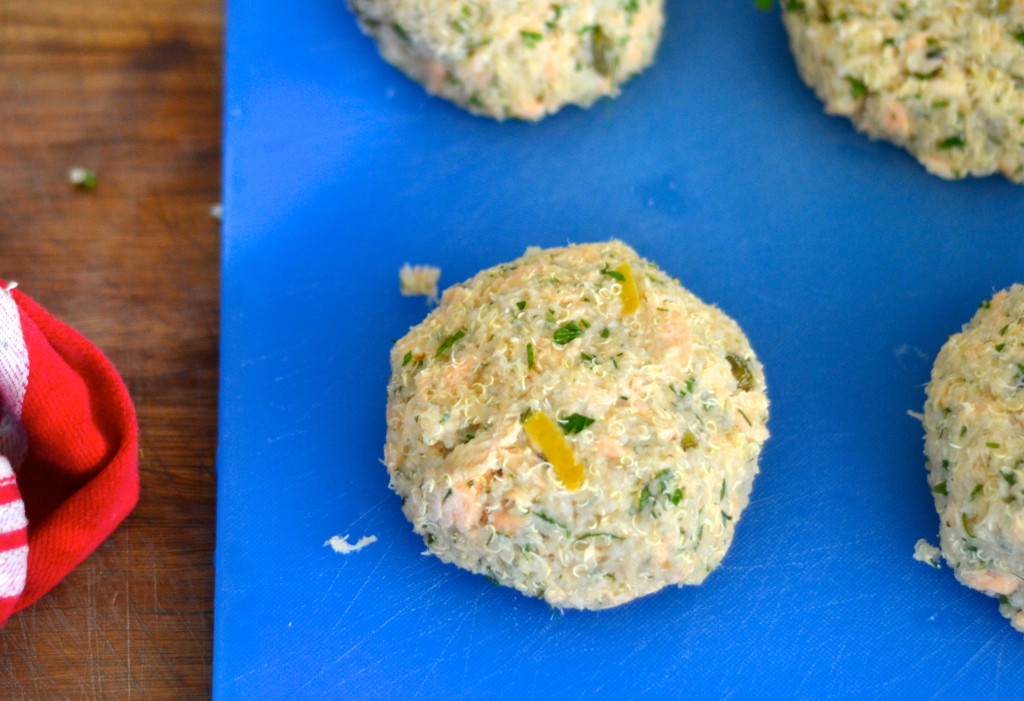
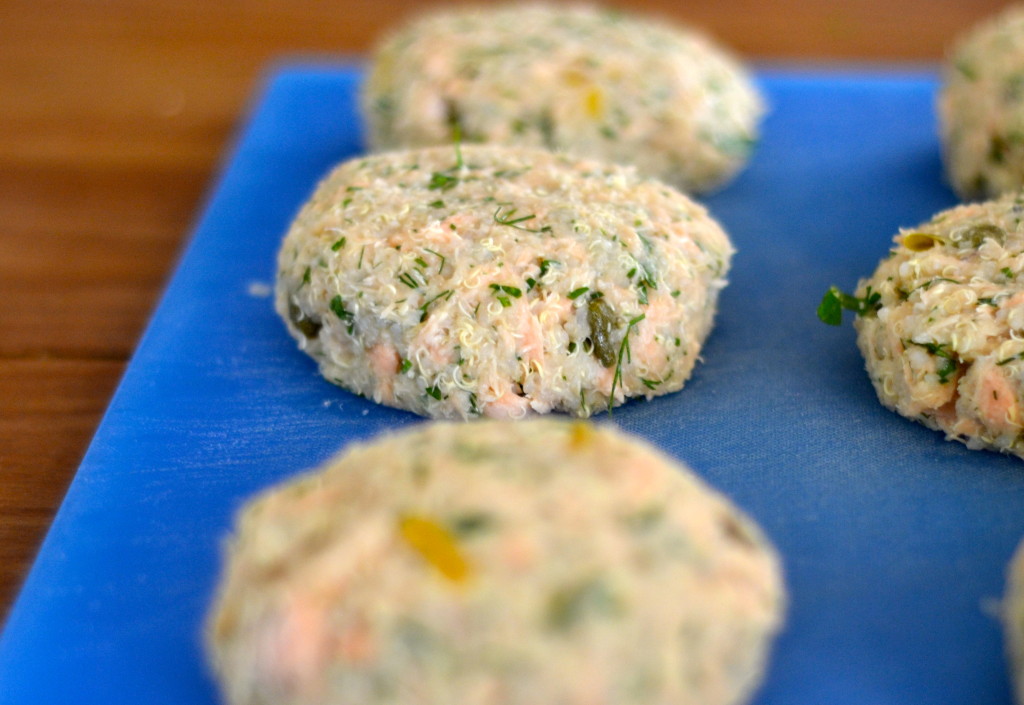
I’m not one to waste food, which drives Mark crazy. He despairs with all the little parcels of leftovers in the fridge, but I always find a use for them. Stale sourdough bread is consistently made into crumbs for schnitzels, the ends of cheese are grated to go into a smelting pot in the freezer for pizza, cheese sauce and the occasional toasted sandwich and leftover gravy is added to béchamel sauce for robust green leafed  vegetable gratins that I love to serve with roast pork.  Faced with the watery, stodgy, flavourless mound of pseudo grains, I thought about what they resembled and in turn might be converted into. The mushy quinoa seemed like it would work well in place of mashed potato to make salmon cakes. And the fishcakes could be spiked with preserved lemon, capers, dil and parsley, punchy ingredients that would transform the bland pile into something edible once again. Some crisp green leaves would form a complete evening meal and once again dinner was back on track.

overcooked quinoa

But wait. That’s not all. After making six large salmon fishcakes, I still had oodles of overcooked quinoa left. I started to wonder if I’d added four times the amount of water I was supposed to! That or I’d had a brain freeze and cooked enough for a large catering order. Either way, another recipe was needed to make use of what still remained. With the tiny person still asleep, I embarked upon another dish. This time a recipe from the Petite kitchen cookbook for Cheddar and quinoa muffins with sun dried tomatoes and basil. Single serve snacks that could be put in the freezer for when a tummy rumble struck. They’re very simple and quick to make and baked in little paper cases, an entirely portable snack.

overcooked quinoa

After all the huffing and puffing and scolding of myself for not having set a timer for the quinoa, I was now able to survey my kitchen bench burdened with dinner, possible lunches and enough snacks for the foreseeable future. Hindsight usually reveals mistakes to be entirely perfect in their outcome.

overcooked quinoa

 Salmon fishcakes – a recipe using overcooked quinoa.

4 cups (over)cooked quinoa
2 fillets of cooked salmon, flaked
A handful of chopped parsley
A handful of chopped dill
1-2 tbs chopped capers
1 preserved lemon, rind finely chopped
Sea salt and black pepper
2 eggs

Mix all ingredients together in a large bowl and then shape into tennis ball size fish cakes.

I will confess that I tried to pan fry one of the salmon cakes, imagining that it would go crisp and chewy. This was not the case as the patties were too wet from, ahem, the overcooked quinoa. Baking resulted in a much better result.

Bake for 30-40 minutes at 180C.

Enjoy with a crisp green leaf salad.

Cheddar and quinoa muffins with sun dried tomatoes and basil.

From My Petite Kitchen Cookbook by Eleanor Ozich

540g cooked quinoa
4 eggs
100g Cheddar cheese, grated
2 large handfuls basil, chopped
40g sun dried tomatoes, chopped
Sea salt and black pepper

Mix all ingredients in a large bowl and then divide among the holes of paper lined muffin tin.

Makes approximately 6 large and 12 mini muffins.

Bake at 180C for about 25 minutes.

The best roast lamb ever.

the best roast lamb ever

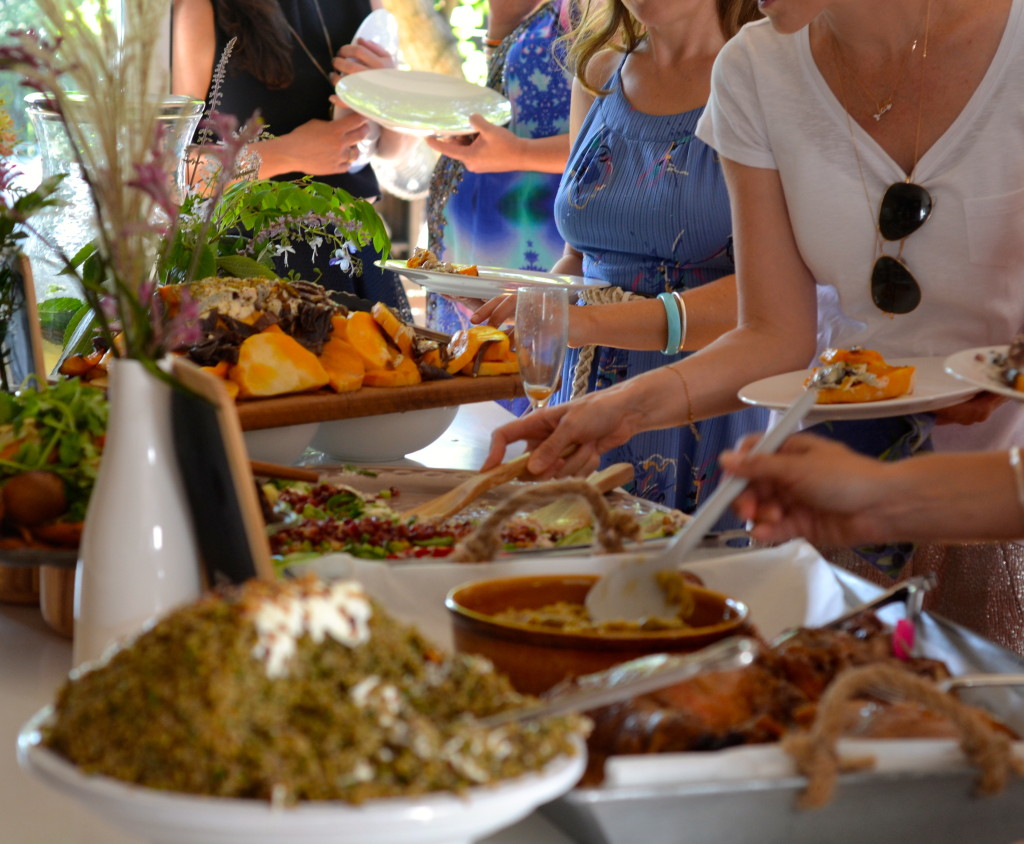
I have been wanting to share this recipe with you for a while. Well, it’s more of a technique really. A way to cook the best roast lamb ever. It requires no effort. None. Apart from actually going to your butcher and buying a leg of lamb or three, getting a roasting tray and some foil ready and turning on the oven. That’s it. And the results are worthy of any dinner table. Tender, moist, flavoursome lamb that falls away from the bone with the touch of a feather. The thing that makes this lamb so great, apart from the ease with which it’s cooked, is the time that it gives you once it is done. It will happily sit on the kitchen bench wrapped in foil and a beach towel for hours. YES really, while you, well, get ready for the party!

the best roast lamb ever

The thing about once having been a cafe owner is that you get to repeat tasks over and over again, and you become quite skilled at certain recipes. By making mistakes and learning from them, you get even better too and realise what works and what certainly does not. So having cooked lamb like this to fill wraps along with tabbouleh and minted yoghurt many, many times, the process has become second nature, but the results are no less memorable.

the best roast lamb ever

I think the whole process of cooking lamb for lengthy periods of time first started after reading Paula Wolfert’s recipe for Seven Hour Garlic Crowned Lamb in her wonderful book The Slow Mediterranean Kitchen. Again I read Alice Waters‘ thorough explanation of slow cooking shoulder joints in her book The Art of Simple Food and somehow combined the two accounts to create a method where I could put lamb in the oven just before I went to bed and then take it out first thing in the morning ready to take to the cafe with me to satisfy lunch time customers. The technique is well tested.

DSC_1042

Preparing lamb in this way has also become a favourite dish with some of my regular chef by the sea catering clients. Perhaps because even though the meat in itself is a spectacular but understated main, it’s the perfect partner to such a wide array of sides. Complemented by smoky baba ganoush or piquant chimichurri, at home with roast potatoes or herby quinoa, side by side with shredded kale, barbecued corn or roast pumpkin, on a plate for lunch and in a roll for dinner. It’s a perfect entertaining staple. And I hope that it serves you well.

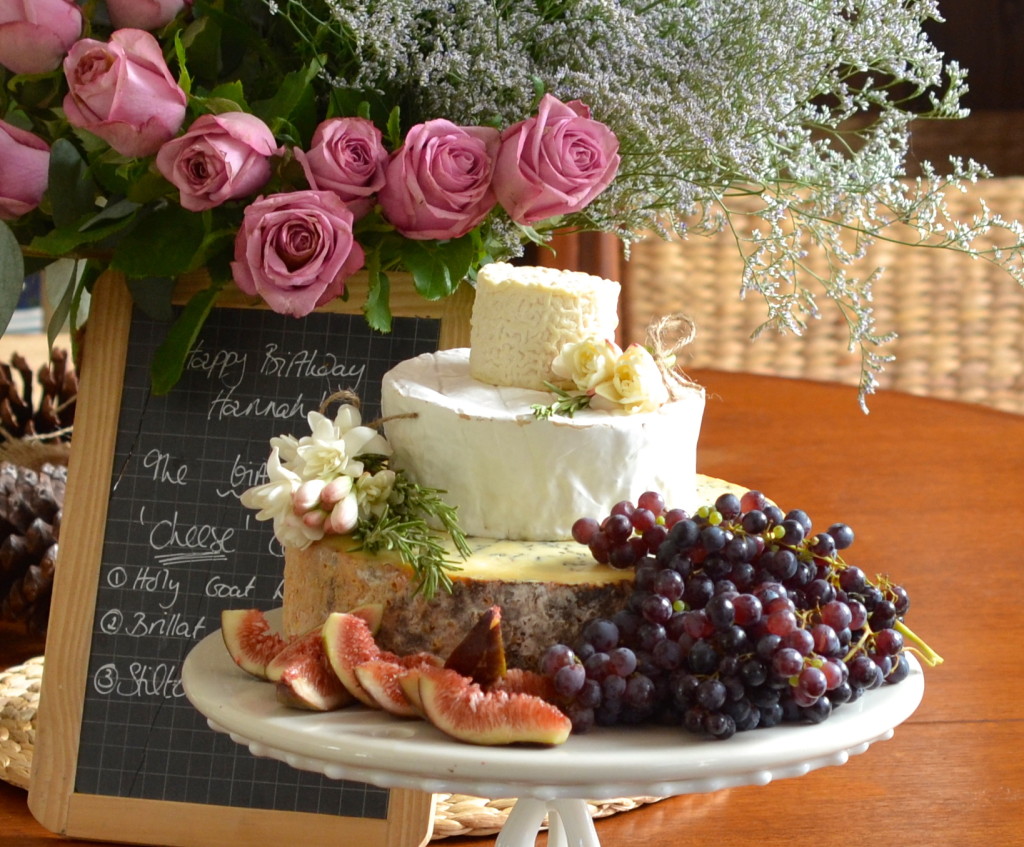
the best roast lamb ever the best roast lamb ever the best roast lamb ever a cheese cake a cheese cake

The best roast lamb ever

For this recipe, which is more anecdotal than a precise list of steps, you will need three things.

  1. A whole leg or shoulder of lamb, bone in.
  2. A deep baking tray
  3. Aluminium foil

Preheat your oven to it’s hottest setting, so somewhere around 250 C. My oven is like a furnace, which for some things is actually fantastic, like caramelising the outside of a joint of meat before leaving it to braise in a few inches of water for the day or overnight.

While the oven is preheating, place the meat in the baking tray and when the oven’s little light goes out to indicate the right temperature has been reached, pop your joint of meat in for 20 minutes.

When 20 minutes has elapsed, remove the meat from the oven and turn the temperature down to about 100 C. The first time you do this you may need to use an oven thermometer to calibrate the point where your oven cooks at the is temperature, because for me this heat is not actually any temperature indicated on my oven’s dial, but rather marked with a Sharpie from having worked it out many times before.

Before putting your meat back into the oven, fill the baking tray with about two inches of water and cover it tightly with foil. Now put it back into the oven and you can leave the lamb to cook anywhere from six to 12 hours.

Before serving the lamb, and I believe this detail to be just as important as the initial 20 minute heat blast, remove it from the oven and its baking tray, place it on a deep platter, wrap it in foil and cover it with a towel. I have even placed the lamb in a suitable plastic container and popped it in an esky to rest and keep warm. It will sit quite happily for a few hours and still be piping hot, but succulently moist when you come to serve it.

And to serve, simply use two forks or a pair of tongs and help yourself.

Enjoy x

Savoury granola

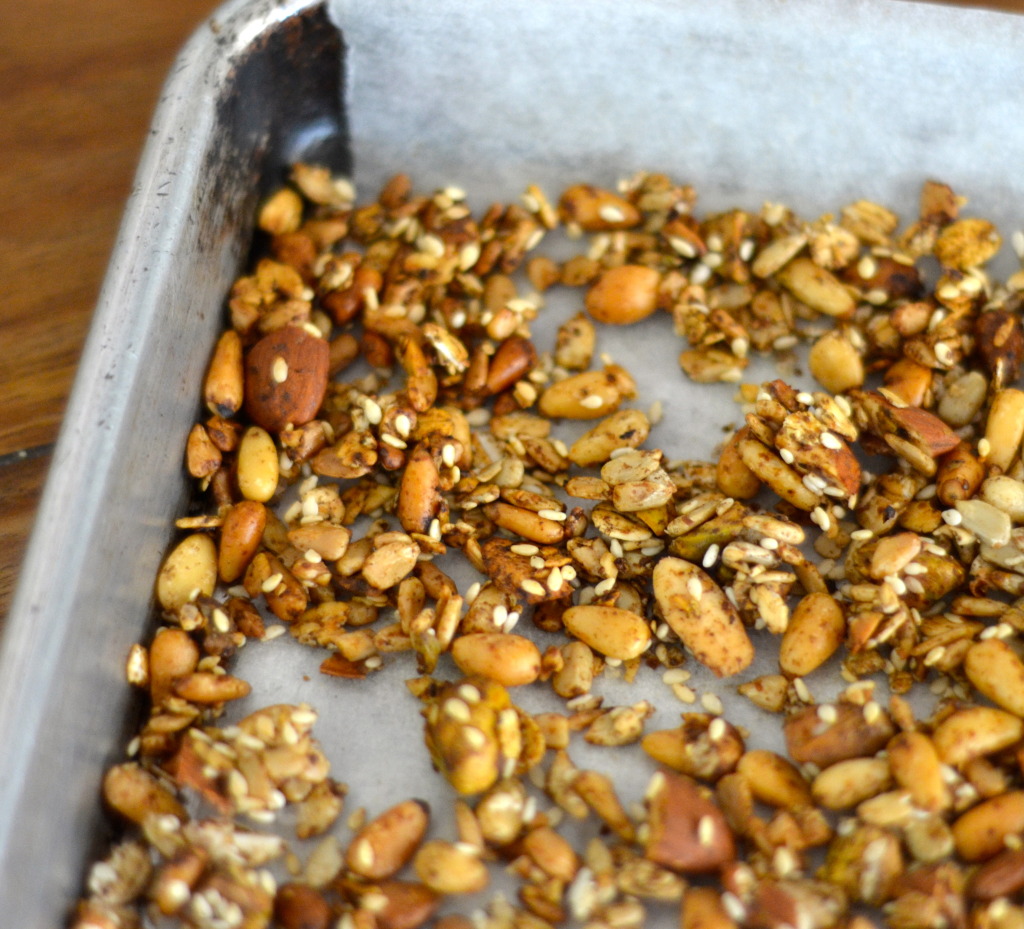
savoury granola with sumac and clove

Every Tuesday I look forward to the Good Food supplement in the paper. It’s a weekly ritual of mine, to sit down in a comfortable spot and read it cover to cover. There is always something of the moment and interesting to inspire me, a new restaurant, an intriguing recipe, a useful fact and this week was no exception. The caption read “Health food: Savoury granola” and that was it. In an instant I was planning dinner.

savoury sumac and clove granola

Granola is one of my favourite things. Crisp, toasted seeds and nuts with a scattering of dried fruit, served in a deep bowl with a generous dousing of icy cold milk. There are a myriad of fantastic recipes out there and these are some of my favourites; simple, tropicalchocolate and rose petal. In my mind, granola must be eaten straight away, as left to swim in the milk, it goes soggy and looses all of its noisy, crunchy appeal. But savoury granola. Hell yes. Something I love with a different slant. The article paired the savoury granola with eggs and hummus, but this spoke a little too much of breakfast to me and I wanted a dinner idea.

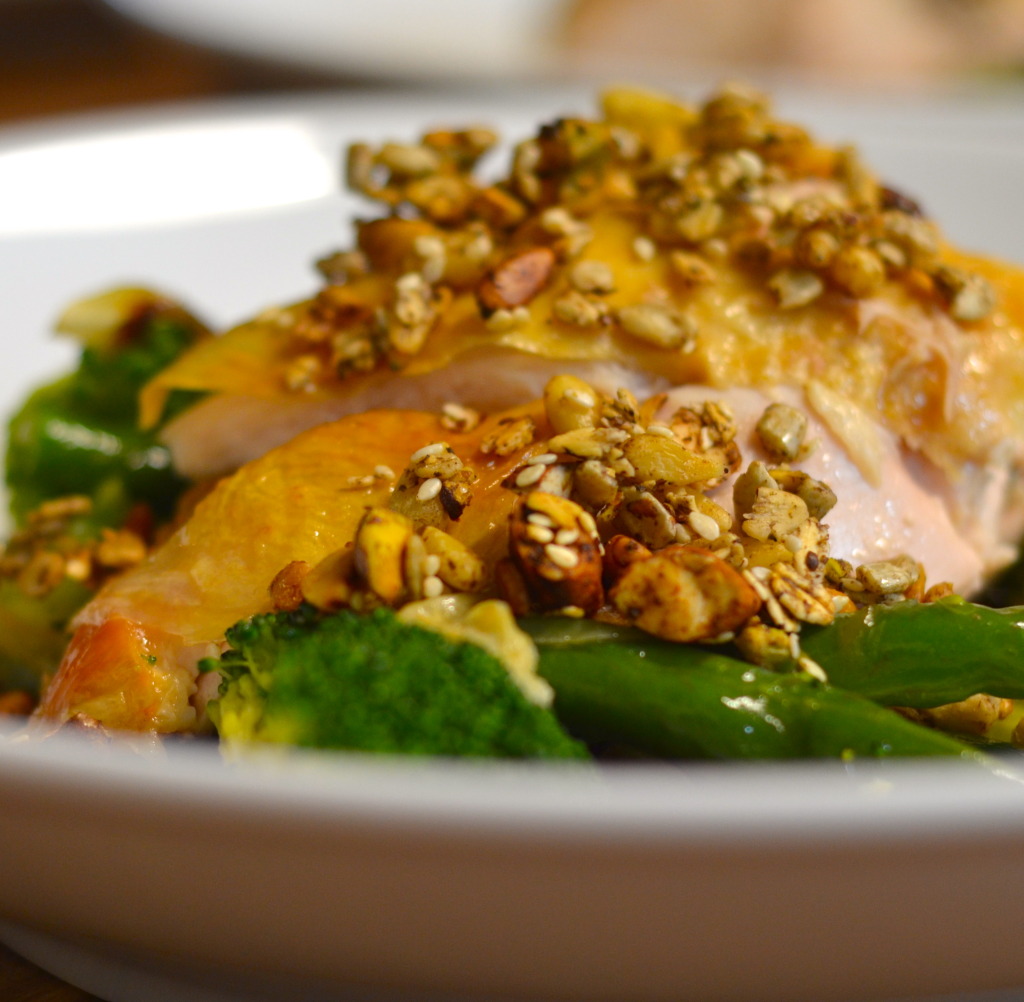
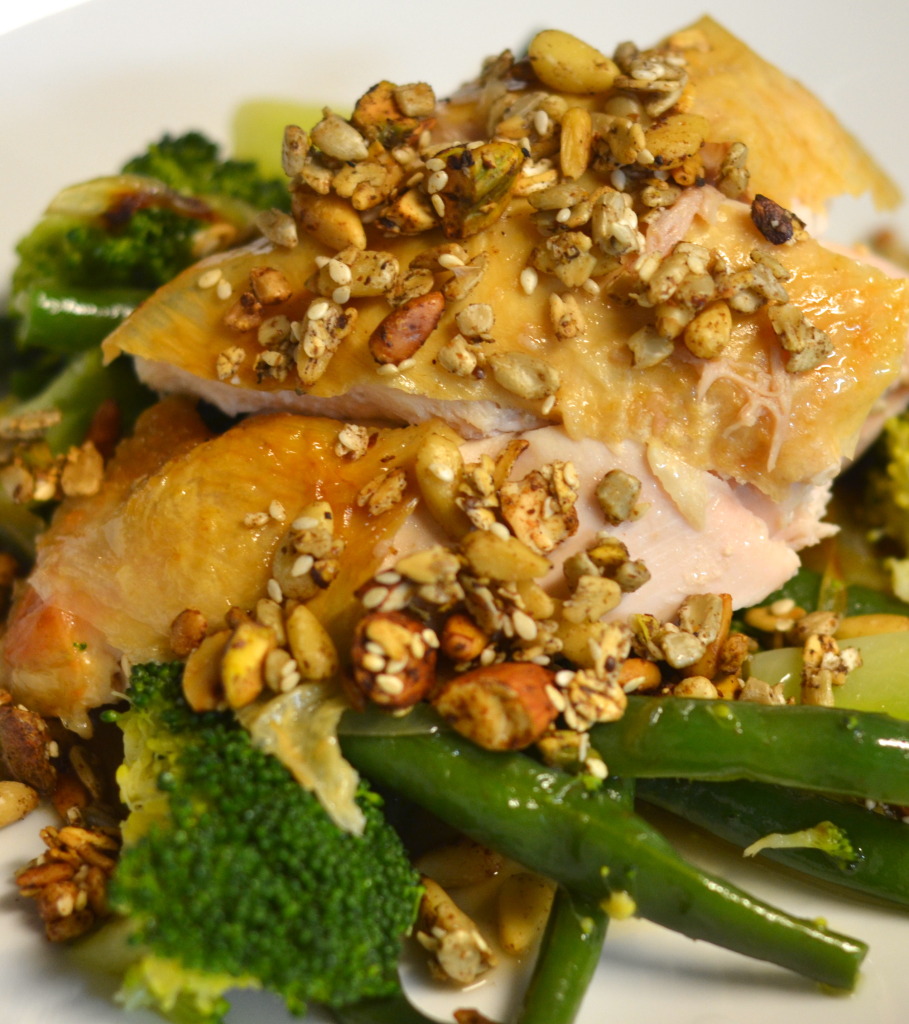
My train of thought to arrive at roast chicken went something like this. Crunch needs to go with something  soft. Meat is soft. What nuts stand out the most. Almonds. What do almonds go with. Almonds go with chicken. Almonds go with beans. Roast chicken goes with crunchy roast potatoes. Replace potatoes with nuts. Serve with beans and broccoli. Hey presto.

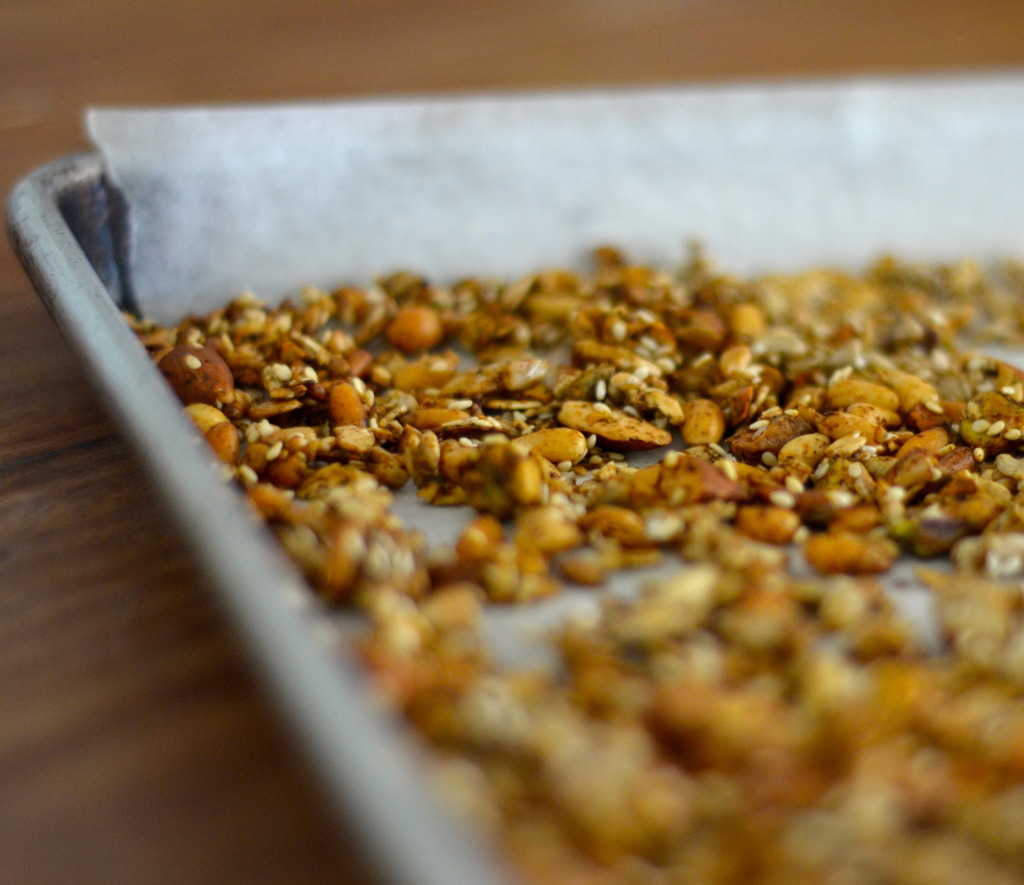
savoury granola

The recipe below is extremely simple, yet endlessly versatile. I added sumac and cloves just because I thought that the lemony sumac would go well with the chicken and I picked ground cloves, well, because they were in the pantry and appealed to me on a slightly cool summer night. There are no hard and fast rules. For example, you could add cumin and chilli flakes and serve the resulting savoury granola with roast lamb and yoghurt. Or use cardamom and allspice and sprinkle the nutty mixture over roast pumpkin wedges with a tahini dressing. I love the concept of a savoury, textural topping for meals. Have fun experimenting.

Green beans with savoury granola

 Savoury Granola

From a recipe in the SMH

  • 1 small egg white
  • 50g rolled oats
  • 100g sunflower seeds
  • 100g pine nuts
  • 2 tbsp sesame seeds
  • 50g almonds
  • 50g pistachios
  • 1 tbsp sumac
  • 1 tsp ground cloves
  • sea salt and cracked black pepper to taste

1. Preheat the oven to 180C. Lightly beat the egg white in a large bowl until frothy.

2. Add all the other ingredients to the bowl with the white and mix well to coat.

3. Spread the mixture on to a large shallow sided baking tray lined with baking paper and bake for 12 to 15 minutes. Be sure to rotate the mixture with a spatula after the first 10 minutes so that it bakes evenly.

Enjoy. The remaining mixture can be stored in a tightly sealed container for two weeks.

Alternatives to sumac and cloves could be curry powder, turmeric, cumin, fennel seeds, dried chilli flakes, allspice and cardamom. Substitute nuts and seeds in similar quantities and have some fun.