Indonesian chicken curry

My niece is turning 13. Officially becoming a teenager. And I have volunteered to cook her birthday meal. She’s vegetarian though and the challenge is to make food that she and her sometimes fussy siblings, five and seven, will enjoy, as well as the rest of the family. With the flavours of ginger, lemongrass and turmeric still lingering on my palate from a recent holiday to Bali, I felt inspired to make an Indonesian chicken curry. Ahem. Chicken in the form of skewers to be cooked on the barbecue. A medley of vegetables in the sauce. It’s a recipe that I’ve made many times before and I was sure that that the slightly sweet and creamy dish would appeal to everyone.Indonesian chicken curry Indonesian chicken curry

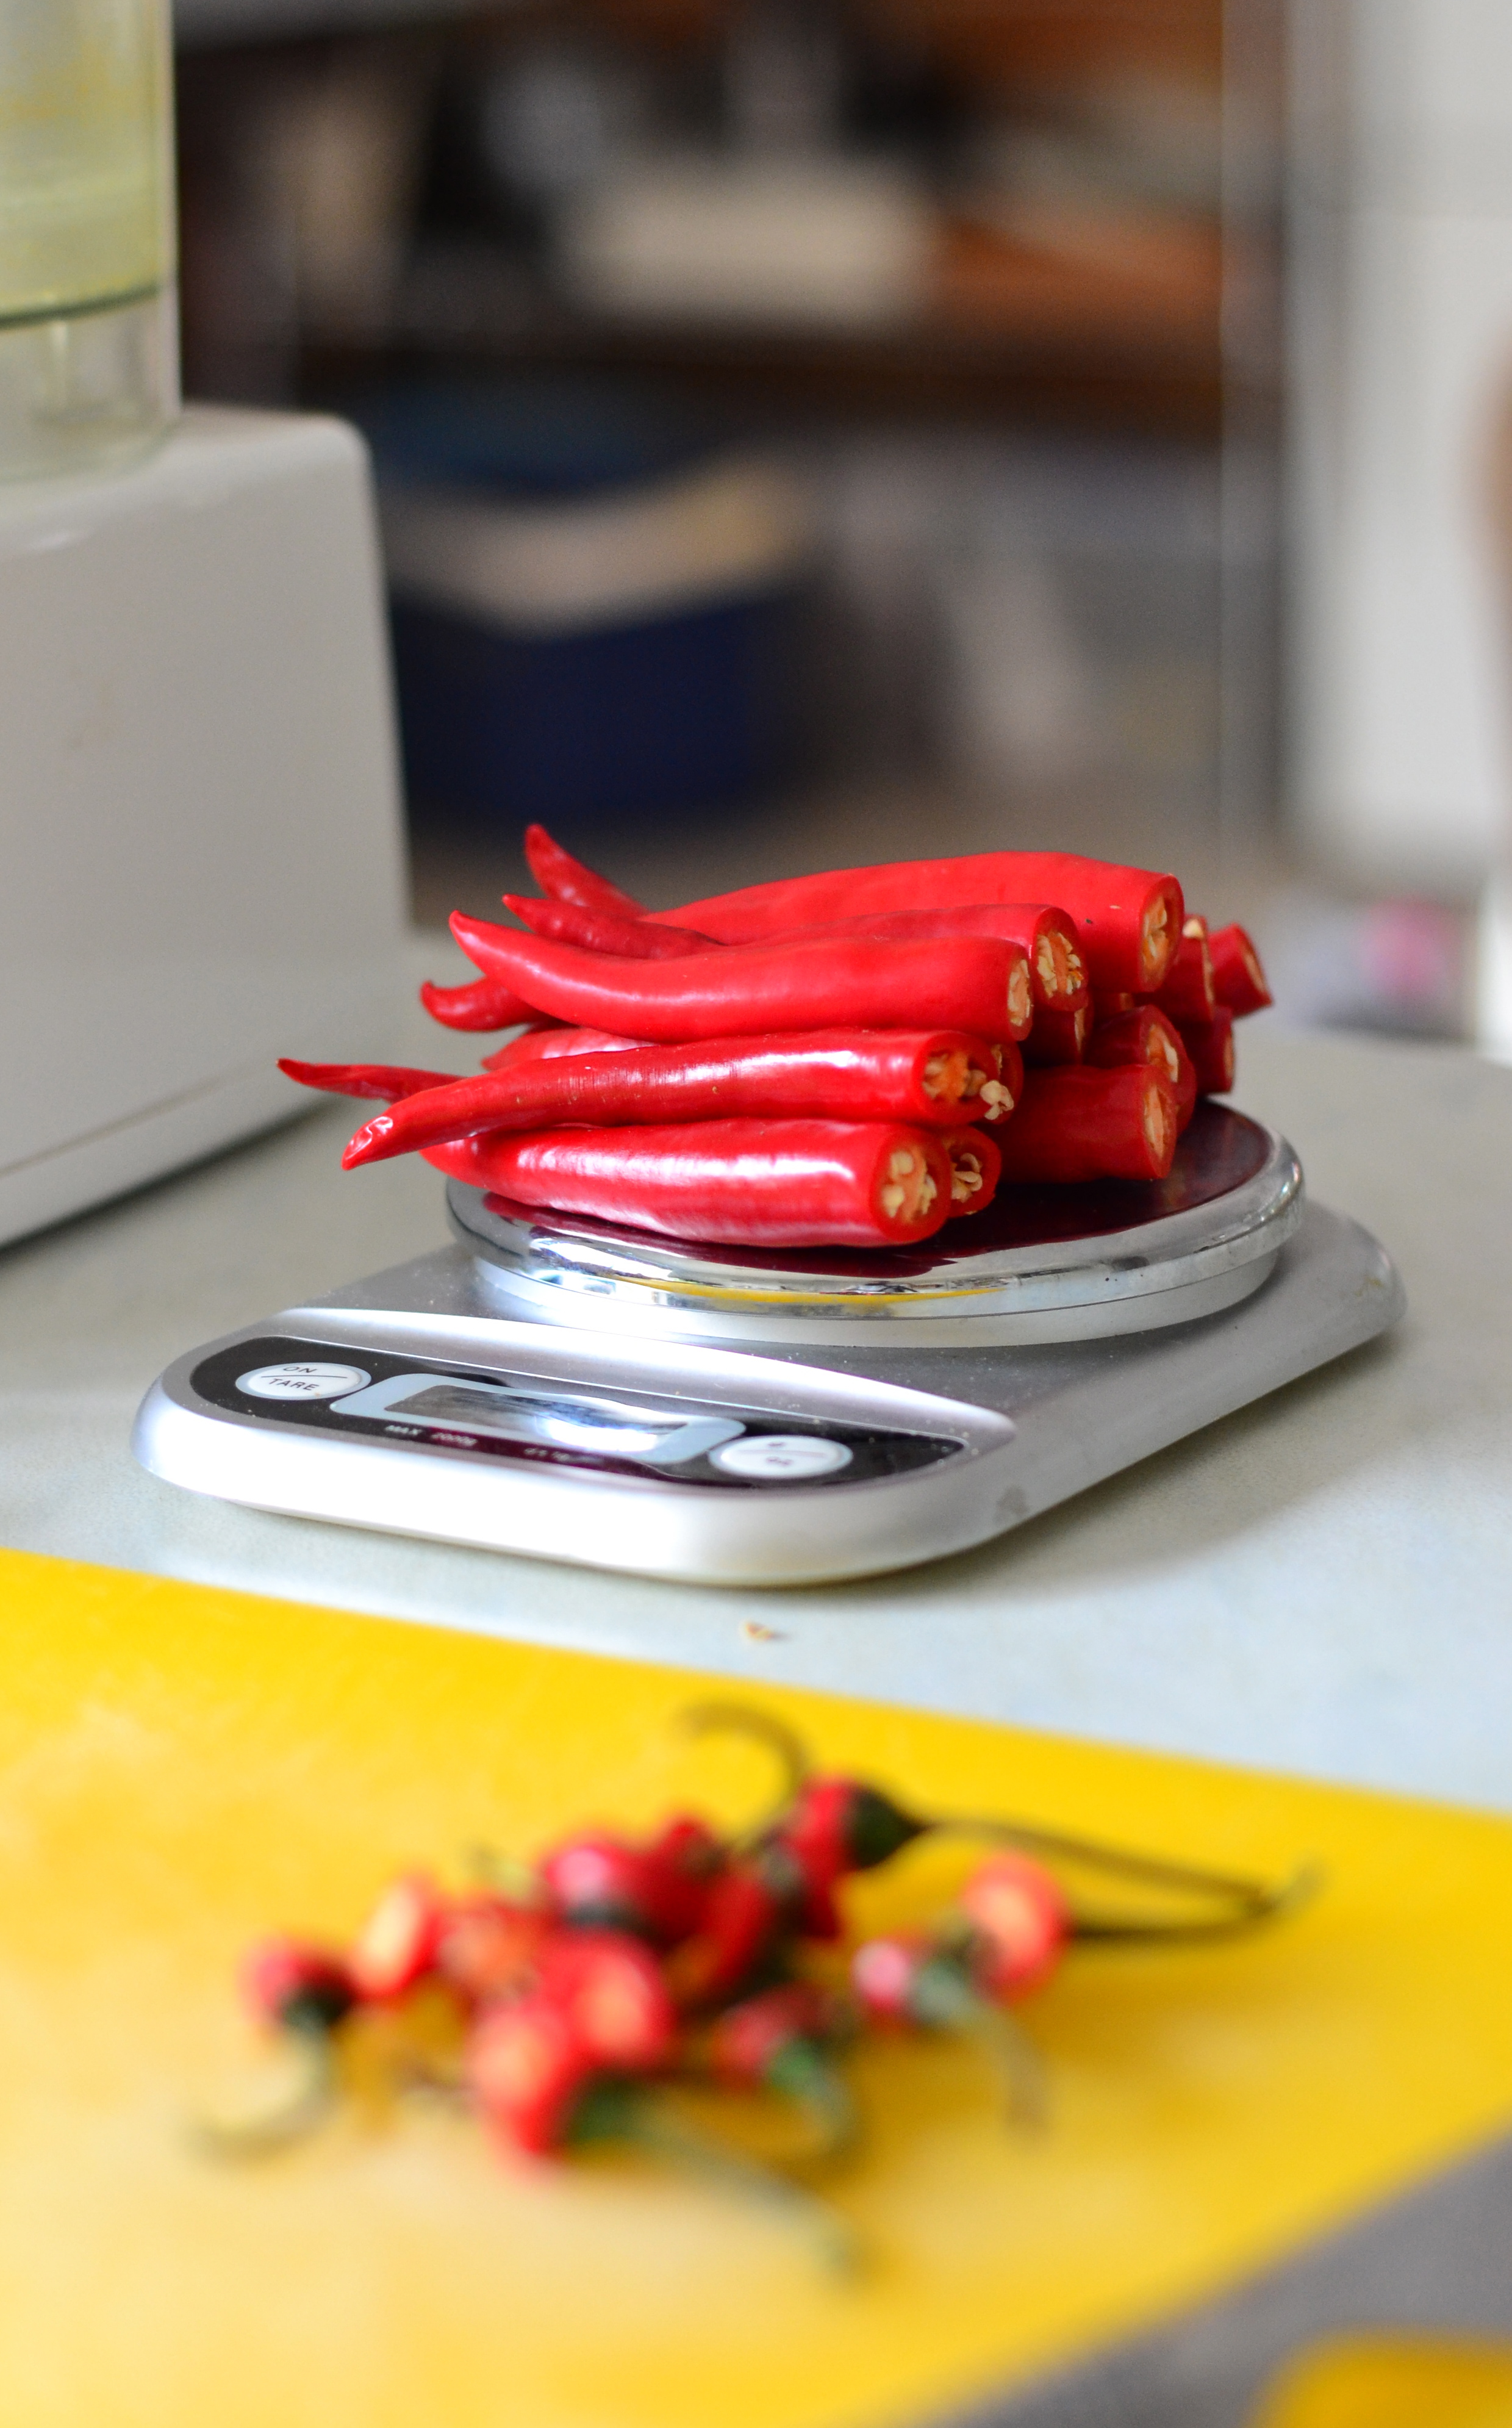
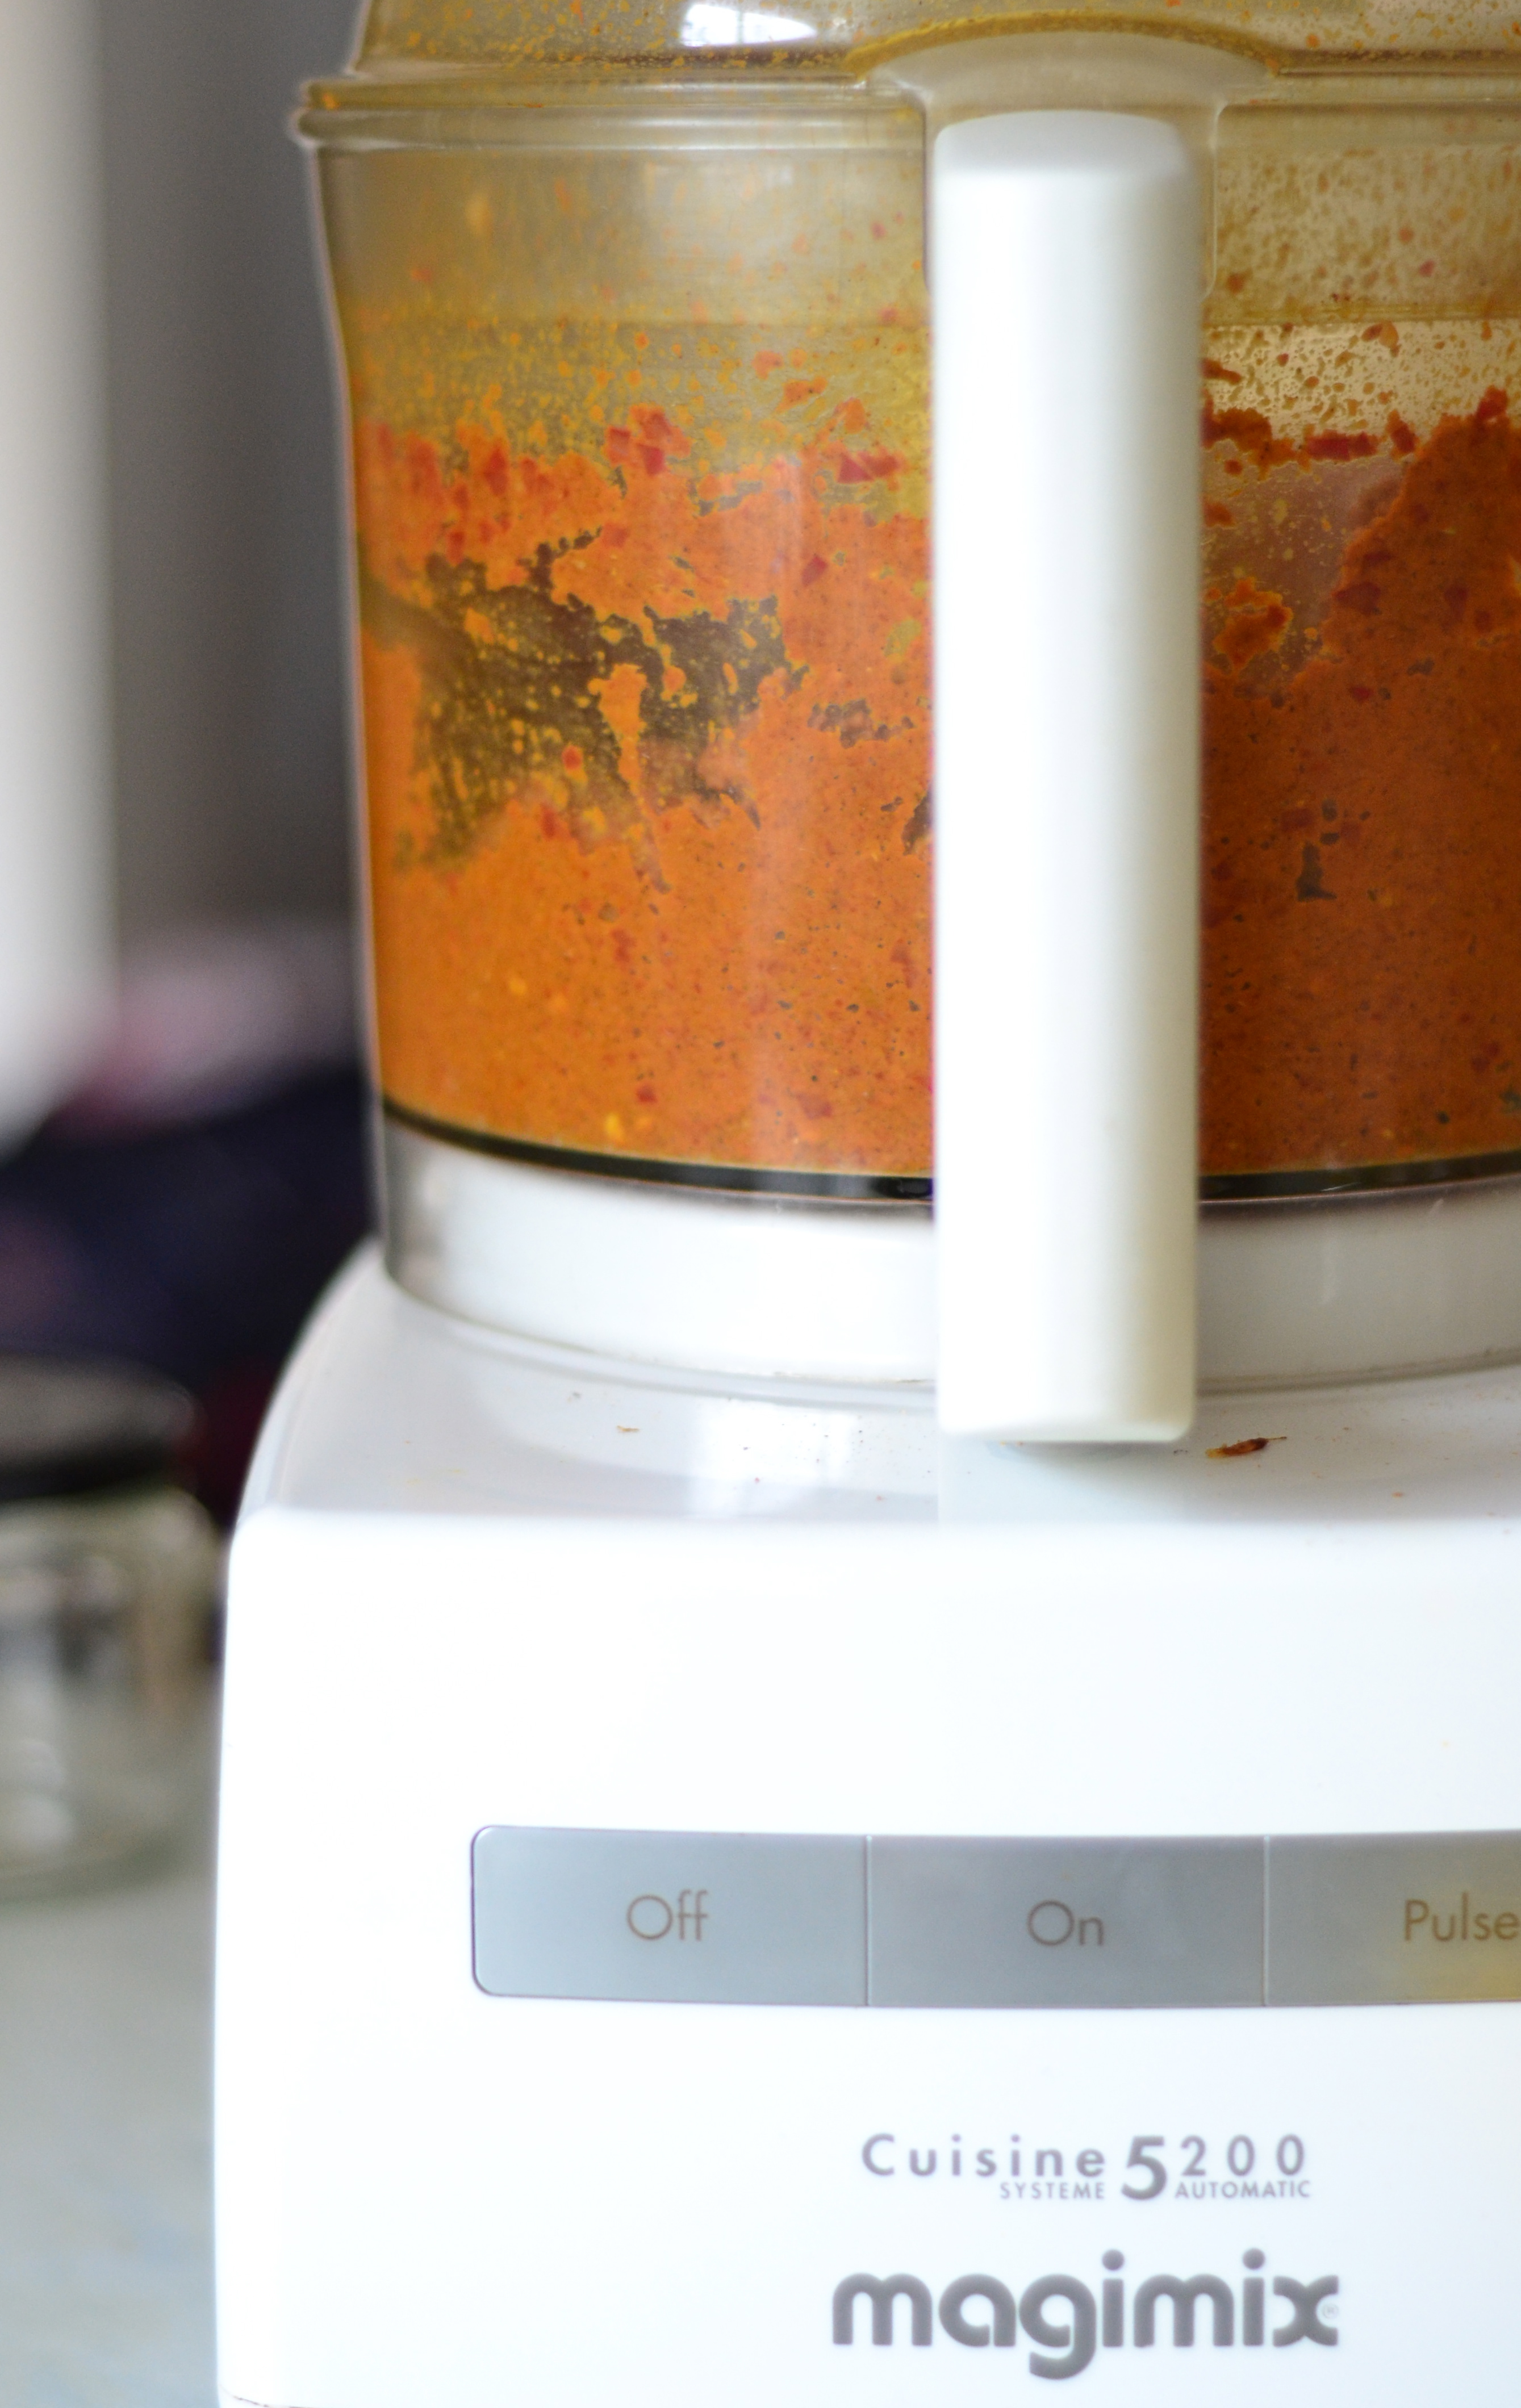
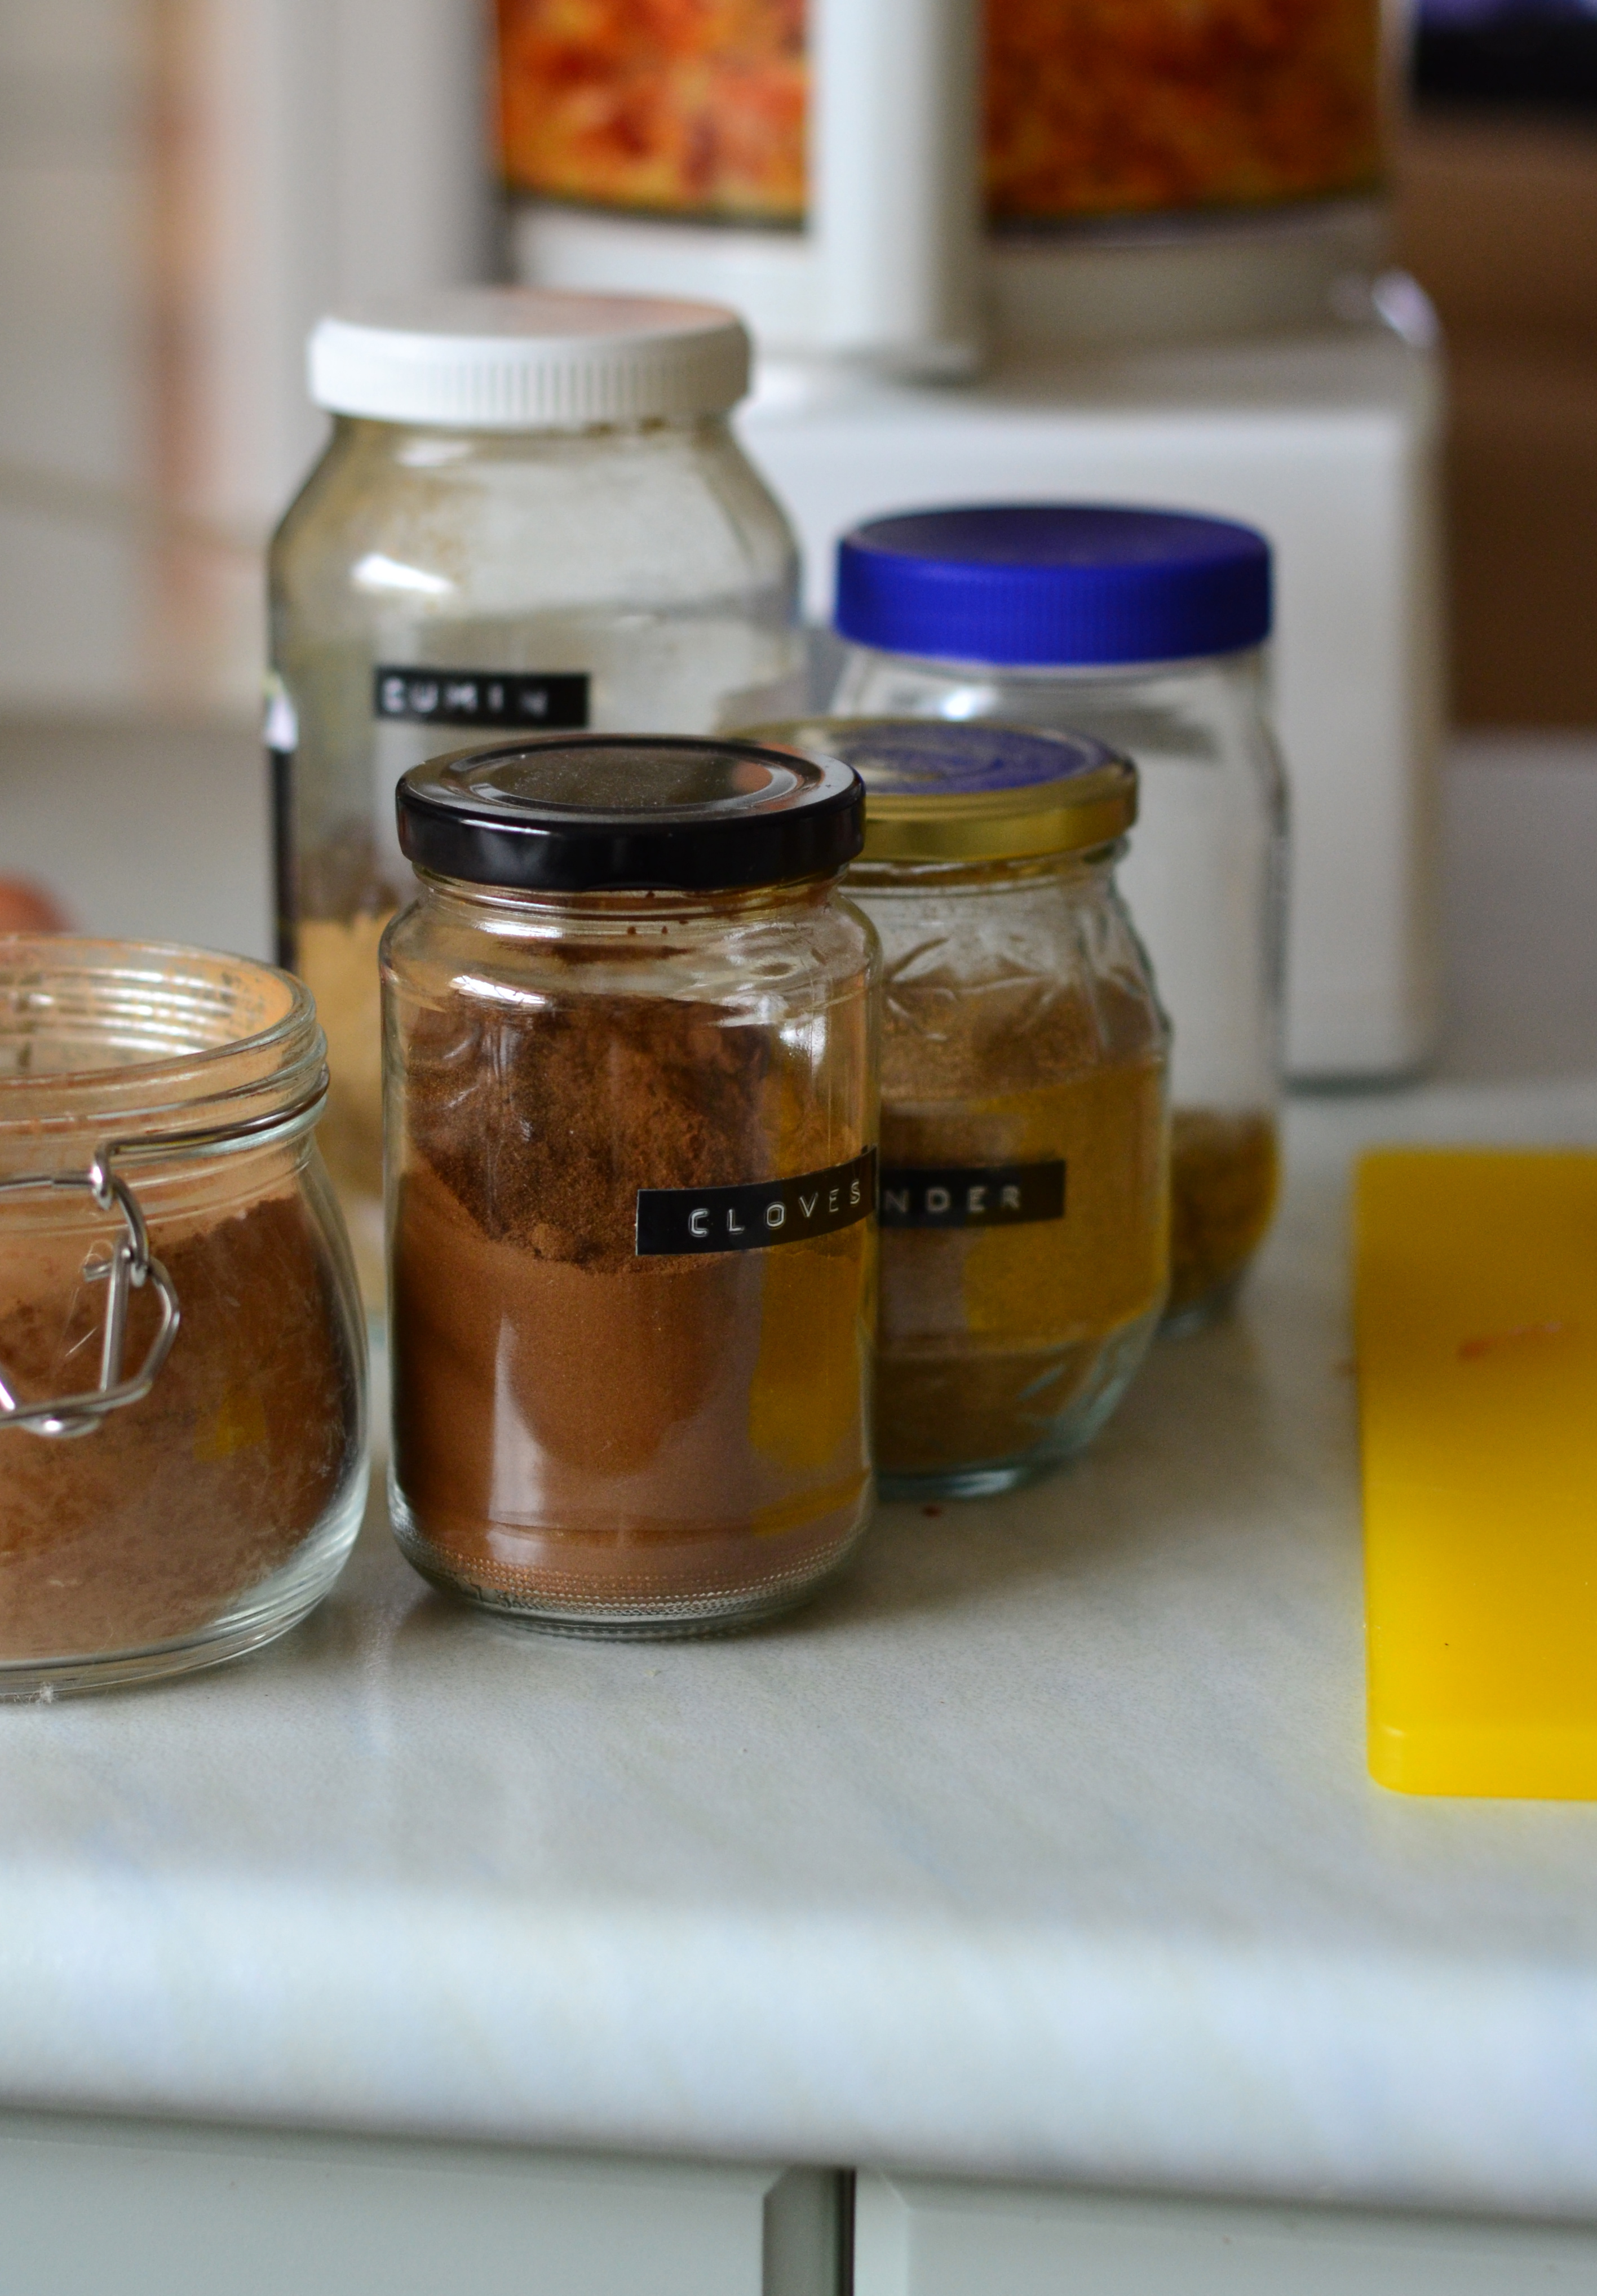
Making curry paste from scratch is a rewarding activity. It’s also fun, akin to being in an apothecary shop, collecting an array of less commonplace spice jars form the kitchen cupboards and transforming them into a flavoursome base for a dish. Some might be put off by the long list of ingredients needed for a spice paste, but there’s no reason. Only one (usually) process needs to be applied to them all, pounding with a pestal and mortar or the less strenuous method of blitzing in a food processor. For large batches of pastes, utilising a motor is very handy, but for small quantities, bashing ingredients together by hand can be extremely satisfying. Even therapeutic.

Indonesian chicken curry

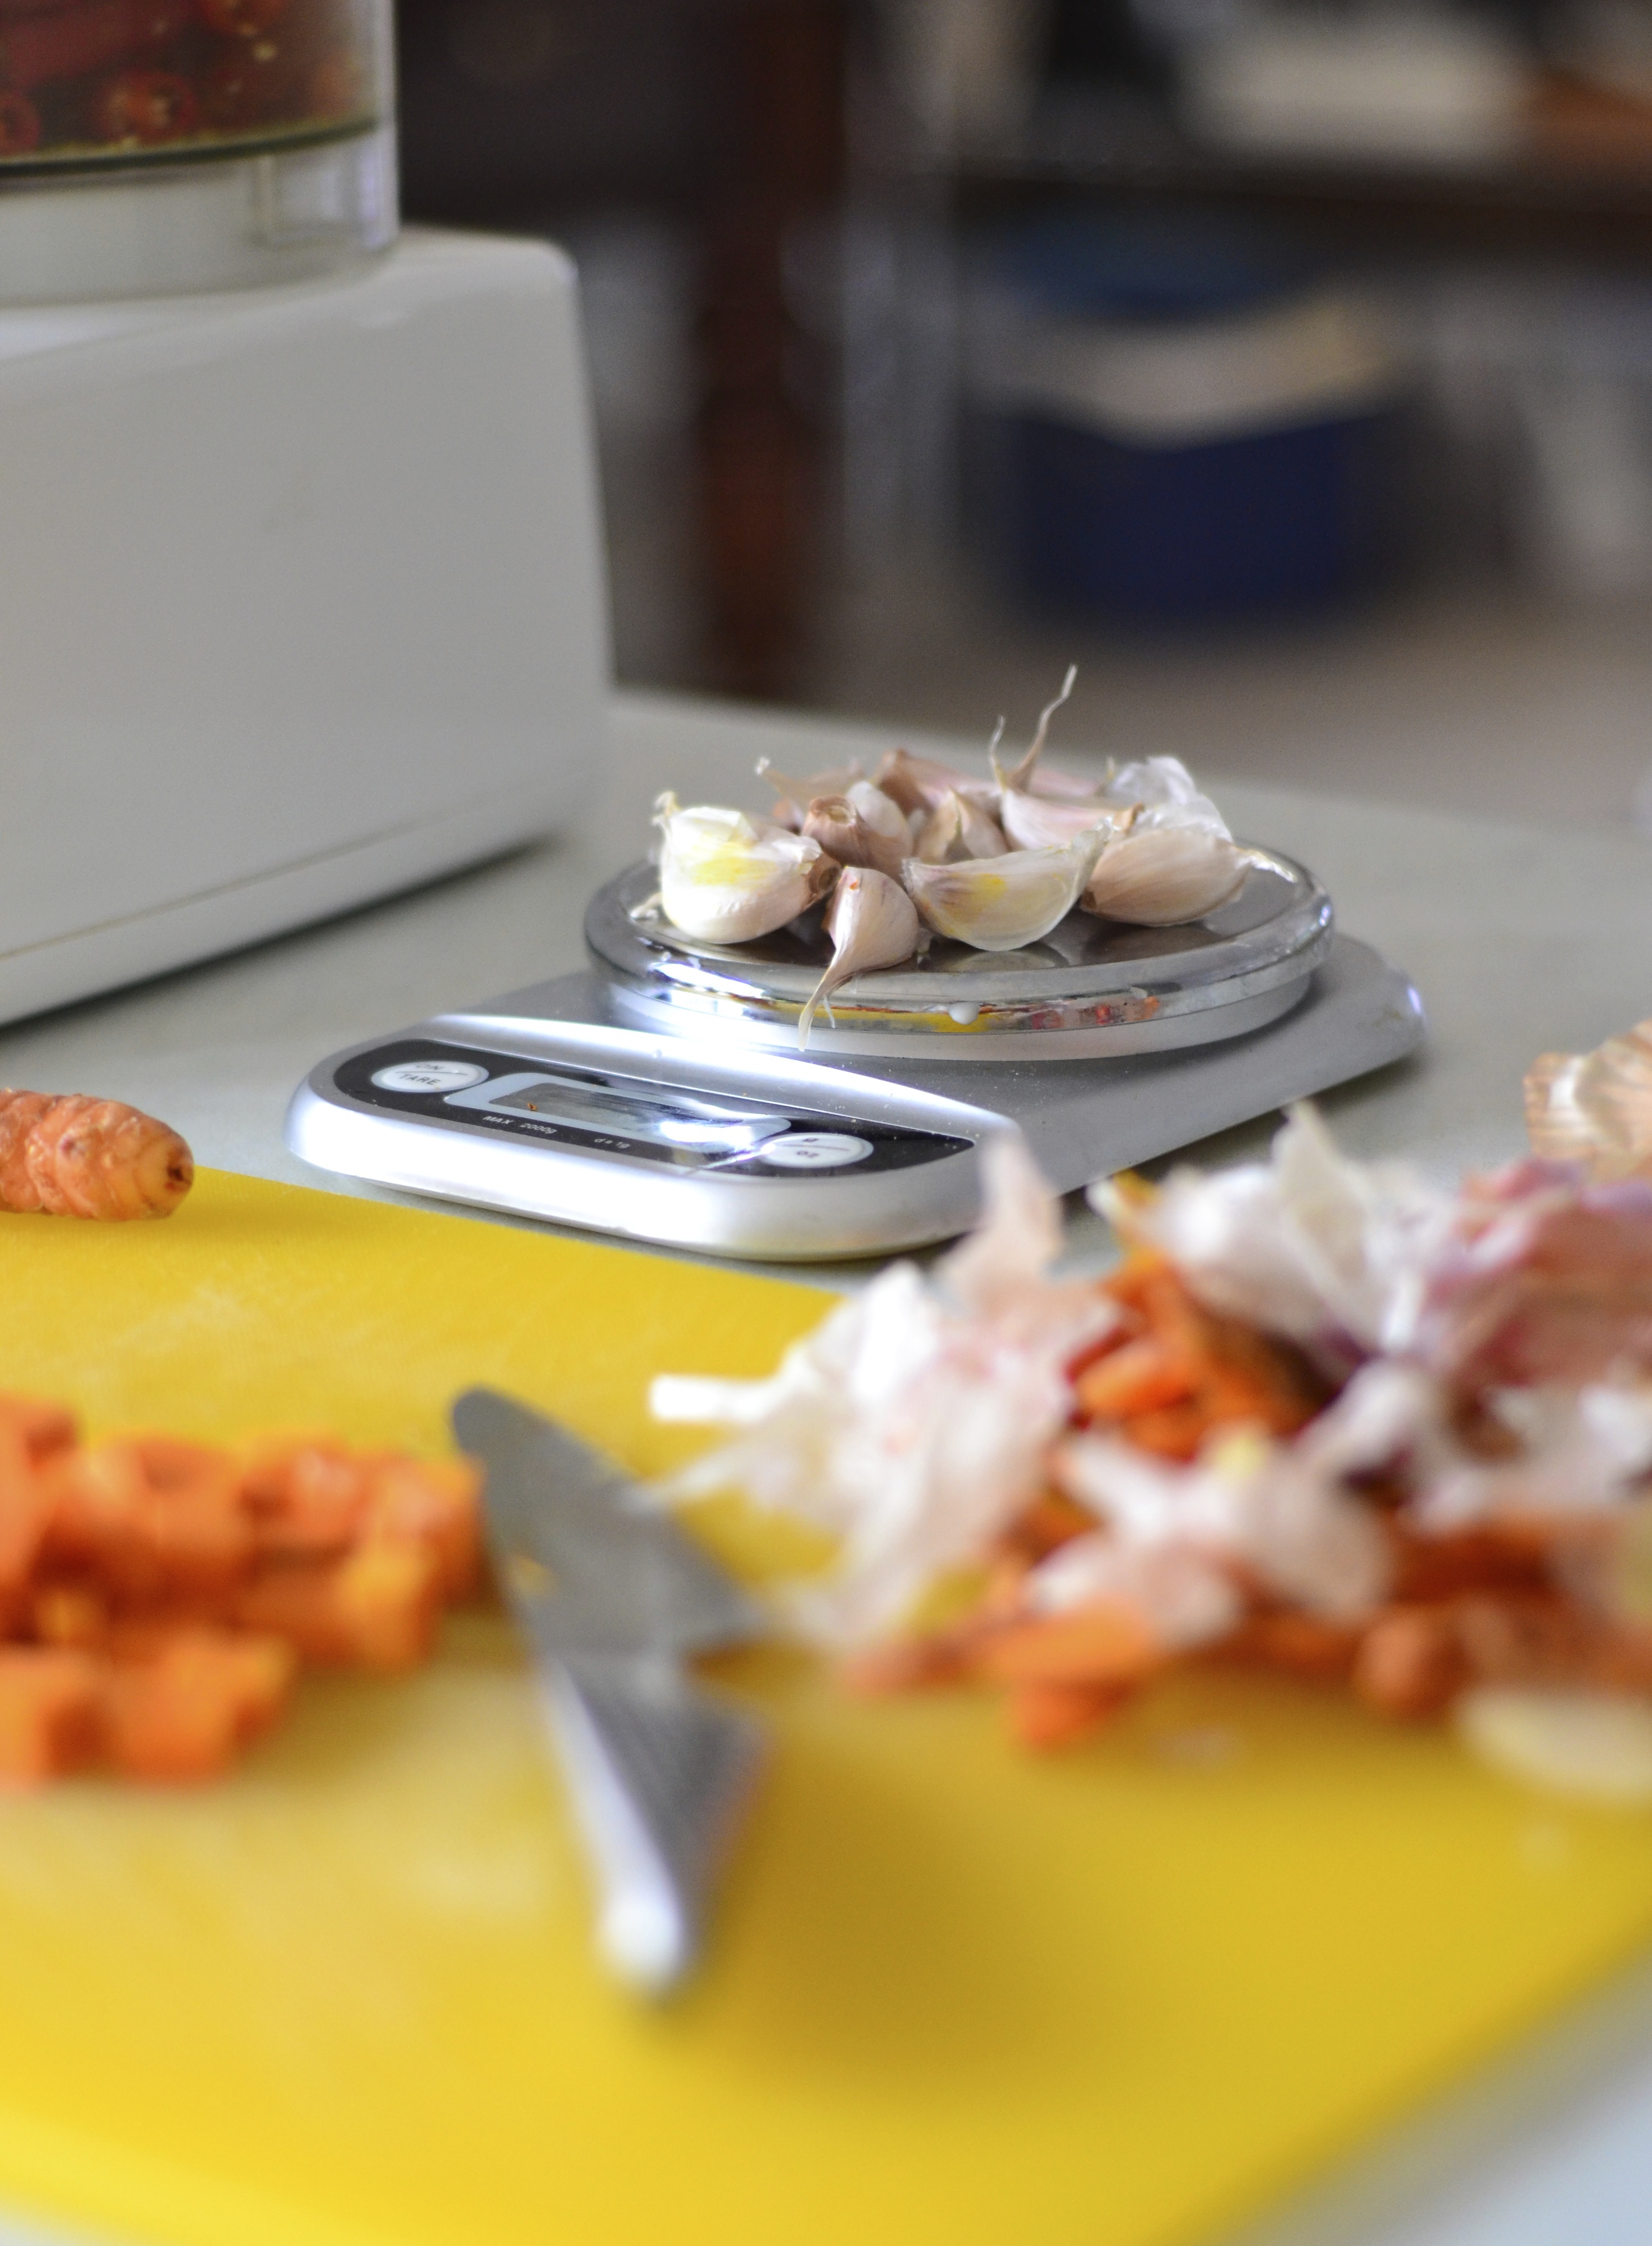
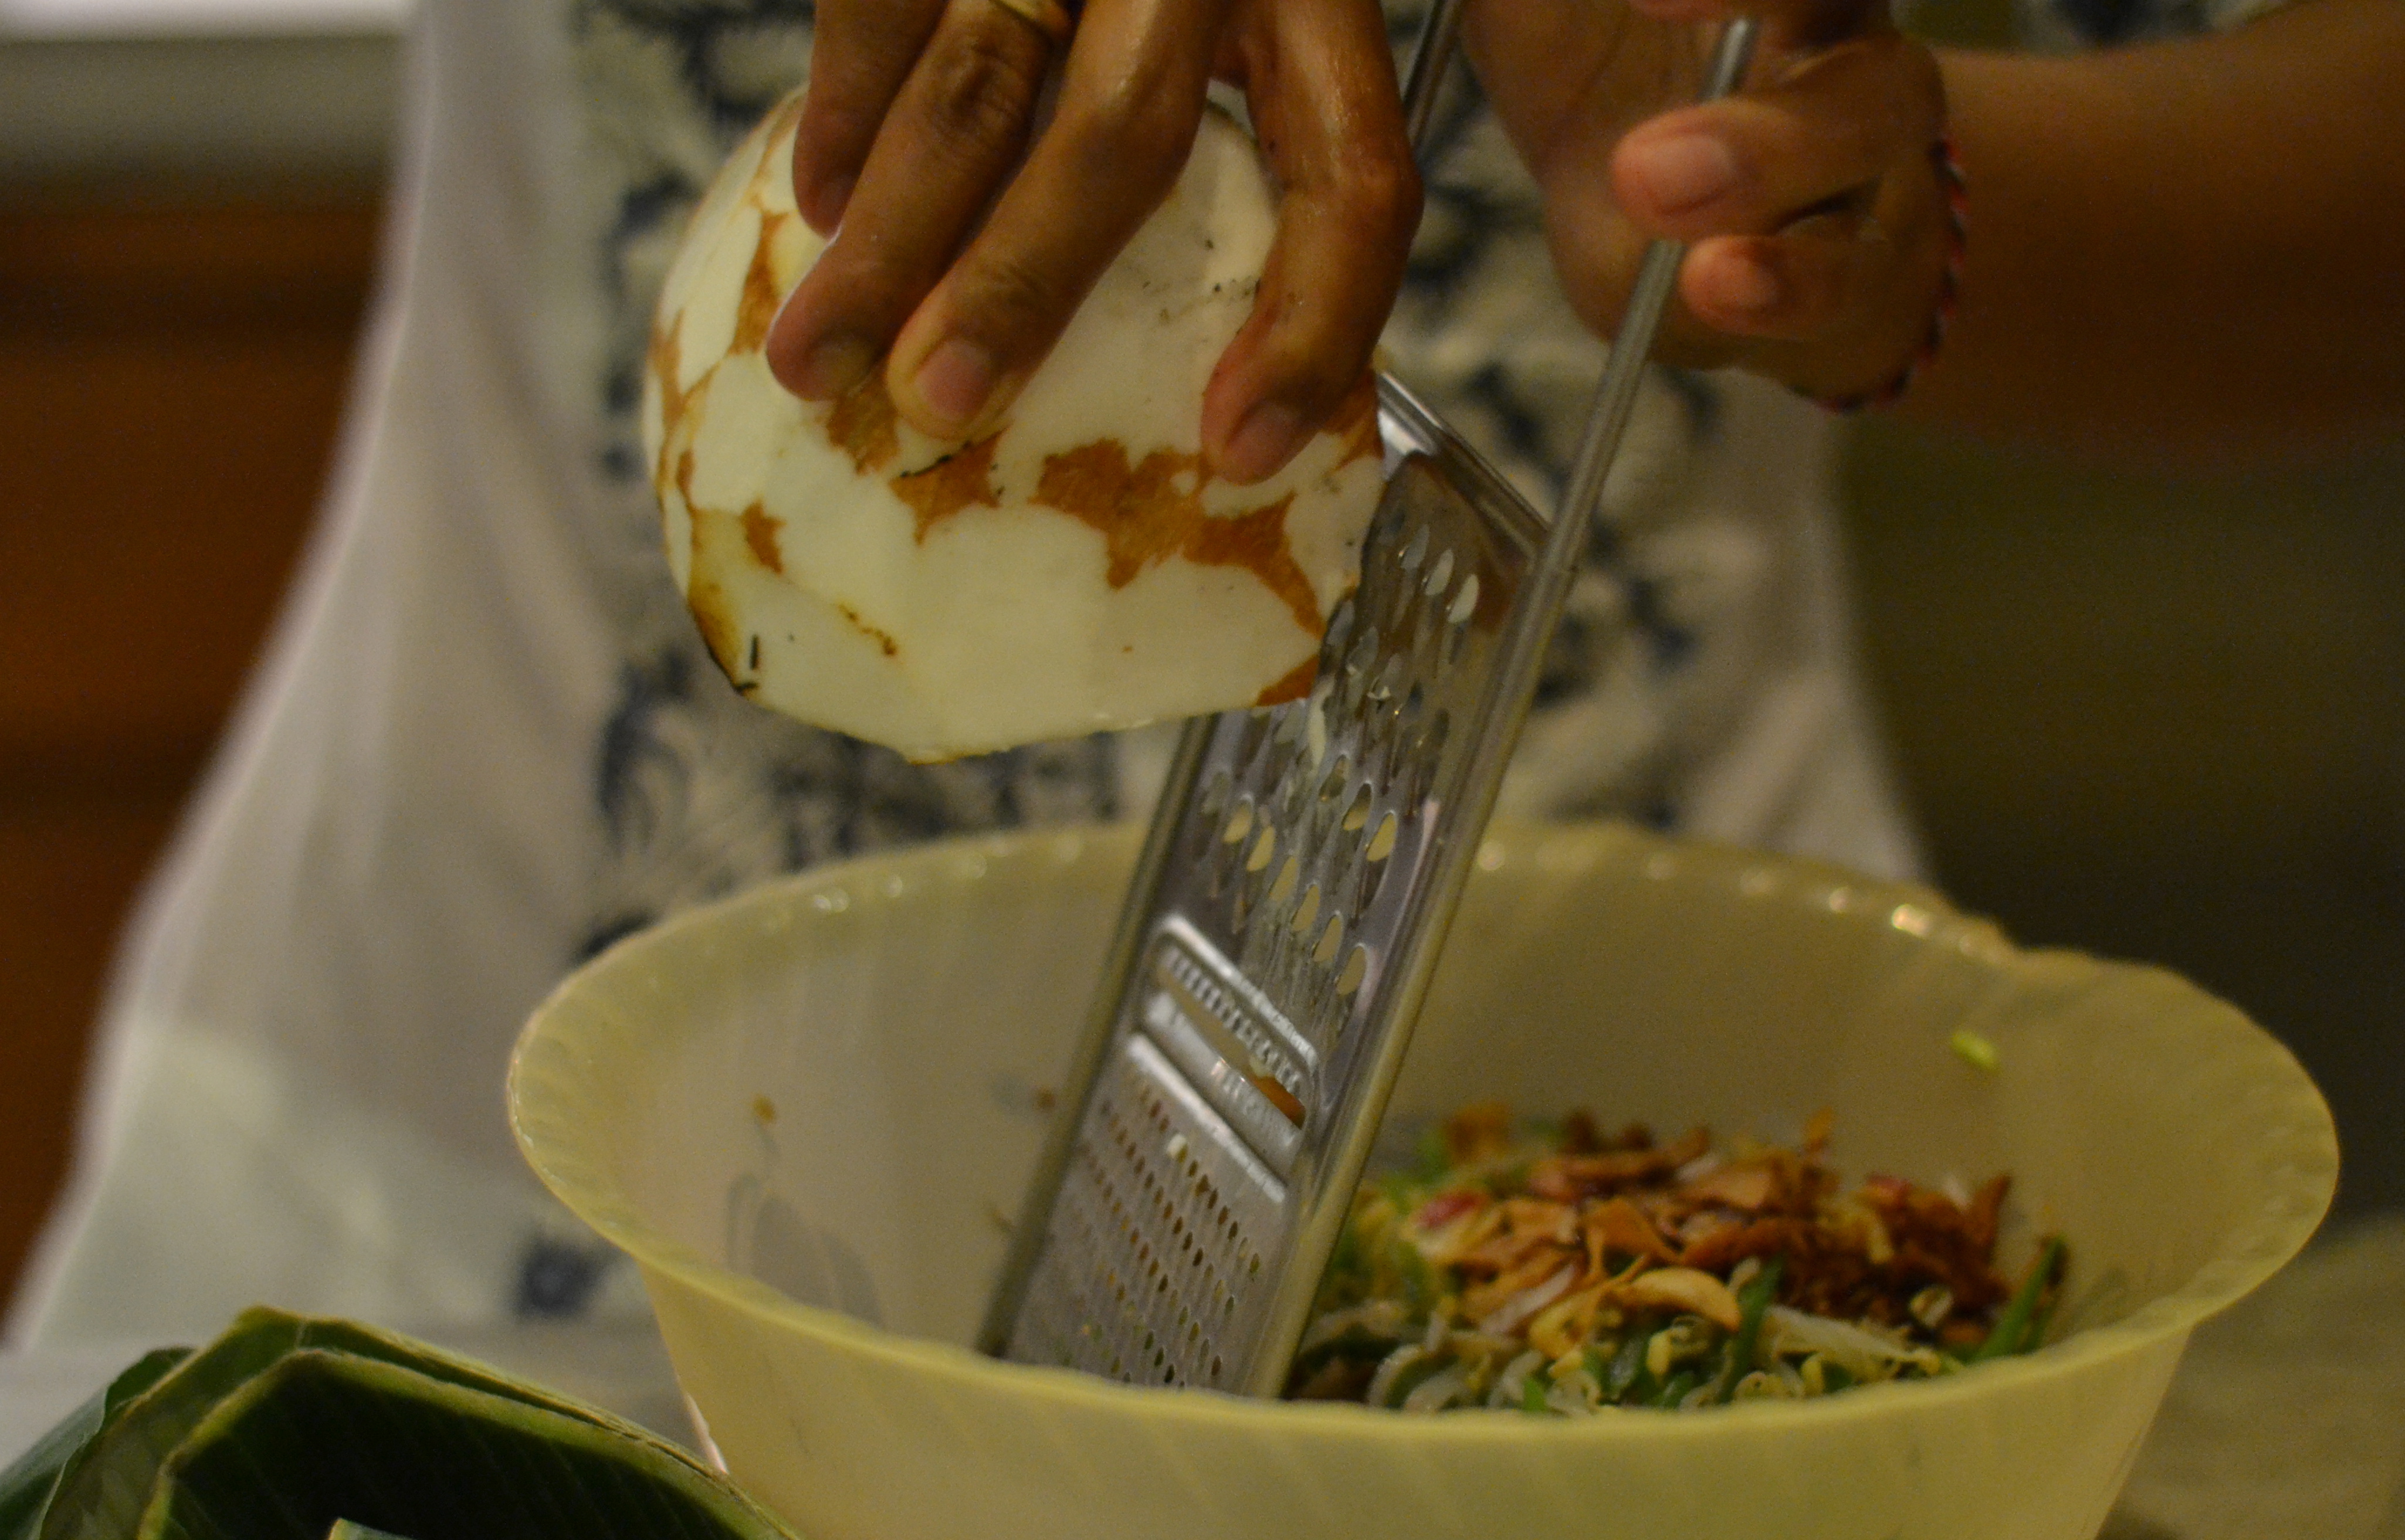
It’s worth mentioning that the turmeric in this recipe, which is vital for the colour and flavour of the dish, will stain. Your hands. Food processor. Kitchen bench. Chopping board. Even sink. Don’t be alarmed though. Simply clean as you go and no permanent damage will be done. Besides, the health benefits of turmeric far outweigh any yellow spots that might sit on the kitchen bench for a few days.

Indonesian chicken curry

It turned out that everyone loved the bright yellow curry, especially the birthday girl, who asked for seconds. Even Miss. five and Miss. seven enjoyed it and both my sister in laws wanted to know the recipe, something that’s always taken as a huge compliment. And always shared. As far as curry pastes go, this one is pretty easy. And if my family is anything to go by, it’s universally liked. So go on, get those spice jars from the back of the cupboard and have a go.

DSC_1534

Indonesian chicken curry

Adapted from a recipe by Alina Lucas

For the curry paste

  • 100g medium–hot red chillies, seeded 
  • 100 g (French) shallots, roughly chopped 
  • 25 g garlic cloves 
  • 5 macadamia nuts 
  • 40 g fresh turmeric, chopped 
  • 15 g ginger, chopped
  • 2 lemongrass stalks, tough outer stem removed and sliced 
  • 25 g galangal, chopped 
  • 2 tsp ground cumin
    2 tsp ground coriander 
  • 1 tsp fennel seeds, toasted and ground
    2 tsp ground cinnamon 
  • 1 tsp grated nutmeg 
  • 1/4 tsp ground cloves
  • 2-4 tbs melted coconut oil  

Simply combine all ingredients in a food processor and run the motor until a coarse paste is formed. Loosen with melted coconut oil.

For the curry

  • 1 litre coconut milk
  • 1 tbs fish sauce
  • 1 tbsp salt 
  • 75 g sugar
  • 1 kg chicken thigh fillets, cut into walnut-sized pieces 
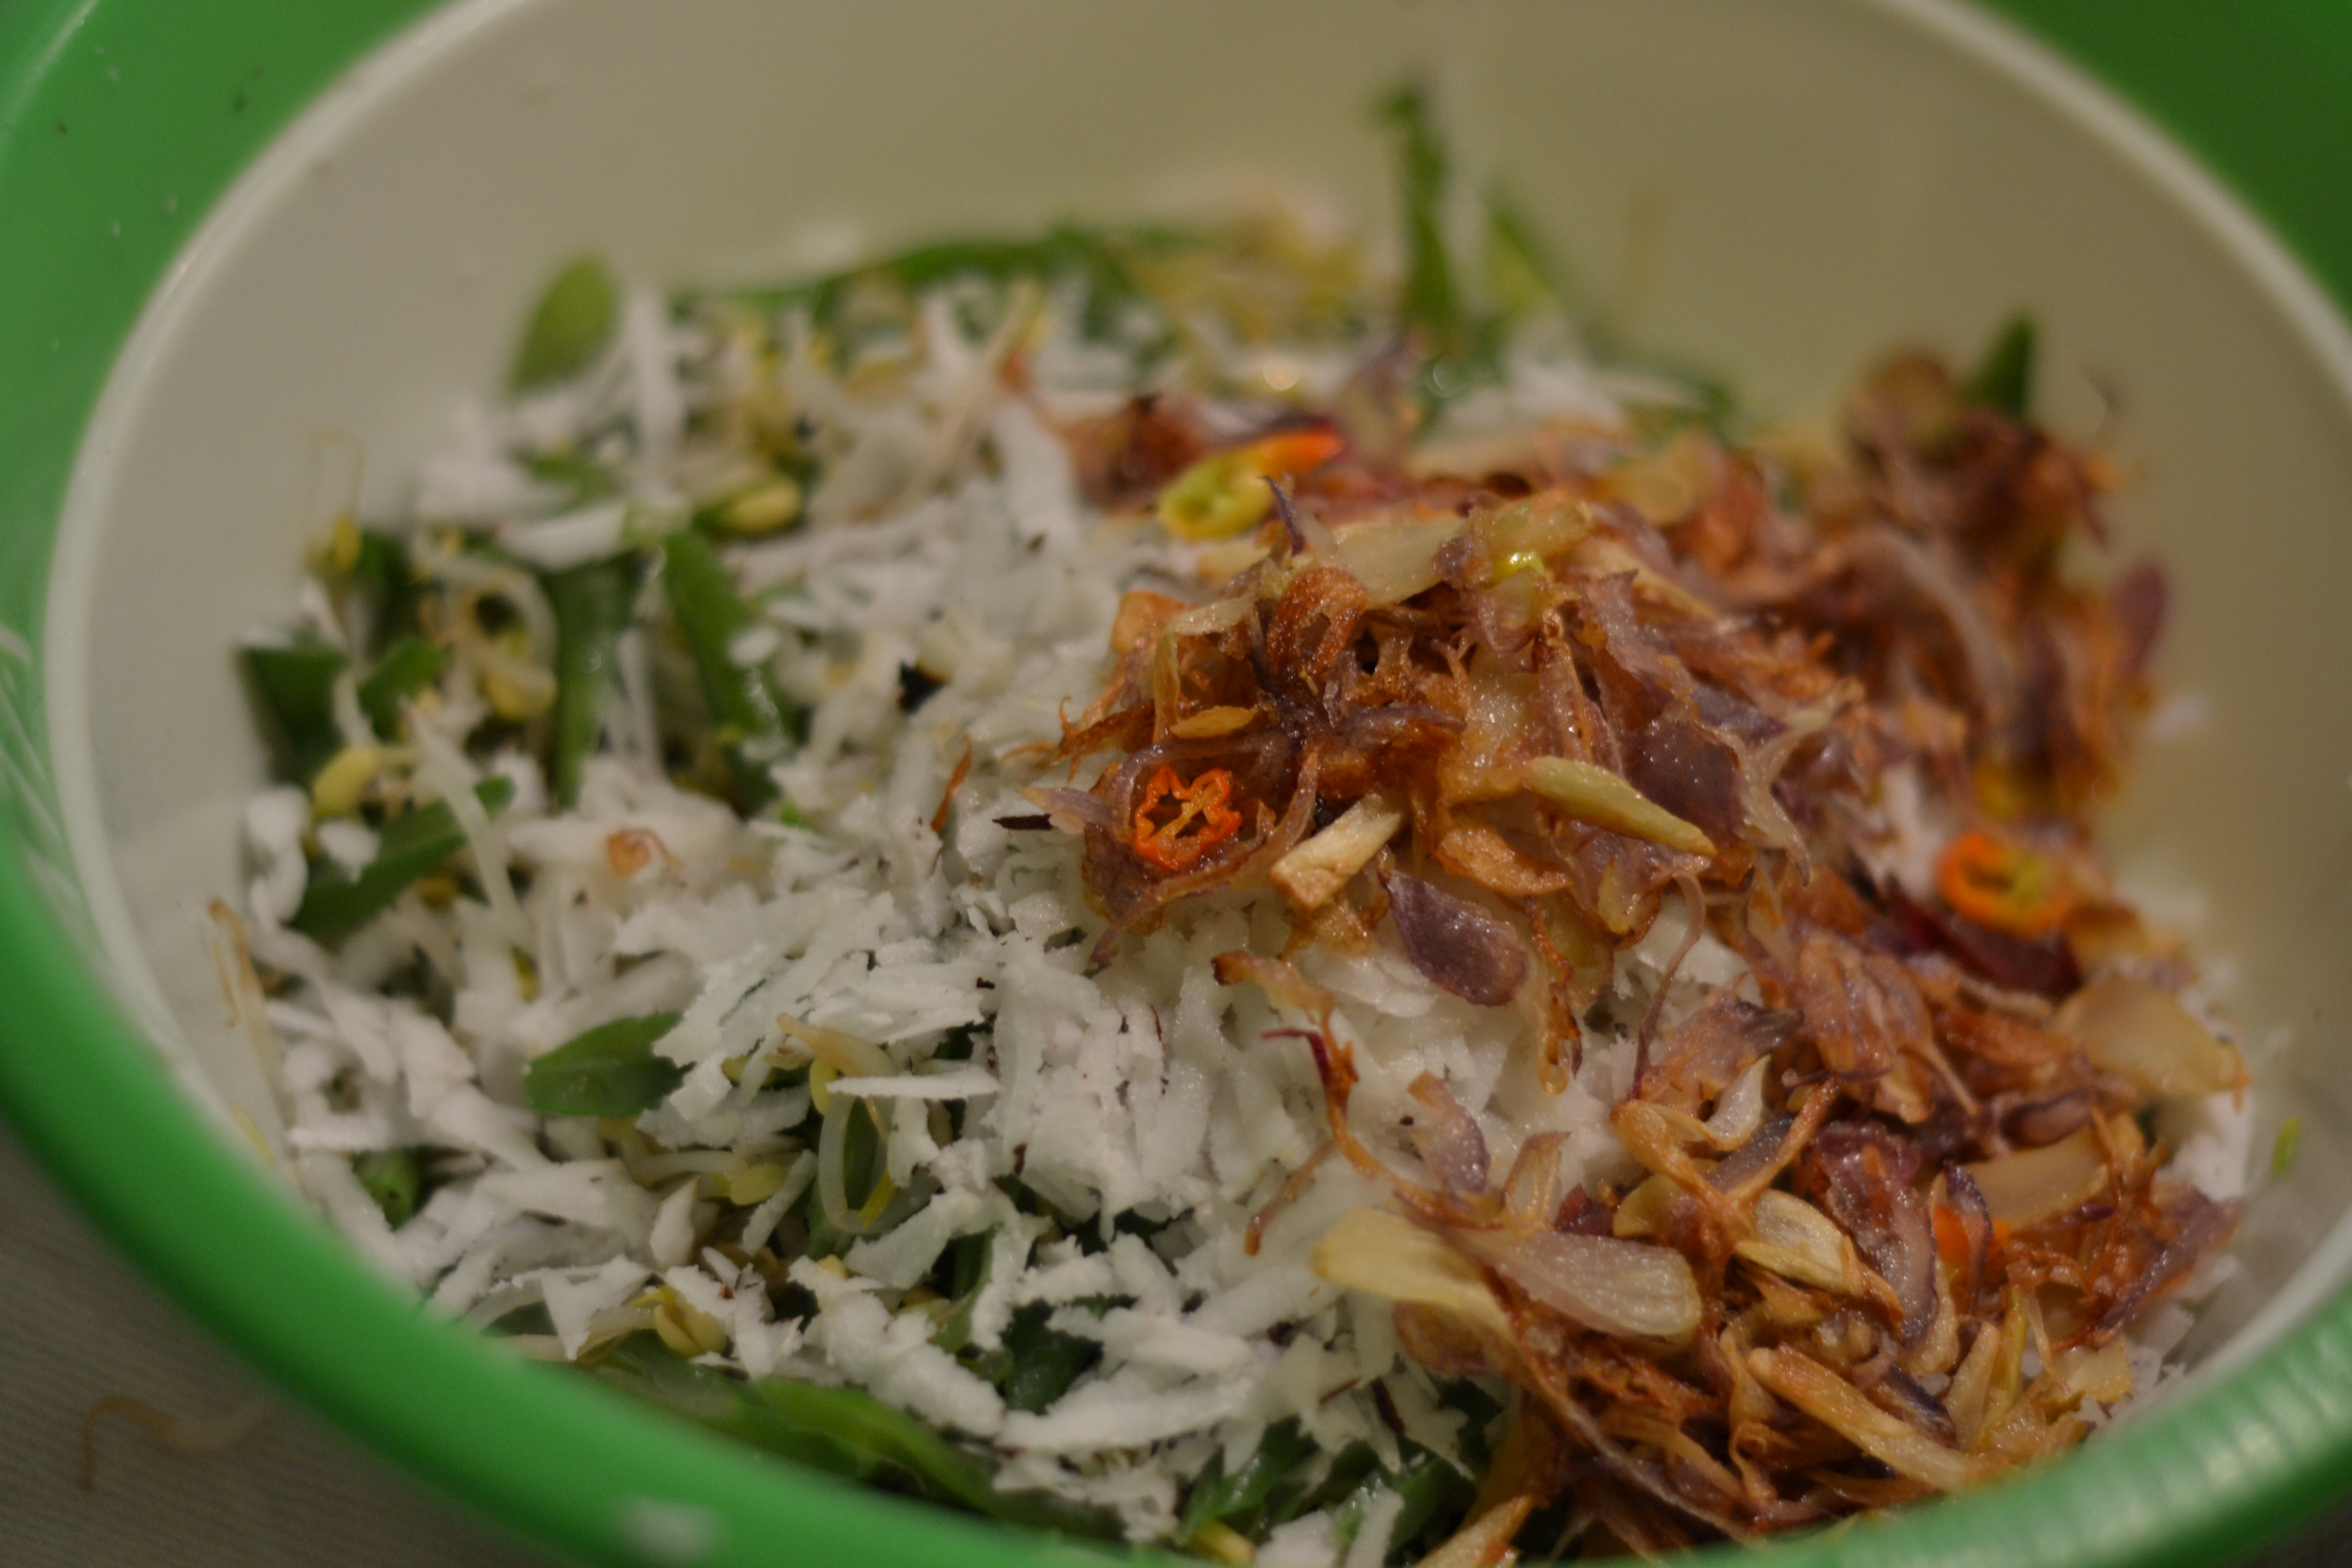
  • 1 kg mixture of pumpkin, sweet potato, carrots, broccoli and snow peas

Fry the curry paste over a moderate heat until it is fragrant, about five minutes. There should have been enough coconut oil added to the paste for there to be no need for any more, but if it starts to stick to the pan, you can add a little non-flavoured oil.

Now add the coconut milk, fish sauce, salt, sugar and bring the brilliant yellow sauce to a simmer.

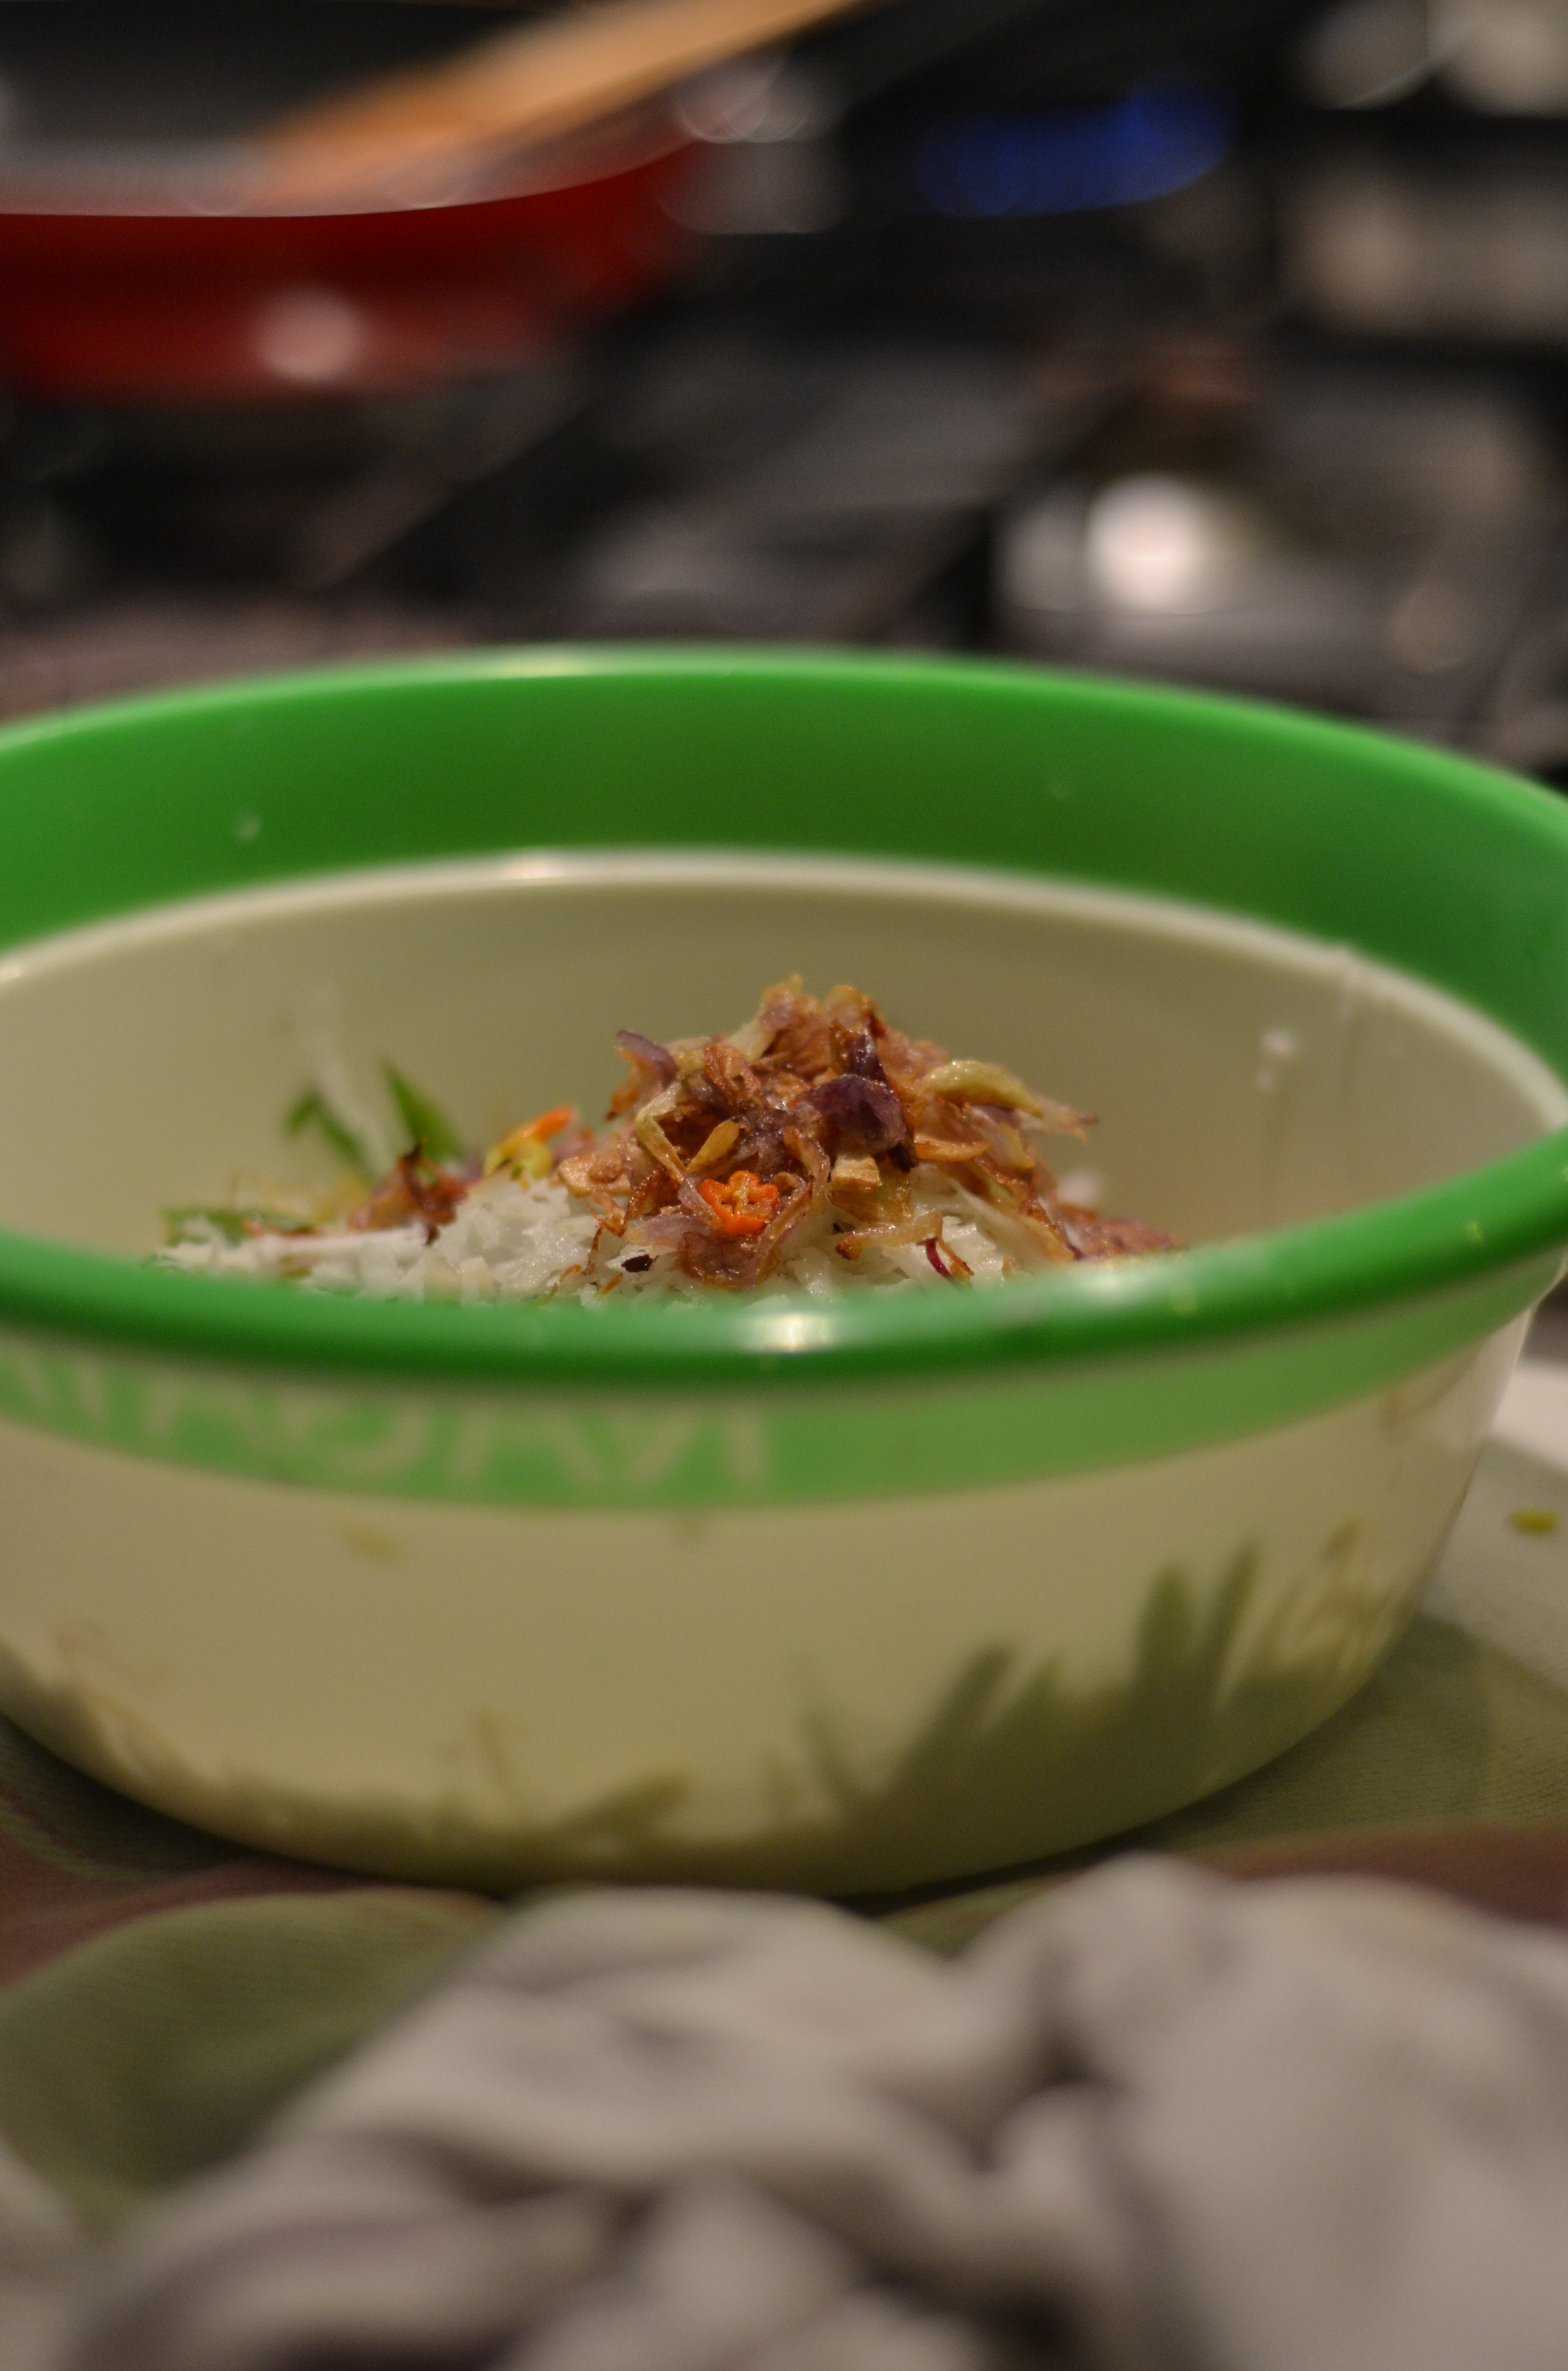
Add the chicken and root vegetables and simmer until all are just cooked through, about 20 minutes. Now add the green veggies, simmer for a further 5 or so minutes. Check the sauce for seasoning and add more fish sauce, salt or sugar as necessary. The curry should be slightly sweet, rich and creamy.

Enjoy with steamed white rice, or simply in a big bowl with a spoon.

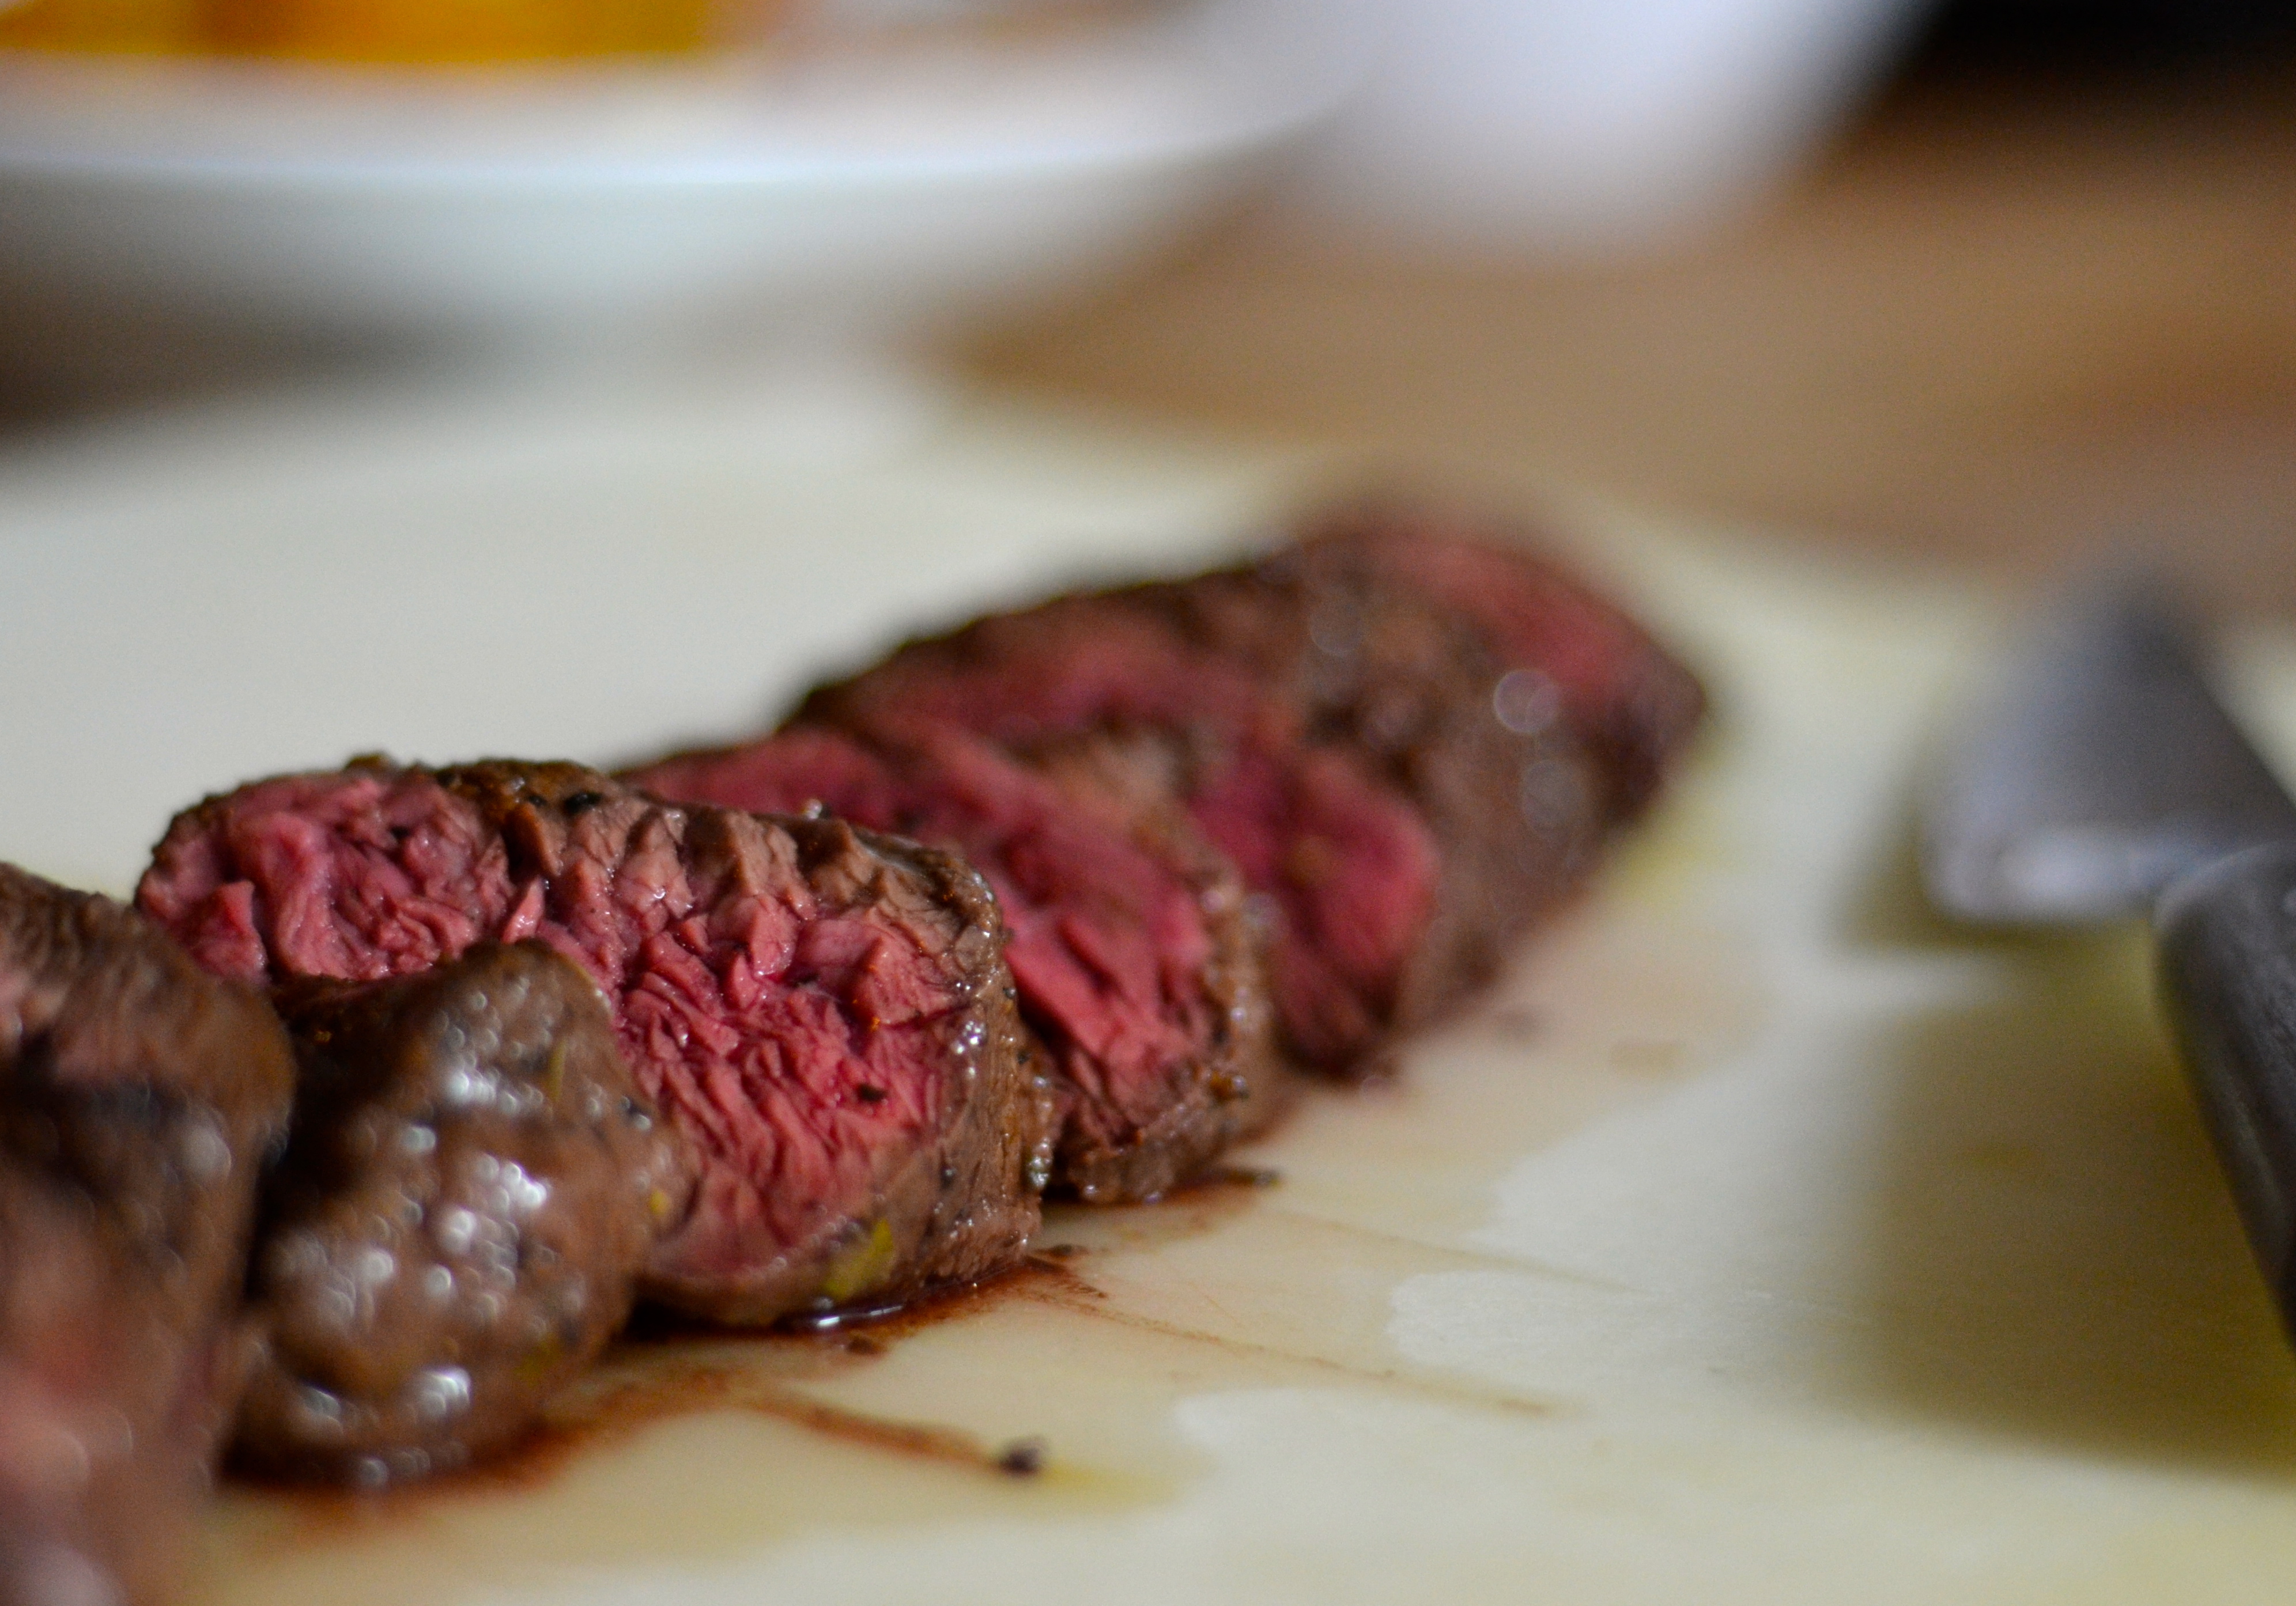
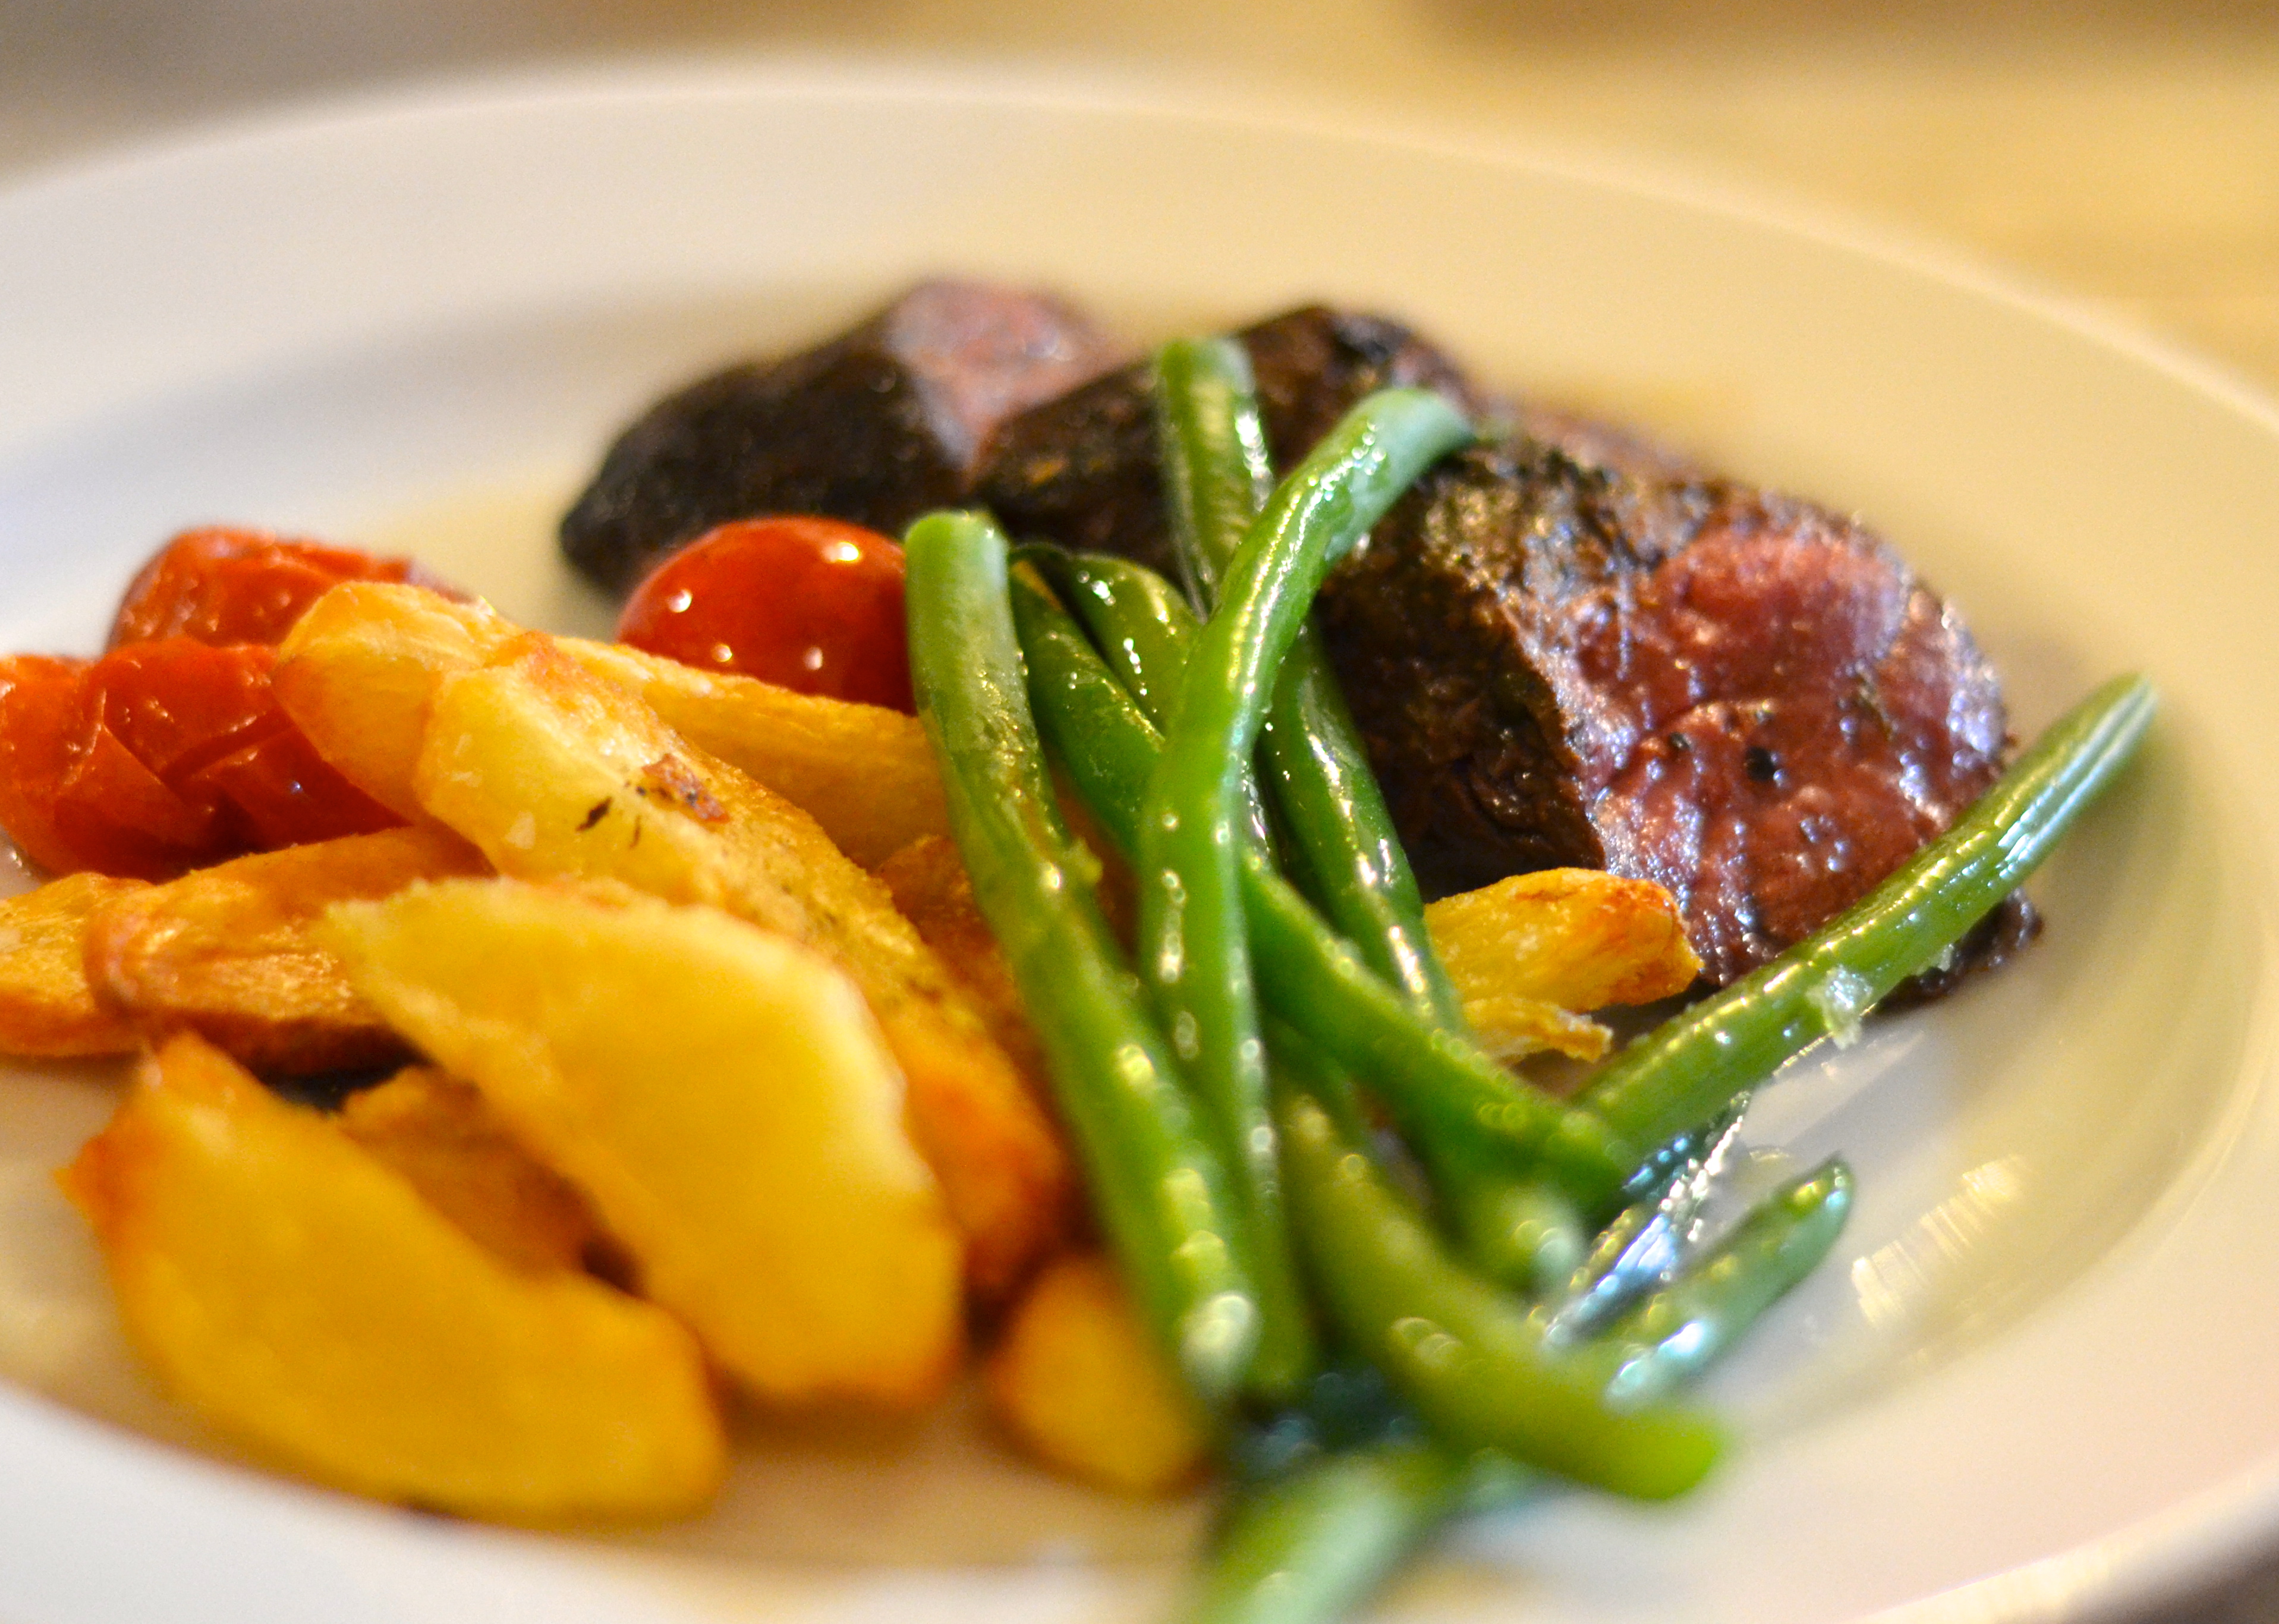
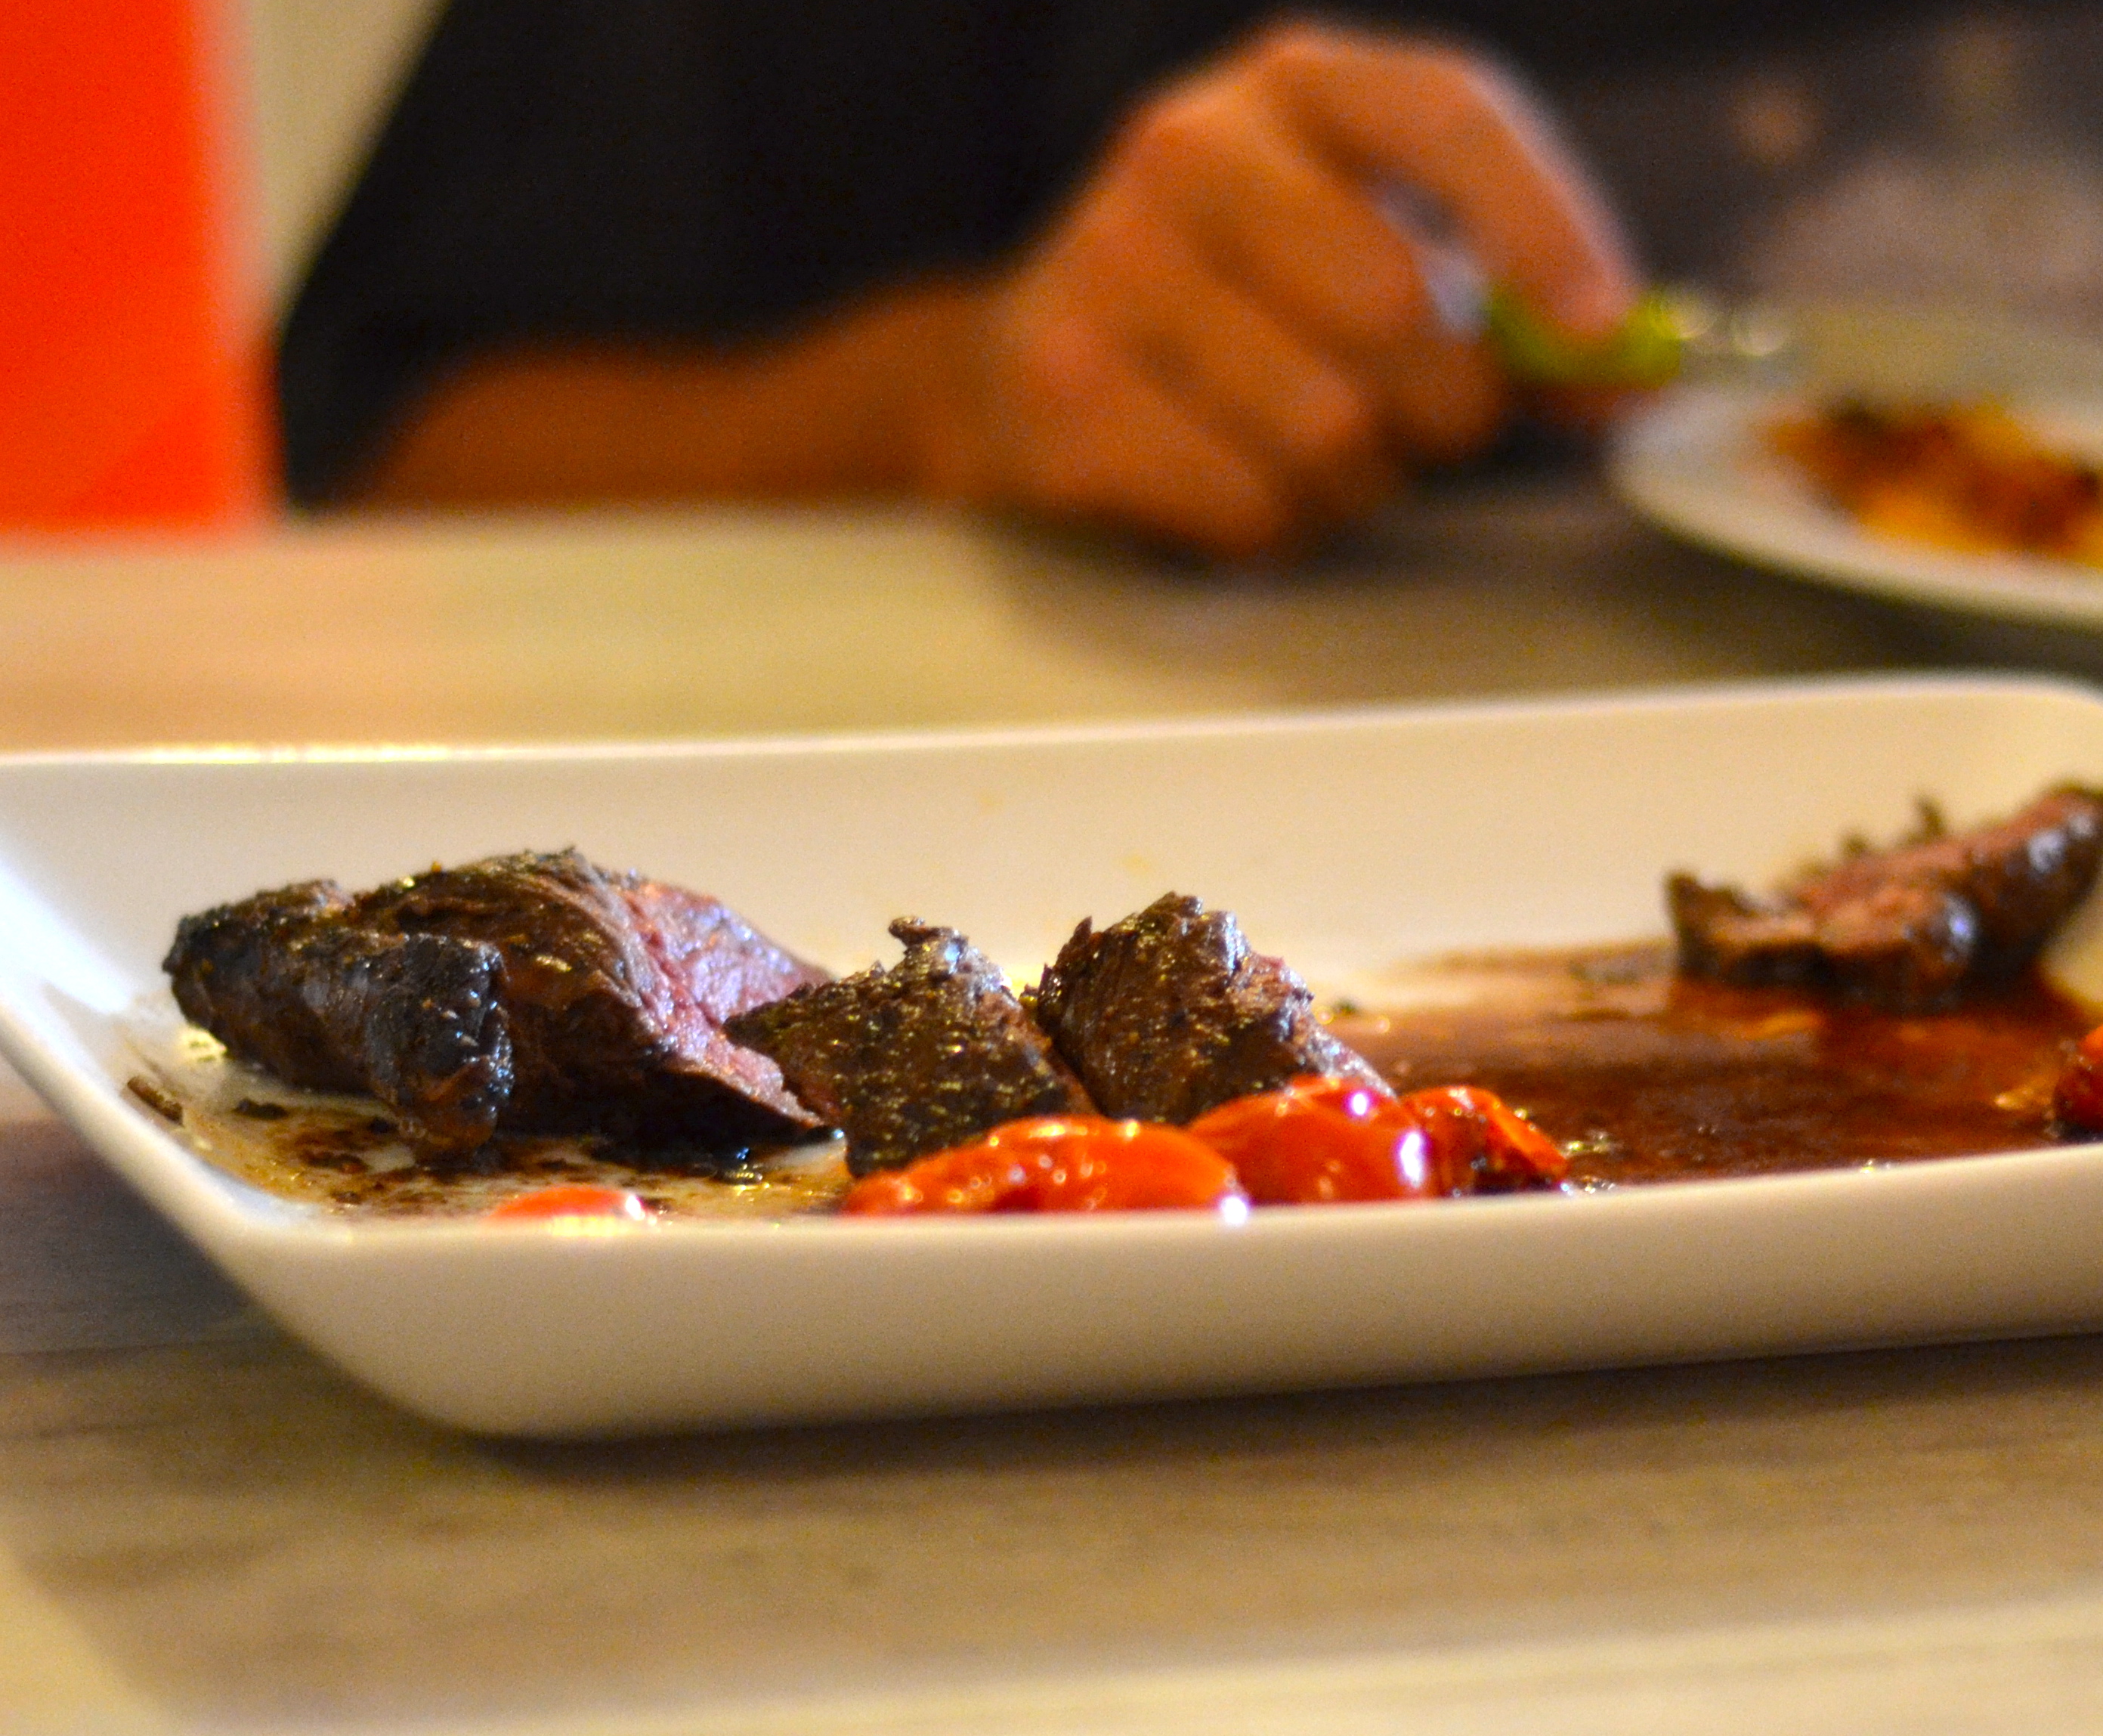
If you liked this recipe, you might also like this beef in red wine stew

Chicken in milk

I have been absent. From my computer and camera though. Not the kitchen. I’ve still been busy in there, creating some comforting and filling week night dinners in preparation for a half marathon that I’ve been training for. Pork belly with roast parsnips and leeks coated in a white sauce, Karen Martini’s baked polpette with brussels sprouts and washed rind cheese and Jamie Oliver’s chicken in milk. Winter food to warm, fuel and nourish.

chicken in milk

I am proud to report that I completed the 22 kilometre race course at the weekend in two hours and four minutes, much faster than I had anticipated. There’s a lot to be said for a little competition. To challenge yourself with your inner dialogue to overtake the lady in the grey top, and then the man in the blue t shirt. To maintain the faster pace because you tell yourself that you have trained well, that the scenery is beautiful and it’s a wonderful feeling to be up and exercising early on a Sunday morning. And then there’s the marshals cheering you on, uplifting your spirits and making you smile. It seems I run faster with a smile.chicken in milk

So now the question is, do I continue training for the full marathon in September. Currently with a cold and sore muscles, I’m not sure. But the possible achievement of completing the 42 kilometre run around Sydney, including running across the Harbour Bridge, does seem like a worthwhile feat. It’s also something that I’m curious to know if I can do. Watch this space.

chicken in milk

But back to the chicken in milk. Cooking meat in milk is something that has been on my kitchen to do list for longer than I can remember, yet I have been scared of doing so for fear that it would be a complicated task. I can assure you now, it’s not. In fact this recipe yields stunning results for the small amount of effort that you have to put in. I adapted Jamie’s original recipe slightly to incorporate the flavours of bread sauce, a classic British sauce that traditionally accompanies roast chicken. It’s a sauce that I am an absolute fan of. Enjoy.

Chicken in milk

Adapted from a recipe by Jamie Oliver from his book Happy days with the naked chef

  • 1 whole chicken
  • 2 lemons, zest removed with a vegetable peeler
  • bunch of sage, leaves picked
  • 4 cloves
  • 1 cinnamon stick
  • 1 onion, peeled and quartered
  • 10 cloves garlic, unpeeled
  • sea salt
  • black pepper
  • 500ml milk

Begin by browning the chicken on both sides in a little oil. Use a sturdy bottomed pan to do this, preferably that one that you are going to cook the chicken in the oven in. Heat the pan over a low heat, place the chicken inside and simply let it sit on one side until it is golden brown, which will take about 5 minutes, before turing it over (with thongs) and repeating the process.

If there is excess oil at this pout, drain it form the pan.

Now add the the remaining ingredients and place the pan in an oven preheated to 180 C.

Cook the chicken for about 1 hour 30 minutes, basting with the milk regularly.

Serve with green vegetables and mashed potato to soak up all the beautiful sauce. I used some of the milky sauce in the mashed potato. Delicious.

Enjoy this recipe. You might also like classic meatballs and spaghetti.

Three cheese quesadillas

three cheese quesadillas

I was craving cheese. Not just any cheese, but molten, runny, stringy cheese. In snack form, to be eaten with fingers and no need for a table. Being Friday, I knew exactly what I would make. Three cheese quesadillas. White corn tortillas, hot and crisp, glued together with melted cheese, spiked with pickled jalapeños. A lazy dinner requiring little effort or preplanning, that we could graze on throughout the evening while chatting about the week’s events.

three cheese quesadillas

The weekends seem to have been very busy lately, but Friday’s are still exciting, signalling a change of pace. Activities done on a Saturday and Sunday are usually carried out at in a much more leisurely manner and unrelated to Monday to Friday’s work. To mark the change in tempo, Friday dinners are fun. They involve less formality or forethought and in our house, a lot of the time, they are eaten with fingers around the kitchen bench. Sticky pork ribs, pancakes with crispy lamb and hoi sin sauce, garlic prawn pots with crusty bread, home made pizza and often, these three cheese quesadillas.

three cheese quesadillas three cheese quesadillas

I’m not sure what it is about grated cheese, but I have always been one to steal little handfuls of this ingredient when it is sitting in a pile on a chopping board, prepared and ready for a recipe. It could be because it’s naughty. As I child I knew my mum needed all the cheese that she’d grated for a dish, but I couldn’t help sneaking some to stuff into my mouth while she wash’t looking. It could be textural, the way you can compress the individual strands together in your mouth. It could also be because you get the impression that you are being completely overindulgent, the air between the yellow strands tricking you, making you think you are eating more that you really are. Whatever the reason, grate lots of cheese for this dish. More that you think that you will reasonably need to sandwich together two corn tortillas. It will melt into a comforting, salty, savoury, moorish snack that you just won’t be able to resist.

three cheese quesadillas

three cheese quesadillasthree cheese quesadillas

Three cheese quesadillas

  • 3 types of cheese – your choice. I used mozzarella for it’s stringy characteristic when melted, cheddar cheese for it’s punchy flavour and feta for it’s saltiness and creamy quality when hot.
  • corn tortillas. They must be corn. Flour tortillas just don’t crisp in the same way and are more prone to burning.
  • pickled jalapeños, finely chopped
  • oil for frying
  • optional Mexican beer

1. Lay out several corn tortillas and spread each with a teaspoonful of pickled jalapeños.

2. Take a handful of the first cheese and evenly distribute it over the tortilla.

3. Now do the same with the second and third cheeses.

4. Place another tortilla on top the cheese laden base tortilla and you are ready to start frying.

5. Set a frying pan over a moderate heat and let it become nice and hot.

6. Pour a little oil into the pan and add the quesadilla. Fry until cheese starts to pour from the sides of the tortilla and the base is crisp and brown.

7 .Flip the tortilla with a spatula and cook until the other side is also browned, then tip onto a chopping board, cut into slices and enjoy.

Enjoy this recipe? You might also like this cheesy recipe for gougeres

Salmon tacos with cabbage slaw

At the start of the year, buzzing with good intentions and goals for 2015, I set up several reminders on my phone. Eat breakfast. Yes, I need a cue for this extremely important daily task, to nag me, otherwise the window closes and I’m left hungry. Cod liver oil. To prompt me to take this age old supplement that I wholeheartedly believe in. Salmon. A memo to encourage me to eat oily fish more often. Most of the time these words that flash across the screen of my phone are hastily dismissed. Yet a subliminal message must trickle through to my consciousness, because today I had the urge to make salmon tacos with cabbage slaw.

salmon tacos with cabbage slaw

Fish tacos are the best. Light. Fresh. Tasty. Colourful. Zingy. Zesty. Crunchy. Soft. Fun. This list of adjectives alone makes me want to prepare and scoff some right now. Plus they make great informal finger food and create a little bit of theatre when they are presented on a long plank, all neatly standing in a row, strands of pink cabbage and leafy coriander rustically on show, protruding from the sides.

salmon tacos with cabbage slaw

salmon tacos with cabbage slaw salmon tacos with cabbage slaw salmon tacos with cabbage slawsalmon tacos with cabbage slawsalmon tacos with cabbage slaw

Salmon tacos with cabbage slaw

For two.

For the salmon

  • 2 fillets of salmon
  • 2 tsp smoked paprika
  • 1 tsp chilli powder
  • 1 tsp garlic powder
  • sea salt
  • black pepper

Mix the spices on a plate and then coat the salmon in them by pressing the fish onto the plate.

Cook the salmon on all sides in a fairly hot pan or on the barbecue, only turning when each side has a lovely crust.

For the cabbage slaw

  • red cabbage
  • juice of a lime
  • pinch of sea salt

Slice the cabbage as finely as you can, pour over the lime juice and add the pinch of salt then massage the slaw with you hands. This step will soften the cabbage slightly and make it juicy and flavoursome. Add some chopped avocado to the mix if you wish.

To serve

  • warm soft flour tortillas
  • mayonaise
  • coriander, washed and coarsely chopped
  • lime wedges

To assemble

Take a warm tortilla and spread a dessert spoon of mayonnaise across the middle section. Flake some salmon and place it on top of the mayo. Top the fish with some slaw, a few sprigs of coriander, a squeeze of lime. Now simply roll up and enjoy.

Enjoy this recipe? Then you might like this quick Cajun salmon recipe

Classic spaghetti and meatballs

Do you ever get that impulse, that you just have to make a certain dish. I do. And last week it was for classic spaghetti and meatballs. From out of nowhere came the absolute burning desire to make flavoursome Italian meatballs with a caramelised crust, in a rich, slow cooked, tomato sauce, with my favourite of all the pastas, spaghetti. A dinner to be served in a wide, shallow rimmed bowl, with garlic bread on the side to mop up all the delicious juices. Not a sophisticated meal, but complete comfort food, to be enjoyed with friends around a table with a bottle of red wine.

classic spaghetti and meatballsIt just so happened that we would be dining with friends on Saturday night. During the day we would be removing all of our furniture from our house in order to store it in Ma and Pa’s garage. Knowing that Thea would need to be looked after for such a task, her Auntie and Uncle had stepped in to take care of her for the day and as way of thanks, I would cook them a delicious dinner. One that could be pre prepared a few days in advance, needing a few finishing touches on the night just before we all sat down to eat. My impulse to make classic spaghetti and meatballs and our weekend arrangements seemed perfectly aligned, so I headed to my new favourite butcher to buy the ingredients.
classic spaghetti and meatballs

Making the meatball mixture is a straightforward job. One that you can stop and start, which is useful when there is a small person at your feet who is far more interested in gaining your attention than in patiently waiting while you make dinner. Portioning the balls however is a task that requires your toddler to be well occupied. Once your hands, and using your hands is the best way to do such a wholesome task as this, are immersed in meatball mixture, there’s no easy or fast way of turning back. So with snacks provided, books and toys all over the floor, Thea seemed happy and I set about rolling portions of parsley flecked meat between the palms of my hands.

classic spaghetti and meatballs classic spaghetti and meatballs

For my meatballs I use half Italian sausage meat and half beef mince. The combination seems to make for really tasty, as well as, juicy meatballs. Ones that make you want to come back for seconds and thirds. When the mood strikes to prepare something like meatballs, it’s worth making a large quantity. The raw portioned mixture will freeze extremely well and serve as a quick and hearty week night dinner. I managed to roll out all two kilos of the mixture before Thea emptied the last of the contents of cupboard under the sink onto the floor. Something that I’m rather proud of. It is possible that since having an active baby, I am now faster in the kitchen than I was during my time working in restaurants. The thought of the chaos that she could cause while I’m busy with a task, is far more frightening than the wrath of any head chef!
classic spaghetti and meatballs

With my impulse for classic spaghetti and meatballs satiated, a meal for Saturday prepared as well as a dinner for another night, I felt a cheerful sense of achievement. I sat on the kitchen floor with Thea and we restocked the kitchen cupboard. It seems to me that children always act on impulse, doing whatever is is that makes them feel good. Perhaps it’s something that we adults should all do more often, act on a whim, because it’s nice to feel happy.

classic spaghetti and meatballs

Classic spaghetti and meatballs

For the meatballs. Makes 60-70.

  • 1kg beef mince
  • 1kg Italian sausage mince
  • 1 cup breadcrumbs
  • bunch of chopped parsley
  • 1 cup loosely packed grated parmesan
  • 2 cloves chopped garlic
  • 1 egg
  • 1 teaspoon sea salt
  • generous grinding of black pepper

Combine all the ingredients in a large bowl and mix well with your hands. Portion the mixture into walnut sized balls.

For the sauce.

Plenty for 20-30 meatballs, assuming that the remainder have been set aside to be frozen.

  • 2 onions, chopped
  • 2 carrots, chopped
  • 3 sticks celery, chopped
  • 2 cloves garlic, chopped
  • 3 x 400g tins tomatoes
  • 3 tbsp tomato paste
  • 500ml beef stock
  • sea salt and black pepper to taste
  • a splash of balsamic vinegar to taste

Over a low heat, sweat the onion, carrot and celery with a little oil in a large pot. By sweat, I mean cover the pot with a lid and leave the vegetables to cook slowly for about 10 minutes until they are very soft.

Next add the garlic and cook until it’s fragrant, then add the tinned tomatoes, tomato paste and stock.

Bring the tomato sauce to the boil, then reduce the heat and simmer for 30 minutes to an hour until it has slightly reduced.

Using a stick blender, blend the sauce until it’s smooth and then season with salt, pepper and vinegar to your taste. It should be slightly sweet and piquant. Keep the sauce warm over a gentle heat. Perhaps put a lid over the pot at this stage incase the sauce bubbles and splatters.

Now to assemble dinner.

Cook the meatballs (5-7 per person) in a little oil in batches a frying pan. Make sure that there is enough space in between each ball so that they don’t sweat, but instead caramelise and brown. Make sure that they are well coloured before you turn them. Doing this will impart depth of flavour into the finished meal. Now add the cooked meatballs to the tomato sauce so that that flavours can mingle.

With the sauce and meatballs ready, cook the spaghetti and drain it. Tip it back into its cooking pot and add a few ladlefuls of the tomato sauce. Now set the pot over a moderate heat and stir to combine the two. This method will ensure that all the strands of pasta are not only coated with rich tomato sauce, but that it clings to it too.

Combine the spaghetti, meatballs and rest of the sauce together, stir once again, transfer to a big serving platter for people to help themselves to (or even just take the cooking pot to the table) and enjoy with grated parmesan, garlic bread and a glass of red wine.

If you enjoyed this recipe, you might also like A versatile beef and red wine stew

classic spaghetti and meatballs

A Balinese coconut salad

Balinese coconut saladIncense. Birdsong. Smiling faces. Car horns. Cow bells. Lush rice paddies. Soaring kites. Bright Hindu offerings. Theses are the things that have flooded my senses over the last seven days in Bali. In our peaceful oasis, we have dipped in and out of the pool, watched films, talked, napped and eaten. Eaten beautiful Indonesian food cooked for us by Ketut and Tomah, the two ladies who looked after us and our villa. A dish that we asked them to make for us every night, after we fell in love with it on our first evening, is a Balinese coconut salad.

Balinese coconut salad

Balinese coconut salad

We had booked to go to Bali earlier in the year, excited that we could make a beautiful, tropical villa our home for a week. We knew that we would be able to enjoy the luxury of having beautiful Balinese dinners cooked for us while Thea was close by, soundly asleep in the bedroom, after a day spent swimming and being made a fuss of by all the locals. The date to leave came around in a rush and with multiple bikinis and minimal clothes packed, we headed to the airport full of anticipation. Anticipation for a calm baby on a long flight as well as for the opportunity to relax and unwind. Walking through the faded pink doors to our villa some hours later, we were greeted by beaming faces. Hello. Welcome. The pool was glistening and the villa, glorious. Fresh, comfortable and inviting.Bali

On our first night we ordered in pizza and drank Bintang. A wonderful way to start a holiday with complete carefree abandon. We took in our new surroundings, watched the gheckos on the ceiling, enjoyed the warmth of the tropical evening and contemplated our holiday. On our second night though, we were spoilt by local cooking. Snapper cooked with Balinese spices in a banana leaf. A flavour explosion of turmeric, ginger, garlic and chilli enclosed in a little green parcel. Satay chicken. Always a favourite, with smoky charred chicken and sweet, salty, crunchy peanut sauce. And a Balinese coconut salad. Green beans, bean sprouts, grated fresh coconut, garlic and chilli. It was superb. So simple. Six ingredients. But a completely different and totally delicious taste and texture sensation. Chewy sweet coconut, fresh crunchy beans, salty garlic and a subtle heat from the chillis. We both fell in love with it. So much so we ordered it the next night. And the next. And the next.

Balinese coconut salad

That’s the thing about being on holidays. Places become linked with the particular foods enjoyed there. I could probably tell you my most favourite dishes from all the countries that I have visited. Mostly because, when I find something I love to eat in a certain place, as was the case with this Balinese coconut salad, I have it again and again. Spanakopita in Crete, which I used to buy from the bakery every morning. Raclette in the French Alps. Croquettes in Barcelona. Shawarma in Egypt. The list goes on. And try as I might to recreate all these dishes at home, they are never quite the same. But that’s half the fun. Re living the memories of holidays by trying to capture the tastes and flavours of foreign destinations.

DSC_1361

Balinese coconut salad

  • About a quarter piece of a whole coconut, not a fresh one, but an older one with a husky outer skin
  • 2 handfuls of green beans, finely sliced on the diagonal
  • 2 handfuls of bean sprouts
  • 2 French shallots, finely sliced lengthways
  • 4 cloves garlic, finely sliced lengthways
  • 1-2 small red chills depending on how much heat you like, sliced widthways into rings, seeds in
  • Fried onions to garnish (from a packet, easy to find in the Asian section of supermarkets)

Begin by cooking the piece of coconut, skin side down, over an open flame. A gas ring is great for this. Cook for about 5 minutes until the husk is charred and the flesh soft. Leave to cool.

Cook the green beans in salted boiling water until cooked, but still with a bit of bite. Add the bean sprouts and cook for a minute or two more. Strain the beans and bean sprouts and leave to cool.

Fry the shallots, garlic and chilli in a generous amount of oil. The ladies who cooked this salad for me used vegetable oil, but I think that peanut or coconut oil would both work nicely. Use a moderate heat so that the mixture doesn’t burn. You want the garlic and shallots to turn golden and start to colour around the edges. Remove from the heat and add to the beans, oil and all.

Now take the coconut and coarsely grate it into the bean and garlic mixture. Combine all the ingredients together thoroughly, transfer to a serving platter, garnish with fried onions and I dare you to tell me that you don’t love this Balinese coconut salad.

Enjoy this salad? You might like this smoky corn salad recipe.


My spaghetti carbonara

A tree falling on your house will do that. Get you out of your daily groove. Throw your life into disarray as you are one minute you are cozily reclined on the sofa sleepy and content after dinner, and quite literally the next, without a home at all. The past two weeks since the dramatic and scary event have tumbled past in a blur, of packing and unpacking, redirecting mail and all those other logistical adjustments that come with having a change in your fixed address. There has been little in the way of culinary adventures. Dinners have been quick and easy, tried and tested recipes. Fuel to punctuate the day. The spaghetti carbonara last night is worthy of a mention though. A dish I’ve made many times that for some reason came together deliciously well.

spaghetti carbonara

Inspiration for the comforting bacon and egg pasta dish came from half a dozen assorted pieces of smoked speck hanging in a row above the glass display fridge, of a now local deli. Seeing the cured meat suspended in a line made me want to make carbonara. To cut up the pork into little cubes and fry them in a blob of butter and a glug of olive oil until the fat starts to render and they caramelise and brown. I asked for enough speck to feed four people for dinner and with it neatly wrapped in waxed paper, knowing that I had all the other ingredients that I would need on hand, headed home inspired to make dinner.

spaghetti carbonara

Living with Ma and Pa, as we will be until our home is repaired, means a wonderful assortment of new food sellers to explore, brimming with inspiration of things to try out in the kitchen. The same deli I bought the speck from stocked whole pickled cabbages. The imagined taste of the sharp, punchy leaves sparked the desire to make a wintry dish of slow roasted pork knuckles. Individual portions of moist, sweet meat encased in their own armour of salty, crunchy crackling. Perfect with some silky mashed potato spiked with white pepper.

spaghetti carbonara

There’s also a twice weekly farmer’s market I’m hanging to get to know. Hopefully there will be some stall holders selling robust root veg. Celeriac, carrots, parsnips, wonderful to bake, roast and puree, to warm the soul during the cooler months. Perhaps like this with lemon, garlic and some coriander seeds. There’s also a covered weekend market, several vendors offering a landscape of neat little mounds of pungent yellow, orange and red spices, sticks of cinnamon, shards of cassia, ideal for perking up long simmered stews. I am genuinely excited to be able to share the results of my exploration when the proverbial and actual dust has settled. For now though. Spaghetti carbonara.

spaghetti carbonara spaghetti carbonara spaghetti carbonara spaghetti carbonara

spaghetti carbonaraSpaghetti carbonara

  • 400g pancetta, speck or bacon, essentially cured pork (belly), preferably in a piece so that you can cut it up yourself
  • 1 tbsp each of butter and olive oil
  • 2 cloves garlic, chopped
  • 4 egg yolks
  • 2 tbs milk
  • 1 cup grated parmesan
  • 3/4 packet dried spaghetti
  • a few tablespoons of pasta cooking water
  • lots of black pepper
  • grating of nutmeg

Carbonara is a very quick dish to make and one that requires a little bit of haste towards the end, so being organised and following the steps below will help make the perfect pasta dish.

First, bring a large (5 litre) pot of salted water to the boil.

Now cut up the pancetta into bite size cubes and slowly fry them in the butter and oil (the oil will prevent the butter from burning). The pancetta will happily caramelise over a low flame while you get on with the rest of the dish.

Next separate the eggs so that you have 4 yolks. Freeze the whites for meringue or macaroon making. Add the milk, parmesan, black pepper and nutmeg to the yolks and gently combine.

With the pancetta gently browning and the egg mixture ready, cook the spaghetti until el dente, about 10 minutes. While the pasta is bubbling away, chop up the garlic and add to the pancetta.

Ok. Time to assemble the dish.

You have the pasta cooking, the pancetta and garlic sautéing  and the egg mix ready. Place a strainer in the sink and when the pasta is ready, drain it. Don’t drain it completely though. Leave some cooking water in the bottom of the pot, perhaps 2-4 tablespoons.

Now, tip the pasta back into the pot along with the pancetta and egg mix and stir everything thoroughly to combine. The residual heat from the just cooked pasta and warm pancetta will cook the yolks, but because there is no direct heat, they won’t be scrambled. The little bit of pasta water and milk will help to make a beautifully silky sauce to coat the spaghetti.

Due to the salt in the pasta cooking water, the garlic and the smokiness of the pancetta, salt shouldn’t be necessary, but just check before you sit down and enjoy.

Enjoy this recipe? Then you might like classic spaghetti and meatballs

Chicken and chorizo empanadas

chicken and chorizo empanadas

Happy that I was organized for an upcoming  job, I was sitting comfortably on the lounge sipping peppermint tea after dinner. Tomorrow I would make the chicken and chorizo empanadas, part of the Mexican street food spread that I was preparing for a party at the weekend. But right now I was in front of a beautifully warm open fire browsing restaurants in Bali for our upcoming holiday. I could hear that outside, the powerful wind had amped up again and that rain was still lashing angrily at the windows. It was an aggressive storm that had caused mass flooding and uprooted trees on every single street over the last two days. From our deck, Thea and I had been watching arborists in fluorescent rain coats all day, brave the elements to remove a fallen gum tree that had ploughed straight through one of our neighbours homes. Nonchalantly believing that we were lucky to have escaped the same fate, I was about to be proved very wrong.

chicken and chorizo empanadas

There was no loud crack to fore warn that a tree was about to fall. It just happened. All of a sudden the power went out and in the darkness the only sound that could be heard was crashing. Usually when something falls on our tin roof, it’s noisy and can make your heart pound, fallen debris sounding bigger and more damaging than it really it is. There was no doubt this time though. Whatever had fallen was huge and very destructive. The clattering noise was relentless, and Mark and I held each other bracing for impact from overhead.

chicken and chorizo empanadas

It felt like as soon as it had started, the noise stopped. I jumped up, ever so slightly hysterical. THEA. My baby girl was in bed and if I hadn’t been hit by whatever had fallen, did that mean that she had? Mark pulled me close and told me to calm down. That she was fine. It was our chimney stack that had collapsed and that if I went in and got her in the state I was in, I would scare her. I took on board his wise words, breathed deeply and using the light on my phone went to her room. She was sitting up waiting for me. I packed a bag while Mark put out the fire, a hazard that had completely gone over my head as I stuffed nappies, toothbrushes and underwear into a bag. Our neighbours were yelling up at us. Were we ok? I yanked at the front door to let them know we were. It wouldn’t open. I went to the window and pulled back the curtain. All that I could see in front of me through broken glass was a mass of branches and leaves, fractured floorboards and crumpled sheets of roofing. Our whole deck had splintered away from the house.

chicken and chorizo empanadas

When firemen arrived to check that our fire was out and to escort us around our home to collect any valuables and emergency items, I pleaded with them to save my Mexican beef stew. A strange last minute grab from a house just rendered unsafe by a falling tree, but that pot of food was not going to go to waste. Onions, carrots, capsicums, celery and garlic had been whizzed up in a food processor first thing that morning and then sweated slowly over a low heat. Tomatoes, bay leaves, cumin, coriander and chilli were added, along with a five kilo hunk of beef, and the pot had simmered undisturbed all day, only occasionally interrupted to be stirred. My neighbours kindly let me store the hefty stainless steel pot in their fridge, as I explained it was for a job at the weekend and despite a tree just having fallen on my house, I was not going to pull out of the work and let anyone down.

chicken and chorizo empanadaschicken and chorizo empanadas

Safely installed at Ma and Pa’s a few days later, I resumed preparations for the party. Referring to my list, 100 chicken and chorizo empanadas needed to be made. Unfamiliar with how to go about setting up a production line in Ma’s kitchen, I started by investigating what was in all the cupboards and drawers. Ma looks after things with such care that the majority of her utensils and appliances are older than me. And I love that. Well looked after kitchen equipment with soul. Great grandma, who happened to be visiting at the same time we became homeless, was shocked with the number of pastry pockets that I had to make, but intrigued as to how I would actually go about the process. With Thea being blissfully entertained in the garden by Ma, I began the empanadas. In between sneaking glances through the window of Thea on the swing and chatting about TV detective series with G g Ma, the task was completed in no time. Somehow, despite the odds, I was back on track.

DSC_1226 chicken and chorizo empanadas vintage kitchenware vintage kitchenware Chicken and chorizo empanadas

Adapted from a recipe by Paul Hollywood

Ingredients

For the pastry

  • 150g unsalted butter
  • 300g plain flour
  • pinch salt
  • 1 egg, lightly beaten

Make the pastry first and allow it to rest in the fridge while you make the filling.

Whizz the butter and flour in a food processor until they resemble fine breadcrumbs.

Add the egg and salt and pulse until the mixture comes together. If it is still and little dry, add water drip by drip.

Tip the pastry out onto a piece of cling wrap, cover and put in the fridge for 30 minutes to rest before rolling out for the chicken and chorizo empanadas.

For the filling

  • 1 whole chicken
  • 1 onion
  • 2 garlic cloves
  • 2 chorizo
  • 1 tsp cumin
  • 50g rasins
  • salt and black pepper

Roast the chicken in the oven for approximately 1.5 hours until cooked. Remove from the oven and allow to cool enough so that you can handle it.

In the meantime, in a food processor, whizz up the onion, garlic and chorizo. Transfer the mixture to a wide pot and cook over a low heat until the onion is translucent and the chorizo is starting to release its red perfumed oil.

Add the raisins and cumin, salt and pepper, cook for a few more minutes to allow all the flavours to mingle and then remove the pot from the heat.

Now pull apart the roast chicken, finely shredding the meat and add it to the chorizo mixture. Save the chicken carcass to make stock.

To assemble the chicken and chorizo empanadas

On a floured surface, roll out the pastry to a thickness of about 3mm.

Using a round pastry cutter, cut circles in the pastry. In the top half of these circles,place teaspoonfuls of the chicken and chorizo filling.

Take another lightly beaten egg, and with a pastry brush, paint egg wash on the top half of the circle where the filing has been placed. Now fold over the empty half of the pastry circle and press the edges together. Seal using the prongs of a fork by pressing them into the pastry all the way around the open edges.

To bake, place the chicken and chorizo empanadas on a baking tray, brush the tops with more egg wash and place in an oven preheated to 180C for about 20 minutes.

Enjoy the chicken and chorizo empanadas while still hot from the oven, with a cold beer!

Anzac biscuits for Thea

Anzac biscuits

Making food for Thea is an interesting task. Somedays she enjoys the things that I put in front of her, other days she blows raspberries at them, turning her head away in disgust, communicating her disdain for my lack of insight into what she would like to eat. Anzac biscuits though are always well received. I break one in half and give her the pieces to hold, one in each hand. She clenches her little fists tightly around the halves and scoffs alternately from left and right. The Anzac biscuits that I make for her are a slightly modified version of the original, a ‘healthy’ interpretation if you will, but as Anzac Day is approaching I thought that to commemorate the day of remembrance, I would make Thea some ‘proper’ Anzac biscuits.

Anzac biscuits

The funny thing is that when I was at school, I was good friends with Charlotte. Every Friday we would catch the bus back to her house and before we even changed out of our school uniforms, make Anzac biscuits. Charlotte’s mum was from New Zealand and the recipe that we used was handwritten with black pen on a well referenced piece of paper. In her narrow kitchen, with Crowded House and REM playing in the background, we would carefully measure out the oats, and probably not so carefully the golden syrup, to make our afternoon snack. Warm for the oven we would take the biscuits and cold glasses of milk up to Charlotte’s bedroom and read fashion magazines, whilst munching hungrily on the crunchy oat discs.

Anzac biscuits

Oats are always a staple in the kitchen and are so much more than the main ingredient in a steaming bowl of porridge to comfort the soul on a cool winter’s morning. They make a great summer breakfast too, soaked overnight with freshly squeezed orange juice, and eaten the next day with a handful of chopped nuts and some plain yoghurt. Oats are beautifully suited to mixing with almonds, sultanas and some cinnamon and brown sugar to stuff into cored apples before they are baked and subsequently eaten with lots of double cream. They are also a nice addition to fruit crumble toppings, bringing with them a further textural dimension. Their flavour is excellent paired with fish, used in the exterior coating of smoked fish cakes for example or scattered liberally on to the mashed potato that crowns a fish pie. And of course, they are fantastic for baking biscuits.

oats

It is very safe to say that Thea enjoyed the more traditional Anzac biscuits that I made for her. The tartan tin in which they were stored was quickly remembered by association. When ever she caught sight of it in the kitchen cupboard, she made it very clear with a pointed outstretched arm and a persistant ‘mmm’ that she wanted what was inside. In fact the contents of the tin emptied very quickly indeed, Thea’s dad, grandma and grandpa all enjoying an Anzac biscuit. I enjoyed one too. With a cold glass of milk and a magazine.

Anzac biscuits

Anzac biscuits

 Anzac biscuits

Recipe adapted from one by the Country Women’s Association of New South Wales circa 1933

  • 1 cup each of rolled oats, raw sugar and shredded coconut
  • 3/4 cup flour
  • 2 tablespoons butter
  • 1 teaspoon bicarbonate of soda (dissolved in 2 tablespoons boiling water)
  • 1 tablespoon golden syrup

Begin by preheating the oven to 150C and melting the butter.

Next, add the golden syrup to the bicarbonate of soda dissolved in the 2 tablespoons of boiling water, then add the melted butter.

Mix the oats, sugar, coconut and flour together in a bowl and then stir in the wet ingredients.

Using your hands, form small balls of the mixture and press down on to a paper lined baking tray. If the mixture does not easily form into balls, add water little by little until it does.

Bake for about 15 minutes until the biscuits are deep golden brow. Cool completely before biting in.

DSC_1001paleo Anzac biscuitsThea’s Anzac biscuits

Adapted from a recipe by Teresa Cutter

  • 175 g rolled oats
  • 40 g shredded coconut
  • 60 g flaked almonds
  • 2  1/2 tablespoons coconut oil
  • 2 tablespoons maple syrup
  • 1 teaspoon vanilla powder
  • 1 tablespoon water

Preheat the oven to 150C.

Simply add all the ingredients, except the water to the bowl of a food processor.

Pulse for about 30 seconds until the mix is well combined.

Now add the water and process again. This will help the mixture stick together.

Using your hands, form the mixture into balls and press onto a paper lined baking sheet

Bake for 20 -30 minutes, checking regularly, until golden brown.

Cool completely before eating, but if you’re Thea this never happens, bite in and enjoy.

Marinated hanger steak

DSC_0841

We were lucky enough to spend the weekend in the city. In a hotel. Crisp, white sheets, a king bed, blackout blinds and the ultimate lie in. No Thea to serve as our early morning alarm clock. Thanks to Ma and Pa she was very well taken care of, trike riding under blue skies, feeding ducks by the lake, exploring cubbies with her cousin and apparently sleeping through the night for them. We on the other hand were indulging in good food, delicious wine and some parental freedom. Inspired by the savoury morsels sampled throughout the day and into the night on Saturday, on Sunday morning after a beautiful breakfast at Kitchen by Mike (I’m a huge fan), we headed to Victor Churchill to continue the feasting at home. The impromptu visit turned into a memorable dinner of marinated hanger steak. A first, but not a last.

marinated hanger steak DSC_0853

Victor Churchill is a pretty darn amazing butcher. The origin of the animal and what it’s been fed are clearly labeled by the way of white handwritten signs studded into the various cuts of meat, which are displayed behind tall glass fridge doors that line one side of the shop. Passionate staff who weave among the customers skillfully assist with purchases, while butchers, behind more glass that lines the opposite side of the store, prepare meat on glorious, oversized, wooden chopping blocks. One such member of staff was on hand to help with our enquiry as to whether there was any hanger steak. We were in luck. There was.

DSC_0887

We came to know hanger steak long before Thea. Back in the days when we could drive, on impulse, to a restaurant that I had a hankering to go to. One of those spur of the moment, let’s go out and have dinner journeys, led us to Bird Cow Fish, an amazing restaurant then run by Alex Herbert. We both ordered the hanger steak. I’m not sure why because normally we order different things so that we can try the maximum amount of things on the menu between the two of us. But this night we ordered the same. And I’m glad we did. The standout steak, which was followed by a ridiculously good chocolate tart with light as air pastry and an unctuously rich filling, kept company with a little pot of thick cream, has stuck fast in our minds ever since. So we seized the opportunity to buy hanger steak to see if we could make it taste as good as we remembered.

DSC_0922

With strict instructions from the butcher that this was a cut of beef that we really had to cook right and not to undercook the steak or it would be bloody and chewy and not to overcook it, or it would be tough and tasteless, I decided a digital thermometer would result in the best outcome we could hope for. Google, in the car back from the city, told me that the magic number that I should look for was between 51-54 C. I also found out that hanger steak takes well to bathing in some citrus before cooking. With this knowledge, when we got home I laid the steak in a marinade of lemon and lime juice, garlic, oregano and olive oil. It luxuriated there while we caught up with Ma and Pa on Thea’s adventures and shared our own from the previous night.

marinated hanger steak

Our mission for our night in the city had been to have no plan. To simply find a few  bars, have a drink and a plate of food in each before moving on to the next. Among our ramble through Sydney, we found 10 William Street, a seriously cool little wine bar. Loud and dimly lit, with bentwood chairs, round, little marble tables and informative staff, a great selection of drops by the glass and some moorish nibbles to go with them. We stayed in the bustling narrow establishment for two glasses, Iggy’s bread (you have to try it to understand how good this sourdough bread really is), simple but excellent calamari, home made biltong and olives. We also found ourselves back at The Baxter Inn, perched on bar stools, sipping single malt from old fashioned brandy glasses, listening to the likes of Bobby Darin. The whisk(e)ys, it’s predominantly a whisky bar, on offer at Baxters is staggering and with there being so many, I always falter when making my selection, wanting to get the perfect drink. In my mind that’s a smoky, smooth, slightly sweet wee dram.

DSC_0935

Weekend stories exchanged, the hanger steak went onto the barbecue. All eyes were on the thermometer, watching the digits steadily rise, as garlic smoked trailed into the night. At 53C, the steaks came off the heat and sat on the kitchen bench while the beans were cooked and the duck fat ‘chips’ (roast potatoes cut into batons, boiled until soft and then roasted in the oven with duck fat) finished crisping. When all the elements were ready for the table, the steak was sliced on the diagonal and heaped onto a communal platter. It’s interior was a surprisingly dark, ruby red colour. It sliced easily and once in the mouth was tender, with a small amount of chew and a deep, zingy flavour. The butcher who served us would be proud.

DSC_0942

Marinated hanger steak

Serves 4

Approximately 1kg trimmed hanger steak

For the marinade

  • 1 lemon, juice and zest
  • 1 lime, juice and zest
  • 4 garlic cloves, thickly sliced
  • handful oregano
  • olive oil
  • sea salt and black pepper

Simply mix all the marinade ingredients together and then bathe the meat in the mixture for about two hours.

Heat a pan or the barbecue, whatever your preference, until really hot and then cook the steak until it reaches between 51-54C. Ok. That’s the simple version.

With meat, it doesn’t need to be constantly agitated. Once you put it on the heat, leave it. Leave it until a nice crust forms. A beautiful, brown caramelised outside that will impart texture and flavour into the meat. When you feel that the piece of meat that you are cooking has formed said crust on one side, turn it. And once again leave it. If there is another side that still hasn’t seen the heat, if you are cooking a round piece of meat like a fillet for example, turn it once again to sear the final side.

Searing meat is really important and it’s actually really easy. The biggest factor is patience. And a scorchingly hot pan to start with. Anothter pointer. Oil the meat, not the pan. I sometimes use melted butter to add another flavour dimension and because it forms such a beautiful crust. But good old oil will do just fine. Next salt and pepper the meat. By salt, and always when I refer to salt here, I mean sea salt. Large, transluscent flakes, which can be liberally sprinkled all over the cut about to be cooked. Salt is another factor that helps form a crust and again, imparts flavour. I add pepper too. Some say that it’s not necessary at this stage. I disagree. I grind the hell out of my pepper grinder until  my steak is covered in little black flecks of peppery heat.

So. The hanger steak has reached 53C. Whisk it from the heat, place it on a deep plate so that the juices can be contained and leave it to rest. To relax. To metaphorically sit back in a comfortable chair, yawn, stretch and unwind. It will feel so much better in your mouth if this rule is adhered to, the resting rule of thumb being, rest meat for at least half the time it took to  cook. As I’ve written before about roast lamb, meat stays hot. Don’t fret about it getting cold, and if you are worried that is will happen, simply cover the patter with foil and some tea towels.

So, to recap. Patience to sear. Patience to rest. And now time to enjoy. Open a bottle of red. Pour a glass. Slice the hanger steak on the diagonal, which is much more visually pleasing. And eat.